excel screen slide 1 column row cell formula bar column heading row heading worksheet tab
TRANSCRIPT
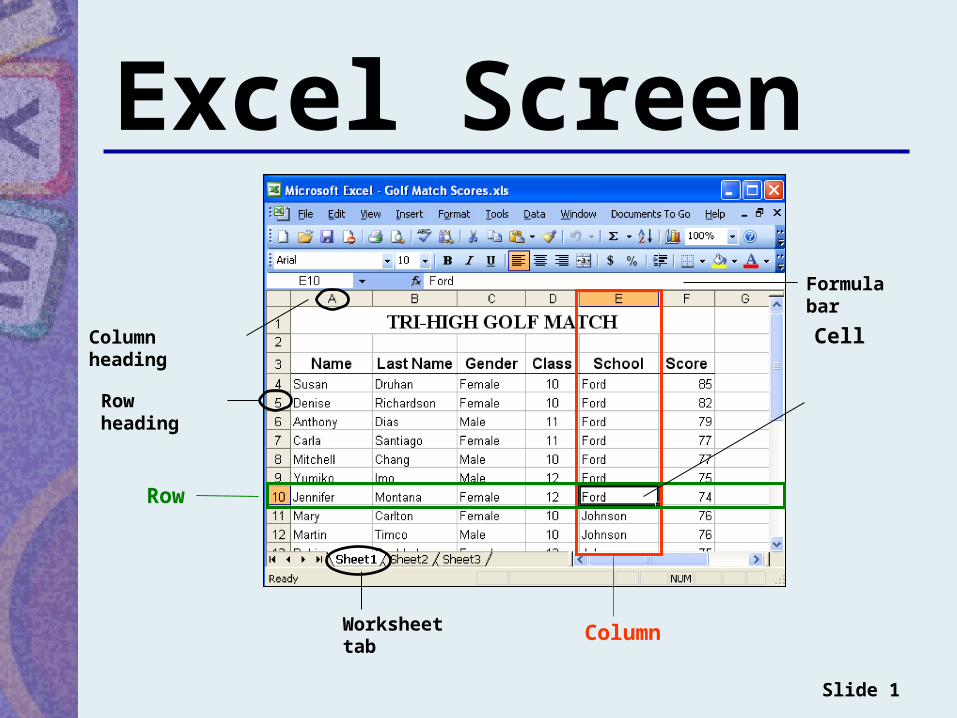
Excel Screen
Slide 1
Column
Row
Cell
Formula bar
Column heading
Row heading
Worksheet tab
Spreadsheet Software
Slide 2
• A computer program used to record, CALCULATE, and analyze numerical data
• We will be using Microsoft Excel
Workbooks and Worksheets
Slide 3
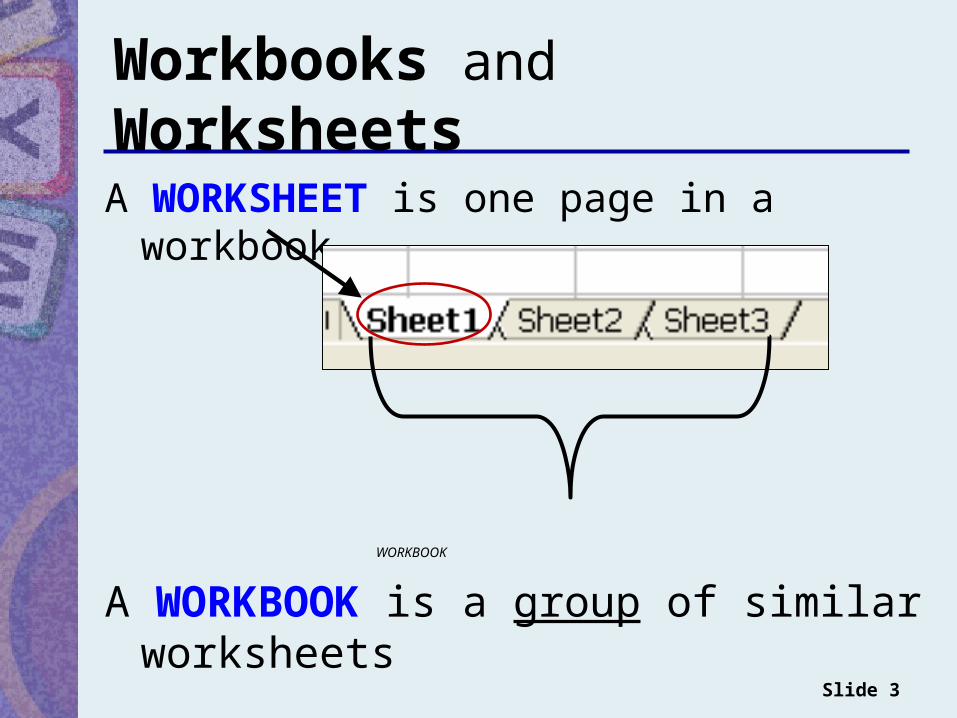
A WORKSHEET is one page in a workbook
WORKBOOK
A WORKBOOK is a group of similar worksheets

Columns• COLUMNS are the vertical
divisions on a worksheet
• The letters at the top of a column (A, B, C) are called Column Headings.
Slide 4
Column
Column Heading
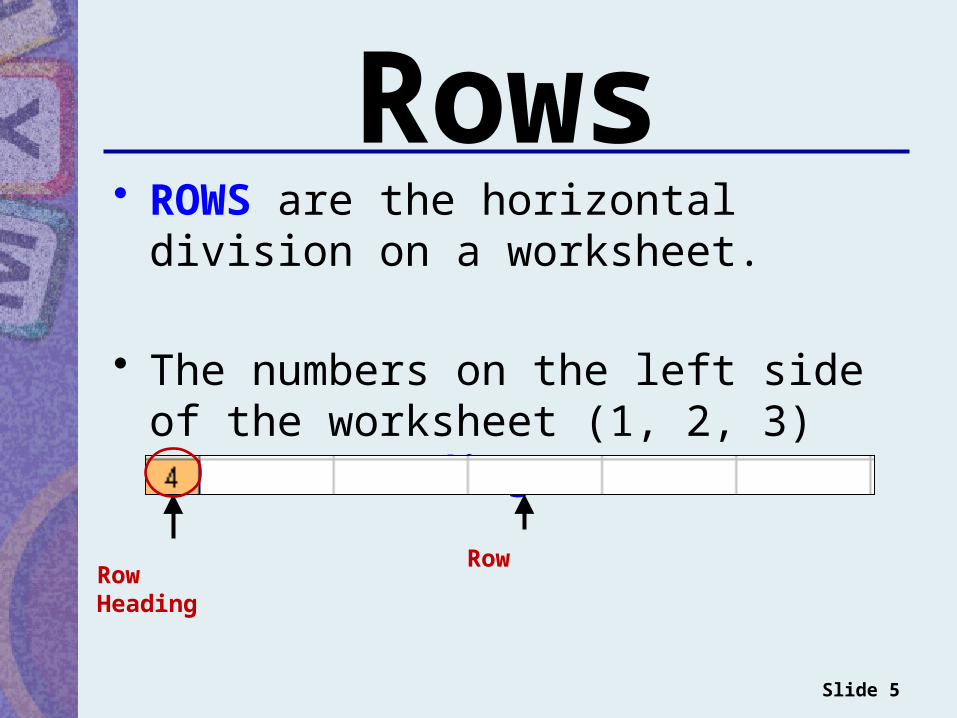
Rows• ROWS are the horizontal division on a
worksheet.
• The numbers on the left side of the worksheet (1, 2, 3) are Row Headings.
Slide 5
Row HeadingRow
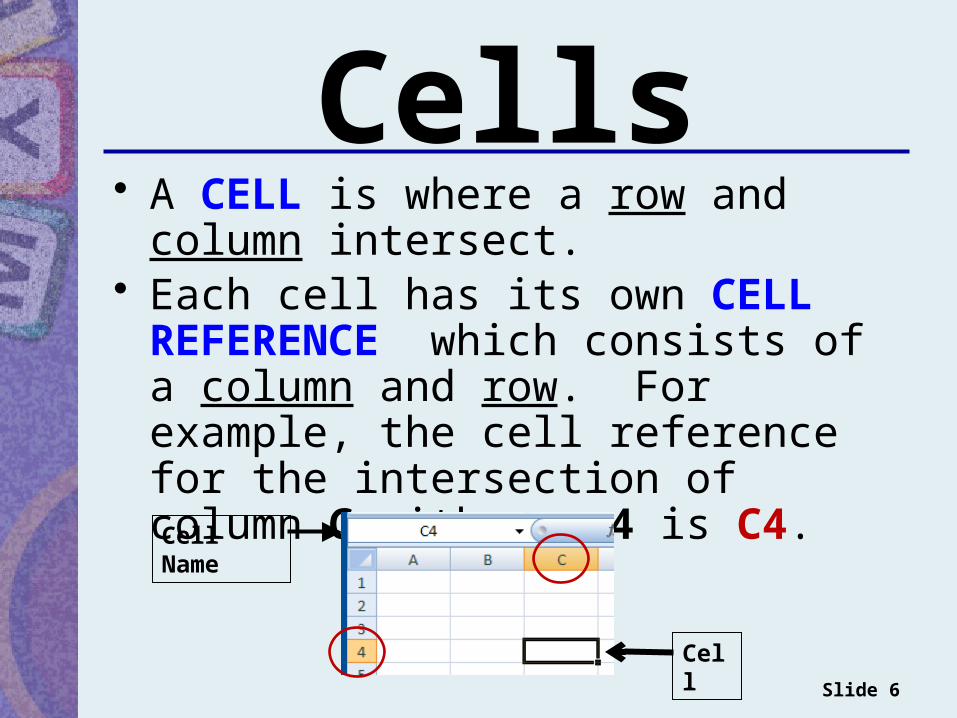
Cells• A CELL is where a row and column
intersect.• Each cell has its own CELL
REFERENCE which consists of a column and row. For example, the cell reference for the intersection of column C with row 4 is C4.
Slide 6
Cell Name
Cell
Active Cell
Slide 7
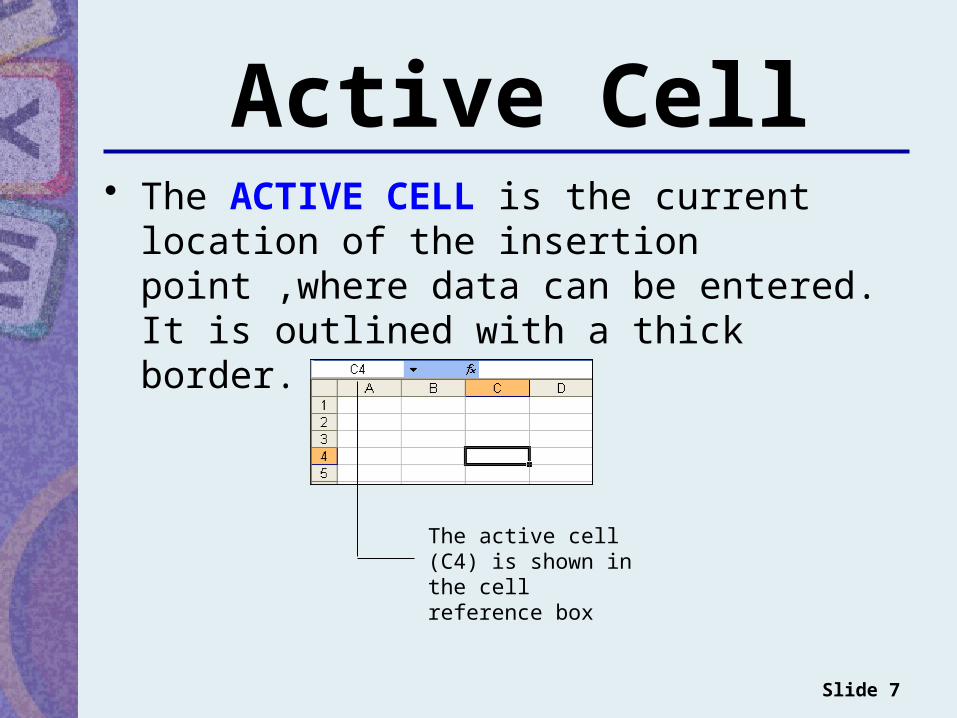
• The ACTIVE CELL is the current location of the insertion point ,where data can be entered. It is outlined with a thick border.
The active cell (C4) is shown in the cell reference box
Labels & Values
Slide 8
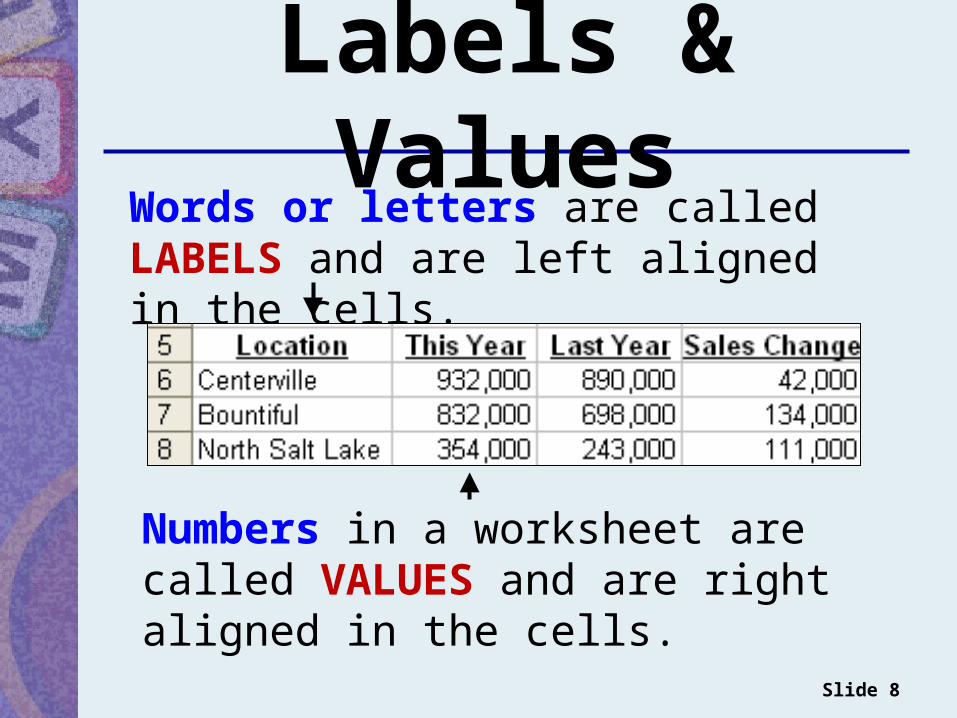
Words or letters are called LABELS and are left aligned in the cells.
Numbers in a worksheet are called VALUES and are right aligned in the cells.
Inserting and Deleting
Slide 9
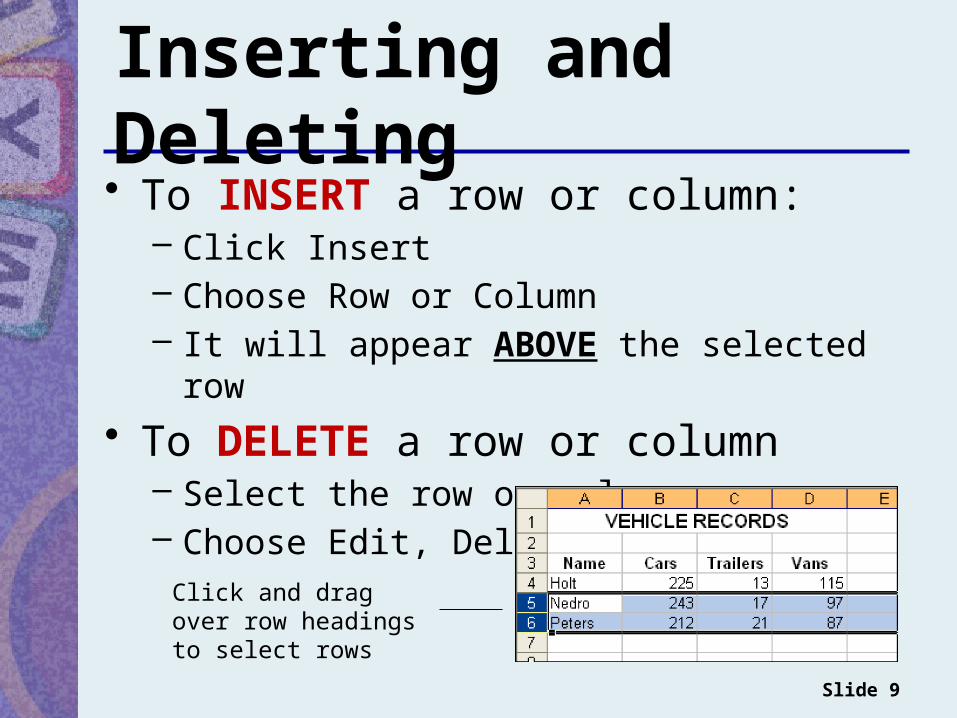
• To INSERT a row or column:– Click Insert– Choose Row or Column– It will appear ABOVE the selected row
• To DELETE a row or column– Select the row or column– Choose Edit, Delete
Click and drag over row headings to select rows

Moving Around Worksheets
• Move to a new cell by–Clicking in a cell with the
mouse–Tapping TAB or ENTER–Tapping arrow keys
Slide 10
Entering Data
Slide 11
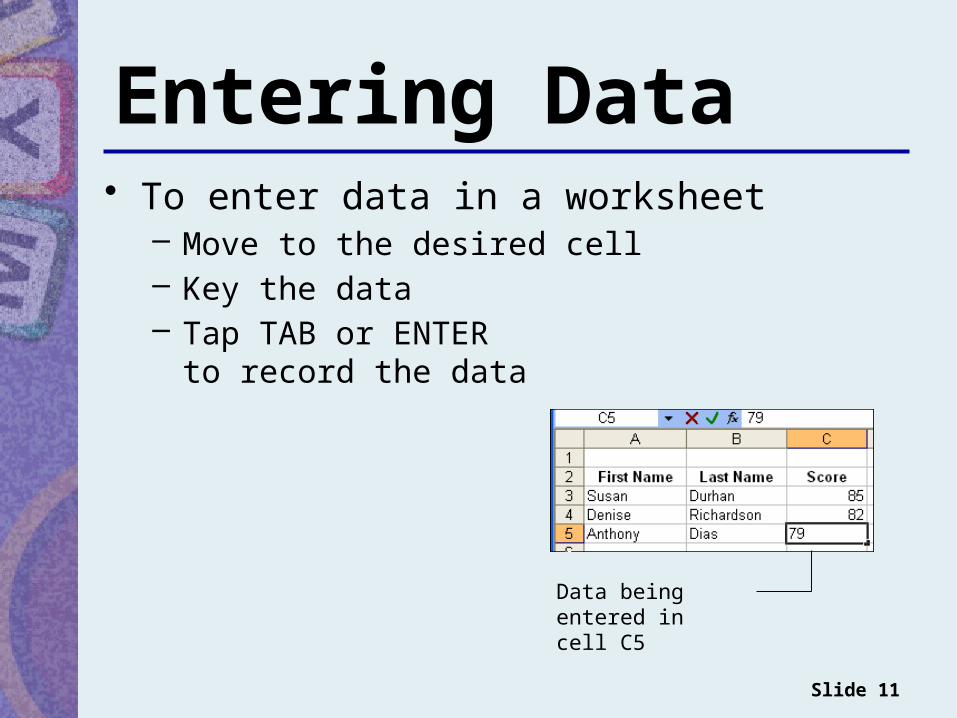
• To enter data in a worksheet– Move to the desired cell – Key the data– Tap TAB or ENTER
to record the data
Data being entered in cell C5
Editing Cell Contents
Slide 12
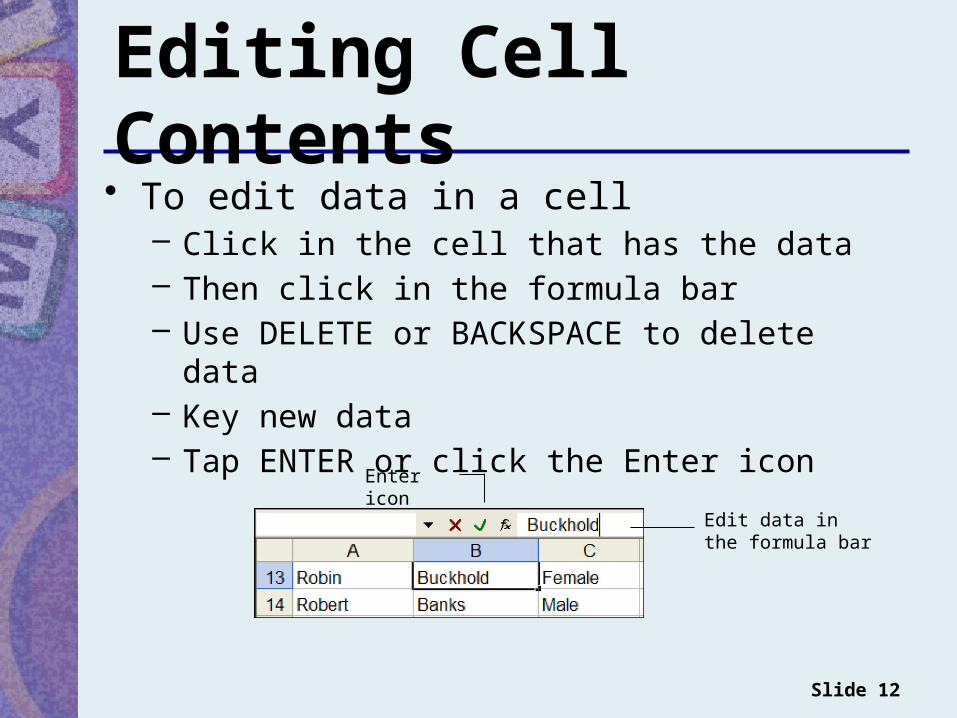
• To edit data in a cell– Click in the cell that has the data– Then click in the formula bar– Use DELETE or BACKSPACE to delete data– Key new data– Tap ENTER or click the Enter icon
Edit data in the formula bar
Enter icon
Copying Data
Slide 13
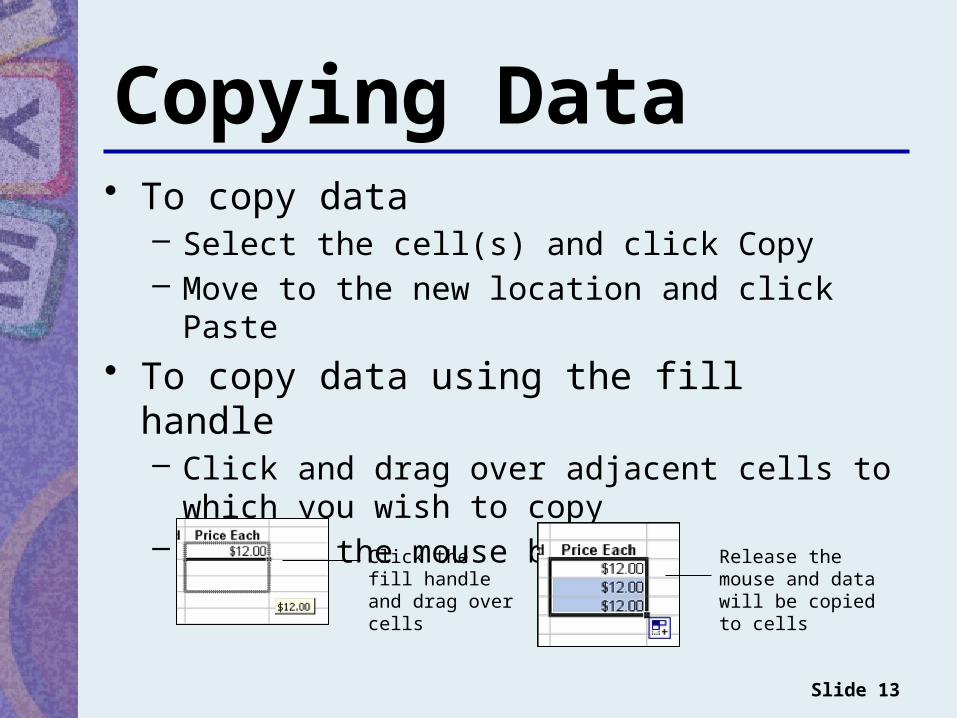
• To copy data – Select the cell(s) and click Copy– Move to the new location and click Paste
• To copy data using the fill handle– Click and drag over adjacent cells to which you
wish to copy– Release the mouse button
Click the fill handle and drag over cells
Release the mouse and data will be copied to cells

Changing Column Widths
Slide 14
• Click and drag the column heading border
Click and drag a column heading border
Double-click the column border to make the width fit the contents.
• To set an exact width in the Column Width box. Under Format select Column then Width and enter a number for the column width