family art from home art deco gratitude box
TRANSCRIPT
Albuquerque Museum 2000 Mountain Road NW Albuquerque, NM 87104 505-243-7255 • cabq.gov/museum
Family Art from HomeArt Deco Gratitude Boxby Eden Resnik
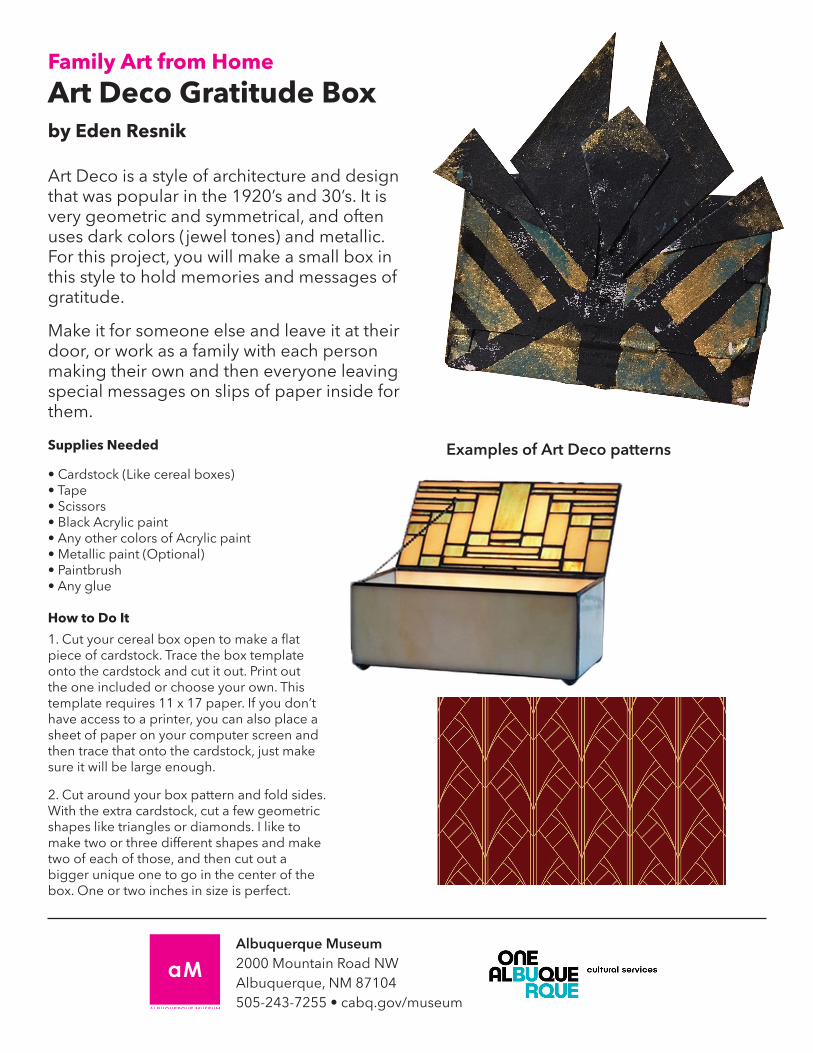
Art Deco is a style of architecture and design that was popular in the 1920’s and 30’s. It is very geometric and symmetrical, and often uses dark colors (jewel tones) and metallic. For this project, you will make a small box in this style to hold memories and messages of gratitude.
Make it for someone else and leave it at their door, or work as a family with each person making their own and then everyone leaving special messages on slips of paper inside for them.
Examples of Art Deco patternsSupplies Needed
• Cardstock (Like cereal boxes)• Tape• Scissors• Black Acrylic paint• Any other colors of Acrylic paint• Metallic paint (Optional)• Paintbrush• Any glue
How to Do It1. Cut your cereal box open to make a flat piece of cardstock. Trace the box template onto the cardstock and cut it out. Print out the one included or choose your own. This template requires 11 x 17 paper. If you don’t have access to a printer, you can also place a sheet of paper on your computer screen and then trace that onto the cardstock, just make sure it will be large enough.
2. Cut around your box pattern and fold sides. With the extra cardstock, cut a few geometric shapes like triangles or diamonds. I like to make two or three different shapes and make two of each of those, and then cut out a bigger unique one to go in the center of the box. One or two inches in size is perfect.

3. On the top panel, cut out the slot.
4. Assemble the box and secure with tape.
5. Paint the entire box black and let dry.
6. On the front of your box, gently tape your strips down. Try to make your designs symmetrical, playing with diagonal lines. Masking tape is a bit easier than scotch tape, but any tape will work. If your tape is thick, cut some thinner pieces lengthwise.
7. With a paintbrush, dab on either your metallic paint or another base color such as white, grey, golden yellow, or brown, covering the front of your box but not using too much paint. Paint the additional shapes as well.
8. Mix a second jewel tone color by adding a dot of black to any paint color. Lightly dab the accent color over your base color without covering it. Repeat with your additional shapes.
9. When paint is dry, gently pull up tape strips. Glue on your additional shapes near the top of the box, trying to maintain the symmetry. Touch up any un-painted sides of the shapes with black paint.
10. Your Gratitude Box is complete! Enjoy!
Step 4Box taped together
Step 5 Painted box
Step 9 Paint beneath tape

CUT OUT SLOT
FRONT
fold
fold
fold
foldfo
ld