grad project ppt
TRANSCRIPT

MY GRAD PROJECT By
Matthew Soltys
Computer Service and Repair
5/20/14
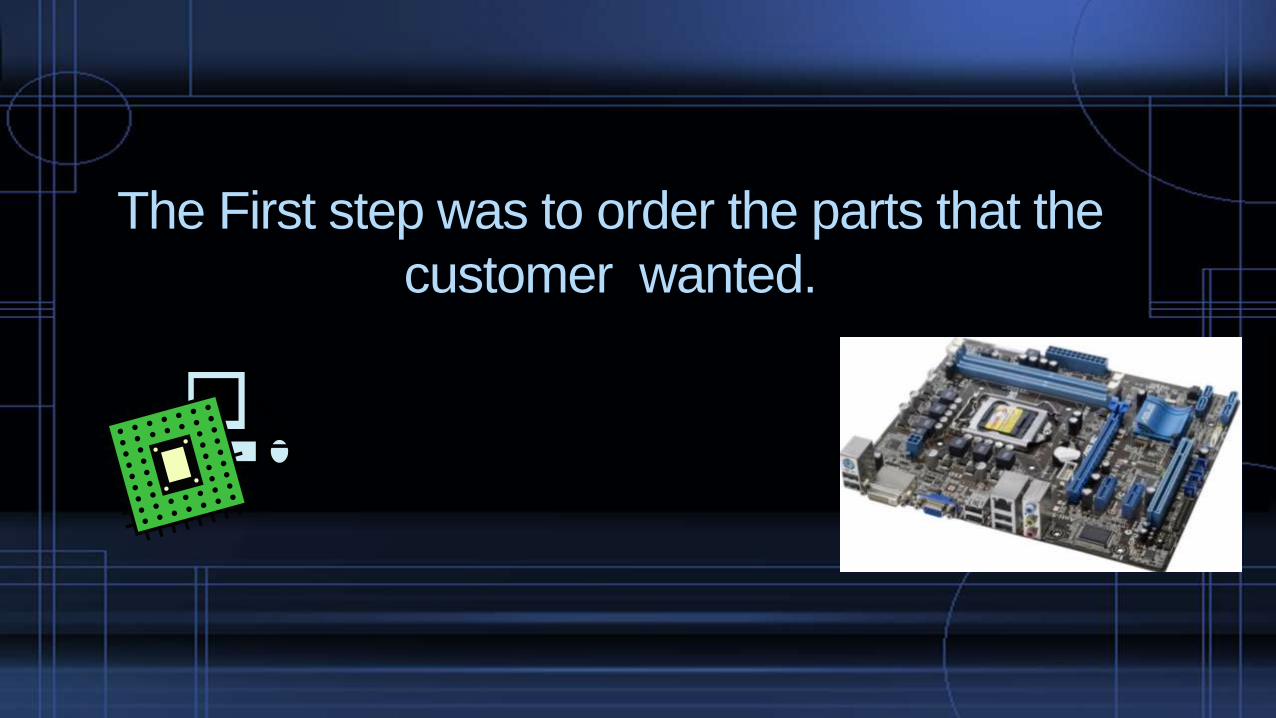
The First step was to order the parts that the
customer wanted.

Now, we got the parts “lets start the build”

This is me getting the motherboard ready for
the CPU and putting in the CPU
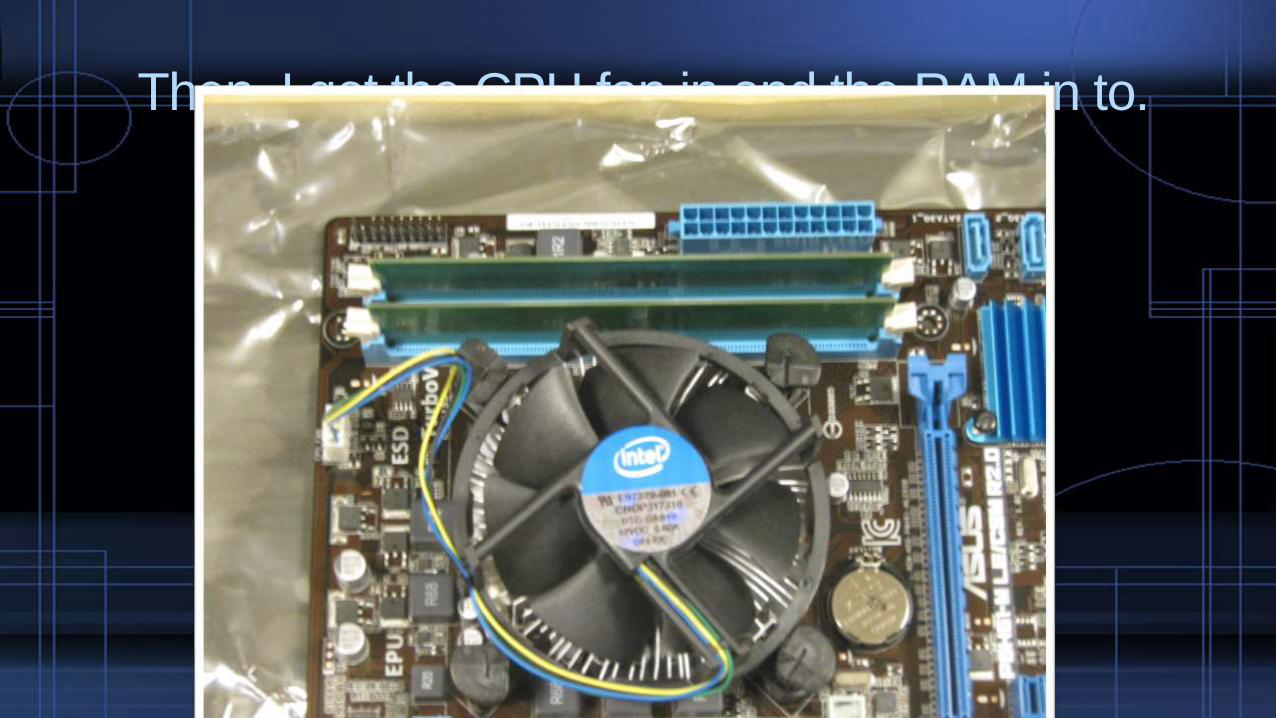
Then, I got the CPU fan in and the RAM in to.

Once I was done with that, I put the cover plate
for the motherboard in the case.

Then the stand offs for the mother went in.

After, The motherboard went in.

And screwed into place

Now, The power and font panel connecters get
plugged into the motherboard.

This is very INPORTANT, when you do a
custom build you must have good wire
management.

Reasons For Good Cable Management
You're ensuring that stray wires or cables don’t touch the
fans. (Fans can also burn out this way.)
You can improve airflow throughout the case, so that the
entire system remains cool and stable.
Good cable organization allows you to find the wire or
cable you need when you have to unwind them to change
out a component

Now the CD-ROM and Hard Drive plus the
video card goes In!


Now they all get plugged in to the motherboard.


Now after this in all done, the OS has to be
installed.


Now the install is done

After windows 7 professional was installed and
activated I had to install the drivers for
• Nic card (on board)
• Chipset (on board)
• Audio (on board)
• Video (External Card)


After the drivers are done, then comes the
100+ updates.

All done

Work Cited
Motherboard - https://www.asus.com/us/
CPU - http://www.intel.com/content/www/us/en/homepage.html
Case - https://www.thermaltakeusa.com/
OS - http://windows.microsoft.com/en-us/windows/home
Video card - http://www3.pny.com/homepage.aspx
Purchased at - http://www.tigerdirect.com/