how to do 3 d anamorphic artwork and sidewalk
TRANSCRIPT
How to do 3D Anamorphic Artwork and Sidewalk, Street, and Driveway Art
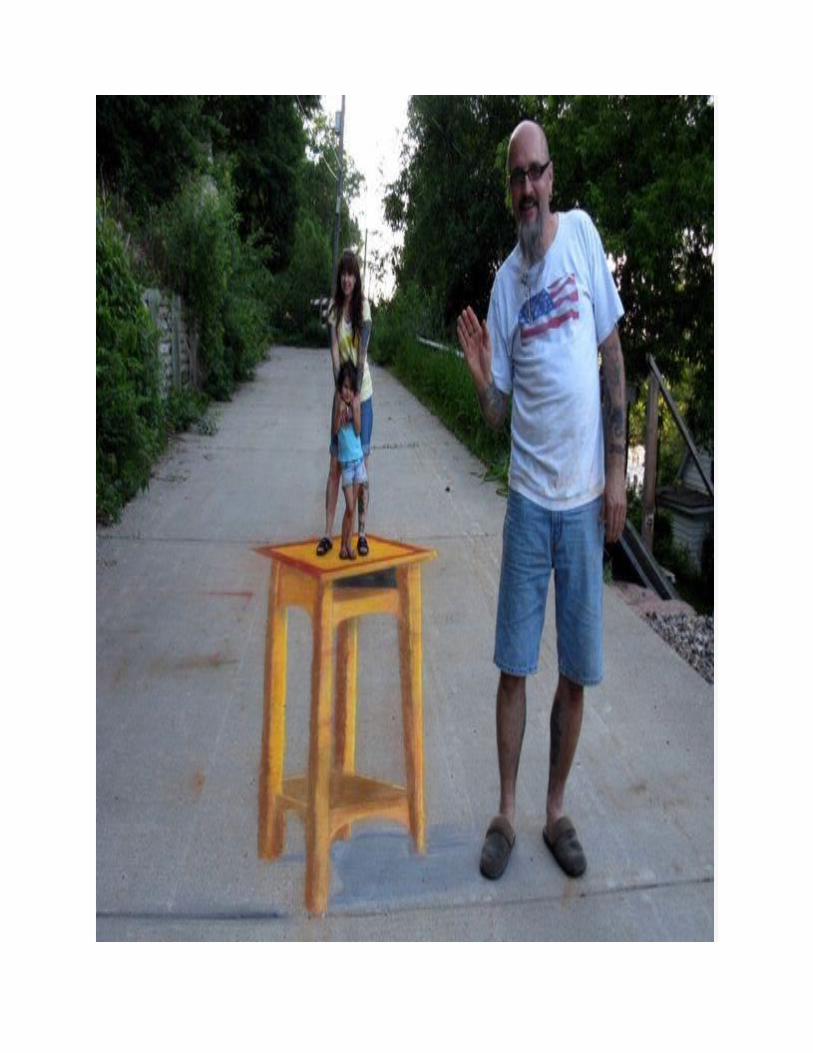
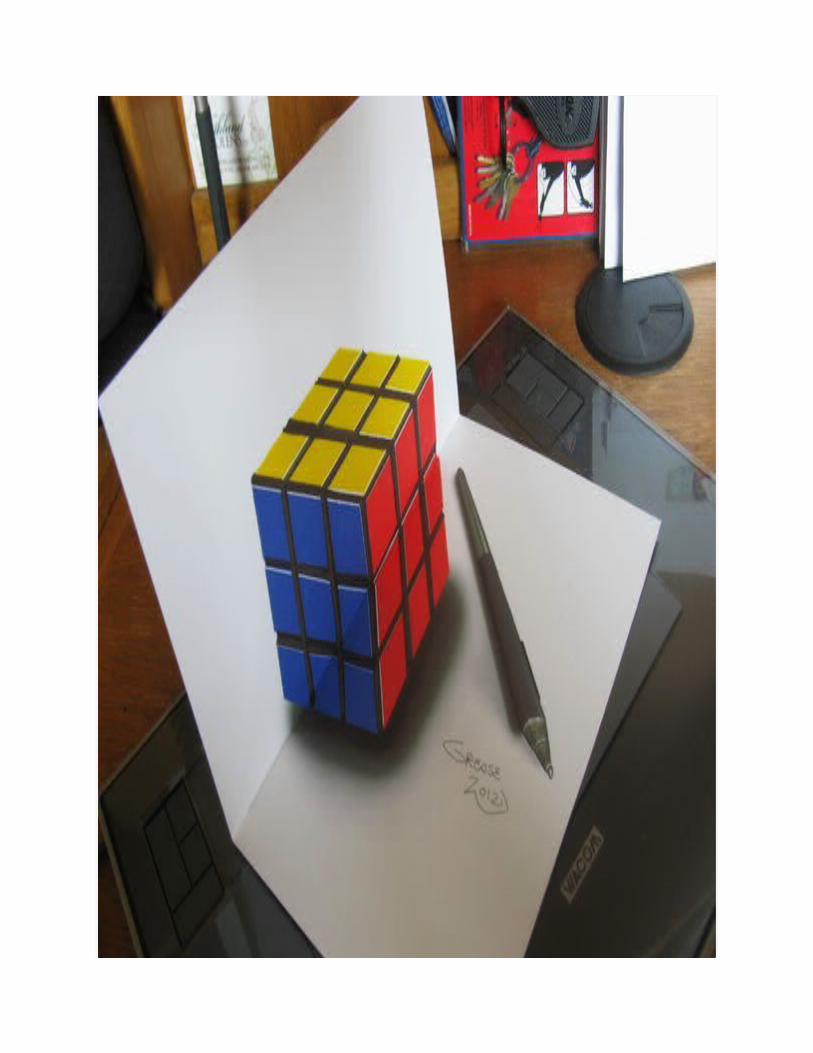
SAMPLES:


It is pretty simple to do.I did all my artwork in Coreldraw X3.Any Vector program would work.
I used a cigarette lighter, as the artwork.
Structions:
Step 1: The GRID
The first thing I did was draw the grids as shown below.I drew the blue grid first.Then I added perspective to the blue grid and turned it into a black grid.(you could trace over my grids)
In Coreldraw X3 I used the Add Perspective Effect.
Step 2: Place object in the grid.

Then I inserted my artwork that I wanted to be 3D.As shown the cigarette lighter.
Then group your object and the black grid.
I had to convert the lighter to vectors, or the ADD perspective effect would not work.
Ok, on to the the next step.
Step 3: Add perspective to object and black grid.

Now, using the Add Perspective Effect.I lined up the black grid with the blue grid, as shown.I used a lot of pushing, pulling and nudging the nodes inAdd Perspective mode.
This would be the printed image, you would bring to thesidewalk to draw from.
Draw a grid on the side walk, then copy the lighter intothe grid!

You would want to draw your grid very lightly, so you coulderase or chalk in with the driveway color.
You could also make your grid from some pinstripe tape.Then peel the tape up, after you have a good sketch done ofyour artwork.
Pretty simple, eh...
Step 4: Remove black grid and add shadows.

Now, I removed the grids. Which were on separate layers.I had to ungroup the lighter and black grid, first.Then removed the grids.
And I was left with the distorted lighter.Then I added the shadows to match the other real lighter.Or you could use the actual shadows from the original.
You could leave the blue grid on.Print out a copy. Bring that art work with you to the sidewalk, to grid it out.
You would have to draw your grid very lightly on the sidewalkthen just draw your image as it appears in the grid.
Ok, this is my final image, which I would print outon my inkjet printer.
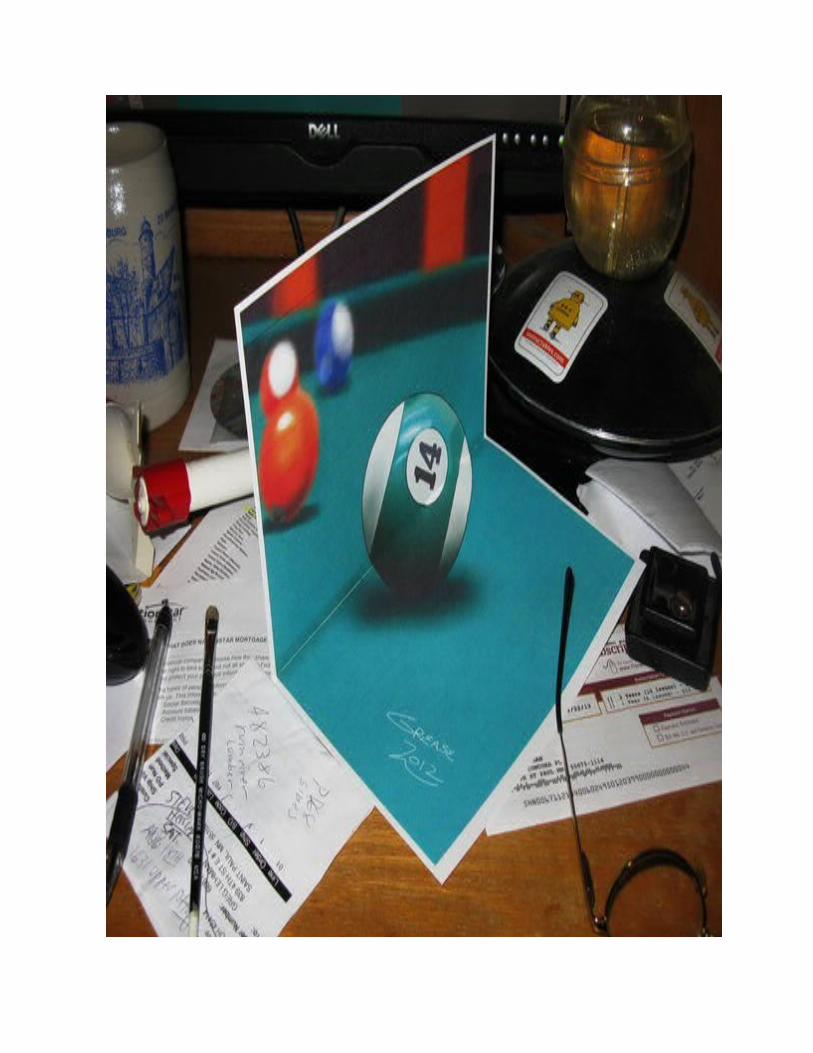
Step 5: Photograph with camera on tripod.

This is the printed copy photographed.
I had my camera on a tripod.With no flash.
You will have to adjust the tripod to match with the 3D object.
Voilà!
You could print some stickers, or use it as a guide to go to the sidewalkand draw it.
Now to peek at what the Artwork looks like, head on!
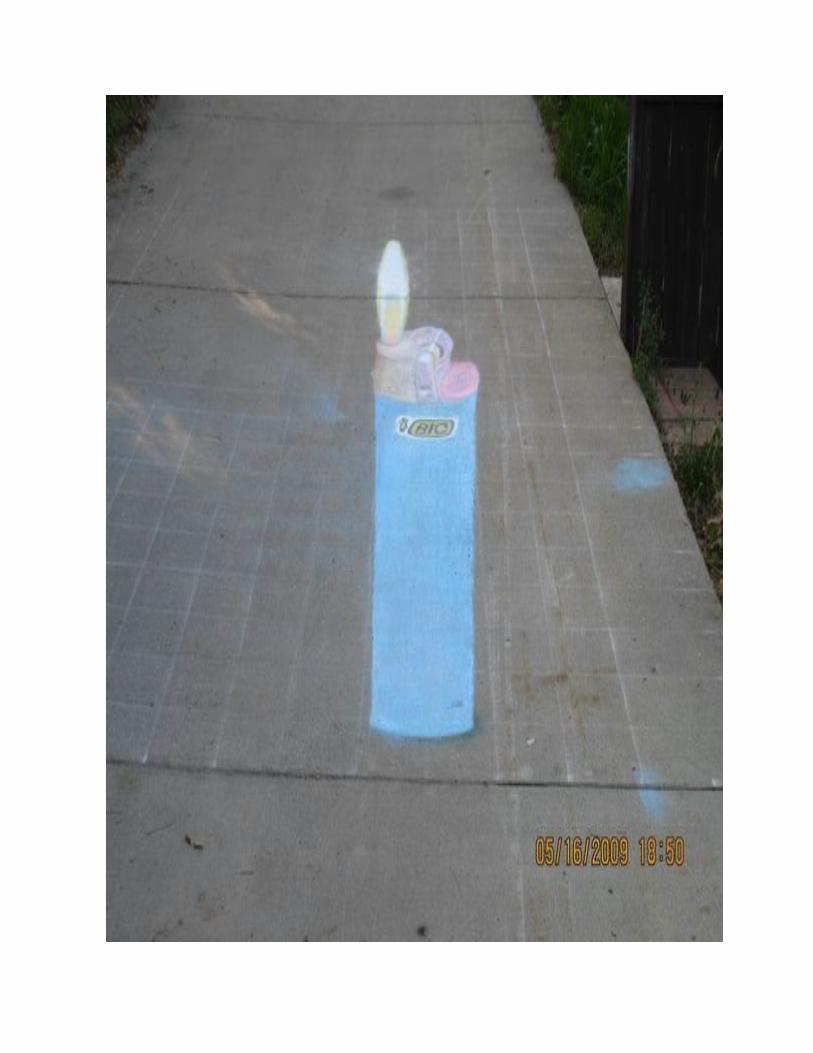
Step 6: Actual picture of stretched artwork.

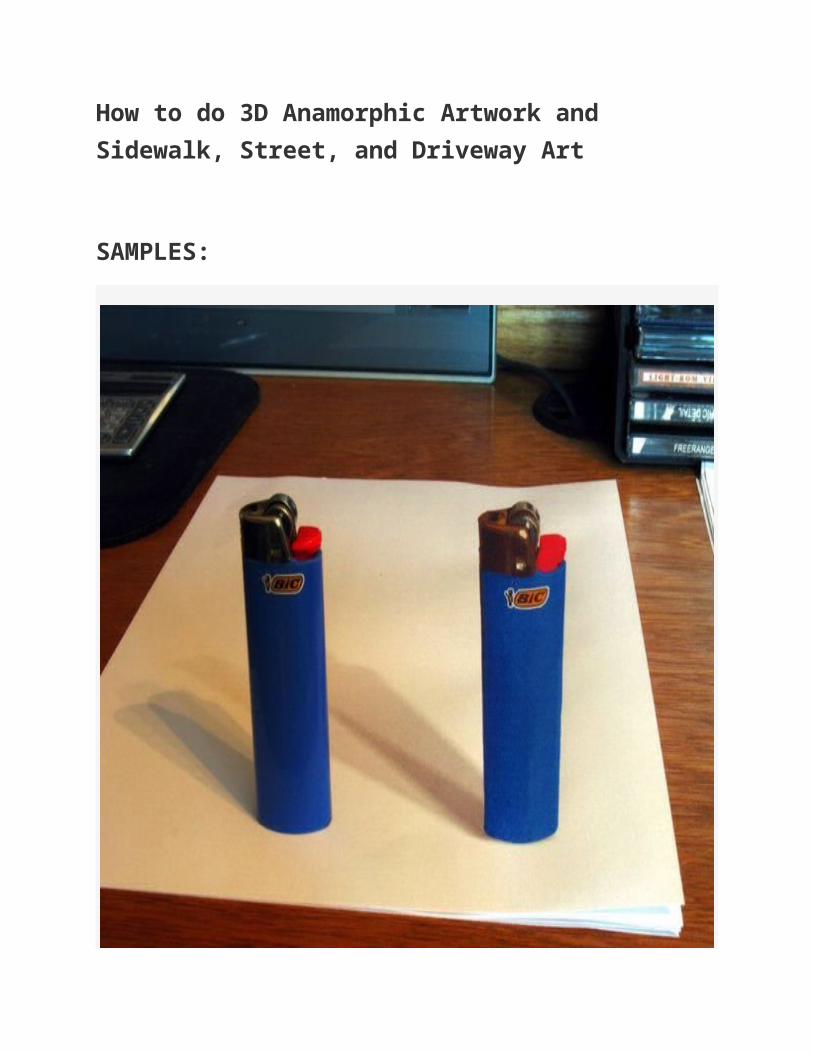
Here is the original lighter with the printed copy next to it.
Pretty amazing, huh...
Thanks for stopping by...
~GRX
Credits to: “Grease”
