how to embed panopto videos in a canvas course overview
TRANSCRIPT
How to Embed Panopto Videos in a Canvas Course
OverviewWith Panopto, videos can be embedded anywhere in the Canvas LMS and played back on-demand on anylaptop or mobile device. From any embedded video, students can easily access search, the table of contents,notes, or discussion. Students may also choose to open an embedded video in the full interactive viewer ifneeded.
Prerequisites
Creator access to Panopto
1. Embed Panopto Videos into Canvas
1.1. Open a course in Canvas.
. You may embed a Panopto video anywhere in the course where you have access to the text editor such1.2as , , or . Navigate to the area where you would like to embed a video andPages Announcements Discussionschoose to make a new item.
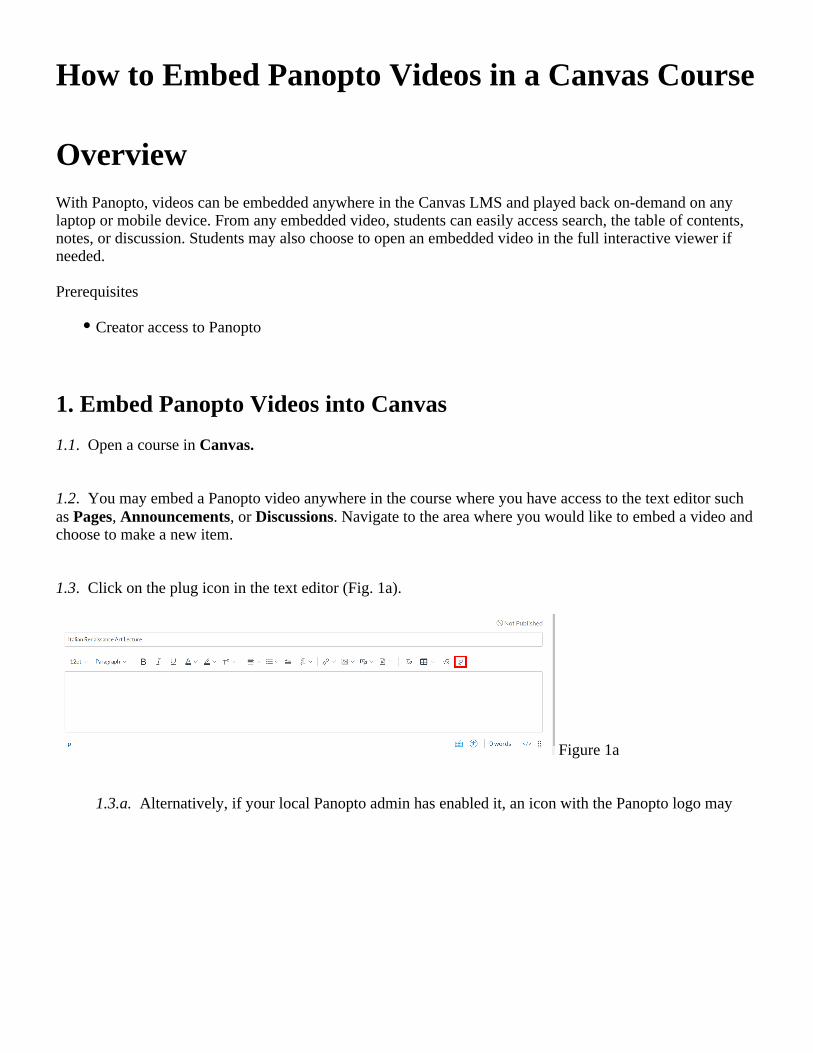
. Click on the plug icon in the text editor (Fig. 1a).1.3
Figure 1a
1.3.a. Alternatively, if your local Panopto admin has enabled it, an icon with the Panopto logo may
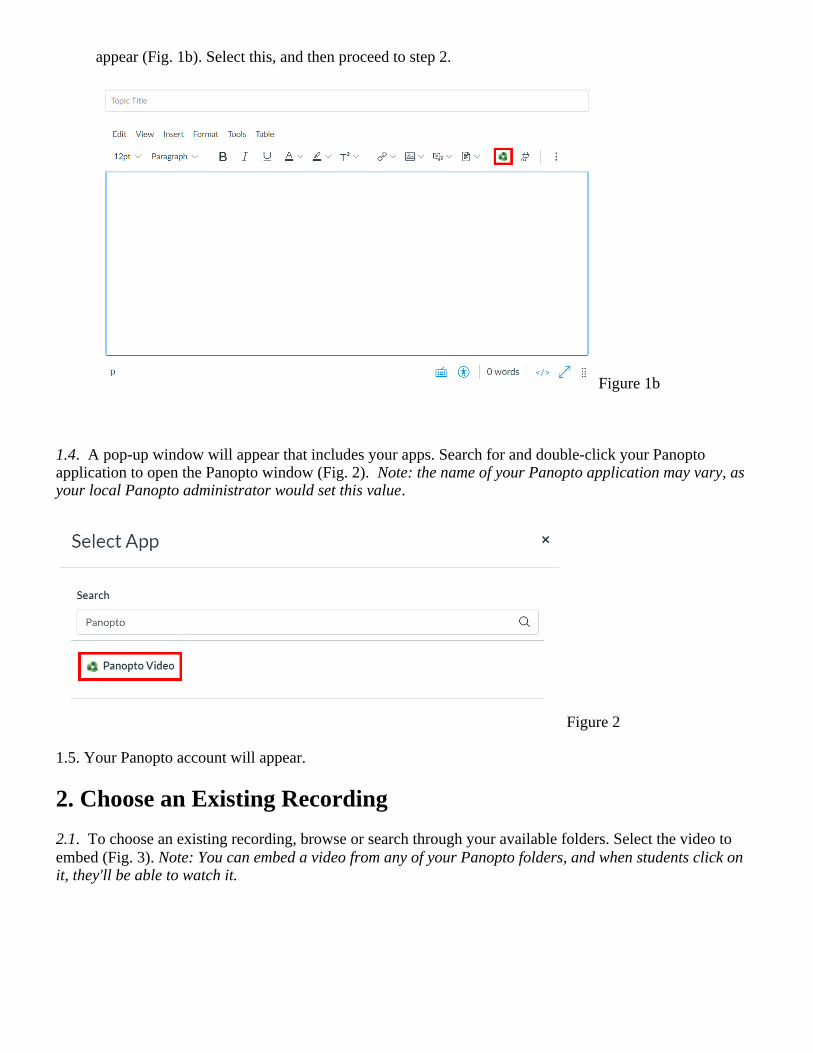
appear (Fig. 1b). Select this, and then proceed to step 2.
Figure 1b
1.4. A pop-up window will appear that includes your apps. Search for and double-click your Panoptoapplication to open the Panopto window (Fig. 2). Note: the name of your Panopto application may vary, as
.your local Panopto administrator would set this value
Figure 2
1.5. Your Panopto account will appear.
2. Choose an Existing Recording
2.1. To choose an existing recording, browse or search through your available folders. Select the video toembed (Fig. 3). Note: You can embed a video from any of your Panopto folders, and when students click onit, they'll be able to watch it.

Figure 3
Choose your embedded player preferences under . Then, select (Fig. 4). 2.2. Video Embed Options Insert
2.2.a. Choose from 16:9 (default), 4:3, or Custom. The aspect ratio describes theAspect Ratio:proportional relationship between the video's height and width.
Adjust the size of the embedded video player in pixels. If you select an2.2.b. Width and Height:aspect ration of 16:9 or 4:3, the height will adjust automatically based on the width. If you select acustom aspect ratio, you may adjust the width and height independently.
Controls the time in the video where playback will start. 2.2.c. Start At (in seconds):
Choose from All, Search and Rating Only, or None. will allow a viewer to2.2.d. Interactivity: Allsearch within the video, rate the video, access the table of contents, make notes, and add discussionposts. will allow a viewer to only search through the video and rate it but notSearch and Rating Only access the other interactive features. removes all of the interactive features. None
Select this option to have the video begin playing automatically when the webpage2.2.e. Autoplay:loads.
Select this option to display an arrow that allows a viewer to open2.2.f. Enable 'Watch in Panopto':the video in the full interactive player.
Select this option to display the title of the video at the top of the player. 2.2.g. Show Title:

Select this option to display your organization's embedded logo in the player. 2.2.h. Show Logo:
Figure 4
2.3. The video will be embedded into the new item (Fig. 5).
Figure 5
3. Upload an Existing File
3.1. To upload an existing video file (i.e. MP4, WMV, MOV) click . On this page, drag and drop theUploadvideo or audio files you wish to embed or click to browse your computer for files (Fig. 7). Note: For more

information about supported file types, go to the documentation.Supported Files Types
Figure 7
. Panopto will use the file name as the session name, but you can rename this while the content is3.2uploading.
. Choose your embedded player preferences under (See Step 2.2 for details.) 3.3 Video Embed Options Then, select (Fig. 8).Insert
Figure 8
4. Record a Video

4.1. Select the tab to launch Capture or the desktop Panopto app to record directly to the course andRecord course folder (Fig. 9)
Figure 9
. To begin, give the recording a name and click or depending on which4.2 Launch Capture Launch App you would like use to record (Fig. 10). Note: Capture will only appear if your local Panopto administratorhas enabled this feature. If you do not have the desktop application downloaded, select the linkDownload first to get the desktop application for Mac or Windows.
Figure 10
. When the Panopto software opens, you'll be able to select your camera, microphone, slides, and which4.4screens you'd like to record. Note: For more information, please see the on theRecording DocumentationPanopto Support site.
. Once you have finished recording, choose your embedded player preferences under 4.5 Video Embed(refer to step , above for details.) Then, select (Fig. 11a). Options 2.2 , Insert Note: if you are not happy with
your recording, select to launch the player again and re-record (fig. 11b). Start Over

Figure 11a
Figure 11b

© 2015 Panopto, Inc. All rights reserved.