installing ce-150/ce-250/ ce-350/ses-1000 or ses-2000 ... ce-150ce... · 3 click on “next” and...
TRANSCRIPT

1
SINGER® Futura™ main installation First make sure that the machine is disconnected. You can always abort the installation by clicking the “Cancel” button Insert the installation disk and click “RunFuturaStart.exe” from the dialogue box
Click on “Next” to move on the next screen.
Installing CE-150/CE-250/ CE-350/SES-1000 or SES-2000 software on Windows XP, Windows Vista or Windows 7 (32 & 64 bit)

2
After reading and agreeing with terms given in the License Agreement, please click on “Yes”.

3
Click on “Next” and then select the directory where the software should be installed. It is recommended to use the default directory.
Click Next on the following screen. It is recommended to leave the default Program folder name with the default name.

4
Finally you are requested to confirm all the selections made during the installation setup. Pressing the “Next” button will finally start the copy and installation of the Futura software files to the given directory on the hard disk.
A progress bar will indicate the stage at which the installation procedure is. It will finish when it has reached 100%.

5
As soon as the files are copied, setup will try to install the machine drivers.
The following message boxes will appear.
You will need to press OK about 8 times.

6
After the finish of the installation procedure, the software will prompt if you would like to view the “Machine set-up” tutorial, with step-by-step instructions on how to correctly setup your machine for embroidery. Select “Yes” if you would like to view the tutorial or “No” to skip.
Click on “Finish” to finish the software installation.

7
Futura 64bit update installation
Now we have to apply the 64bit update in order to install the 64bit compatible driver.
Browse your computer for the Singer Futura 64bit driver file and double click on it. Click “Next”
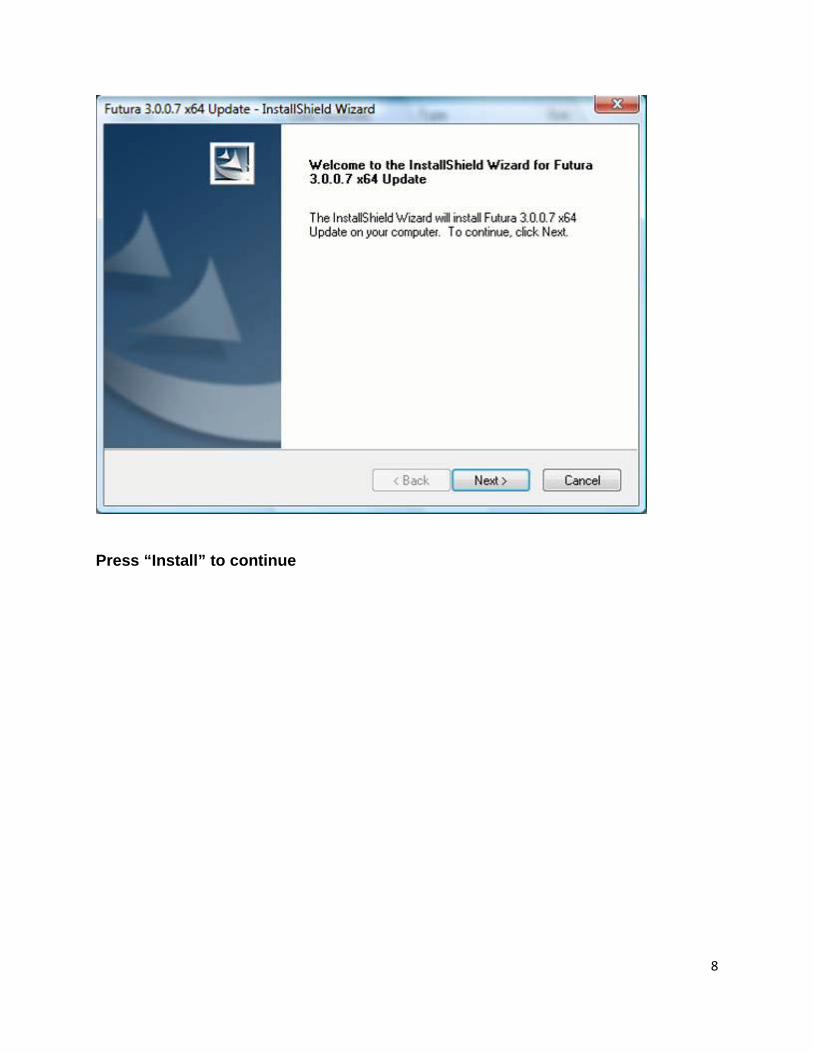
8
Press “Install” to continue

9
The Installation process will go through a couple of screens.

10
Make sure that the machine is not connected and press OK.

11
During the installation of the 64bit drivers you will have a Windows Security warning. Please click “Install this driver software anyway”.
The driver installation will continue.

12
Press “Finish” to finish the driver installation.
Now connect your machine to a USB port on your computer and turn it ON. As soon as you connect your machine, the following notifications will appear

13
SINGER, the Cameo “S” Design, FUTURA and SINGER is SEWING MADE EASY are exclusive trademarks of The Singer Company Limited S.à r.l. or its Affiliates.© 2011 The Singer Company Limited S.à r.l. or its Affiliates. All rights reserved.