michelle alley comm130 portfolio
TRANSCRIPT

8/18/2019 Michelle Alley Comm130 Portfolio
http://slidepdf.com/reader/full/michelle-alley-comm130-portfolio 1/21
Michelle Alley
8/18/2019 Michelle Alley Comm130 Portfolio
http://slidepdf.com/reader/full/michelle-alley-comm130-portfolio 2/21
8/18/2019 Michelle Alley Comm130 Portfolio
http://slidepdf.com/reader/full/michelle-alley-comm130-portfolio 3/21
PHOTODESIGN
BUSINESS CARD
STATIONARY
MONTAGE
FLIER
LOGO
EVENT AD
BROCHURE
WEBPAGE
8/18/2019 Michelle Alley Comm130 Portfolio
http://slidepdf.com/reader/full/michelle-alley-comm130-portfolio 4/21
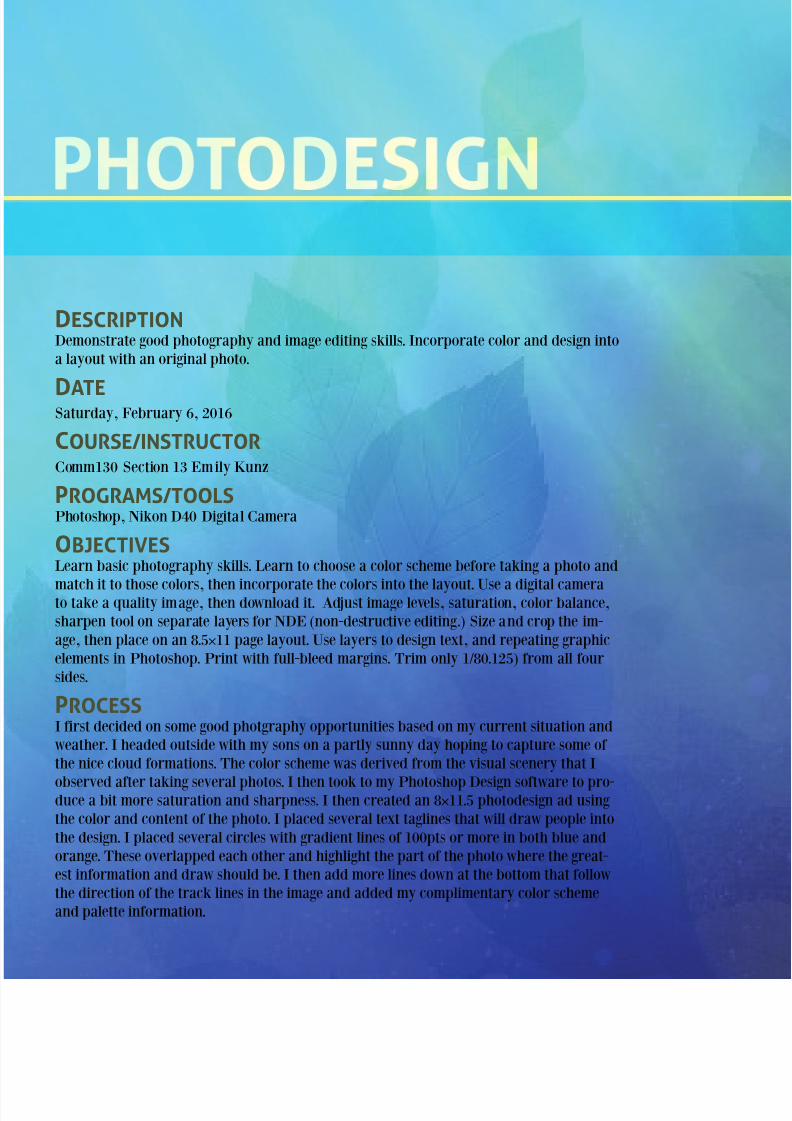
DESCRIPTIONDemonstrate good photography and image editing skills. Incorporate color and design intoa layout with an original photo.
DATESaturday, February 6, 2016
COURSE/INSTRUCTORComm130 Section 13 Emily Kunz
PROGRAMS/TOOLSPhotoshop, Nikon D40 Digital Camera
OBJECTIVESLearn basic photography skills. Learn to choose a color scheme before taking a photo and
match it to those colors, then incorporate the colors into the layout. Use a digital camerato take a quality image, then download it. Adjust image levels, saturation, color balance,sharpen tool on separate layers for NDE (non-destructive editing.) Size and crop the im-age, then place on an 8.5×11 page layout. Use layers to design text, and repeating graphicelements in Photoshop. Print with full-bleed margins. Trim only 1/80.125) from all foursides.
PROCESSI first decided on some good photgraphy opportunities based on my current situation andweather. I headed outside with my sons on a partly sunny day hoping to capture some ofthe nice cloud formations. The color scheme was derived from the visual scenery that I
observed after taking several photos. I then took to my Photoshop Design software to pro-duce a bit more saturation and sharpness. I then created an 8×11.5 photodesign ad usingthe color and content of the photo. I placed several text taglines that will draw people intothe design. I placed several circles with gradient lines of 100pts or more in both blue andorange. These overlapped each other and highlight the part of the photo where the great-est information and draw should be. I then add more lines down at the bottom that followthe direction of the track lines in the image and added my complimentary color schemeand palette information.

8/18/2019 Michelle Alley Comm130 Portfolio
http://slidepdf.com/reader/full/michelle-alley-comm130-portfolio 5/21

8/18/2019 Michelle Alley Comm130 Portfolio
http://slidepdf.com/reader/full/michelle-alley-comm130-portfolio 6/21
DESCRIPTIONBuisness Card Design using a personally created logo.
DATE
Saturday, February 27, 2016COURSE/INSTRUCTORComm130 Section 13 Emily Kunz
PROGRAMS/TOOLSAdotbe Illustrator, Adobe Photoshop, Adobe Indesign
OBJECTIVESUse the basic tools in Illustrator & InDesign. Create a new logo to fit a company or per-sonal image. Do not imitate existing logos or use previous designs. Don’t use photos or
live trace. Use the new logo to design consistent layouts for a business card and letterhead.Photos are okay on business card and letterhead as additional design elements. Letterheadshould be 8.5 x 11, full-bleed optional, but trim only .125. Business card should be 3.5 x 2and printed above center on a vertical page. Apply typography rules, keeping small copy.Keep designs simple with light watermarks and drop shadows and plenty of white space.Include contact information: name, address, phone, website, and email on each piece. Useperiods, bullets, or spaces in phone number; no parentheses/ hyphens.
PROCESSI went to Adobe Illustrator and began designing their shape. I liked the idea of it comingout of the letter “P” and originally had put a flume on top of the “P”, but decided itlooked a little more professional without it. I also decided to turn the P slightly to give it alook that there was “life” in the logo.I used a split complimentary color scheme, decidingon drawing out the blue in a peacock not purple. This would provide a more professionallook.
I used the circle shape to create an oval and then took out one of the points and usedthe direct select tool and the anchor tool to shape the feathers. I created several sizes andlayered them on top of each other. I also worked with the gradient tool quite a bit to createa gradient look through the feathers. I chose to keep this because the feathers seemed tooflat without them.

8/18/2019 Michelle Alley Comm130 Portfolio
http://slidepdf.com/reader/full/michelle-alley-comm130-portfolio 7/21

8/18/2019 Michelle Alley Comm130 Portfolio
http://slidepdf.com/reader/full/michelle-alley-comm130-portfolio 8/21
DESCRIPTIONStationary using a personally created logo.
DATESaturday, February 27, 2016
COURSE/INSTRUCTORComm130 Section 13 Emily Kunz
PROGRAMS/TOOLSAdotbe Illustrator, Adobe Photoshop, Adobe Indesign
OBJECTIVESUse the basic tools in Illustrator & InDesign. Create a new logo to fit a company or per-sonal image. Do not imitate existing logos or use previous designs. Don’t use photos orlive trace. Use the new logo to design consistent layouts for a business card and letterhead.Photos are okay on business card and letterhead as additional design elements. Letterheadshould be 8.5 x 11, full-bleed optional, but trim only .125. Business card should be 3.5 x 2and printed above center on a vertical page. Apply typography rules, keeping small copy.Keep designs simple with light watermarks and drop shadows and plenty of white space.Include contact information: name, address, phone, website, and email on each piece. Useperiods, bullets, or spaces in phone number; no parentheses/ hyphens.
PROCESSI went to Adobe Illustrator and began designing their shape. I liked the idea of it coming
out of the letter “P” and originally had put a flume on top of the “P”, but decided itlooked a little more professional without it. I also decided to turn the P slightly to give it alook that there was “life” in the logo.I used a split complimentary color scheme, decidingon drawing out the blue in a peacock not purple. This would provide a more professionallook.
I used the circle shape to create an oval and then took out one of the points and usedthe direct select tool and the anchor tool to shape the feathers. I created several sizes andlayered them on top of each other. I also worked with the gradient tool quite a bit to createa gradient look through the feathers. I chose to keep this because the feathers seemed tooflat without them.

8/18/2019 Michelle Alley Comm130 Portfolio
http://slidepdf.com/reader/full/michelle-alley-comm130-portfolio 9/21ww.pcc.gov 11 Peacock Avenue Kansas City, KS 66290 913.012.1234 [email protected]
Peacock P
8/18/2019 Michelle Alley Comm130 Portfolio
http://slidepdf.com/reader/full/michelle-alley-comm130-portfolio 10/21
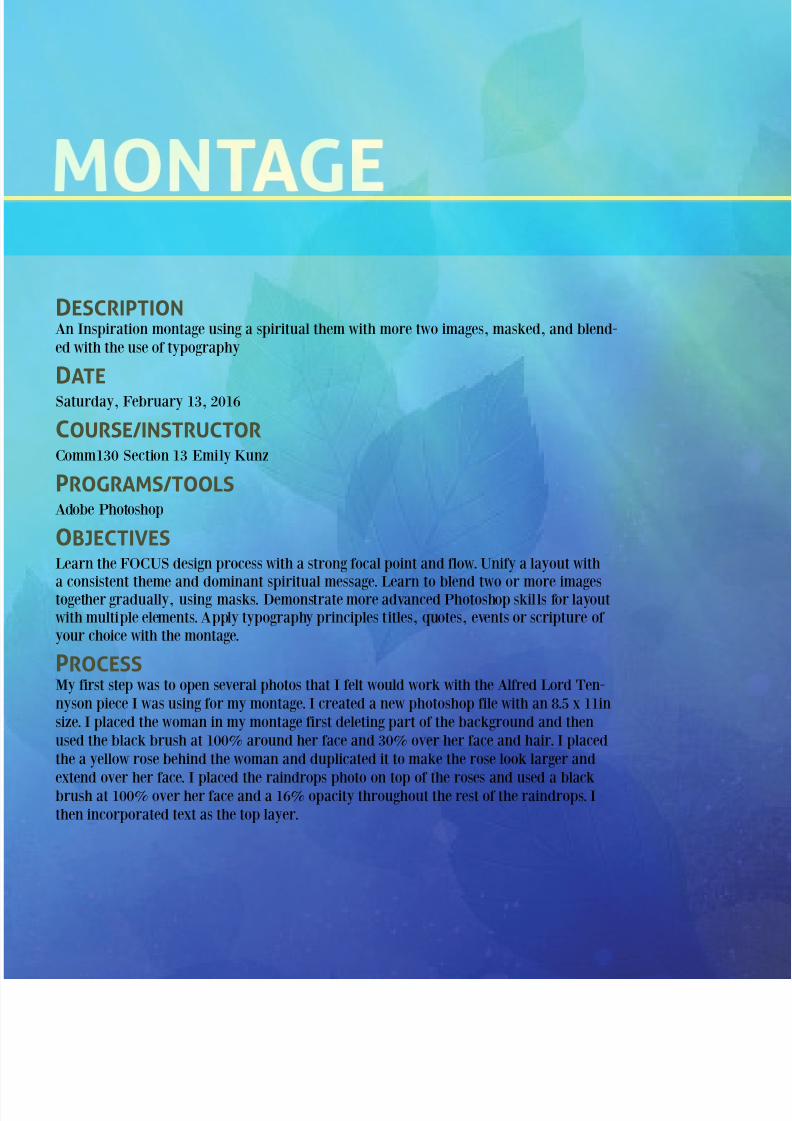
DESCRIPTIONAn Inspiration montage using a spiritual them with more two images, masked, and blend-ed with the use of typography
DATESaturday, February 13, 2016
COURSE/INSTRUCTORComm130 Section 13 Emily Kunz
PROGRAMS/TOOLSAdobe Photoshop
OBJECTIVESLearn the FOCUS design process with a strong focal point and flow. Unify a layout with
a consistent theme and dominant spiritual message. Learn to blend two or more imagestogether gradually, using masks. Demonstrate more advanced Photoshop skills for layoutwith multiple elements. Apply typography principles titles, quotes, events or scripture ofyour choice with the montage.
PROCESSMy first step was to open several photos that I felt would work with the Alfred Lord Ten-nyson piece I was using for my montage. I created a new photoshop file with an 8.5 x 11insize. I placed the woman in my montage first deleting part of the background and thenused the black brush at 100% around her face and 30% over her face and hair. I placedthe a yellow rose behind the woman and duplicated it to make the rose look larger and
extend over her face. I placed the raindrops photo on top of the roses and used a blackbrush at 100% over her face and a 16% opacity throughout the rest of the raindrops. Ithen incorporated text as the top layer.

8/18/2019 Michelle Alley Comm130 Portfolio
http://slidepdf.com/reader/full/michelle-alley-comm130-portfolio 11/21

8/18/2019 Michelle Alley Comm130 Portfolio
http://slidepdf.com/reader/full/michelle-alley-comm130-portfolio 12/21

8/18/2019 Michelle Alley Comm130 Portfolio
http://slidepdf.com/reader/full/michelle-alley-comm130-portfolio 13/21

8/18/2019 Michelle Alley Comm130 Portfolio
http://slidepdf.com/reader/full/michelle-alley-comm130-portfolio 14/21
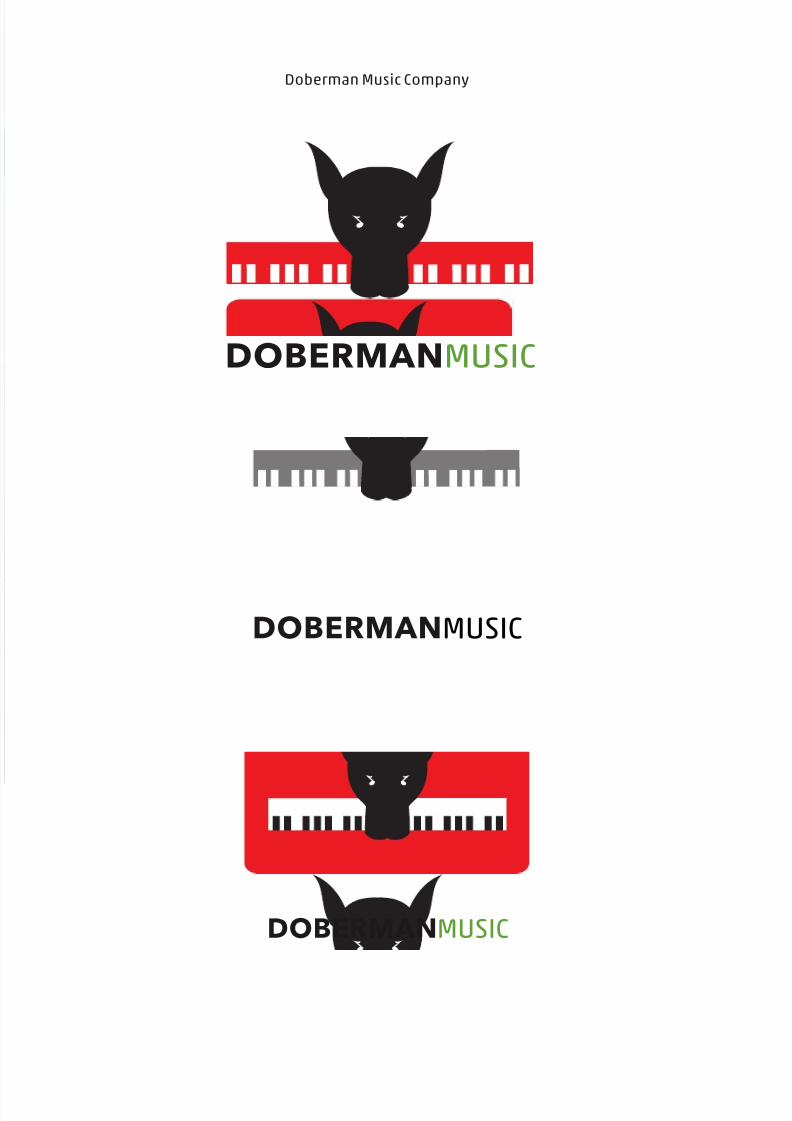
DESCRIPTIONLogo for a music company.
DATESaturday, February 20, 2016
COURSE/INSTRUCTORComm130 Section 13 Emily Kunz
PROGRAMS/TOOLSAdobe Illustrator
OBJECTIVESCreate three completely different, original logos to fit a company or personal image thatwill appeal to the audience. Do not imitate existing logos or use previous designs. Marketresearch: gather opinions from at least ten people about which logo appeals most to them.Use only the Illustrator tools to create and draw your logos.
PROCESSI chose to create a logo using the inspiration of the cute Miniature Pinscher we adoptedlast year and one of my hobbies of music. I began by sketching some designs and placinga few of them into Adobe Illustrator using the pen tool. I worked on three different logos;one with a side view of a doberman, one a doberman replacing the letter “r” in the word,and one with a front view. Two of the logos I also tried to incorporate a keyboard. Mychoice and the one that most people chose as their first was the doberman with the frontview. While I did like this, I needed to do a lot of work to make the doberman look likeone, and not fox! I started over by using the pen tool and only drawing half of the dog.Then I used the reflect tool to make both side the same. I did quite a few edits and pointchanges and finally created my final logo!
8/18/2019 Michelle Alley Comm130 Portfolio
http://slidepdf.com/reader/full/michelle-alley-comm130-portfolio 15/21
DOBERMAN MUSIC
DOBERMAN MUSIC
DOBERMAN MUSIC
Doberman Music Company

8/18/2019 Michelle Alley Comm130 Portfolio
http://slidepdf.com/reader/full/michelle-alley-comm130-portfolio 16/21
DESCRIPTIONA one-sided full color, full bleed event ad flier.
DATESaturday, January 30, 2016
COURSE/INSTRUCTORComm130 Section 13 Emily Kunz
PROGRAMS/TOOLSMicrosfot Word, Adobe Photoshop
OBJECTIVESLearn how to use Microsoft Office features to create a full color, full bleed ad. Use
a scanner’s techniques and process the photo in Adobe Photoshop. Editing the pho-to and placing it into the Word document and create text shapes and photos aroundthe photo.
PROCESSI scanned an old photo of my son on an abandoned train track. I took the photo and pur-posely, deleted specific parts of the background and filled it in with black to match theblack background. I added several shapes to encourage a layout that allows people to easilysee the fundraiser details. I had little success saving it as a .pdf and realized there mustbe something in the ad that was not allowing me to save it properly. I redid each shape,
copying others into another word document and was able to save as pdf.

8/18/2019 Michelle Alley Comm130 Portfolio
http://slidepdf.com/reader/full/michelle-alley-comm130-portfolio 17/21
Friday, August 31 20165 p.m. to 7:30 p.m.
Union Station of Kansas City
AND BENEFIT ST. JUDE’S HOSP!Come to Union St at ion for a specia l day out tobenef it St . Jude’s Resear ch Hospit a l! Price ofadmiss ion inc ludes a 30 minute t rai n ride, ic ecr eam, a nd your cha nce to w in $100 g if t cardright here at Union St at ion. Admiss ion i s $10.3 a n d u n d e r a r e f r e e . All t icket proc eeds go t o St .
Jude’s Resea rch Hospit al.
SPONSERED BY:
8/18/2019 Michelle Alley Comm130 Portfolio
http://slidepdf.com/reader/full/michelle-alley-comm130-portfolio 18/21
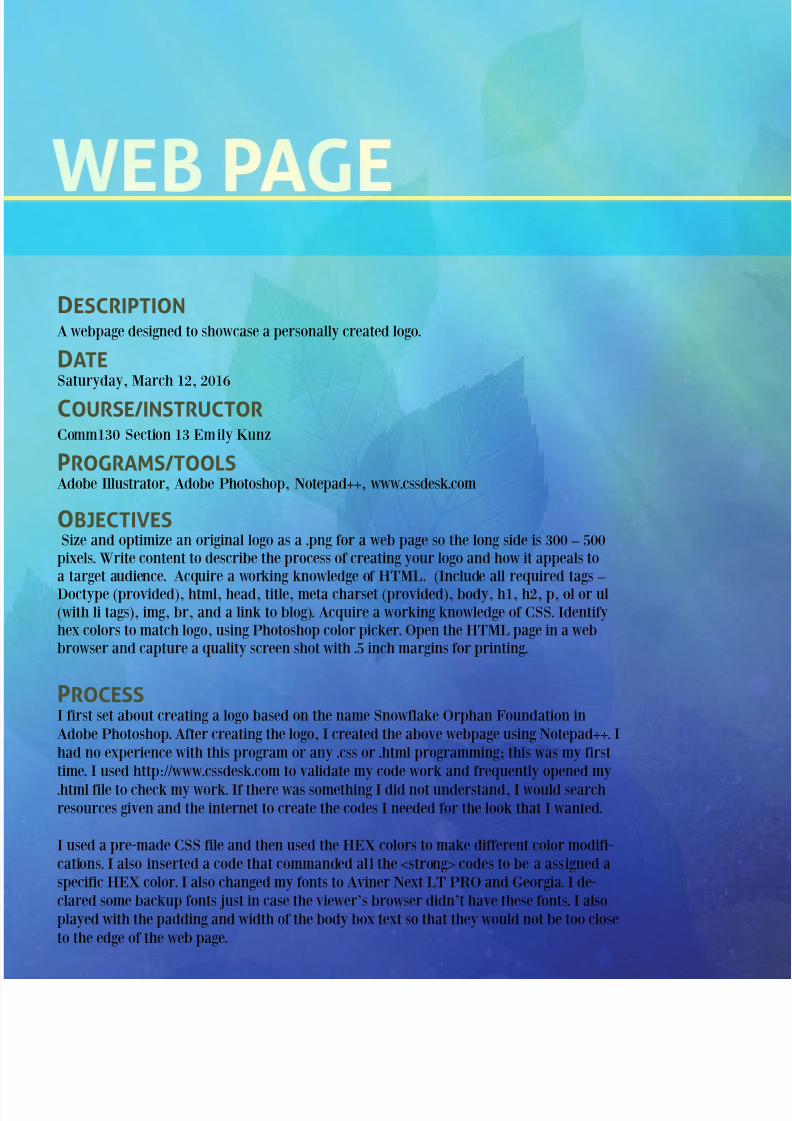
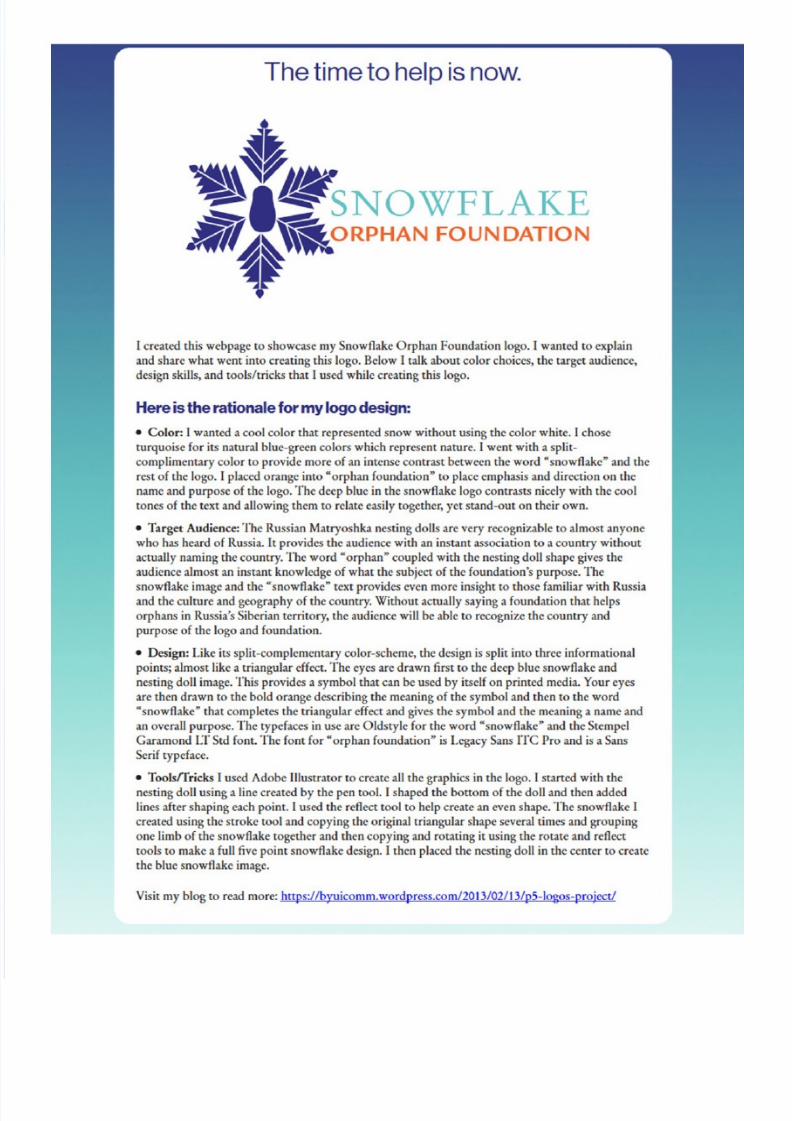
DESCRIPTIONA webpage designed to showcase a personally created logo.
DATESaturyday, March 12, 2016
COURSE/INSTRUCTORComm130 Section 13 Emily Kunz
PROGRAMS/TOOLSAdobe Illustrator, Adobe Photoshop, Notepad++, www.cssdesk.com
OBJECTIVES Size and optimize an original logo as a .png for a web page so the long side is 300 – 500pixels. Write content to describe the process of creating your logo and how it appeals toa target audience. Acquire a working knowledge of HTML. (Include all required tags –Doctype (provided), html, head, title, meta charset (provided), body, h1, h2, p, ol or ul(with li tags), img, br, and a link to blog). Acquire a working knowledge of CSS. Identifyhex colors to match logo, using Photoshop color picker. Open the HTML page in a webbrowser and capture a quality screen shot with .5 inch margins for printing.
PROCESSI first set about creating a logo based on the name Snowflake Orphan Foundation inAdobe Photoshop. After creating the logo, I created the above webpage using Notepad++. Ihad no experience with this program or any .css or .html programming; this was my firsttime. I used http://www.cssdesk.com to validate my code work and frequently opened my.html file to check my work. If there was something I did not understand, I would searchresources given and the internet to create the codes I needed for the look that I wanted.
I used a pre-made CSS file and then used the HEX colors to make different color modifi-cations. I also inserted a code that commanded all the <strong> codes to be a assigned aspecific HEX color. I also changed my fonts to Aviner Next LT PRO and Georgia. I de-clared some backup fonts just in case the viewer’s browser didn’t have these fonts. I alsoplayed with the padding and width of the body box text so that they would not be too closeto the edge of the web page.
8/18/2019 Michelle Alley Comm130 Portfolio
http://slidepdf.com/reader/full/michelle-alley-comm130-portfolio 19/21

8/18/2019 Michelle Alley Comm130 Portfolio
http://slidepdf.com/reader/full/michelle-alley-comm130-portfolio 20/21
DESCRIPTIONA two sided (duplex) folding brochure
DATESaturday, March 26, 2016COURSE/INSTRUCTORComm130 Section 13 Emily Kunz
PROGRAMS/TOOLSAdobe Photoshop, Adobe Illustrator, Adobe Indesign
OBJECTIVESSet up and align a two-sided, folded document. Create an original, new logo and use itin a brochure. Incorporate quality images. Incorporate at least four quality images, notincluding the logo. One should be clipped in Photoshop and text-wrapped in InDesign sothe text follows the cutout shape of the image.Write at least 250 words of original copy inat least three paragraphs, headers, and subheaders. Trim for a full bleed and print induplex (two-sided) color.
PROCESSI set up the tri-fold measurements in Indesign and began experimenting with color. Ichose a monochromatic color scheme. I took the idea of “snowflake” and found some im-ages online that had were real paper snowflakes. I used the ‘quick selection tool’ in AdobePhotoshop to select the part of the image I wanted to delete. I kept only the white paper
snowflake design and placed it at 100% opaque on the front of the brochure. The logoI created in Adobe Illustrator using a combination of different text and lines. I createdthe matryoshka doll using the ‘pen tool’ and then grouping all my lines and pen markstogether to create the snowflake. I placed this on the back page with other information. Iemboldened some of the edges and creases with black boxes and used different sized textto show the importance of the message.

8/18/2019 Michelle Alley Comm130 Portfolio
http://slidepdf.com/reader/full/michelle-alley-comm130-portfolio 21/21
INSIDE FLAP BACK FRONT
INSIDE