oil hose and reel owner’s manual - northern tool · for technical questions, please call...
TRANSCRIPT
Thank you very much for choosing a Roughneck™ Product! For future reference, please complete the owner’s record below: Model: _______________ Purchase Date: _______________Save the receipt, warranty and these instructions. It is important that you read the entire manual to become familiar with this product before you begin using it.
This machine is designed for certain applications only. The distributor cannot be responsible for issues arising from modification. We strongly recommend this machine is not modified and/or used for any application other than that for which it was designed. If you have any questions relative to a particular application, DO NOT use the machine until you have first contacted distributor to determine if it can or should be performed on the product.
For technical questions, please call 1-800-222-5381.
WARNING: Read carefully and understand all INSTRUCTIONS before operating. Failure to follow the safety rules and other basic safety precautions may result in
serious personal injury.Save these instructions in a safe place and on hand so that they can be read when required. Keep these instructions to assist in future servicing.
TECHNICAL SPECIFICATIONS
GENERAL SAFETY REGULATIONS
WARNING: Read and understand all instructions.
WARNING: The warnings, cautions, and instructions discussed in this instruction manual cannot cover all possible conditions or situations that could occur. It must be
understood by the operator that common sense and caution are factors that cannot be built into this product, but must be supplied by the operator.1. Keep the work area clean and dry. Damp or wet work areas can result in injury.2. Keep children away from work area. Do not allow children to handle this product.3. Store idle equipment. When not in use, tools and equipment should be stored in a dry location
to inhibit rust. Always lock up tools and equipment, and keep out of reach of children.4. Use the right tool for the job. Do not attempt to force small equipment to do the work of
larger industrial equipment. There are certain applications for which this equipment was designed. It will do the job better and more safely at the capacity for which it was intended. Do not modify this equipment, and do not use this equipment for a purpose for which it wasnot intended.
5. Check for damaged parts. Before using this product, carefully check that it will operate properly and perform its intended function. Check for damaged parts and any other conditions that may affect the operation of this product. Replace damaged or worn parts immediately.
6. Do not overreach. Keep proper footing and balance at all times to prevent tripping, falling, back injury, etc.
7. DO NOT use the equipment when tired or under the influence of drugs, alcohol, or medication. A moment of inattention while operating this equipment may result in serious personal injury.
8. Industrial applications must follow OSHA requirements.
OIL HOSE AND REELOWNER’S MANUAL
OIL HOSE AND REELOWNER’S MANUAL
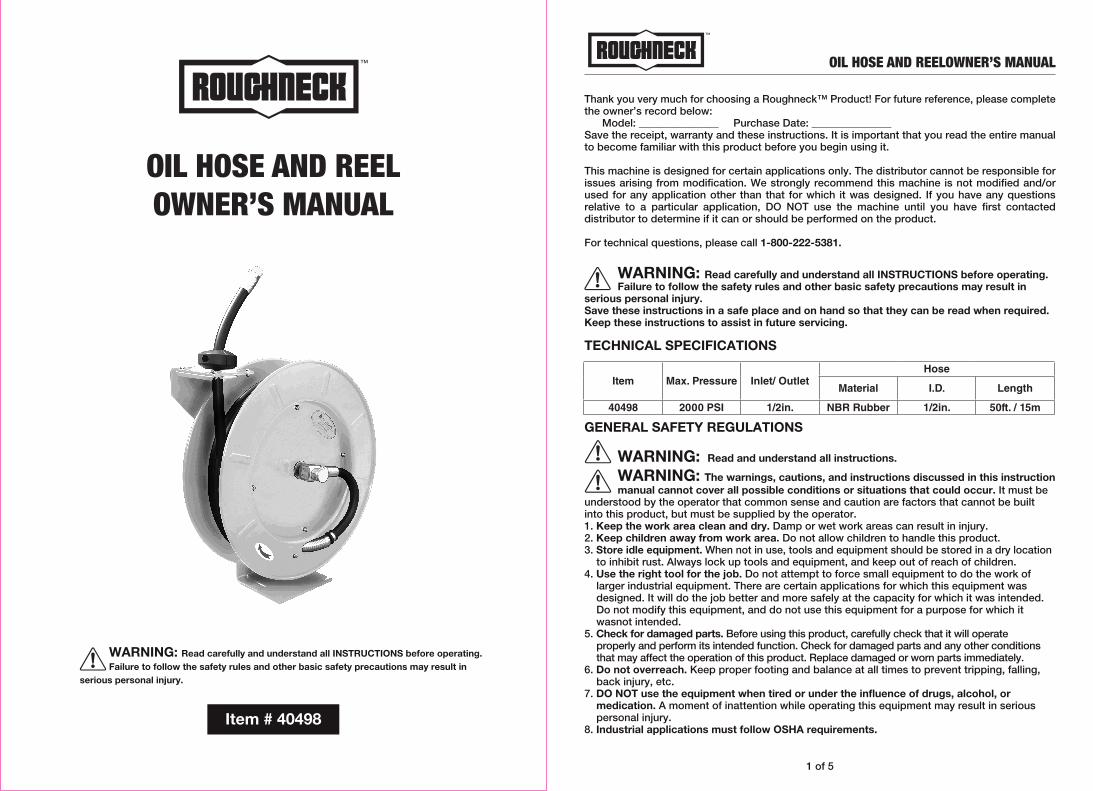
Item # 40498
1 of 5
Item Max. Pressure Inlet/ OutletHose
Material I.D. Length
40498 2000 PSI 1/2in. NBR Rubber 1/2in. 50ft. / 15m
WARNING: Read carefully and understand all INSTRUCTIONS before operating. Failure to follow the safety rules and other basic safety precautions may result in
serious personal injury.

OIL HOSE AND REELOWNER’S MANUAL OIL HOSE AND REELOWNER’S MANUAL
SPECIFIC OPERATION WARNINGSWARNING: Exposure of skin directly to pressurized air or fluids could result in severe bodily injury.
1. Use proper eye protection when assembling and using the hose reel.2. Keep children away from the work area.3. Personal injury and/or equipment damage may result if proper safety precautions are not
observed.4. Assemble the hose reel on a clean workbench.5. Use soap and water when checking for leaks.6. Ensure that reel is properly installed before connecting input and output hoses.7. Bleed fluid/gas pressure from system before servicing reel.8. Before connecting reel to supply line, ensure that pressure does not exceed maximum
working pressure rating of reel.9. Even low pressure is very dangerous and can cause personal injury or death.10. If a leak occurs in the hose or reel, remove system pressure immediately.11. Ensure that reel, hose, and equipment serviced are properly grounded.12. If reel ceases to unwind or rewind, remove system pressure immediately.13. Do not pull or jerk on hose.
INSTALLATIONTypical mounting positions of the reel can be wall mounting, floor mounting or ceiling mounting. See Figure 1.NOTE: Reels must be installed at least 10 feet above the floor if they are ceiling mounted overhead.
1. Mount the reel in the desired location through the four holes in the base. The reel base has four 1/2" (or 12.7mm) drilled holes for mounting on a suitable flat surface. Be sure to use appropriate hardware (not supplied) and tighten them securely.
2. Apply Teflon tape or pipe sealant to the outlet fitting on reel hose, and then attach it to the desired tool like nozzle. Make sure that no connections will leak and hose reel can work well. Details see OPERATION INSTRUCTIONS section.
3. Apply Teflon tape or pipe sealant to the supply line threads, and then attach it to the reel inlet properly. The other end of supply line can now be connected to desired supply source.
4. The reel is supplied with a hose guide roller bracket. The bracket position can be changed following the instructions as below:1) Pull out some hose and let the reel latch.2) Remove the bolts that attach the guide roller bracket to the support post.3) Rotate guide roller bracket to correct position, replace bolts and tighten.
5. If hose stopper adjustment is required, pull hose from reel and latch it at desired length. Loosen stopper bolts and slide stopper to a position close to the hose guide. Tighten stopper bolts, and unlatch the reel.
2 of 5
Installation of Hose①. Securely stabilize the reel.②. Facing the swivel fitting side of reel: Turn the drum clockwise, by hand, until the rewind
spring is tight, and drum has latched. As an extra precaution while installing new hose, secure drum in the latched position.
③. Insert end of the hose through guide roller bracket, and feed through the opening in the drum flange.
④. Use Teflon tape or pipe sealant on hose fitting threads, screw fitting into swivel and tighten.Note: To avoid damage to the swivel, use a wrench to support the swivel fitting while tightening the hose.⑤. Attach hose stopper on the other end of hose, near the outlet fitting.⑥. Carefully release drum latch, and slowly allow hose to wind onto the reel.
Note: Final spring tension adjustment is accomplished by adding wraps of hose around the drum (to increase tension) or taking off wraps of hose (to decrease tension). Refer to Adjust-ment of Spring Tension.
OPERATING CONDITIONS
1. Check reel for correct operation by slowly pulling out the hose. A "clicking" noise will be heard every half revolution of the drum.
2. To latch the reel, pull out the hose and allow it to retract after hearing the first second or third "click".
3. To unlatch, slowly pull out the hose until the "clicking" noise stops, then let the hose retract until the hose stop rests against the hose guide. Note: To avoid damage to the reel, always hold on to the hose while it is rewinding.
4. Periodically check the hose condition for wear or damage, and check the swivel fitting for leakage. Replace any worn, damaged, or leaking parts.
Adjustment of Spring Tension 1 Pull out approximately 6 feet or 2m of hose and allow the drum to latch.2 Remove hose stopper from hose, and feed hose back through guide.3 Wrap the pulled hose one time around the drum to increase tension or unwrap hose one time
from drum to decrease tension.4 Reinsert hose through guide, and install stopper onto hose end.5 Unlatch the Drum and check tension. Pull hose from reel, and adjust stopper position if
necessary.
Replacement of Swivel Seal 1 Turn off and disconnect supply line from swivel inlet.2 Remove swivel assembly from reel axle.3 Remove snap ring from swivel, and take apart. Note: You may want to remove swivel from
reel hose end, but this is not necessary unless a new swivel is being installed.4 Replace the seals and reassemble swivel.5 Use Teflon type or thread sealant on swivel thread fitting, reconnect the swivel thread fitting
with axle.6 Reconnect inlet supply line.
Replacement of Hose 1 Turn off supply to reel.2 Pull out all the old hose and lock the reel in this position. Caution: Make sure reel drum is
securely locked and cannot rotate back.3 Remove two hose clamps from hose.4 Carefully disconnect hose from swivel joint on side of reel, or male fitting in axle center and
remove old hose.
3 of 5
Wall Mounting Floor Mounting Ceiling Mounting
Figure 1

OIL HOSE AND REELOWNER’S MANUAL
5 Feed new hose through guide and opening in drum, and connect to swivel. Re-install two hose clamps, on inside and outside of drum flange. Install stopper on other end of hose in the same position as before.
6 Carefully release the drum latch, and slowly allow the hose to wind onto the reel. Note: Final spring adjustment is accomplished by adding or removing wraps of hose around the drum. (Details see spring tension adjustment).
WARNING: Spring Canister Warning. If the rewind spring fails for any reason, for safety reasons it is strongly recommended that the replacement of the spring canister be
carried out by a qualified service technician.
MAINTENANCE
1. Make sure the hose is in proper working order.2. Clean the hose with a cloth dipped in warm water to remove dirt or deposits and ensure
correct rewinding.3. Do not use detergents or solvents, which could cause damage to the hose reel.4. Dismantling of the unit by unskilled personal could prove hazardous; the risk involved mainly
concerns the preloaded springs. As a result, we strongly recommend that any repairs be made only by qualified service personnel.
DIAGRAM & PARTS LIST
4 of 5
OIL HOSE AND REELOWNER’S MANUAL
For replacement parts and technical questions, please call 1-800-222-5381
5 of 5
Part No.123456789101112131415161718192021222324252627282930
DescriptionBaseSupport PlateGuide Sub-plateRoller AxleRollerRoller AxleRollerNutScrewShaftWasherBoltWasherNutRetainerNutWasherNutBoltWasherLocking ArmSpring DogRetainerScrewLocking RingAssembly Hub BearingDrumDrumBoltNut
Q’ty111222244114441111121111111133
Part No.3132333435363738394041424344454647484950515253545556575859
DescriptionSpring DrumSpring CoreSpringSpring DrumBoltNutNutWasherRetainerSwivel SpoolO-RingRetainerSwivel BodyRetainerFittingHose Protection SpringHose AssemblyBumper BlockScrewNutClampScrewNutProtection CoverProtection CoverLabelLabelLabelLabel
Q’ty11114841112211211222222111111

OIL HOSE AND REELOWNER’S MANUAL
WARRANTYOne-year limited warranty
Distributed byNorthern Tool + Equipment Co., Inc.
Burnsville, MN 55306NorthernTool.com
Made in China
