original recipe - united notions · original recipe can be found at original recipe high flying...
TRANSCRIPT

Original Recipe can be found at www.modabakeshop.com
Original Recipe
High Flying Dreams Baby Quilt by Jennifer
Rodriguez
1 layer cake of Circa 1934 2/3 yard of Circa 1934 (Red) 1/2 yard of Circa 1934 (Cream) cotton batting 4 1/4 yards of black quilt binding bias tape
Original Recipe can be found at www.modabakeshop.com
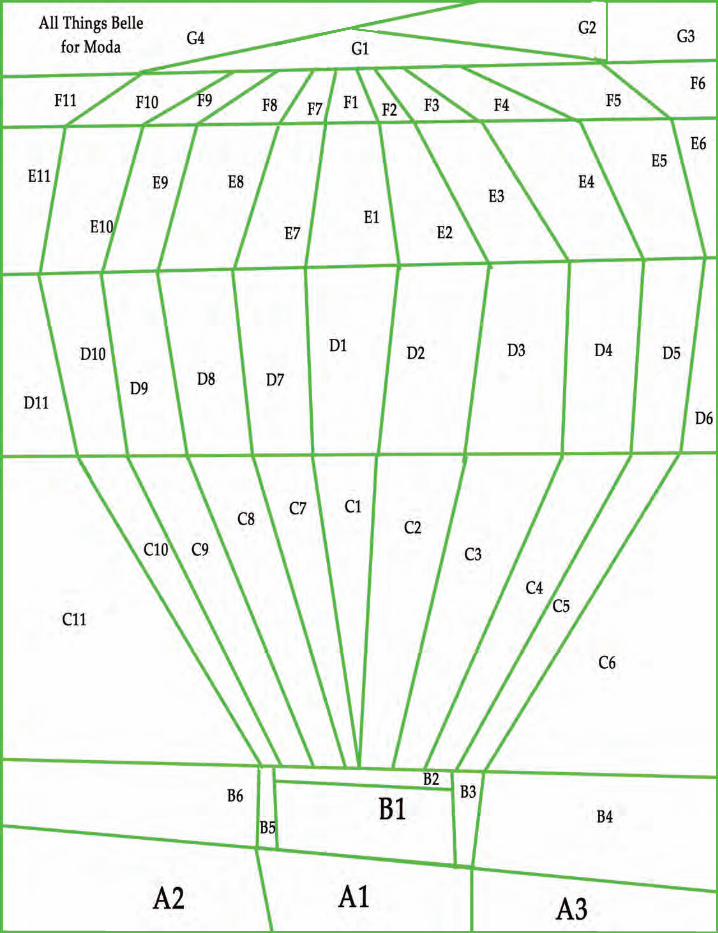
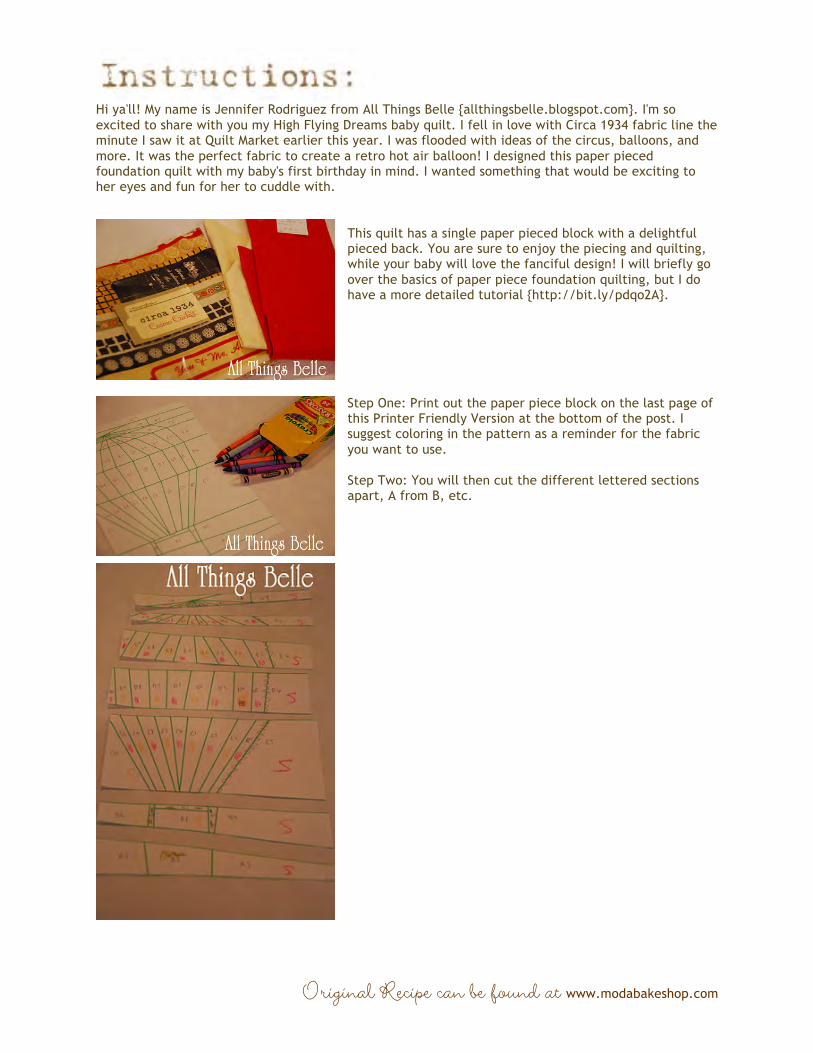
Hi ya'll! My name is Jennifer Rodriguez from All Things Belle {allthingsbelle.blogspot.com}. I'm so excited to share with you my High Flying Dreams baby quilt. I fell in love with Circa 1934 fabric line the minute I saw it at Quilt Market earlier this year. I was flooded with ideas of the circus, balloons, and more. It was the perfect fabric to create a retro hot air balloon! I designed this paper pieced foundation quilt with my baby's first birthday in mind. I wanted something that would be exciting to her eyes and fun for her to cuddle with.
This quilt has a single paper pieced block with a delightful pieced back. You are sure to enjoy the piecing and quilting, while your baby will love the fanciful design! I will briefly go over the basics of paper piece foundation quilting, but I do have a more detailed tutorial {http://bit.ly/pdqo2A}. Step One: Print out the paper piece block on the last page of this Printer Friendly Version at the bottom of the post. I suggest coloring in the pattern as a reminder for the fabric you want to use. Step Two: You will then cut the different lettered sections apart, A from B, etc.
Original Recipe can be found at www.modabakeshop.com
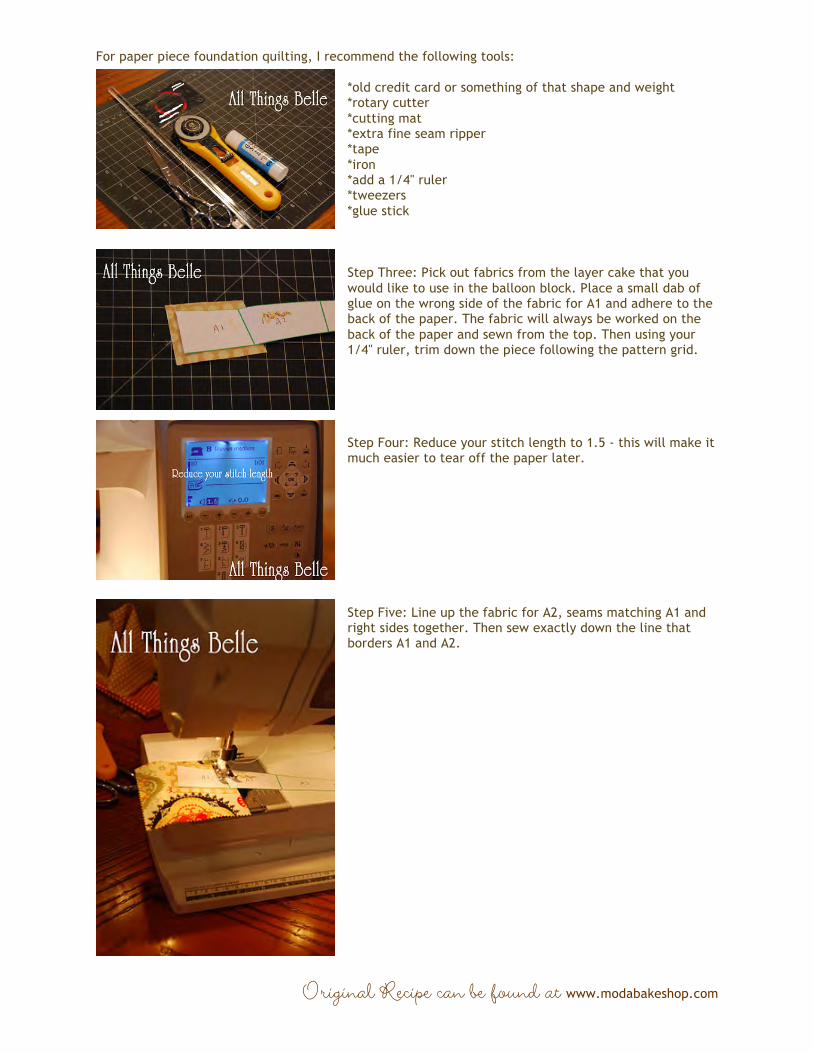
For paper piece foundation quilting, I recommend the following tools: *old credit card or something of that shape and weight *rotary cutter *cutting mat *extra fine seam ripper *tape *iron *add a 1/4" ruler *tweezers *glue stick
Step Three: Pick out fabrics from the layer cake that you would like to use in the balloon block. Place a small dab of glue on the wrong side of the fabric for A1 and adhere to the back of the paper. The fabric will always be worked on the back of the paper and sewn from the top. Then using your 1/4" ruler, trim down the piece following the pattern grid. Step Four: Reduce your stitch length to 1.5 - this will make it much easier to tear off the paper later. Step Five: Line up the fabric for A2, seams matching A1 and right sides together. Then sew exactly down the line that borders A1 and A2.
Original Recipe can be found at www.modabakeshop.com
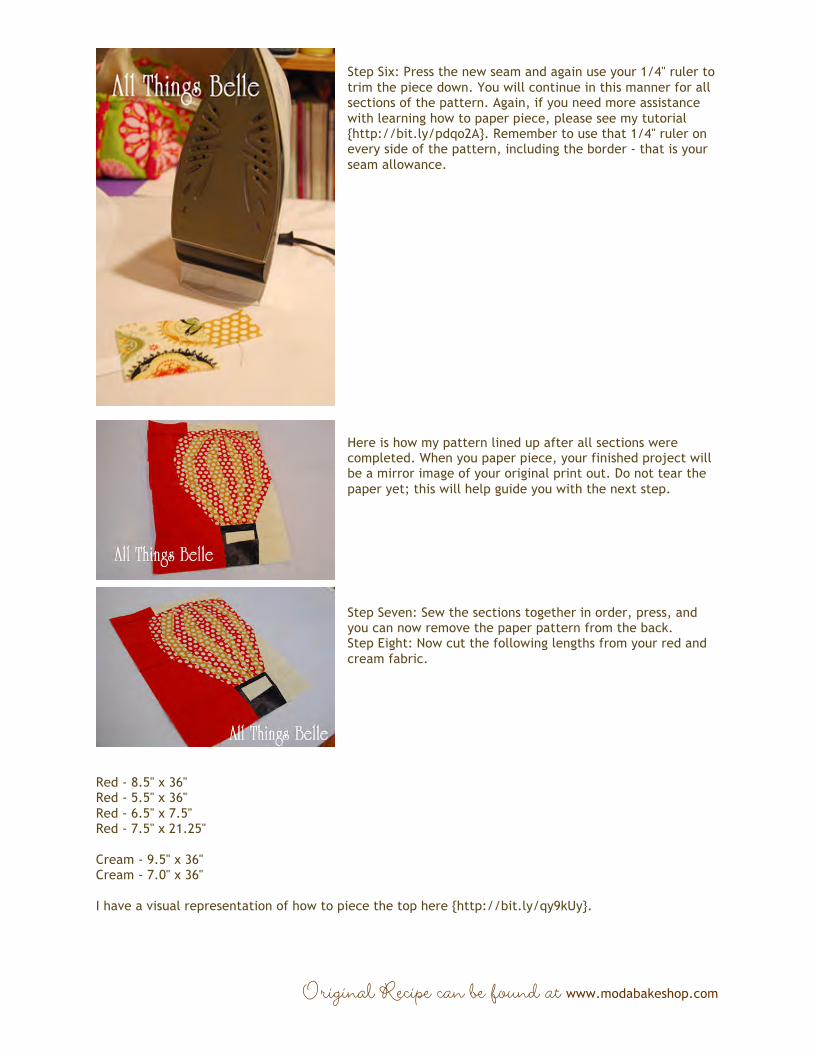
Step Six: Press the new seam and again use your 1/4" ruler to trim the piece down. You will continue in this manner for all sections of the pattern. Again, if you need more assistance with learning how to paper piece, please see my tutorial {http://bit.ly/pdqo2A}. Remember to use that 1/4" ruler on every side of the pattern, including the border - that is your seam allowance. Here is how my pattern lined up after all sections were completed. When you paper piece, your finished project will be a mirror image of your original print out. Do not tear the paper yet; this will help guide you with the next step. Step Seven: Sew the sections together in order, press, and you can now remove the paper pattern from the back. Step Eight: Now cut the following lengths from your red and cream fabric.
Red - 8.5" x 36" Red - 5.5" x 36" Red - 6.5" x 7.5" Red - 7.5" x 21.25" Cream - 9.5" x 36" Cream - 7.0" x 36" I have a visual representation of how to piece the top here {http://bit.ly/qy9kUy}.

Original Recipe can be found at www.modabakeshop.com
With a 1/4" seam allowance, sew the 8.5" x 36" red strip to the 9.5"x 36" cream strip. Then sew the other side of the 9.5" x 36" cream strip to 5.5" x 36" red strip. Your quilt should now look like the image below. You will now piece the block into the quilt. With a 1/4" seam allowance, sew the 6.5" x 7.5" red strip to the top of the balloon square. You will match up the 7.5" sides together. Now on the bottom off the balloon square, you will match up the 7.5" x 20.75" red strip and sew together. Step Nine: Pull out 16 pieces from the layer cake to create your pieced back; there will be 4 rows of 4. I choose the pieces that had numbers and letters. Since this was a quilt for my baby, I wanted fabric that would be visually exciting for her. With right sides together, sew 4 pieces together with a 1/4" seam allowance; create a total of 4 rows. Step Ten: Play with the placement of the rows. I wanted them to be slightly askew from each other. I placed down my yardstick in the middle so that I could be sure that in the end I would have a 36" square. Once you are happy with the end result, pin the rows together and sew together with a 1/4"seam allowance.

Original Recipe can be found at www.modabakeshop.com
Step Eleven: Create your quilt sandwich (back, batting, and top) and pin baste. Step Twelve: Quilt as desired. I did minimal quilting in the balloon - just lines in the balloon segments to help create the 3D effect. I also tried to mimic the effect of air, and quilted long,windy air streams throughout the rest of the quilt. Bind the quilt as desired. I machine bound it with binding bias tape. I knew my girls would be using this quilt frequently, and I wanted something that would stand up to lots of machine washing. Here it is completed! I do not prewash my quilt fabrics. I love the crinkly soft look that comes from washing after quilting! Here is the easy, playful pieced back. So much fun! Up, up, and away.. May your little baby dreams take you to far away places..
Original Recipe can be found at www.modabakeshop.com
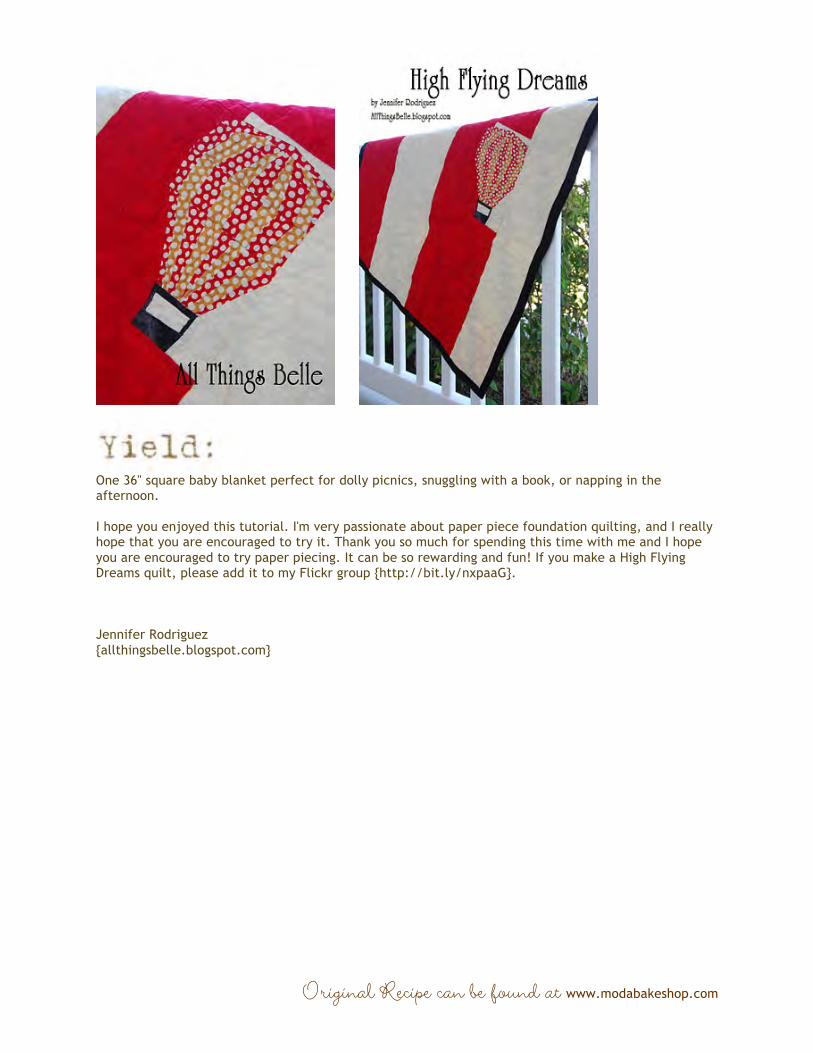
One 36" square baby blanket perfect for dolly picnics, snuggling with a book, or napping in the afternoon. I hope you enjoyed this tutorial. I'm very passionate about paper piece foundation quilting, and I really hope that you are encouraged to try it. Thank you so much for spending this time with me and I hope you are encouraged to try paper piecing. It can be so rewarding and fun! If you make a High Flying Dreams quilt, please add it to my Flickr group {http://bit.ly/nxpaaG}. Jennifer Rodriguez {allthingsbelle.blogspot.com}