outdoor flash for nature photographers - ejphoto.com pdf/flashclass.pdf · why outdoor flash •...
TRANSCRIPT
Outdoor Flash For Nature Photographers
© 2005 - 2017 E.J. Peiker
IntroductionE.J. Peiker• Co-founder – NatureScapes.net• 49 years of photographic
experience, 16 years professionally:
– Audubon– National Geographic– Outdoor Photographer
© 2005 - 2017 E.J. Peiker
– Outdoor Photographer– Barron’s– Dorling Kindersley– National Park Service– State Parks Arizona– US Navy– Marriott Hotels– Many Others
• 27 Years in Microprocessor and Chipset Development and Manufacturing for Intel Corp.
What We Will Cover
• Why Outdoor Flash?• Equipment for Best results• Understanding Flash Hardware• Flash Synchronization• Flash As Fill Light• Flash As Main Light
© 2005 - 2017 E.J. Peiker
• Flash As Main Light• Balanced Ambient/Flash
Exposure• Auto-flash vs. Manual Flash• Key Message• Flash Situation Tips
Why Outdoor Flash
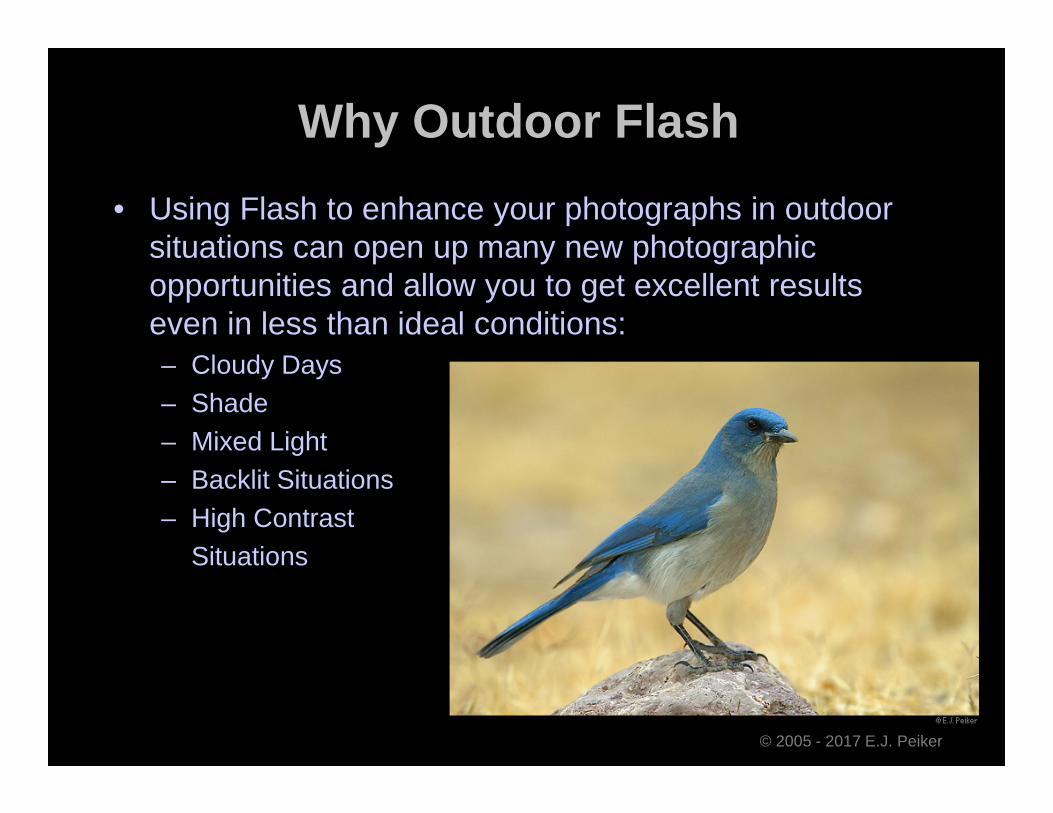
• Using Flash to enhance your photographs in outdoor situations can open up many new photographic opportunities and allow you to get excellent results even in less than ideal conditions:– Cloudy Days– Shade
© 2005 - 2017 E.J. Peiker
– Shade– Mixed Light– Backlit Situations– High Contrast
Situations

Why Outdoor Flash
• Outdoor Flash can be used to handle otherwise impossible situations:– Bright background but subject
in shade– Bringing out colors that might
not otherwise be seen
© 2005 - 2017 E.J. Peiker
not otherwise be seen– Reducing contrast so that your
sensor/film can record the scene
– Color correction on subject without impact to background

EquipmentWhat the Pros Use:
• Powerful Flash Unit for maximum flash range– Canon 580EX/600EX– Nikon SB800/SB900/SB910/SB5000– Sony HVL-F60M
• Flash Bracket to avoid red/steel eye and to avoid lens hood blocking
– Wimberley– Really Right Stuff
• Fresnel attachment to narrow the beam and
© 2005 - 2017 E.J. Peiker
• Fresnel attachment to narrow the beam and boost flash output as well as speed recycle time
– Flash Extender FX (Better Beamer)– Harbor Designs– MagMod
• Flash Power Pack to dramatically speed cycle time
– Canon/Nikon– Quantum
• Cables– Off Camera cable– Power Pack to Flash cable

Understanding Flash Hardware• Flash Unit
– Consists primarily of a high discharge flash tube, capacitor to store charge, and control electronics
– Capacitor is charged by the batteries. The capacitor is then discharged into the flash tube producing a short duration light pulse� Duration is typically from ~1/800 at full
© 2005 - 2017 E.J. Peiker
� Duration is typically from ~1/800 at full power to 1/32,000 sec at minimum power
� Flash power output is adjusted by a change in the flash duration not in brightness
– Flash head usually has zoom capability to reduce wasted light beyond the lenses angle of view. Coverage is between 17mm and 200mm for higher end flash units.

Understanding Flash Hardware• Camera
– In a basic automatic TTL (Through The Lens) flash system, the camera uses electronics that detect the amount of flash output that is reaching the scene via a light accumulator inside the camera that measures reflected light off of the film/sensor plane. When the light level reaches a predetermined level, it cuts off the flash from further discharging its capacitor. (pre 2005 gear)
– In a modern TTL (iTTL, eTTL) flash system, the camera also commands a short duration pre-flash to measure the light required to light the scene on the multi segment meter. It uses the meter segment that is located where the active AF sensor is, thereby biasing the flash output to the in-focus subject. Finally, it couples this with distance information from the lens to make a final flash output calculation.
– In a manual flash system, the camera simply tells the flash to fire at a specific time.
© 2005 - 2017 E.J. Peiker
– In a manual flash system, the camera simply tells the flash to fire at a specific time. The amount of flash power discharged depends on what flash power setting is selected on the flash by the photographer. Power is modulated via flash duration.

Understanding Flash Hardware• Flash Bracket
– When the angle of incidence between the flash head and the center axis of the lens is less than 3 degrees, red-eye will occur in most living things that have a retina� Red-eye happens when light hits the retina and bounces back into the camera
lens. When the angle of the flash is increased, the light bounces back but misses the lens
� By elevating the flash or getting it off camera, the risk of red-eye is dramatically reduced
– Big lenses or large lens hoods can block the output of the flash resulting
© 2005 - 2017 E.J. Peiker
– Big lenses or large lens hoods can block the output of the flash resulting in part of the frame being darkened. A bracket elevates the flash thereby preventing this.

Understanding Flash Hardware• Fresnel Lens (Flash Extender, Better Beamer, Project-a-flash)
– When using medium to long telephoto lenses a large amount of light is wasted to illuminate areas outside the frame
– The Fresnel lens concentrates this light to a much narrower beam that is usually equal to a 300mm lens field of view
– Flash power concentration into a tighter beam of light results in the approximate doubling of the flash unit’s effective range
– Since the flash is more concentrated, less flash power is required per shot allowing for faster flash recycle time
© 2005 - 2017 E.J. Peiker

Understanding Flash Hardware
• Auxiliary Power Pack– Typical flash recycle times on fresh
AA batteries are in the 3-15 second range after a full discharge depending on the flash unit and the freshness of the batteries
– With a Flash Power Pack, the AA batteries in the flash head power the
© 2005 - 2017 E.J. Peiker
batteries in the flash head power the flash unit’s control circuitry and LCD panel
– The flash tube capacitor is charged by the auxiliary power pack resulting in flash recharge times of about a second after a full discharge and much less for partial discharges
– As a result, the AA batteries in the flash unit can last weeks instead of hours

Flash Synchronization
• Most cameras have a maximum flash-sync speed of 1/125 – 1/320 sec – most common is 1/250 with some pro oriented models going as high as 1/320 second
– This is the fastest shutter speed that can be used to prevent the shutter curtain from blanking part of the flash in a “normal” flash photograph
© 2005 - 2017 E.J. Peiker
flash photograph– The shutter speed must be at the sync
speed or slower to get a full power flash pulse (1/250, 1/125, 1/60, etc…)
• Three types of Flash Synchronization– Front Curtain (First Curtain)
Synchronization– Rear Curtain (Second Curtain)
Synchronization– High Speed Synchronization

Flash Synchronization
• Front Curtain (First Curtain) Synchronization– This is the default flash mode for
most cameras and flash units– Sequence of events:
� Shutter button is depressed� Shutter curtain opens
© 2005 - 2017 E.J. Peiker
� Shutter curtain opens� Flash fires� Selected exposure time completes� Shutter curtain closes
– Advantage – shutter fires as closely as possible to the time when the photographer trips the shutter
– Disadvantage – if photographing a moving subject or at slow shutter speeds, this method can lead to a ghost or trail in front of the image

Flash Synchronization• Rear Curtain (Second Curtain) Sync
– Usually selectable via a custom function or menu selection
– Sequence of events:� Shutter button is depressed� Shutter curtain opens� Selected exposure time progresses
to near completion
© 2005 - 2017 E.J. Peiker
� Flash fires� Shutter curtain closes
– Advantage – for a moving subject, any ghost or trail will be behind the subject which is much more natural looking
– Disadvantage – if a long exposure is required, the flash will fire quite a bit after depression of the shutter button potentially missing the action

Flash Synchronization
• High Speed Sync– Most cameras with external flash units allow shutter speeds much faster
than the fastest synchronization speed by putting the camera and flash into high speed sync mode
– Sequence of events:� Shutter Button is depressed� Flash starts pulsing at a very fast rate
© 2005 - 2017 E.J. Peiker
� Flash starts pulsing at a very fast rate� Shutter opens� Shutter time completes� Shutter closes� Flash stops pulsing
– Advantage – flash can be used at any shutter speed which allows for fill flash even on bright days or when wide apertures that require fast shutter speeds are used
– Disadvantage – dramatically reduced flash output and range, flash does not freeze action since it is on for the whole duration of the exposure
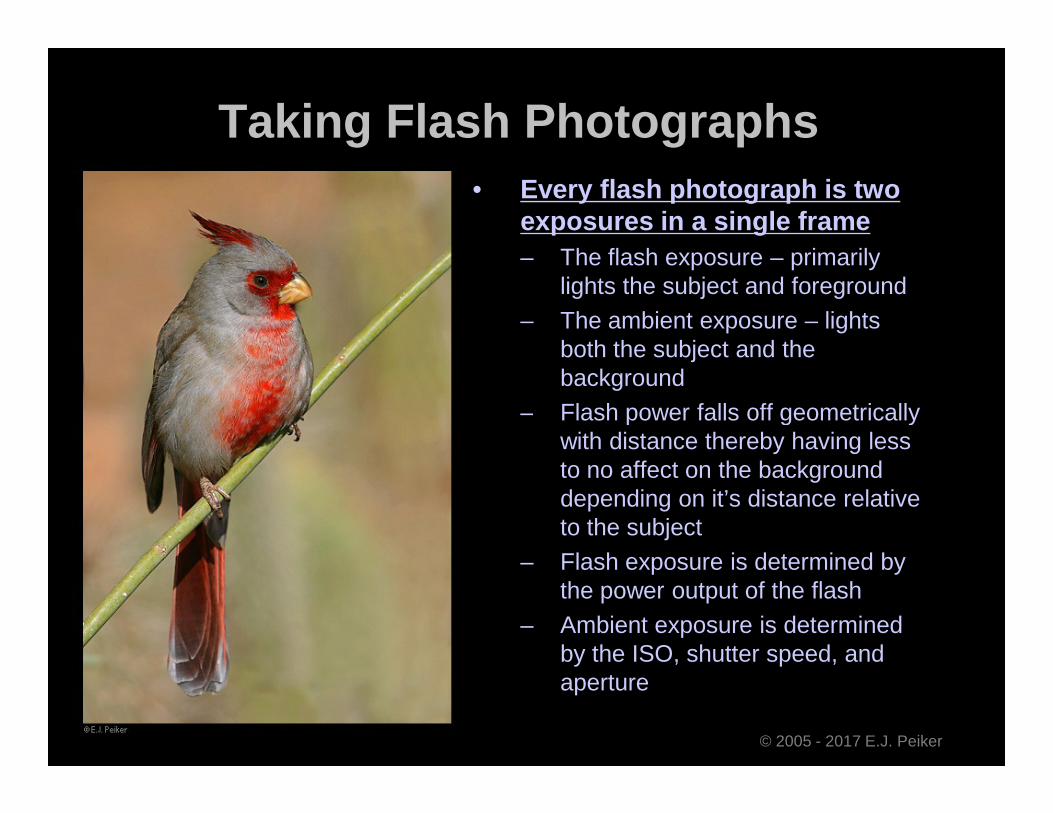
Taking Flash Photographs• Every flash photograph is two
exposures in a single frame– The flash exposure – primarily
lights the subject and foreground– The ambient exposure – lights
both the subject and the background
– Flash power falls off geometrically
© 2005 - 2017 E.J. Peiker
– Flash power falls off geometrically with distance thereby having less to no affect on the background depending on it’s distance relative to the subject
– Flash exposure is determined by the power output of the flash
– Ambient exposure is determined by the ISO, shutter speed, and aperture
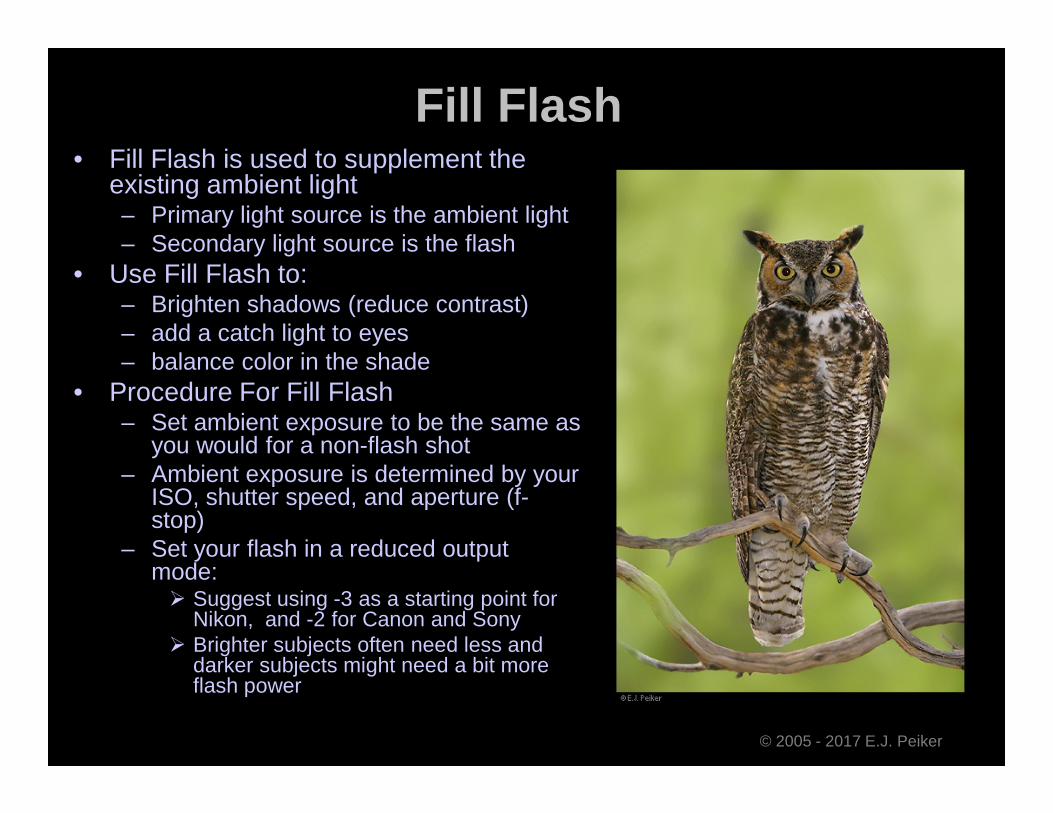
Fill Flash• Fill Flash is used to supplement the
existing ambient light– Primary light source is the ambient light– Secondary light source is the flash
• Use Fill Flash to:– Brighten shadows (reduce contrast)– add a catch light to eyes– balance color in the shade
• Procedure For Fill Flash
© 2005 - 2017 E.J. Peiker
– Set ambient exposure to be the same as you would for a non-flash shot
– Ambient exposure is determined by your ISO, shutter speed, and aperture (f-stop)
– Set your flash in a reduced output mode:� Suggest using -3 as a starting point for
Nikon, and -2 for Canon and Sony� Brighter subjects often need less and
darker subjects might need a bit more flash power
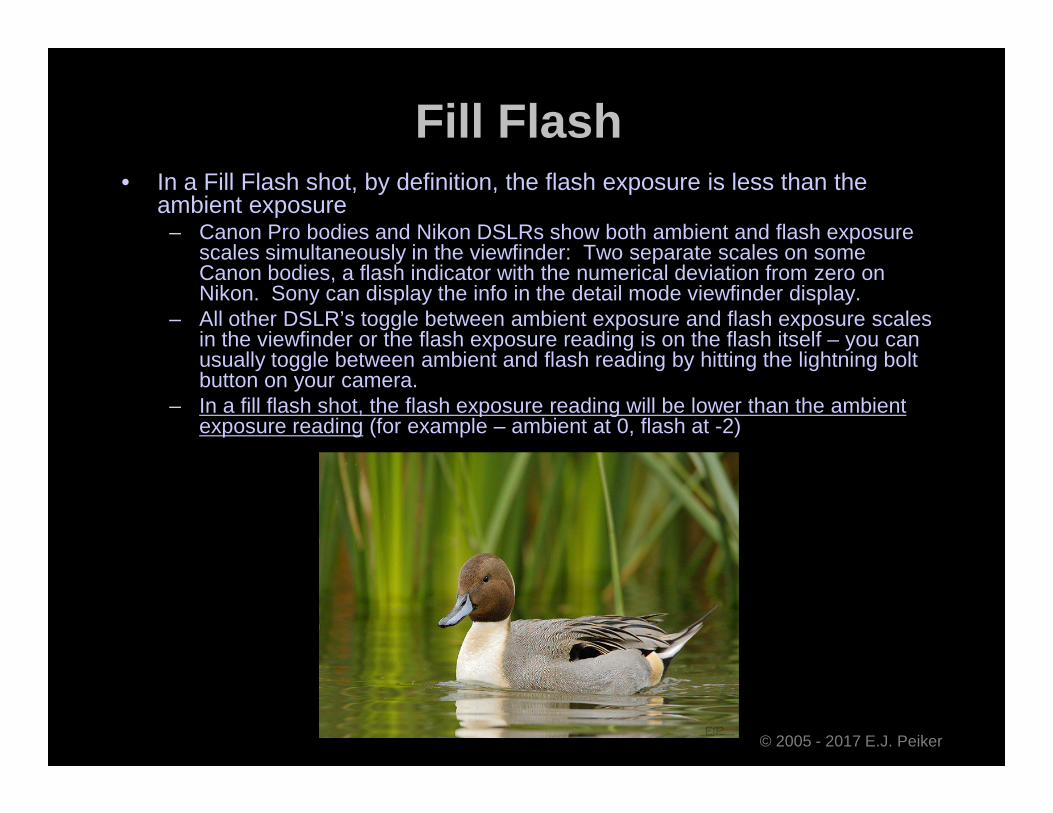
Fill Flash• In a Fill Flash shot, by definition, the flash exposure is less than the
ambient exposure– Canon Pro bodies and Nikon DSLRs show both ambient and flash exposure
scales simultaneously in the viewfinder: Two separate scales on some Canon bodies, a flash indicator with the numerical deviation from zero on Nikon. Sony can display the info in the detail mode viewfinder display.
– All other DSLR’s toggle between ambient exposure and flash exposure scales in the viewfinder or the flash exposure reading is on the flash itself – you can usually toggle between ambient and flash reading by hitting the lightning bolt button on your camera.
– In a fill flash shot, the flash exposure reading will be lower than the ambient
© 2005 - 2017 E.J. Peiker
– In a fill flash shot, the flash exposure reading will be lower than the ambient exposure reading (for example – ambient at 0, flash at -2)

Fill FlashNo Flash
– Harsh Shadows– Dead Eye– Lacking in Feather
Detail on wings
© 2005 - 2017 E.J. Peiker
Fill Flash– Harsh Shadows
Minimized– Eye detail including pupil
and catch-light– Much better dark feather
detail

Flash As Main Light• Flash as Main Light is used when there is not enough ambient light on the
subject to make an adequate exposure – Primary source of light on the subject is the flash unit– Secondary source of light is the ambient light
• Use Flash as main light in these situations:– Dark days– Night– Deep shade– Subject in Shade, background in sunlight
© 2005 - 2017 E.J. Peiker

Flash as Main Light• Procedure for Flash As Main Light
– Put the camera in Manual or Program mode– Insure Shutter Speed is at you sync speed or slower– Select a flash power level that provides more exposure than the
ambient light• In a Flash as Main Light shot, the flash exposure is more than the
ambient exposure– Canon Pro bodies and Nikon DSLRs show both ambient and flash
exposure scales simultaneously in the viewfinder. Two separate
© 2005 - 2017 E.J. Peiker
– Canon Pro bodies and Nikon DSLRs show both ambient and flash exposure scales simultaneously in the viewfinder. Two separate scales on Canon, a flash indicator with the numerical deviation from zero on Nikon. Sony on the detail display mode in the viewfinder
– All other DSLR’s toggle between ambient exposure and flash exposure scales in the viewfinder or the flash exposure reading is on the flash itself – you can usually toggle between ambient and flash reading by hitting the lightning bolt button on your camera.
– In a Flash as Main Light shot, the flash exposure reading will be higher than the ambient exposure reading (for example – ambient meter reading is -2 and flash at -1/3)

Flash As Main Light
© 2005 - 2017 E.J. Peiker
No Flash– Required long shutter speed to
expose bird resulting in washed out background
– Exposure: 1/100, f/5.6
Flash As Main– Allowed 2-stop underexposure
of background to retain blue ocean color while properly exposing the bird
– Exposure: 1/200, f/8– Allowed stopping down for better
Depth of Field – Tip of Bill is sharperPhotographs were taken 5 seconds apart

Balanced Flash/Ambient Exposure
• Balanced Flash/Ambient Exposure occurs when the flash and ambient light contribution to the photos lighting is approximately equal– Flash exposure scale and ambient exposure scale in the
camera are equal– Can be useful when background is receiving reflected sunlight
© 2005 - 2017 E.J. Peiker
– Can be useful when background is receiving reflected sunlight and light on subject is behind a cloud.

Automatic Flash• All modern camera/flash systems have a Through The Lens (TTL)
Flash metering system:– Light accumulation is measured in the camera during exposure until the
predetermined amount of light is accumulated. This exposure is set by your flash exposure setting.
– Newer advanced systems use a short pre-flash to help determine proper flash exposure (could cause the subject to flinch resulting in an undesirable pose)
© 2005 - 2017 E.J. Peiker
undesirable pose)– Once the correct amount of light has accumulated, the flash is shut off.
• Works well in most situations but does usually require flash exposure compensation to prevent an over flashed look– For flash as main light shots, try a starting point of -2/3 outdoors (+2/3
for Canon users indoors if the walls are white)– Try a starting point of -2 to -3 outdoors for fill flash. Go slightly more
negative if photographing a subject with bright white and slightly less negative if photographing a subject that is mostly dark to mid-tones.

Manual Flash• If the subject to camera distance is fixed,
more consistant results can be achieved by putting your flash into manual mode– For Flash as Main Light, read the scale
on the flash and adjust flash power until the distance scale on the flash matches the subject distance.
– For Fill Flash, read the scale on the flash and adjust flash power until the distance
© 2005 - 2017 E.J. Peiker
and adjust flash power until the distance scale on the flash is half the subject distance. This will usually give a pleasing effect. Adjust up or down to taste.
– If using a Fresnel flash extender lens, cut all flash powers above in half� Example – Flash as main light using
Fresnel lens with subject at 20 feet, set flash power so that the distance scale on the flash head reads a 10 foot range
� Example – Fill flash using Fresnel lens with subject at 20 feet, set flash power so the distance scale on the flash head reads a 5 foot range

Manual Flash
• Advantages– Flash power is not influenced by the
brightness of the background– Flash output is repeatable and 100%
predictable regardless of the subjects position in the frame
– Flash output is not influenced by
© 2005 - 2017 E.J. Peiker
– Flash output is not influenced by tonality or brightness of the subject
• Disadvantage– Restricts you to a very narrow
distance range unless you are willing to constantly change flash power settings
– Can cause you to miss action at a different distance than you have set your flash power up for

THE KEY MESSAGE
1. The flash exposure – lights the subject
2. The ambient exposure – lights the background since flash power falls off geometrically with distance
Every flash photograph is two exposures in a single frame
© 2005 - 2017 E.J. Peiker
You can control each independently! You have control of the subject and the background independently

Flash Photo Situations
• Situation: Subject is front lit in diffused sunlight with no noticeable harsh shadows– Solution: No flash is needed
© 2005 - 2017 E.J. Peiker

Flash Photo Situations• Situation: Subject is front lit in sunlight but the sun has
gotten a bit high in the sky or from a bright cloudy sky and the subject is casting shadows on itself– Solution: Fill flash – add light that is between 1 and 2 stops
below the ambient light (flash compensation to -1 on a dark subject and -2 on a light subject)
© 2005 - 2017 E.J. Peiker

Flash Photo Situations• Situation: Subject is side lit with one side too dark to
fully resolve– Solution: This is a situation where you are trying to get contrast
under control. Underexpose the ambient slightly (up to 1 stop) and add flash to compensate. This will bring the bright side back up to the correct brightness and substantially increase the exposure on the dark side thereby balancing the light.
© 2005 - 2017 E.J. Peiker
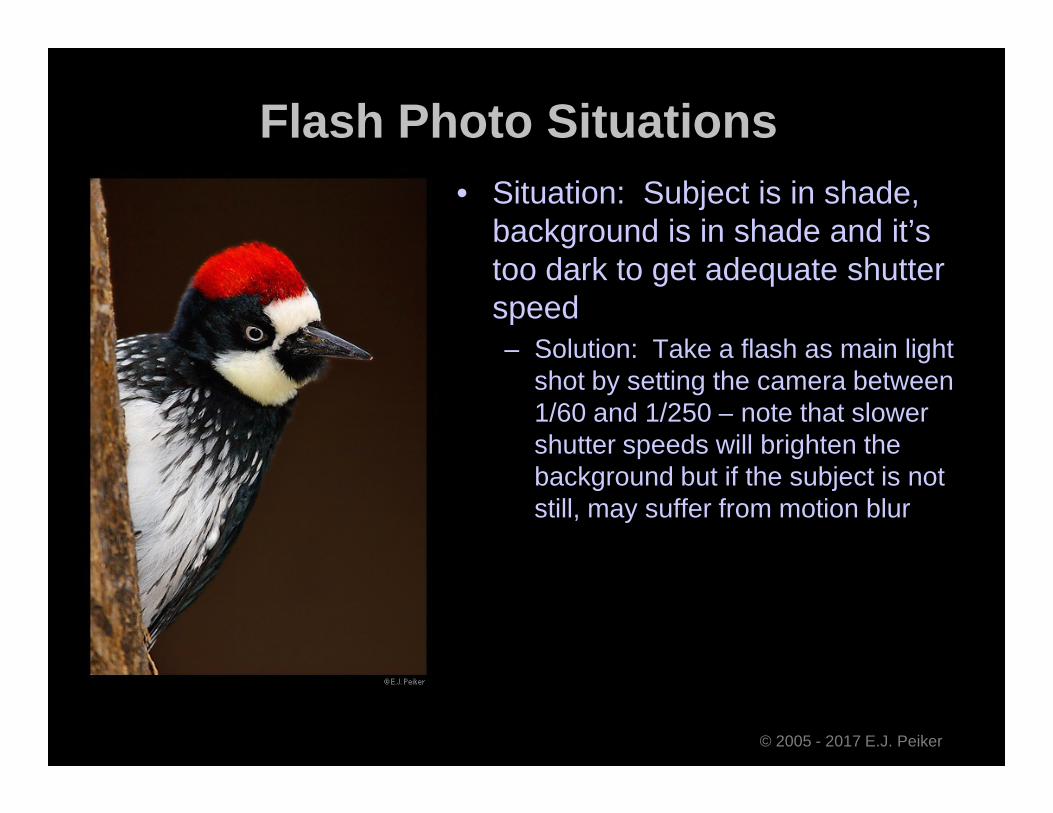
Flash Photo Situations• Situation: Subject is in shade,
background is in shade and it’s too dark to get adequate shutter speed– Solution: Take a flash as main light
shot by setting the camera between 1/60 and 1/250 – note that slower
© 2005 - 2017 E.J. Peiker
1/60 and 1/250 – note that slower shutter speeds will brighten the background but if the subject is not still, may suffer from motion blur

Flash Photo Situations
• Situation: Subject is in diffuse light with brighter background– Solution: Add fill flash to
restore the light balance
© 2005 - 2017 E.J. Peiker

Flash Photo Situations• Situation: Subject is in mixed lighting (dappled light)
resulting in parts of the subject being too dark and other parts too bright– Solution: Treat this as a Flash as Main Light situation by
reducing the ambient exposure significantly so that it has minimal effect on the photo, say 2-3 stops or more below the ambient exposure and then use flash to light the subject
© 2005 - 2017 E.J. Peiker
ambient exposure and then use flash to light the subject

Flash Photo Situations• Subject in DEEP shade and the background is bathing in bright
sunlight– Understanding that every flash photograph is two exposures in a
single frame… � The flash exposure – lights the subject� The ambient exposure – lights the background since flash power falls off
geometrically with distance
– Vary the shutter speed and aperture to lighten or darken the background to taste
– Vary the flash output to lighten or darken the subject
© 2005 - 2017 E.J. Peiker
– Vary the flash output to lighten or darken the subject

Additional Considerations
• Light is subject to the inverse square law:– A subject that is twice as far, will require 4 times the flash
output (2 squared = 4)– Corollary – A subject that is half as far will require ¼ the flash
output– Example of how this affects your flash photos:
© 2005 - 2017 E.J. Peiker
� Indoor people shots: Faces are too bright and backgrounds are too dark.
– Cause – background receiving significantly less flash than subject– Possible fixes
» move subject closer to background (could cause harsh shadows)» move camera and flash farther from subject and use longer focal length» bounce the flash to make relative distance from the light source more
equal.» Place remote flashes to light the background
Additional Considerations
• Beware of Av mode and flash– Canon does not limit how slow the shutter speed can go with flash in
Av mode by default– If you are not careful, the shutter speed can become very slow
resulting in ghosting or a blurred image superimposed on the flash exposure
– Recommend Manual Mode, Program Mode, or even Tv Mode if light
© 2005 - 2017 E.J. Peiker
– Recommend Manual Mode, Program Mode, or even Tv Mode if light is changeable to prevent this.
• Learn to adjust the flash compensation from the camera, not on the flash head– Possible on all Canon bodies and all Nikon Bodies except those
without built-in flash– Faster, can keep eye and subject in viewfinder, can make on the fly
flash adjustments– Note that Nikon in-camera compensation and flash head
compensation is additive. On Canon cameras the flash setting overrides the in camera setting unless flash is set to zero.
Homework Assignment
Homework Assignment: Set up an object in shade with the bright blue sky as background. Adjust flash power and ambient exposure independently to get different effects:– Shutter Speed and Aperture control the brightness of the sky– Flash Power controls the brightness of the subject
© 2005 - 2017 E.J. Peiker
– Flash Power controls the brightness of the subject

Resources
Best article I’ve seen on how flash works (Canon centric but applies to all advanced TTL systems):
http://photonotes.org/articles/eos-flash
© 2005 - 2017 E.J. Peiker
E.J. Peiker’s eBooks:Ducks of North America – The Photographer’s Guide
http://www.ejphoto.com/ducks_of_north_america_page.htm
West http://www.ejphoto.com/west_book.htm