page features footnotes and endnotes headers and footers page numbering margins columns
TRANSCRIPT

Page Features
• Footnotes and endnotes
• Headers and footers
• Page numbering
• Margins
• Columns
Footnotes and endnotes
• Footnotes and endnotes are attached to individual words.
• Word automatically handles their insertion, numbering, re-numbering, and placement.

When to use footnotes
• The purpose of footnotes is to give the reader additional information about a topic but without causing them to be sidetracked from the main point of the current text.
How to insert footnotes
• Put your insertion point right at the end of the word you want to footnote, then do
Insert => Footnote… to bring up the following dialog box:


• In this window you choose whether you want – a footnote, which will appear at the bottom of
the page, or – an endnote, which will appear at the end of the
section or document.
Headers and footers
• Headers and footers are repeated texts that appear at the top and the bottom of every page of a document.
• They include text or graphics, for example, – page numbers, – the date, – a company logo, – the document's title or file name, – the author's name, and so on.

• You can use the same header and footer throughout a document or change the header and footer for parts of the document.
• For example, use a unique header or footer on the first page, or leave the header or footer off the first page (a standard practice).
• You can also use different headers and footers on odd and even pages or for different parts of a document.

To create a header or footer:
• 1 On the View menu (and not the Insert menu, as with footnotes), click Header and Footer.
• 2 To create a header, enter text or graphics in the header area.
• Or click a button on the Header and Footer toolbar.
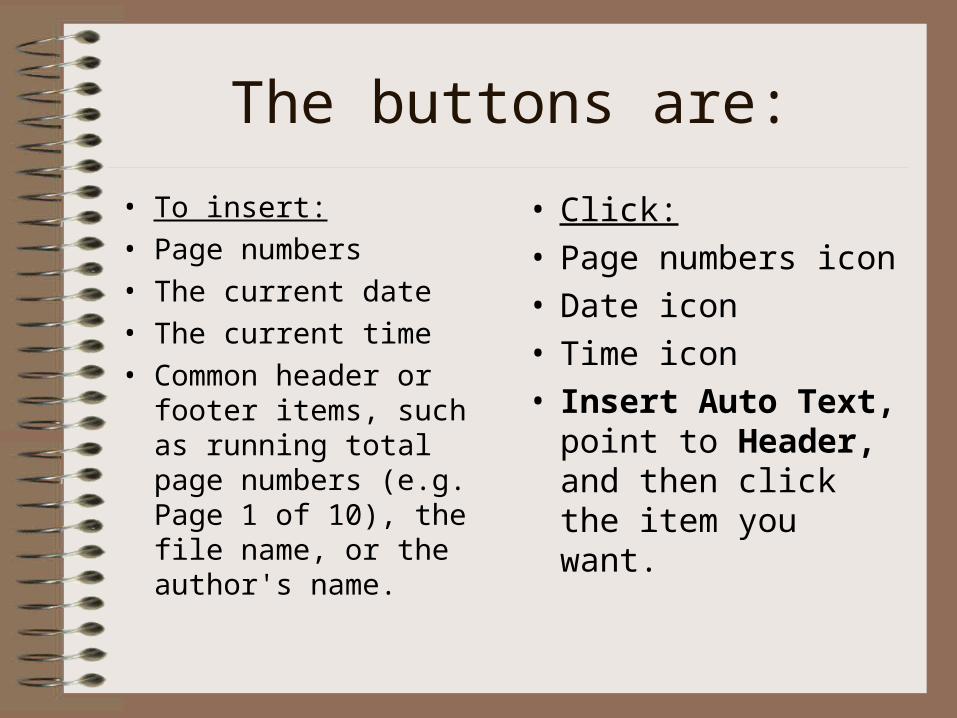
The buttons are:
• To insert:
• Page numbers
• The current date
• The current time
• Common header or footer items, such as running total page numbers (e.g. Page 1 of 10), the file name, or the author's name.
• Click:• Page numbers icon• Date icon• Time icon• Insert Auto Text,
point to Header, and then click the item you want.
• 3 To create a footer, click Switch Between Header and Footer to move to the footer area. Then repeat step 2.
• 4 When you finish, click Close.
Tip
• The text or graphic you enter in a header or footer is automatically left aligned.
• You may want to center the item instead or include multiple items (for example, a left-aligned date and a right-aligned page number).
• Note that three tabs are already given to you. To center an item, press TAB; to right align an item, press TAB twice.
First page different
• Normally the headers and footers on the first page of a document are suppressed.

To suppress the headers and footers on the first page
• The simplest way is to:
• 1 If your document is divided into sections, click in a section or select multiple sections you want to change.
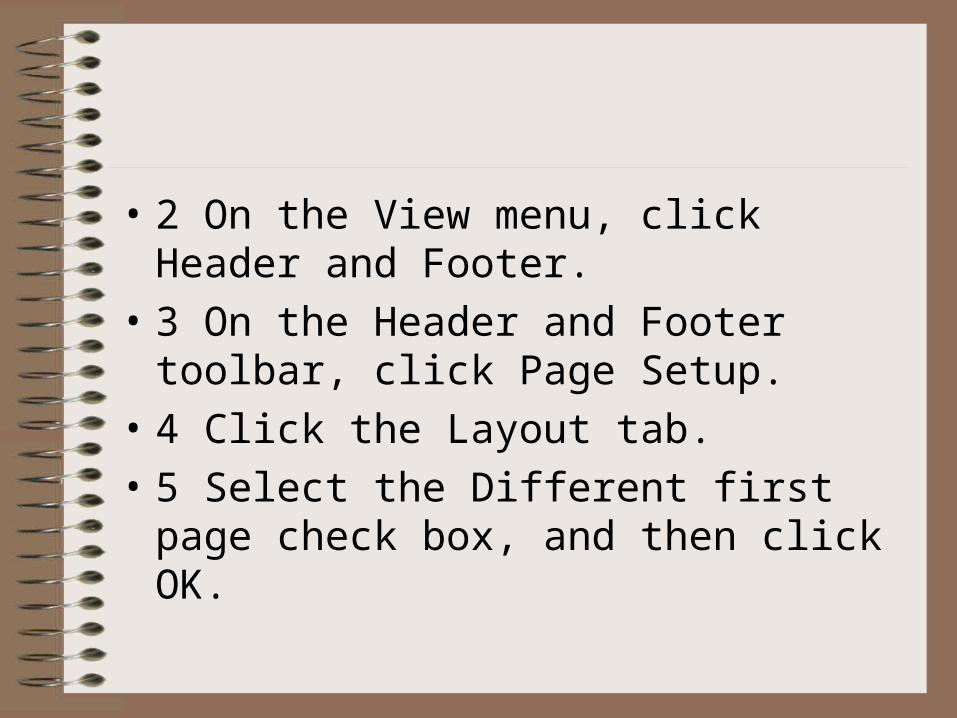
• 2 On the View menu, click Header and Footer.
• 3 On the Header and Footer toolbar, click Page Setup.
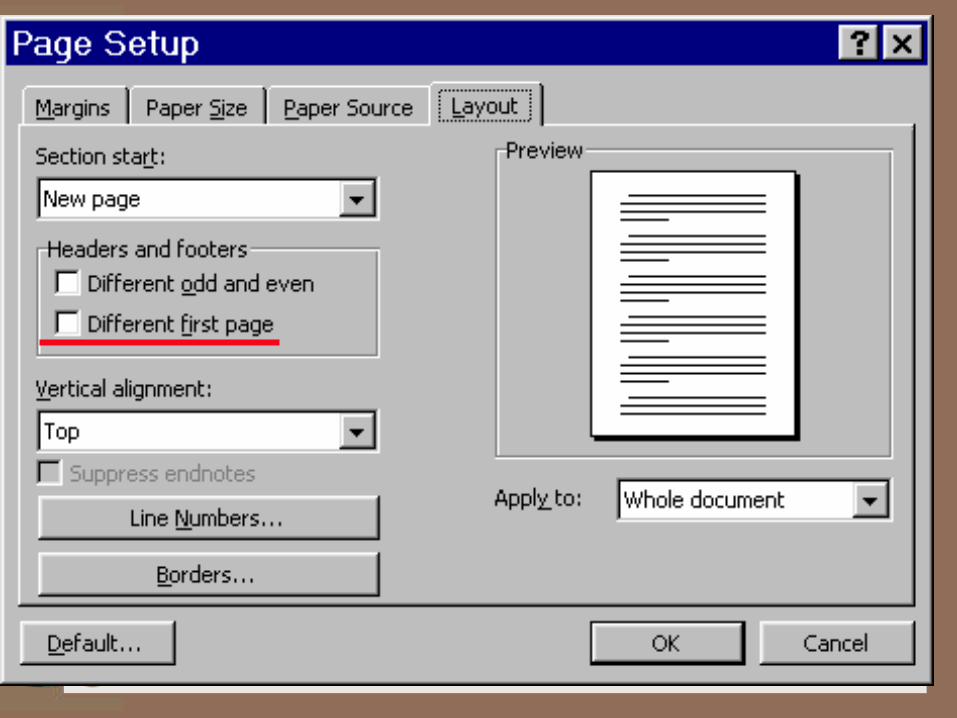
• 4 Click the Layout tab.
• 5 Select the Different first page check box, and then click OK.

Different headers and footers on alternating pages
• Often, as in most of your textbooks, the headers and footers on facing pages are different.

To place different headers and footers on alternating pages
• 1 On the View menu, click Header and Footer.
• 2 On the Header and Footer toolbar, click Page Setup .
• 3 Click the Layout tab.
• 4 Select the Different odd and even check box, and then click OK.
• If necessary, move to the Even Page Header area or Even Page Footer box.
• 6 Create the header or footer for each even-numbered page.
• 7 To move to the header or footer for each odd-numbered page, click Show Next on the Header and Footer toolbar.
• Then create the header or footer you want.
Page numbering
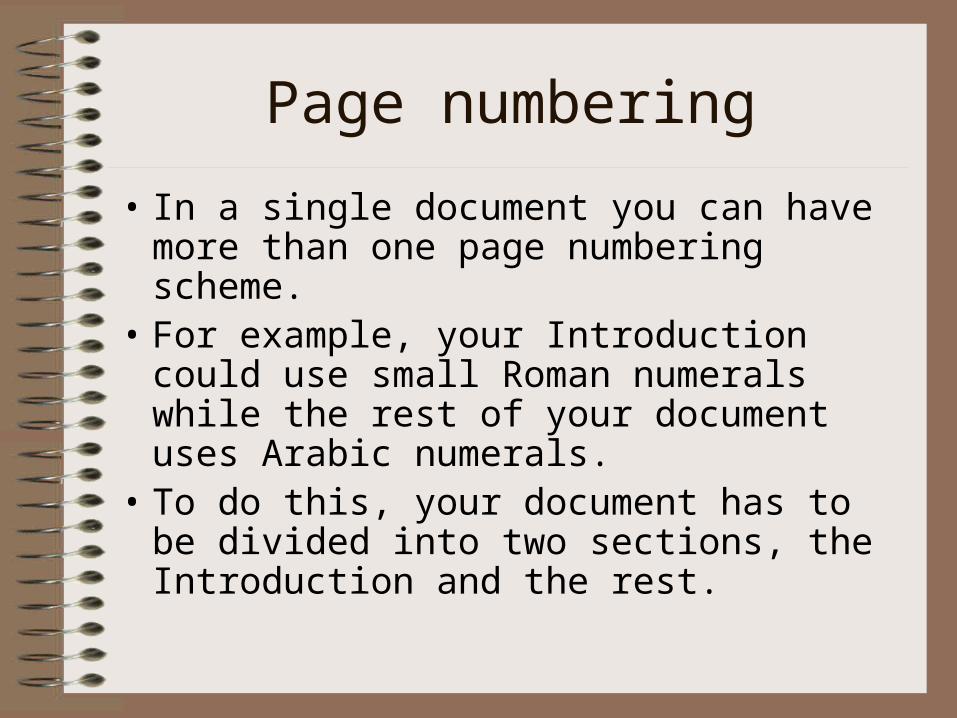
• In a single document you can have more than one page numbering scheme.
• For example, your Introduction could use small Roman numerals while the rest of your document uses Arabic numerals.
• To do this, your document has to be divided into two sections, the Introduction and the rest.

• Then, to control how page numbers appear, put your insertion point into the section whose page numbering you want to set, then go the Insert => Page Numbers… dialog box.
• If no section breaks have been inserted, the whole document is considered to be one section.
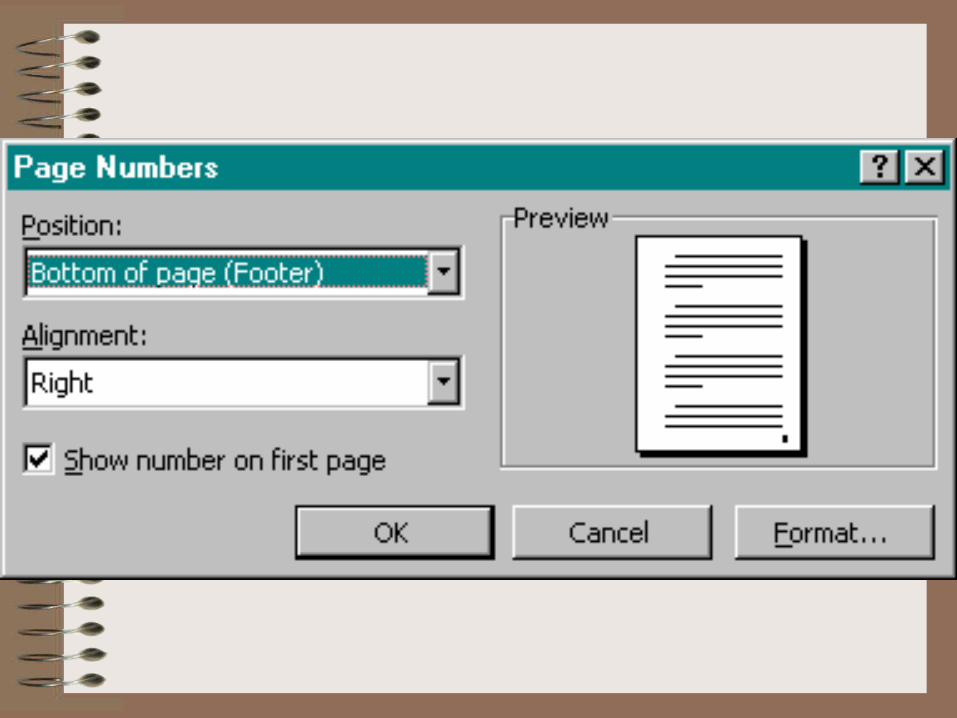
• In this dialog box you can specify whether page numbers are to be:• at the top of the page or at the bottom
(specifically in the header or the footer)• positioned left, center, or right on the page

Margins
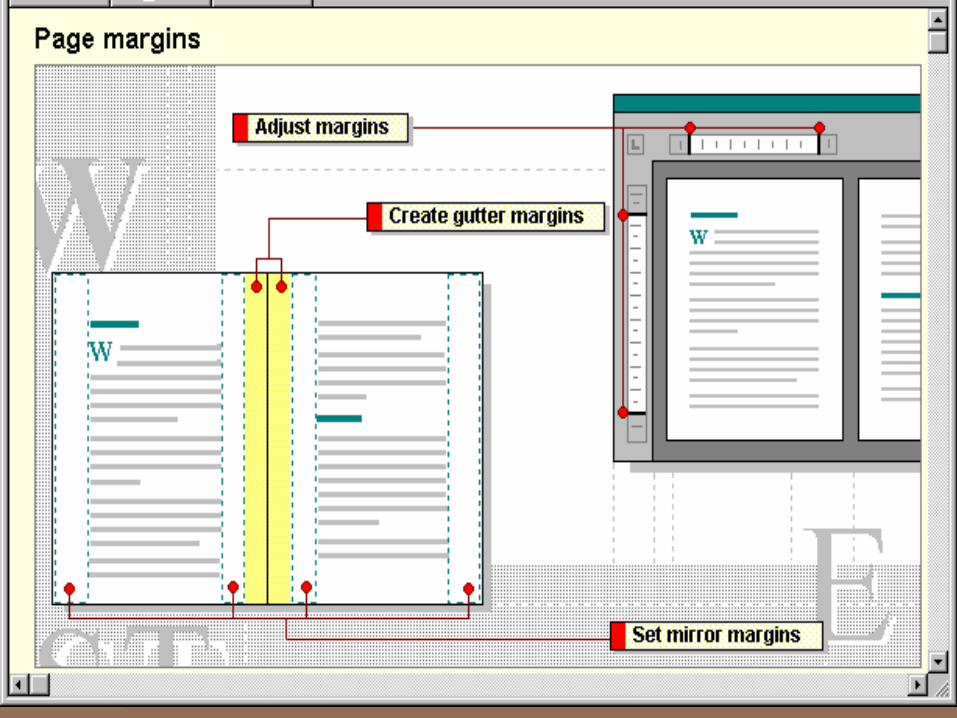
• Margins refer to the space between the edges of your printed paper and the text.
How do you set your margins?
• One way is through the File => Page Setup… dialog box:

• If you plan on binding/stapling a document along its left edge, use a gutter margin to add extra space to the inside margin.
• If you want to print a document on both sides of the paper, you can set the margins on facing pages so that they mirror each other.

• You can also set your margins in Print Preview:
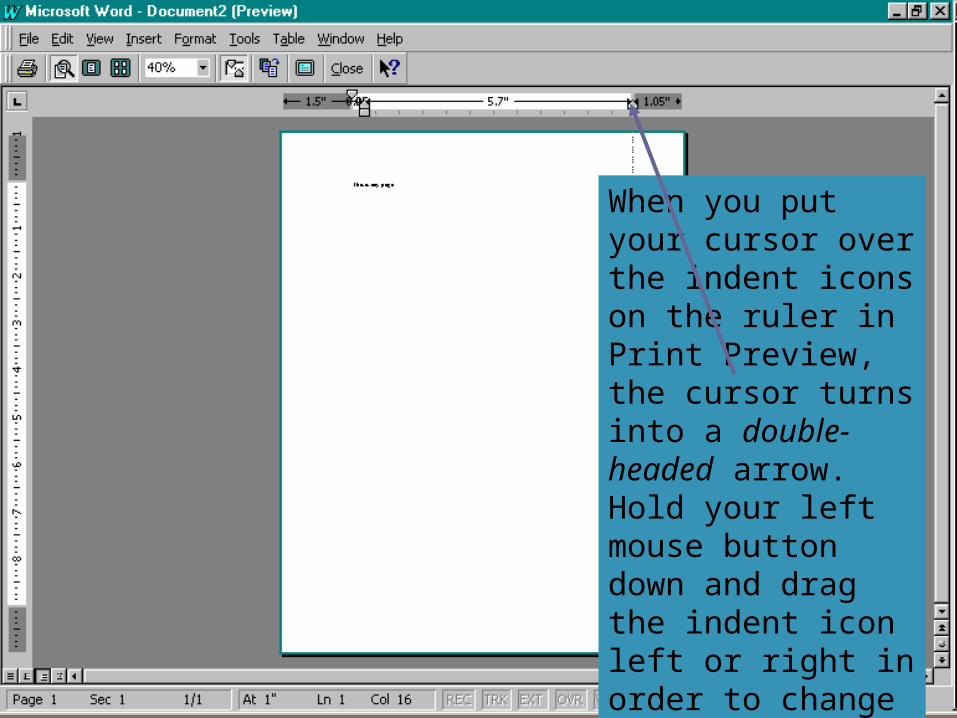
When you put your cursor over the indent icons on the ruler in Print Preview, the cursor turns into a double-headed arrow. Hold your left mouse button down and drag the indent icon left or right in order to change the margin width.
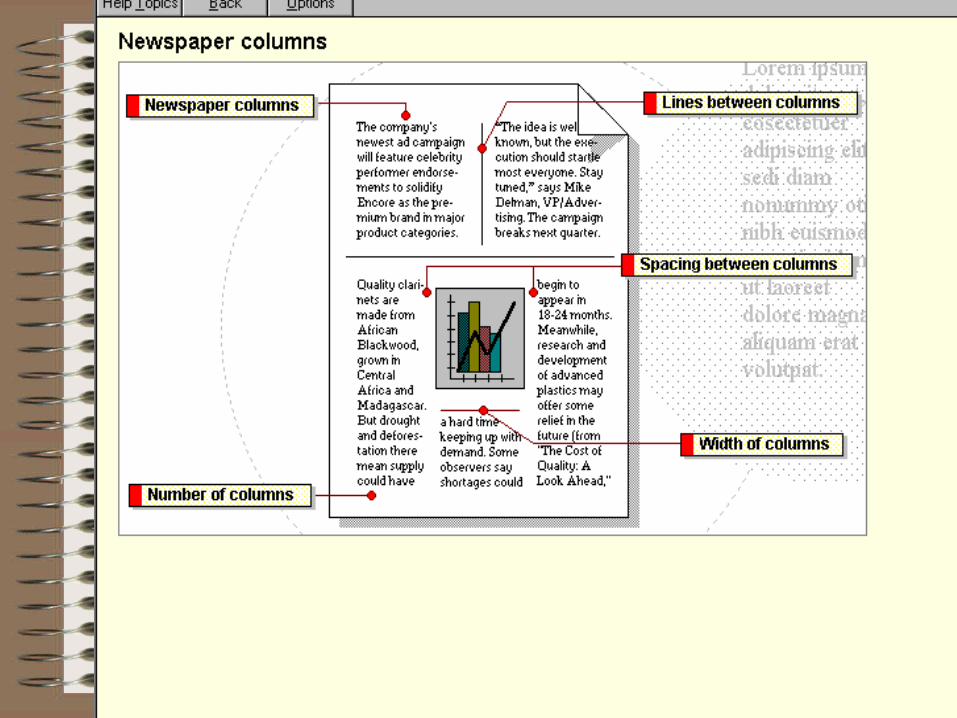
Columns
• Here we mean newspaper style columns.
• Text in newspaper columns (versus table columns) flows from the bottom of one column to the top of the next.
To specify the number of columns
• The portion of the document that will be turned into column format is either:• a portion that has been selected, if any; or
• the entire section where the insertion point is.
• To set the number of columns, either:• click the columns button on the standard toolbar; or
• do Format => Columns… and fill in the resulting dialog box.
• If you use Format => Columns you can also set• Whether there are vertical lines between
columns• The width of the columns• The spacing between columns
• These last two can also be set using the ruler, in Page Layout view.

To adjust column width and space between columns