working with nik color efex pro™ 3.0 in corel® … this tutorial, we’ll look at using the nik...
TRANSCRIPT
® ™Corel PaintShop Pro X4
What you will learn:
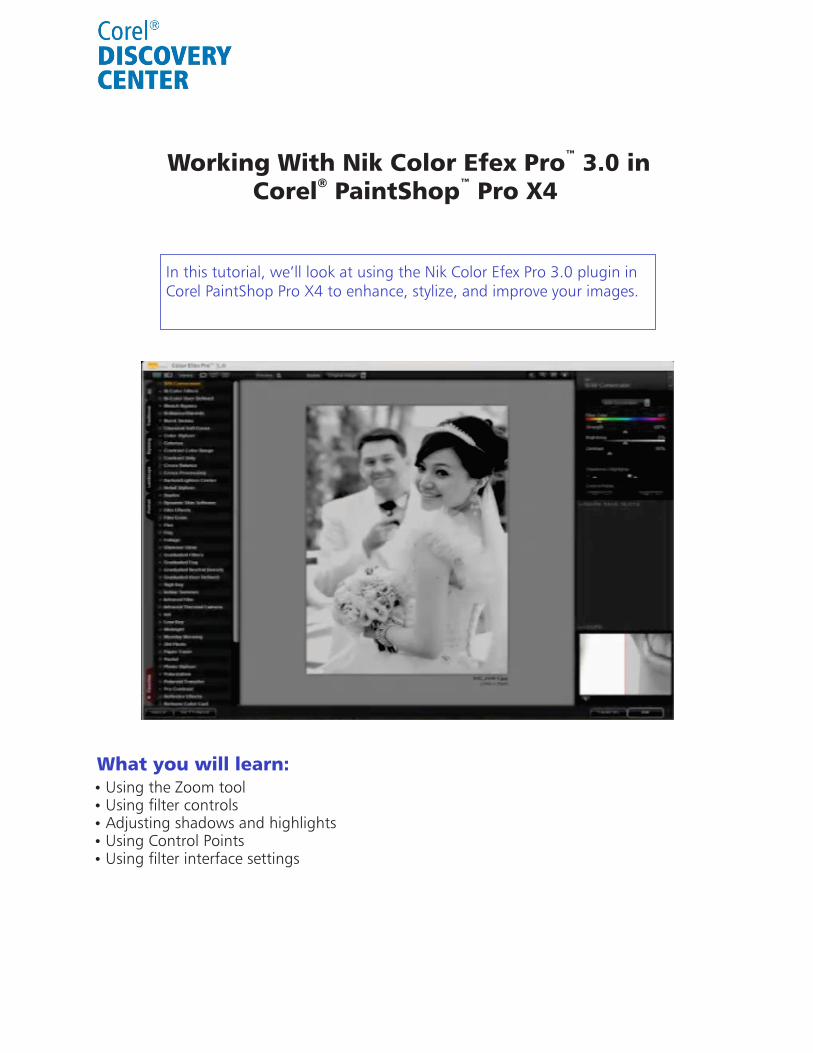
In this tutorial, we’ll look at using the Nik Color Efex Pro 3.0 plugin in Corel PaintShop Pro X4 to enhance, stylize, and improve your images.
™Working With Nik Color Efex Pro 3.0 in
Using the Zoom tool Using filter controls Adjusting shadows and highlights Using Control Points Using filter interface settings

1. Click the Edit tab to open the Edit workspace.
A list of the available filters opens to the left of the Image Preview. To hide the list to get a larger preview area, click Show Image Only.
3. Select a filter from the Filter Controls panel on the right.To revert back to the original view, click Show Image and Filter List.
2. Click Effects menu Plugins Nik Software Color Efex Pro 3.0 Complete.

Nik Color Efex Pro 3.0 offers three modes for previewing filter effects on the active image.
Single Image View is the default viewing mode.
Split Preview gives a simultaneous before and after view. Dragging the red line changes the size of the image area with the filter applied.
Side-by-Side Preview gives two, separate before and images.
When the Loupe tool is enabled, the cursor becomes a Pan tool so you can reposition the content in the Preview Window.

You activate the Zoom tool by pressing Z, and you can switch to it temporarily from other tools by pressing Ctrl+Spacebar. Pressing H switches to the Pan tool. Also,
The Protect Shadows and Protect Highlights sliders help you protect image details at both ends of the tonal range. Drag a slider to the right to increase protection and to the left to decrease. Changes are immediately reflected in the histogram.
Using the filter controls
Using the Zoom tool
Ctrl++ zooms in one levelCtrl+- zooms out one levelCtrl+0 to fitzoomsCtrl+Alt+0 zooms to 100%
You can also use the Navigator window to select a specific area of your image to preview. The Background Color Selector tool lets you change the background color surrounding the image.
All available filters are integrated into a single interface. Using the arrows, you can quickly scroll to the previous or next filter. The control sliders change depending on the selected filter.
Adjusting shadows and highlights
Clicking the Add a Control Point set to 0% Opacity button adds a Control Point preset with no filter effect.
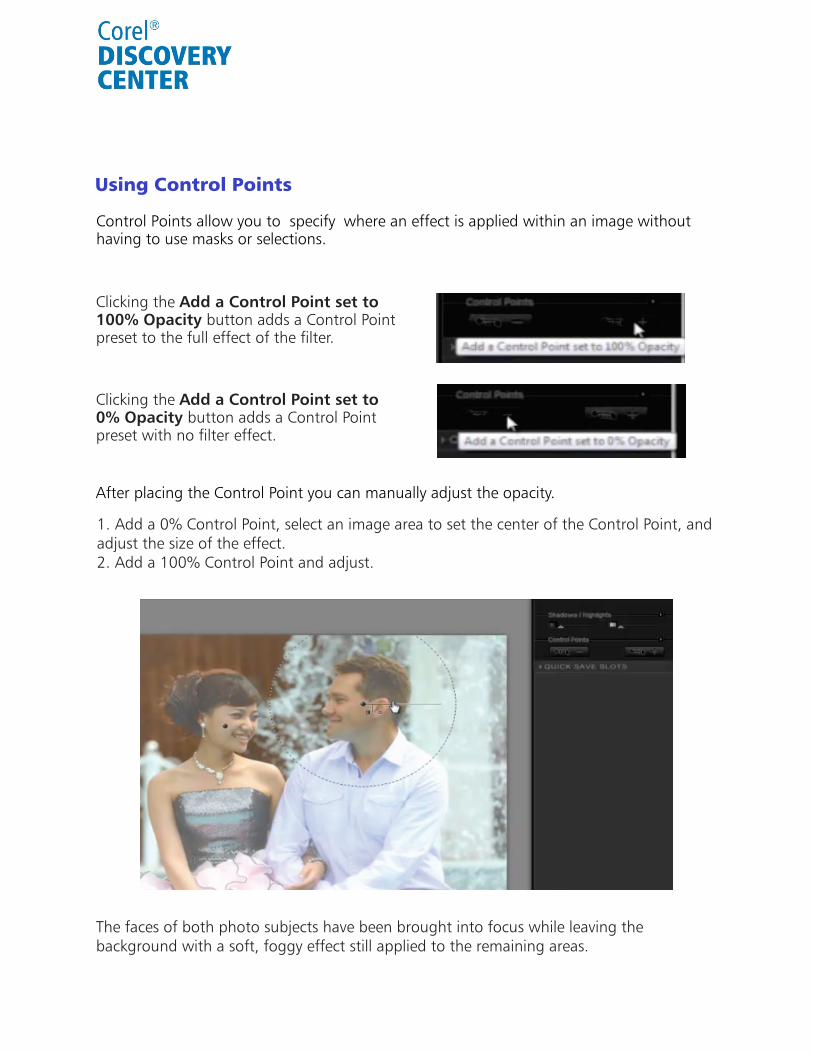
1. Add a 0% Control Point, select an image area to set the center of the Control Point, and adjust the size of the effect.2. Add a 100% Control Point and adjust.
The faces of both photo subjects have been brought into focus while leaving the background with a soft, foggy effect still applied to the remaining areas.
Using Control Points
Control Points allow you to where an effect is applied within an image without specifyhaving to use masks or selections.
Clicking the Add a Control Point set to 100% Opacity button adds a Control Point preset to the full effect of the filter.
After placing the Control Point you can manually adjust the opacity.

You can adjust individual Control Points by choosing one from the list in the Control Points panel.
For even greater control, you can use the Effect Overlay or Effect Mask commands to see exactly where the effect has been applied to your image.
Using the filter interface settings
You can customize the default look and functionality of the filters.
1. Click the Settings button.2. Choose the zoom level when the interface is launched. 3. Choose a previewing mode for images. 4. Choose a default background color. To restore Color Efex Pro 3.0 filter settings, click Reset.

You can use the Filter List options to access a set of effects, which are grouped together on a tab.
You can start a collection of your favorite effects by clicking the star next to the name of the filter to automatically add it to the Favorites tab.
If you enjoyed this tutorial, be sure to check out the other tutorials that are available in the Discovery Center. If you have any ideas for additional tutorials or projects that you would like to see in the future, email [email protected].
Each tab now displays a selected set of effects that are most commonly used for specific situations .