practical close-up & macro - 3d-con · pdf fileconcluding remarks • close-up/macro 3d...
TRANSCRIPT

Practical
Close-Up & Macro 3D Photography
By George Themelis
NSA - JULY 2015
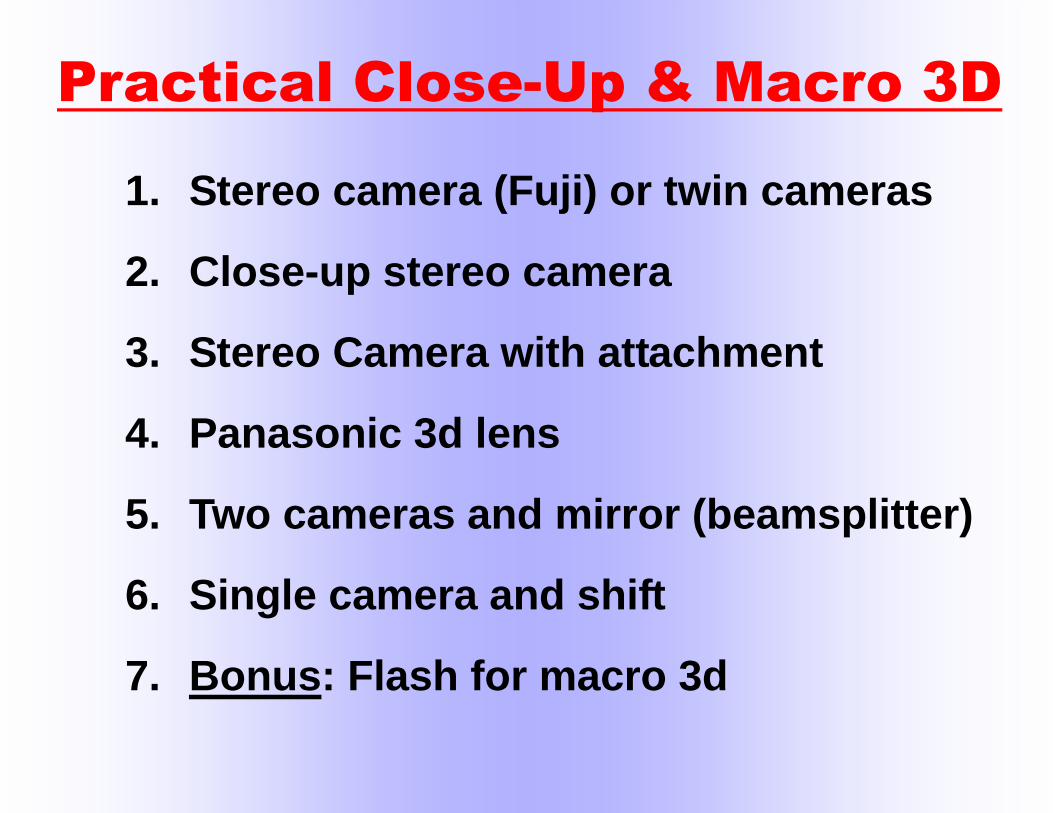
Practical Close-Up & Macro 3D
1. Stereo camera (Fuji) or twin cameras
2. Close-up stereo camera
3. Stereo Camera with attachment
4. Panasonic 3d lens
5. Two cameras and mirror (beamsplitter)
6. Single camera and shift
7. Bonus: Flash for macro 3d

Type of 3dType of 3dType of 3dType of 3d Think ofThink ofThink ofThink of
DistantDistantDistantDistant
CloseCloseCloseClose----upupupup
MacroMacroMacroMacro

The Problem

The Problem:
Excessive Stereoscopic Deviation
(too much depth!)

The Challenge: Keep stereoscopic deviation under control
B
P P ~ B/I
• In a close-up you need to come closer (reduce distance, I) to increase the magnifi-cation. This increases the stereoscopic deviation (P)
• To keep the stereoscopic deviation under control, you need to reduce the stereo
base (B)

Regular 3D Camera
Can a regular stereo camera ( B~ 50-75mm )
be used to take close-ups?

1. Regular 3D Camera
A regular 3D camera (B~55-75mm) or even twin cameras (B = 4 inches or more)
can be used for close-ups if the background is blocked. It also helps to:
Move back and zoom-in
Every time you double the distance and zoom in, the deviation is reduced by half, provided that the
background is blocked

2. Use a close-up camera
30mm
+ Good image quality + Well-aligned images + Image stabilization + Wide angle focal length + Well-suited for close-ups + Good battery performance + Compact & easy to use
- Limited exposure control - No ISO adjustment - No ability to turn flash on - Flash between lenses - Narrow base for general 3d - No 3d display
Panasonic Lumix 3D1 at a Glance - Positives & Negatives

Convergence Ratio
Type of picture Recommended C
Distant Stereo ~ 1/30
Macro ~ 1/10
Close-Up ~ 1/20
B = stereo base, I = distance Pictures with similar ratio show similar depth. The smaller this ratio, the stronger the depth.

Optimum Close-up Distance?
30m
Practical Question: Given the distance of the lenses B, how close can you get to your subject for a good close-up? Answer: I ~ 20B Fuji: B=75mm, I ~ 1.5m (60 inches, 5 ft). Panasonic: B=30mm, I ~ 600mm (24 inches, 2 ft). This is approximately the distance of the extended hands.
75m

3. 3D Camera & Macro Attachment
• Attachments use mirrors or prisms to allow stereo cameras to take close-up or even macro pictures.
• These attachments redirect the
light and effectively reduce the spacing of the recording lenses.
• Two examples include the RBT
macro attachment for RBT cameras and the Cyclopital3d attachment for the Fuji 3d cam-era.

4. Panasonic 3d Lens
10mm
• Micro 4/3 mount lens Produces a 3d (MPO) file in certain (all recent) micro 4/3 cameras by Panasonic and Olympus.
• Two lenses, 10mm apart
• 12.5mm FL, f12 fixed aperture, fixed focus (Range: 0.6m-INF)
• Not good for general photography (C = B/I = 1/60, extremely weak depth)
• Very good for macros thanks to its very short lens spacing, but it needs to be modified to focus closer

ExtensionExtensionExtensionExtension
CloseCloseCloseClose----up up up up LensesLensesLensesLenses
Modifications to focus closer ( increase magnification )Modifications to focus closer ( increase magnification )Modifications to focus closer ( increase magnification )Modifications to focus closer ( increase magnification )
Panasonic 3D Lens Modification

Advantages • Convenience • Portability • Reliability
Disadvantages • Not Flexible • Lower resolution

5. Two cameras & mirror
Macrobox for Canon SDM cameras—Features: • Adjustable stereo base from 0mm to 50mm • Filter threads in cover allows to use filters • High-quality half mirror w/ anti reflex coating • Made out of lightweight but stable plastic • Cost ~ 450 Euros
http://www.digi-dat.de/

6. ONE camera & shift
A single 2D camera is perhaps the easiest and least expen-sive way to start, especially if you already have a camera than can focus close. All you need to do is take one picture, shift the camera, take another picture, and you are done! Advantage: Flexible stereo base! Drawback: For stationary objects only
Starting recommendation for Stereo Base: ~ 1/20-1/10 x Distance Of Nearest Object Converge or not? It is OK to converge to save image Do NOT shift flash: If you use flash, do not shift flash

Equipment Choices
• Your Stereo Camera (Fuji in Advanced 3d mode)
• Compact Digital camera
• Digital camera with interchangeable lenses:
Vintage Macro Lens Equipment
Standard lens with Close-up lenses or extension
Macro Lens
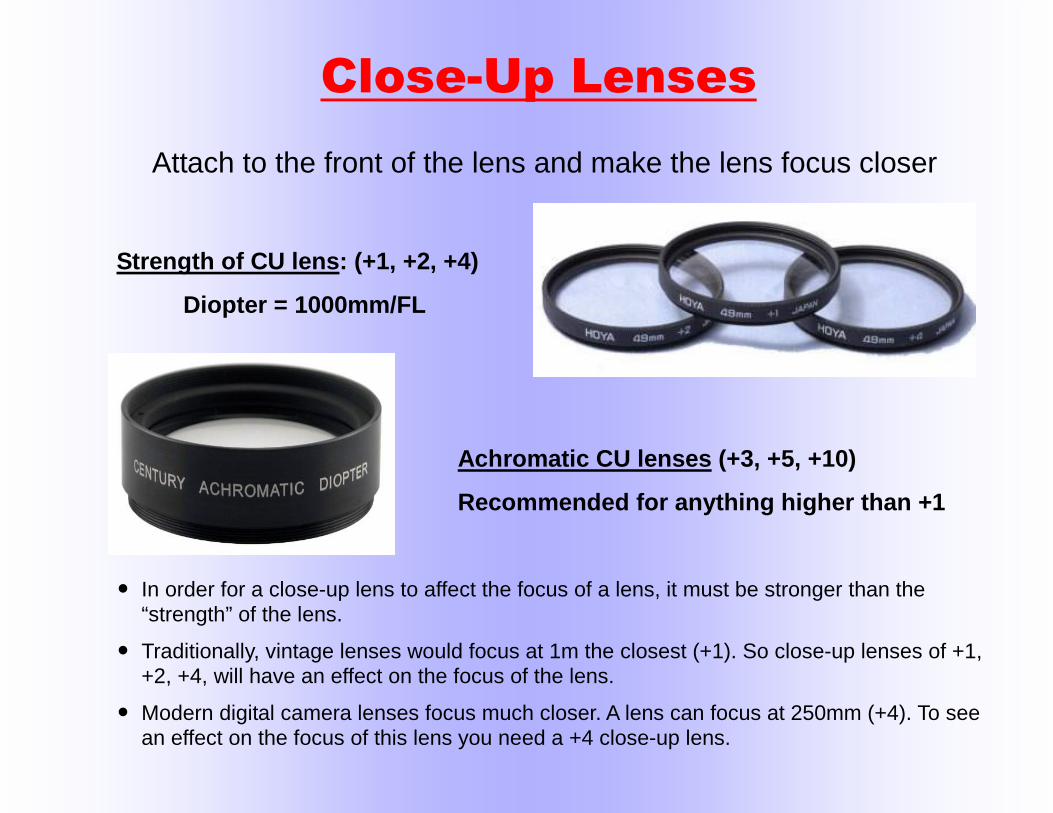
Close-Up Lenses
Attach to the front of the lens and make the lens focus closer
Strength of CU lens: (+1, +2, +4)
Diopter = 1000mm/FL
Achromatic CU lenses (+3, +5, +10)
Recommended for anything higher than +1
• In order for a close-up lens to affect the focus of a lens, it must be stronger than the “strength” of the lens.
• Traditionally, vintage lenses would focus at 1m the closest (+1). So close-up lenses of +1, +2, +4, will have an effect on the focus of the lens.
• Modern digital camera lenses focus much closer. A lens can focus at 250mm (+4). To see an effect on the focus of this lens you need a +4 close-up lens.

USE of FLASH
1. Freezes Motion
2. Allows using small f-stops
3. Darkens Background
4. Consistent Light
Metz 15 MS-1
For macro pictures flash works par-ticularly well because the size of the flash head can be as large or larger than the subject, which avoids typi-cal harsh shadows when the light source is small. There are a variety of macro flash units, including ring flashes and units with LED lights. One of my personal favorite is the Metz M15 S-1. One important variable when using flash is shutter speed synchroniza-tion. It is an advantage if the flash can be synchronized at high shutter speeds (not always possible). Using a high shutter speed will reduce am-bient exposure and keep the back-ground dark, while the main subject is illuminated by the flash.
Flash Techniques
1. There is no prefect Flash technique for all subjects.
2. Front evenly distributed flash (ring) brings up a lot of details and will benefit many subjects.
3. Flash at a low angle (side flash) creates shadows and contrast and adds drama.
4. Back light adds a new level of interest.

Concluding Remarks
• Close-up/Macro 3D photography is fascinating and, now, with digital photography, it is easier than ever to experiment.
• You can use your stereo camera for good close-ups if you block the background and move back and crop/zoom-in.
• The least expensive method is using one camera and shift (for stationary objects - you could even use the Fuji in the advance 3d mode).
• The simplest method is using the Panasonic 3D1 camera for close-ups and the Panasonic 3d lens for macros.
• Some experimentation might be required to get good results. The results however more than justify the effort.

Method B
1. Stereo camera (Fuji) 50mm+ X
2. Close-up stereo camera 30mm X x
3. Stereo Camera + attachment 30mm X x
4. Panasonic 3d lens 10mm x X
5. Two cameras and mirror (beamsplitter) 0-50mm X X
6. Single camera and shift 0-inf X X
Practical Close-Up & Macro 3D