prepress - efi.com · using the following simple prepress and on-press steps, you will be able to...
TRANSCRIPT
There are many instances where it becomes necessary to print on both sides of a label or narrow web substrate.
Using the following simple prepress and on-press steps, you will be able to successfully produce double sided
prints on an EFI™ Jetrion® digital press.
Prepress
1. Prepare two separate print files:
a) The back/inside file should contain any white images you want to print
b) The front file should contain any die line information needed
2. Once your two files are prepared, import them into Fiery XF
3. In XF, apply the following settings to the back/inside file:
a) Under the Layout Tab: Mirror the image and select “Rotate 180”
b) Also in the Layout Tab: Center the image on the media
c) Using the Transform Tool, crop a portion of the image from the bottom
Note: There needs to be a slight variation in size, even if it’s just a pixel, for proper
reregistration of the images on press
d) RIP your image, making sure the cyan tick mark is applied; if triggering from
another tick mark, make sure it is in the artwork
4. Import and RIP your front file as you would normally
On press
1. In Mercury, import the back/inside ripped file first
2. Print the desired quantity
Note: There will be some extra media and printed images needed for re-webbing,
setup and registration of the second side
3. Once printing is complete, remove the prints from the rewinder and splice in
at the unwinder, putting a clean core at the rewinder
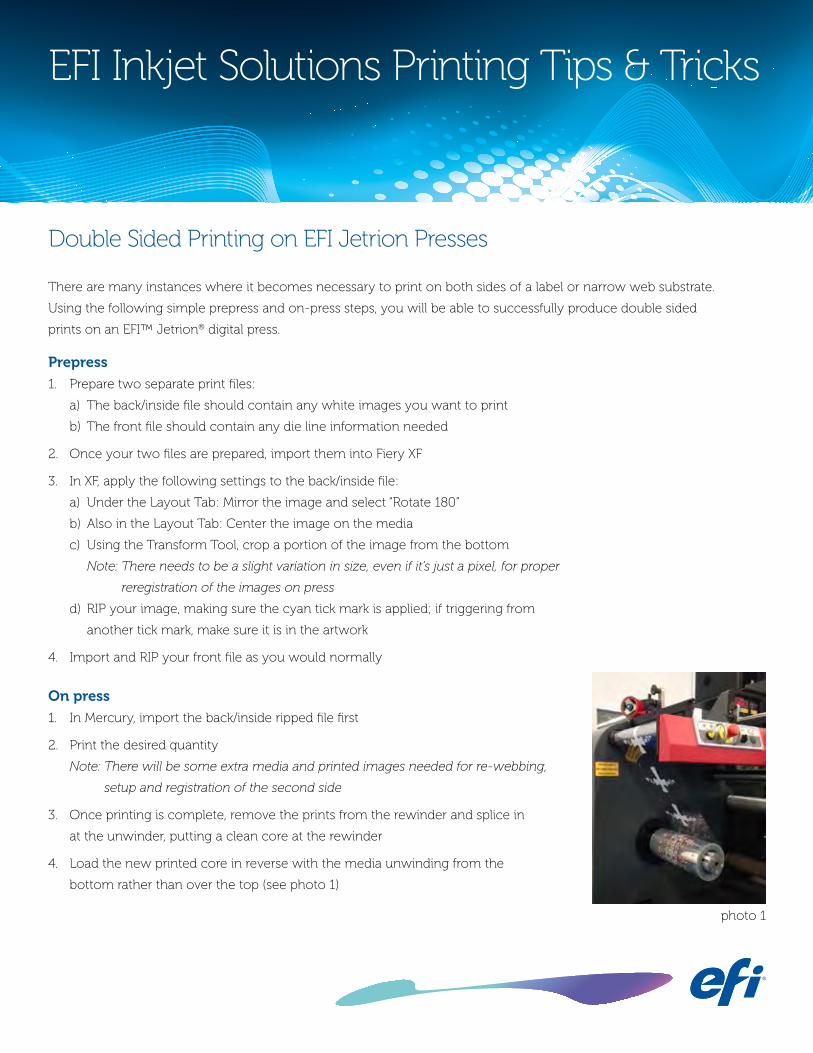
4. Load the new printed core in reverse with the media unwinding from the
bottom rather than over the top (see photo 1)
EFI Inkjet Solutions Printing Tips & Tricks
Double Sided Printing on EFI Jetrion Presses
photo 1
Double Sided Printing on EFI Jetrion Presses (continued)
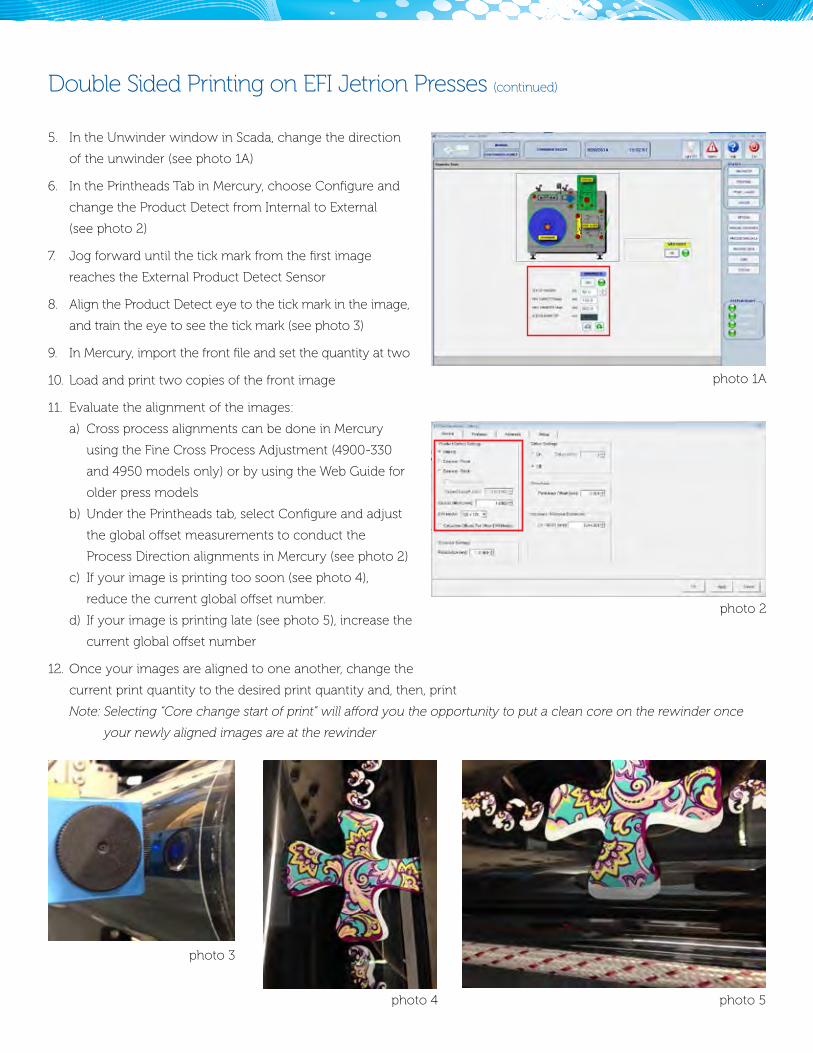
5. In the Unwinder window in Scada, change the direction
of the unwinder (see photo 1A)
6. In the Printheads Tab in Mercury, choose Configure and
change the Product Detect from Internal to External
(see photo 2)
7. Jog forward until the tick mark from the first image
reaches the External Product Detect Sensor
8. Align the Product Detect eye to the tick mark in the image,
and train the eye to see the tick mark (see photo 3)
9. In Mercury, import the front file and set the quantity at two
10. Load and print two copies of the front image
11. Evaluate the alignment of the images:
a) Cross process alignments can be done in Mercury
using the Fine Cross Process Adjustment (4900-330
and 4950 models only) or by using the Web Guide for
older press models
b) Under the Printheads tab, select Configure and adjust
the global offset measurements to conduct the
Process Direction alignments in Mercury (see photo 2)
c) If your image is printing too soon (see photo 4),
reduce the current global offset number.
d) If your image is printing late (see photo 5), increase the
current global offset number
12. Once your images are aligned to one another, change the
current print quantity to the desired print quantity and, then, print
Note: Selecting “Core change start of print” will afford you the opportunity to put a clean core on the rewinder once
your newly aligned images are at the rewinder
photo 1A
photo 2
photo 3
photo 4 photo 5