primer + paint in color of choice - just a girl and her blog€¦ · · 2017-03-24• primer +...
TRANSCRIPT


When we began our kitchen remodel, we knew we were going to have to do something about the trash can-- our old one was stained and dented and just had to go. While we would have loved to have had room to work the trash can into the cabinets that were already part of the kitchen plan, space prohibited us from doing so, so we set out to build a custom cabinet of our own.
Like Abby always does, she found the perfect plan for a custom built tilt-out trash can cabinet on Ana White’s fantastic DIY blog (http://ana-white.com/2011/04/wood-tilt-out-trash-or-recycling-cabinet). (While you’re on her site, check out her progress on her Alaskan cabin!) I quickly looked over the plan and agreed to give it a shot. I’m no cabinet builder, but I do know how to measure and cut wood. Paint and wood-filler can hide a lot of mistakes!
We decided to modify the plan and give it a more custom look by using a cabinet door that matched the rest of our kitchen rather than building a generic door that was a different style.
Here are the tools and materials we used for the project:
• Cabinet door that matches your kitchen • 1x12 -12ft • 1x3 -8ft • 1x2 -16ft • Chop saw • Circular saw (a table saw would’ve been better) • Kreg R3 Pocket Hole System with clamp and screws • Cordless Drill, impact driver • Orbital sander • Elmer’s Carpenter's Wood Glue • Elmer’s Carpenter's Wood Filler • Narrow hinges • Cabinet pull • Bar clamps

• Primer + paint in color of choice
The first step was deciding what size cabinet door would work best for this project. We ended up with a 21” x 30” door, and that ended up being perfect for a large size garbage can. Depending on the size of your space, you may prefer a smaller or larger finished project.
At the home improvement store, I didn’t realize I would have so many 1x12 options. I knew that my project would be painted, so I was more concerned with finding straight boards that were knot-free. I ended up with some really nice pine boards-- not the best choice for high-end furniture, but the perfect price point for this garbage can project.
When preparing to cut the four sides of the cabinet frame out of 1x12s, I used the cabinet door measurements and added an 1/8” to each side. This ensured that I had plenty of room for the narrow hinges and freedom of movement to open and close the tilt-out cabinet.
I can’t overemphasize how important it is to get your initial dimensions and cuts just perfect. There was no way to alter the size of the cabinet door, so I had to make sure the cabinet frame would create a perfect fit. I used a pencil and paper to sketch everything out. Measure twice, cut once! I also made sure I left enough room at the bottom of the cabinet for the 1x3 toe kick.
Once I had the 4-sided frame of 1x12s measured and cut, I double checked my dimensions one more time. I even went as far as to hold everything up against my cabinet door to make sure my math wasn’t off. After this triple verification, I started making my pocket holes to connect the frame together.
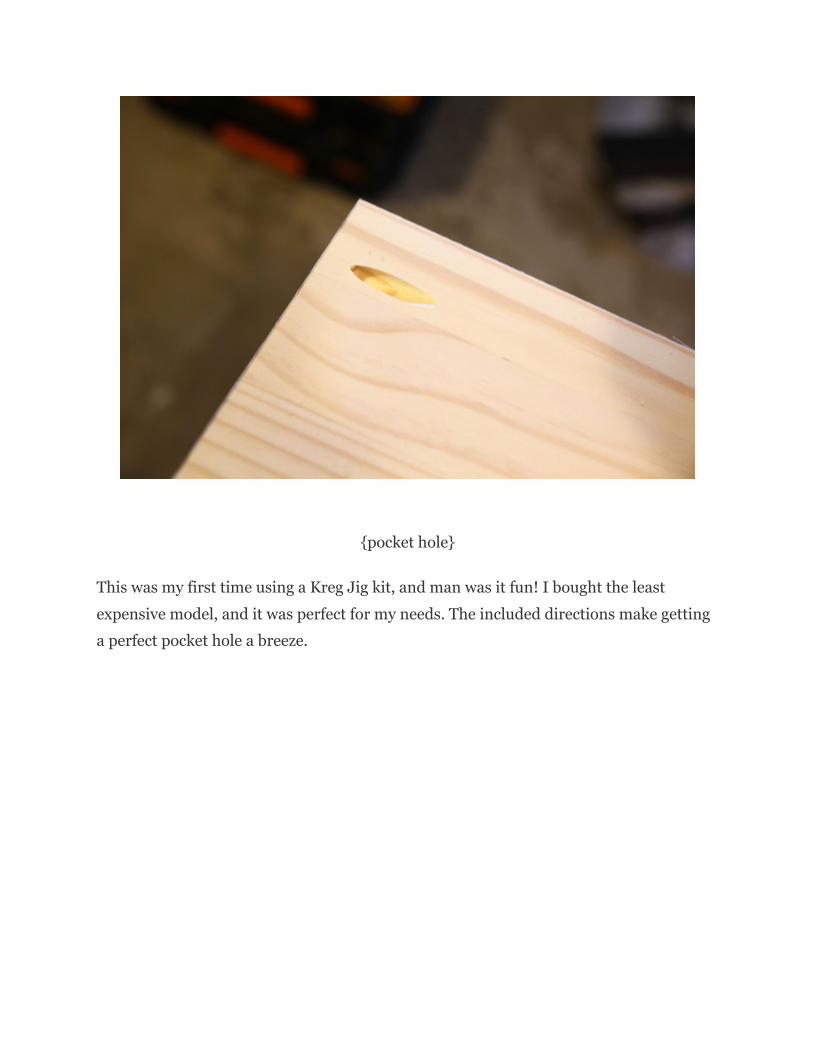
{pocket hole}
This was my first time using a Kreg Jig kit, and man was it fun! I bought the least expensive model, and it was perfect for my needs. The included directions make getting a perfect pocket hole a breeze.
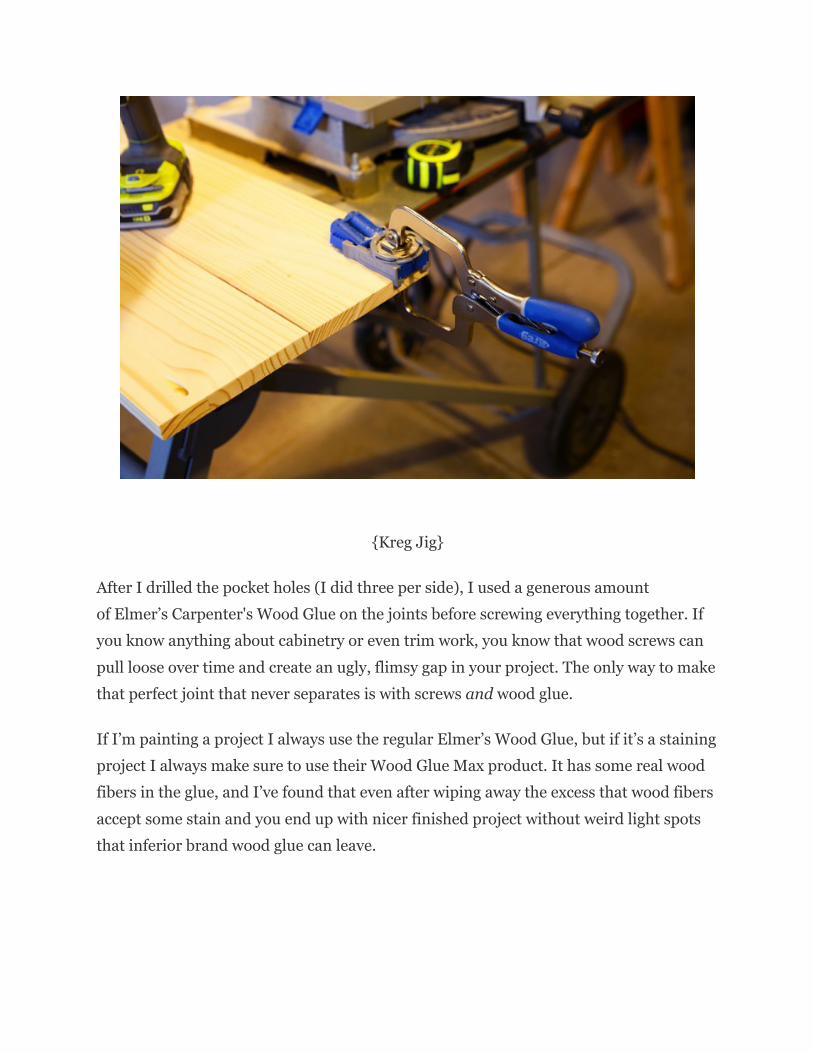
{Kreg Jig}
After I drilled the pocket holes (I did three per side), I used a generous amount of Elmer’s Carpenter's Wood Glue on the joints before screwing everything together. If you know anything about cabinetry or even trim work, you know that wood screws can pull loose over time and create an ugly, flimsy gap in your project. The only way to make that perfect joint that never separates is with screws and wood glue.
If I’m painting a project I always use the regular Elmer’s Wood Glue, but if it’s a staining project I always make sure to use their Wood Glue Max product. It has some real wood fibers in the glue, and I’ve found that even after wiping away the excess that wood fibers accept some stain and you end up with nicer finished project without weird light spots that inferior brand wood glue can leave.
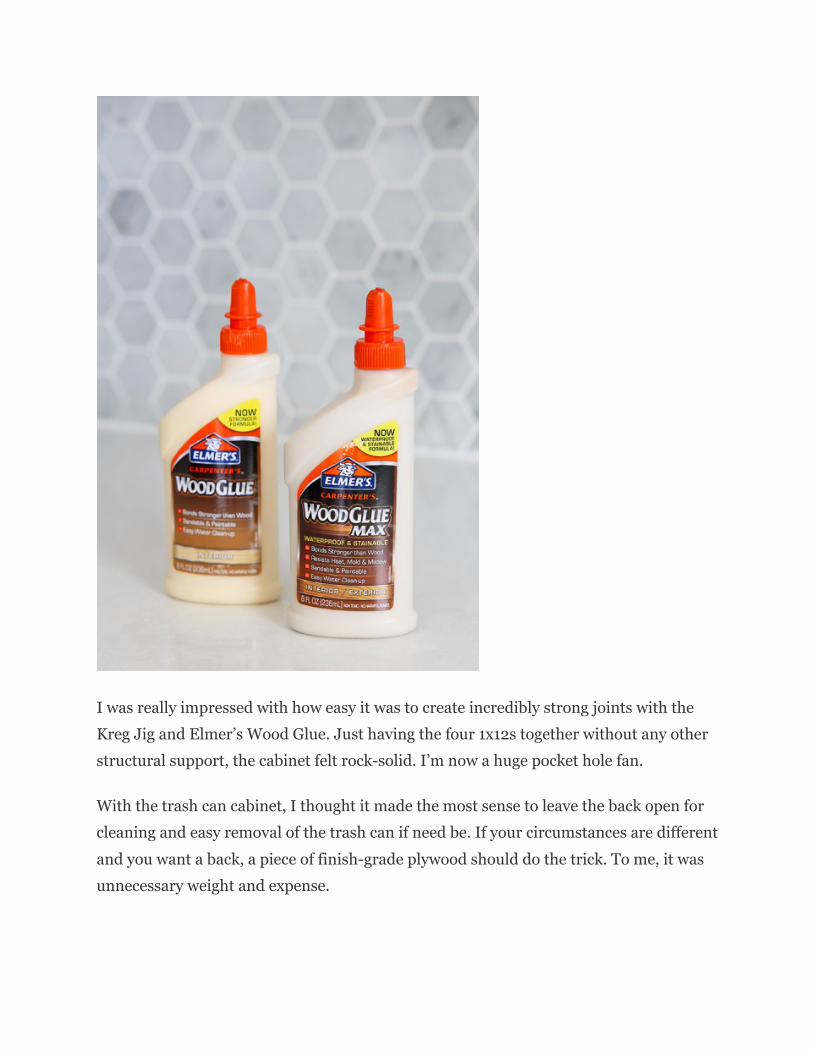
I was really impressed with how easy it was to create incredibly strong joints with the Kreg Jig and Elmer’s Wood Glue. Just having the four 1x12s together without any other structural support, the cabinet felt rock-solid. I’m now a huge pocket hole fan.
With the trash can cabinet, I thought it made the most sense to leave the back open for cleaning and easy removal of the trash can if need be. If your circumstances are different and you want a back, a piece of finish-grade plywood should do the trick. To me, it was unnecessary weight and expense.

After the four cabinet sides were joined, it was time to attach the various 1x3s and 1x2s trim pieces to give the cabinet a finished look. I followed the exact same process as before — measure twice, cut once, attach with the pocket hole method and Elmer’s Wood Glue. At this stage I found that bar clamps were helpful in holding the small trim pieces in place while I fastened the joints.
Here’s where I used my 1x3s:
• Bottom toe-kick • Rear base trim • Underneath the top front ledge
Here’s where I used my 1x2s:
• Cabinet top overhanging “lip” • Front and back sides • Top back piece

That may sound confusing but it really wasn’t. Take a look at our picture as well as the Ana White plan, and it’s pretty obvious where each piece goes.
Another benefit to using pocket holes is that you don’t have a bunch of nail or screw holes on the front surface of your project. I did have a gap or two where my trim pieces came together (I’m not a pro) and for those I quickly filled them with Elmer’s Wood Filler. Done.
Once the trim pieces were attached and glued, I made sure to sand down the cabinet with my orbital sander. This inexpensive tool really comes in handy for these woodworking-type projects. I actually enjoy listening to podcasts with my headphones while I let the power sander do all the work. I worked my way down progressively, starting with a a course sand paper and moving to a very fine sandpaper. This gave me a nice smooth surface for primer and paint.
Once the cabinet “box” was painted, it was time to work on the tilt-out cabinet door. You can see in the picture that that I cut two 1x12s at a 45 degree angle with my chop saw (a table saw or circular saw would work as well) for the angled sides. I then made a straight cut on a 1x12 for the garbage can resting spot.

I now had two separate pieces of the project — the cabinet frame and the tilt-out cabinet door. Place the door into the cabinet frame to make sure everything fits. (I held my breath for this.)
When selecting hinges for the project, I considered a 12” long piano style hinge, but I ended up buying two narrow hinges that were smaller but seemed slightly thicker and more durable than the bendy piano hinges. I suspect that either would work just fine.
I placed the hinges on the cabinet frame and traced them with a pencil before using a wood chisel to create slightly recessed seat for the hinges. I could have skipped this step, but the recessed hinges allowed for a better fit. It would’ve been a little too tight without the recess for the hinges. I decided not to create the same indent or recessed spot on the cabinet door because of the much harder material of the cabinet front. After creating the indent on the cabinet frame, attaching the hinges with the provided wood screws was easy.

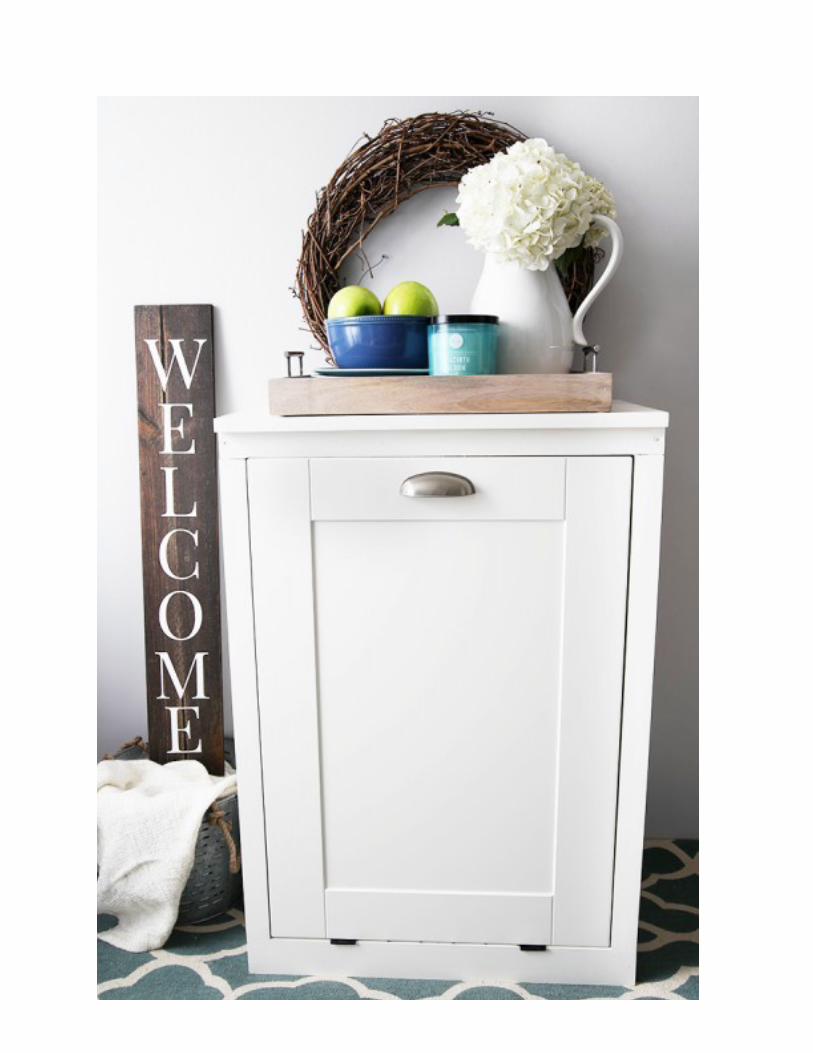
We used a drawer pull that matched the rest of our kitchen for the handle, and the project was complete!


{view of the back of the cabinet}
For this type of custom project I recommend purchasing your ideal size/style trash can first and then building a tilt-out cabinet around that size. Our local Target had a dozen or so trash can size options, and the large rectangular trash cans seemed to work best.

This really is the type of project that anyone can do. For woodworking, the joinery aspect is always the most difficult for me, but I have so much more confidence now that I’ve discovered the strength of pocket hole + Elmer’s Wood Glue combination.