the tad supported simplified molar distalizer: ”the frog” kevin... · the tad supported...
TRANSCRIPT
5/6/2013
1
Kevin C. Walde, D.D.S., M.S. Washington, Missouri USA
The TAD Supported Simplified
Molar Distalizer:
”The FROG”
The 113th Annual Session of the
American Association of Orthodontists
Thanks Tako Araujo
Subject: Frog info
•Each 360° turn activates the appliance .4mm •3 turns (1.2mm) per month or •5 turns (2mm) per 2 months
Advantages of the
“FROG”

5/6/2013
2
•Easy assembly, easy delivery
•Easy activation (very short chair time)
•Spring is easily removed and adjusted
•3-D molar control
•Bodily molar movement (less relapse?)
•Unilateral or bilateral distalization
•Works with erupted second molars
•No patient compliance required
• Invisible
Advantages of the FROG
LABORATORY
FABRICATION
Place the TADs as
close to the midline as
possible for better
bony support.
•Fit and cement molar bands with lingual sheaths
•An accurate impression including the palatal tissue and the lingual sheaths of the first molars is necessary.
5/6/2013
3
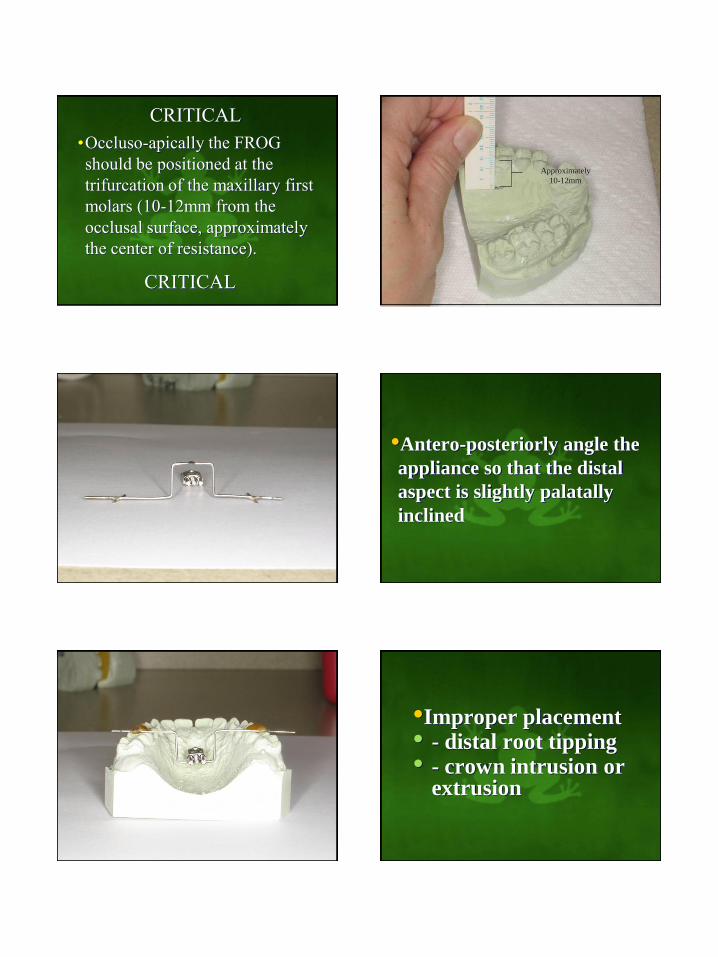
•Occluso-apically the FROG
should be positioned at the
trifurcation of the maxillary first
molars (10-12mm from the
occlusal surface, approximately
the center of resistance).
CRITICAL
CRITICAL
Approximately
10-12mm
•Antero-posteriorly angle the
appliance so that the distal
aspect is slightly palatally
inclined
•Improper placement • - distal root tipping • - crown intrusion or extrusion

5/6/2013
4
•The distalizing spring is
fabricated from a
preformed .032 stainless
steel blank.
•There are adjustment
loops on both sides of the
center for fine tuning the
distalizing spring.
Adjustment loops
•Double back bends are
placed on the ends for
insertion into the lingual
sheaths.
Double back bends
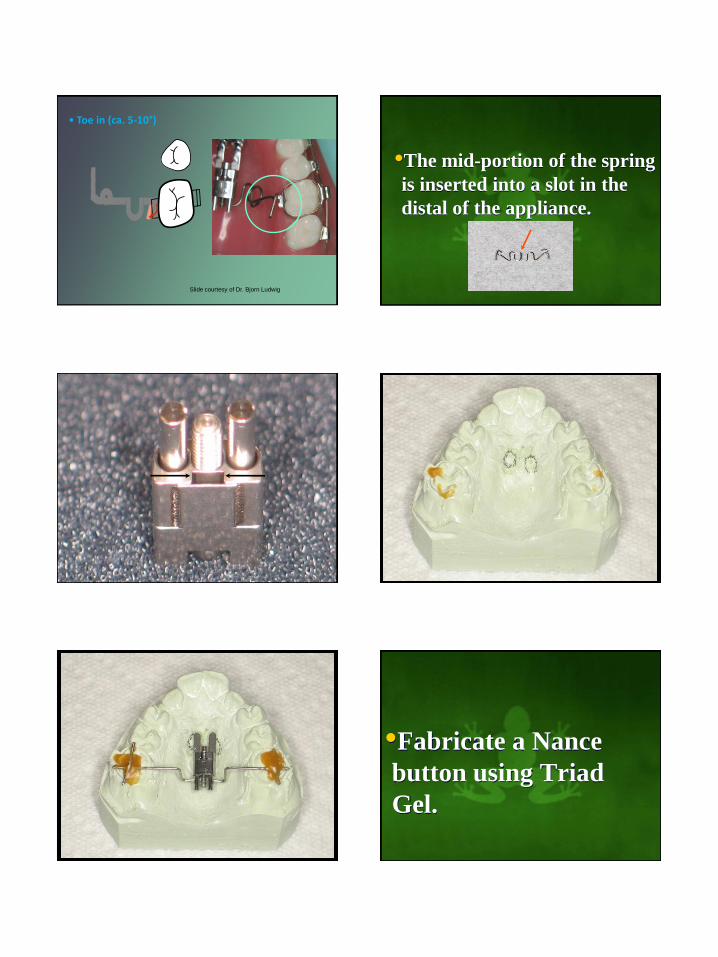
•Place 5-10 degrees of toe-
in in the double back
bends for counter
rotation.
5/6/2013
5
• Toe in (ca. 5-10°)
Slide courtesy of Dr. Bjorn Ludwig
•The mid-portion of the spring
is inserted into a slot in the
distal of the appliance.
•Fabricate a Nance
button using Triad
Gel.
5/6/2013
6
5/6/2013
7
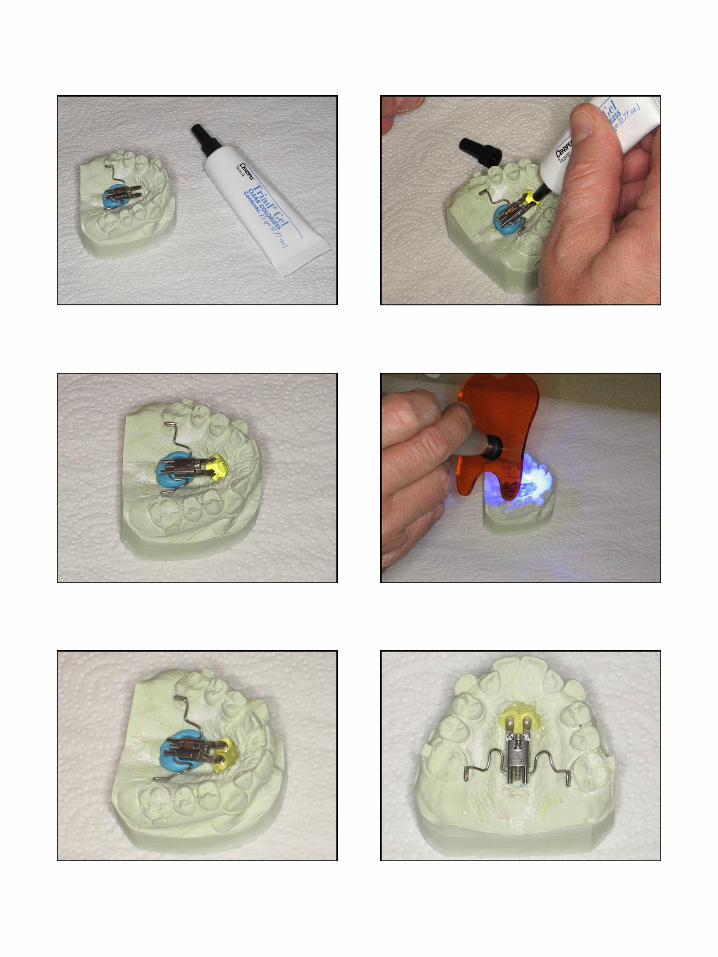
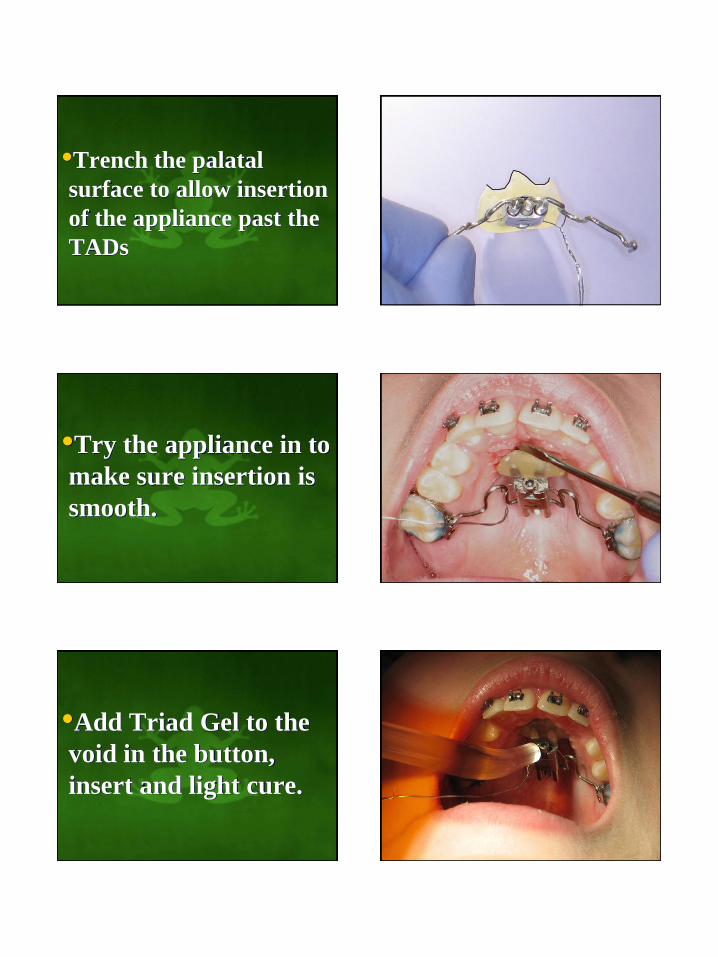
•Trench the palatal
surface to allow insertion
of the appliance past the
TADs
•Try the appliance in to
make sure insertion is
smooth.
•Add Triad Gel to the
void in the button,
insert and light cure.
5/6/2013
8
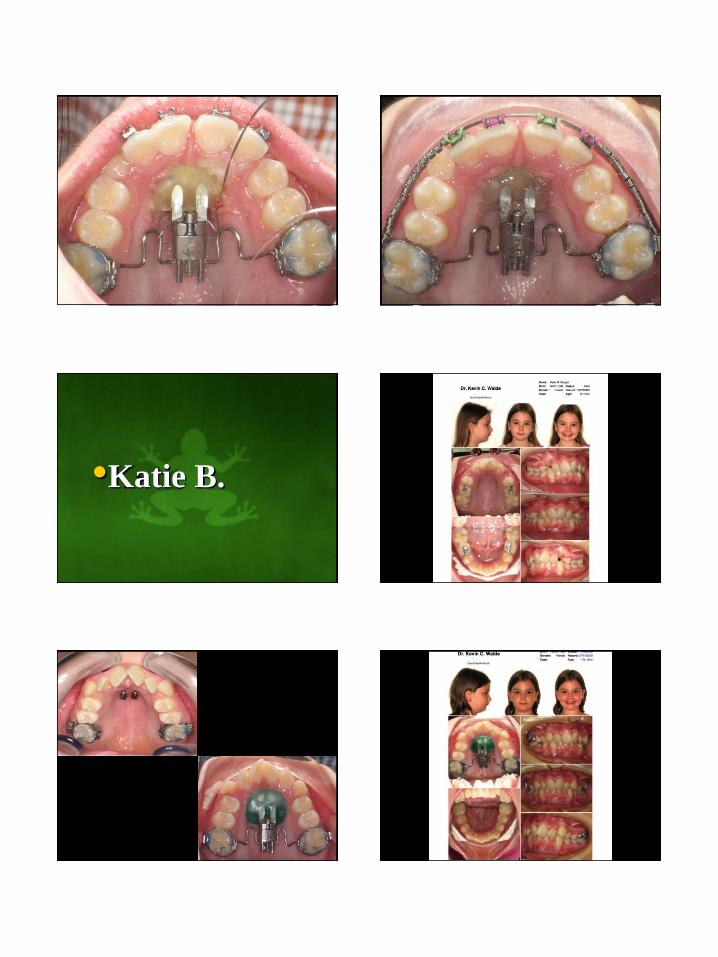
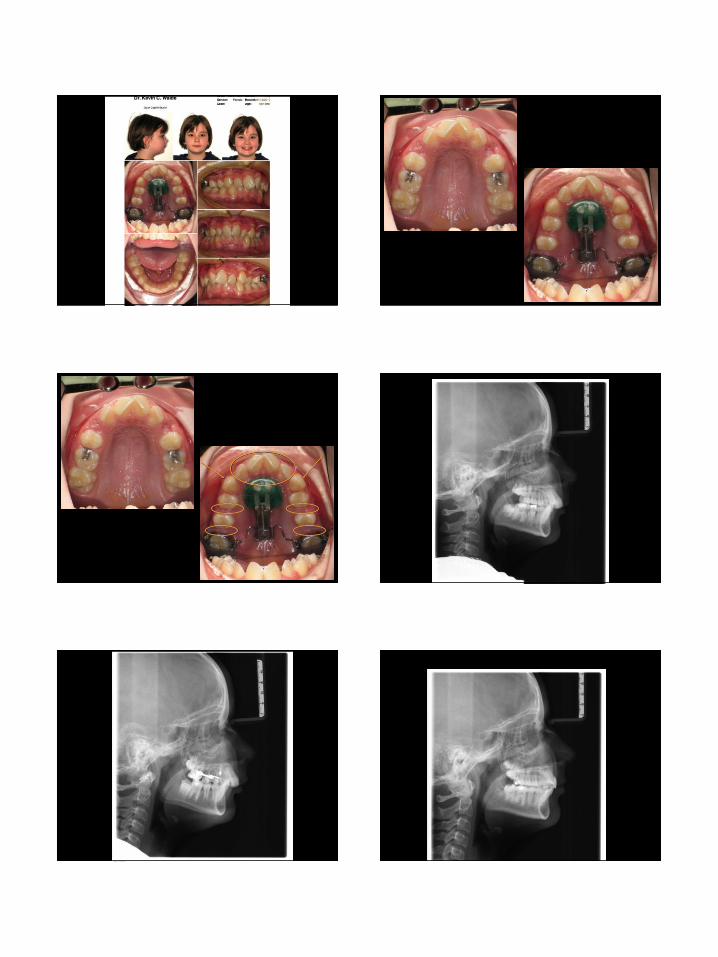
•Katie B.
5/6/2013
9
Text
5/6/2013
10
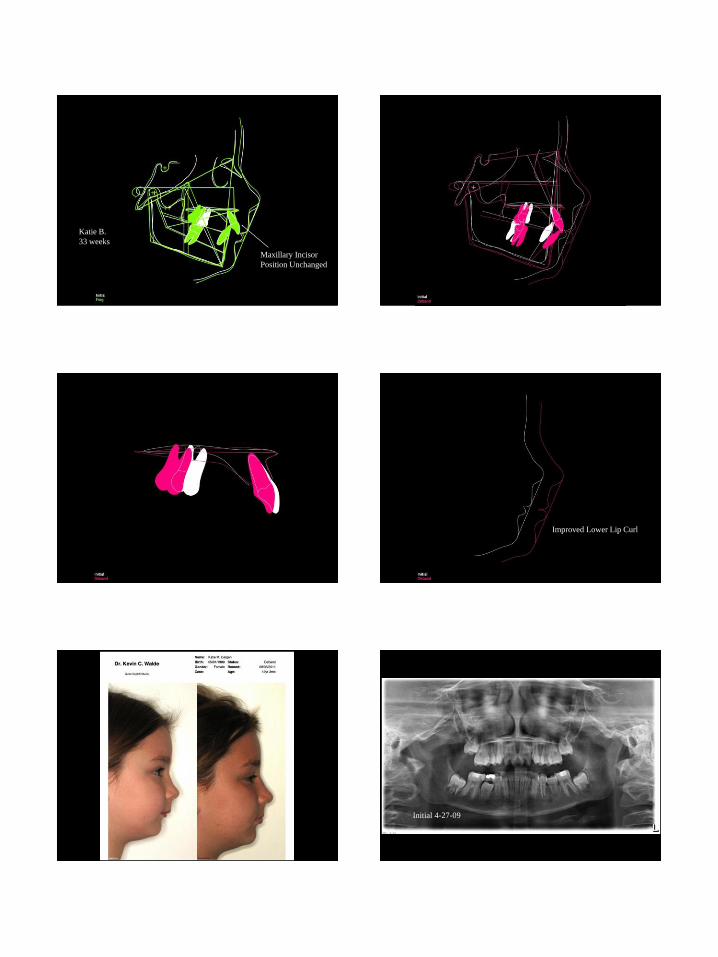
Katie B.
33 weeks
Maxillary Incisor
Position Unchanged
Text
Text Text Improved Lower Lip Curl
Initial 4-27-09
5/6/2013
11
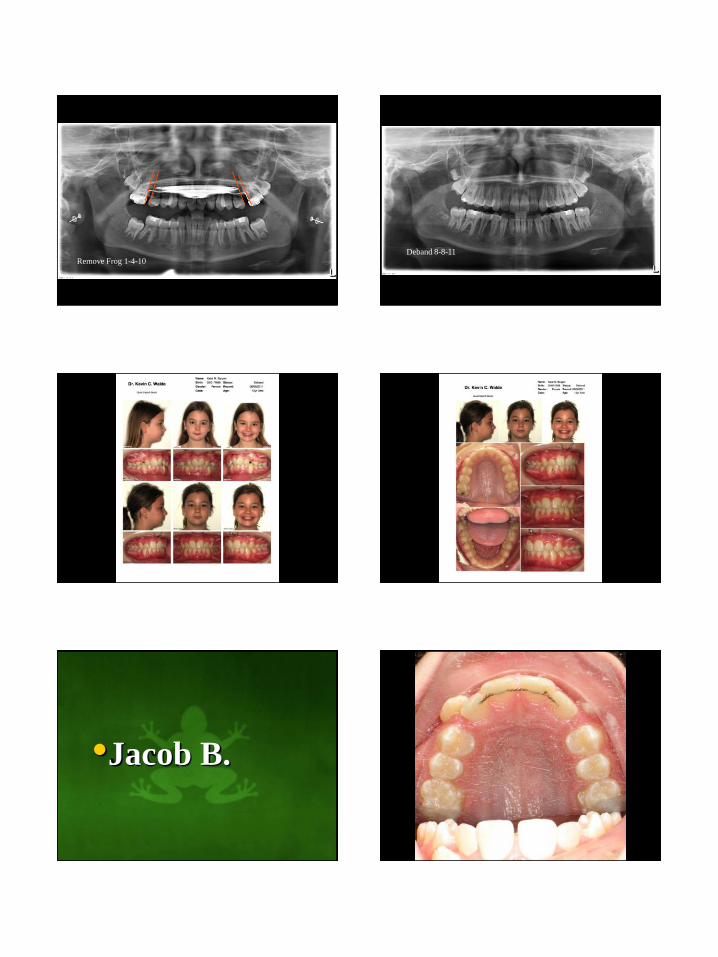
Remove Frog 1-4-10 Deband 8-8-11
Text
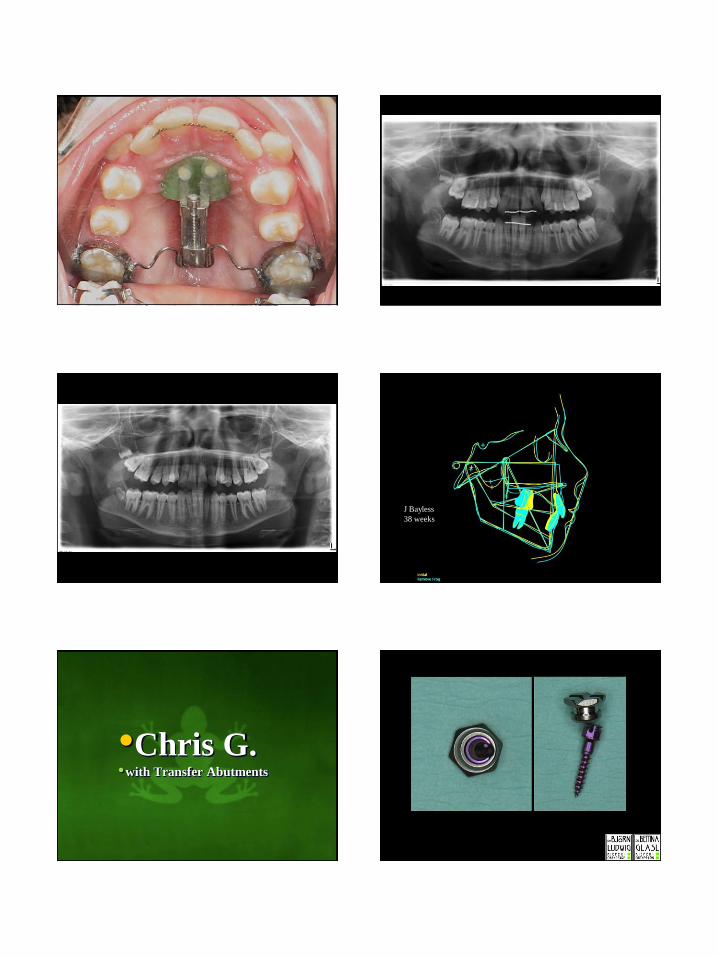
•Jacob B.
5/6/2013
12
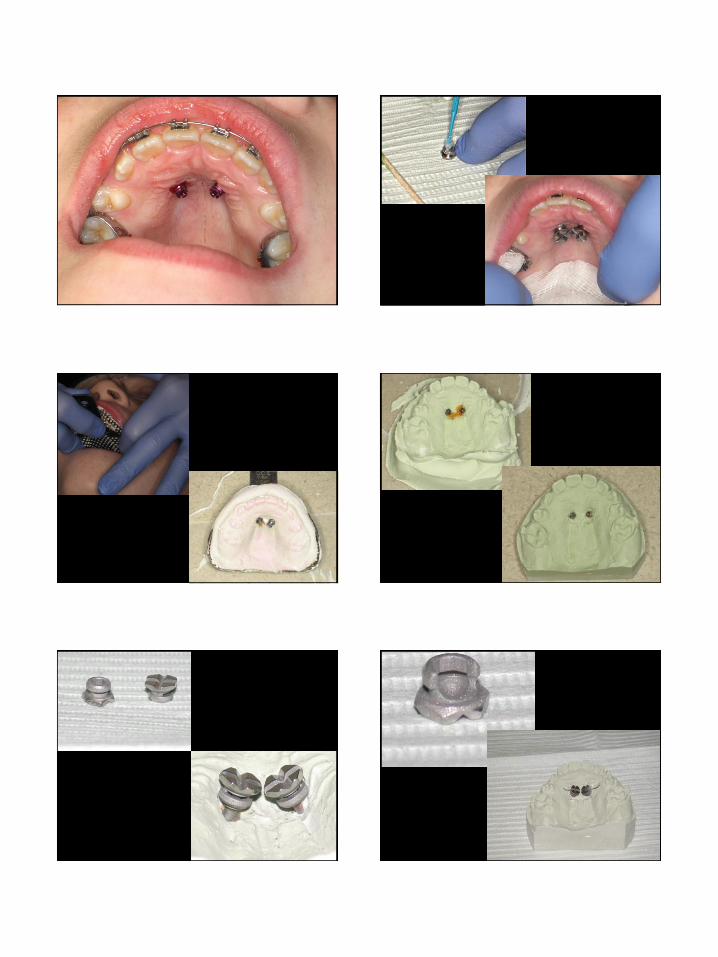
J Bayless
38 weeks
•Chris G. •with Transfer Abutments

5/6/2013
13

5/6/2013
14
Modified Transfer
Abutments
5/6/2013
15

5/6/2013
16

5/6/2013
17
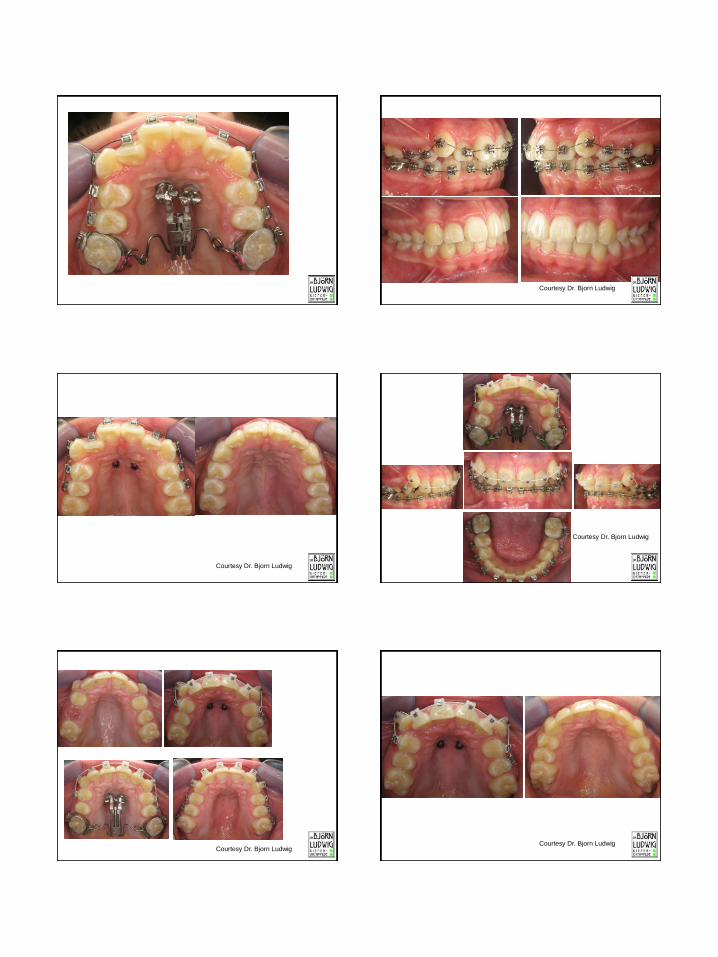
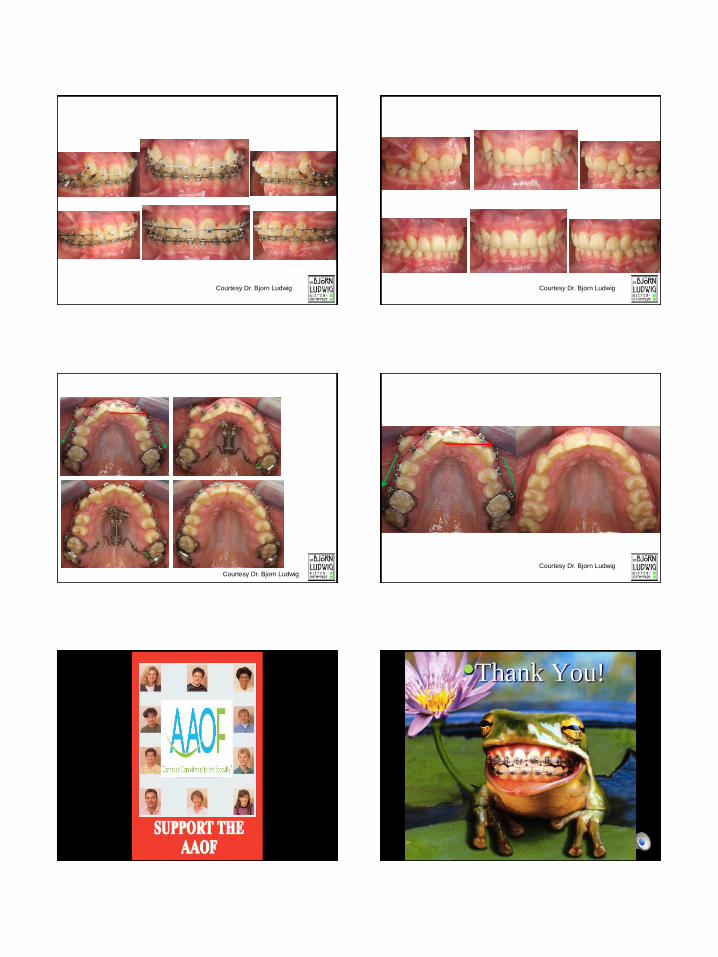
•The following slides are courtesy of Dr. Björn Ludwig
Courtesy Dr. Bjorn Ludwig Courtesy Dr. Bjorn Ludwig
Courtesy Dr. Bjorn Ludwig
Courtesy Dr. Bjorn Ludwig
5/6/2013
18
Courtesy Dr. Bjorn Ludwig
Courtesy Dr. Bjorn Ludwig
Courtesy Dr. Bjorn Ludwig
Courtesy Dr. Bjorn Ludwig Courtesy Dr. Bjorn Ludwig
5/6/2013
19
Courtesy Dr. Bjorn Ludwig Courtesy Dr. Bjorn Ludwig
Courtesy Dr. Bjorn Ludwig
Courtesy Dr. Bjorn Ludwig
•Thank You!