wa1853 websphere process server v7.0 administration · login as the same user you used to install...
TRANSCRIPT
WA1853 WebSphere ProcessServer v7.0 Administration
Classroom Setup Guide
Web Age Solutions Inc.
Copyright © Web Age Solutions Inc. 1
Table of ContentsPart 1 - Minimum Hardware Requirements ...................................................................3Part 2 - Minimum Software Requirements ....................................................................4Part 3 - Software Provided..............................................................................................5Part 4 - Important Ghosting or Imaging Information......................................................6Part 5 - Installation..........................................................................................................7Part 6 - Installing WebSphere Integration Developer v7.0.............................................8Part 7 - Verification of the installation of WID 7.0.......................................................12Part 8 - Installing DB2 Enterprise Server Edition v9.5.................................................13Part 9 - Installing WebSphere MQ v7.0 Trial................................................................22
Copyright © Web Age Solutions Inc. 2
Part 1 - Minimum Hardware Requirements
• Pentium 4 – 2.4 GHz or higher
• 2 GB RAM minimum (3-4 GB highly recommended)
• 24 GB free on the C drive.
• Ethernet or Token Ring card
• USB port
• Network connectivity to the Internet
Copyright © Web Age Solutions Inc. 3
Part 2 - Minimum Software Requirements
• Microsoft Windows XP SP2 or Windows Vista (Business, Ultimate, or Enterprise)
• Internet Explorer 6.0, Mozilla Firefox 2.0 (or higher)
• Unzip tool such as WinZip or WinRAR.
• Acrobat Reader.
• WebSphere Application Server Supplements v7.0 *
• WebSphere Process Server v7.0 *
• WebSphere Integration Developer v7.0 (WID v7.0) *
• DB2 Enterprise Server Edition v9.5 *
• WebSphere MQ 7.0 *
* - indicates software provided as part of the courseware.
Copyright © Web Age Solutions Inc. 4
Part 3 - Software Provided
Number of USB memory sticks that you will receive: 4
Name of the files contained in the memory sticks (one file per memory stick):
• WA1853_1.ZIP
• WA1853_2.ZIP
• WA1853_3.ZIP
• WA1853_4.ZIP
All other software listed under Minimum Software Requirements is either commercially licensed software that you must provide or software that is freely available.
Copyright © Web Age Solutions Inc. 5
Part 4 - Important Ghosting or Imaging Information
Some of the software installed for this course will not function after changing the computer hostname. As such, cloning or imaging should not be used on a fully installed system.
You can save time by extracting the contents of the USB memory stick to C:\ on a clean OS install (no other software installed) and then imaging that hard drive. After restoring the image to the other computers and changing the hostnames, you can then install the software on each computer individually by following the instructions that are detailed later in this document.
Copyright © Web Age Solutions Inc. 6
Part 5 - Installation
__1. Create a user named wasadmin with password wasadmin who belongs to the Administrators group.
__2. Log in as wasadmin. Make sure to login to Windows as this user when installing all software for this class.
__3. From a USB memory stick, extract the WA1853_1.ZIP file to C:\
__4. From a USB memory stick, extract the WA1853_2.ZIP file to C:\
__5. From a USB memory stick, extract the WA1853_3.ZIP file to C:\
__6. From a USB memory stick, extract the WA1853_4.ZIP file to C:\
__7. Review that the following folders were created:
• C:\LabFiles
• C:\Software\
• C:\Software\DB2 v9.5 ESE
• C:\Software\ProcessServer70
• C:\Software\WAS ND v70
• C:\Software\WebSphere MQ v7.0 Trial
• C:\Software\WID7.0
Copyright © Web Age Solutions Inc. 7
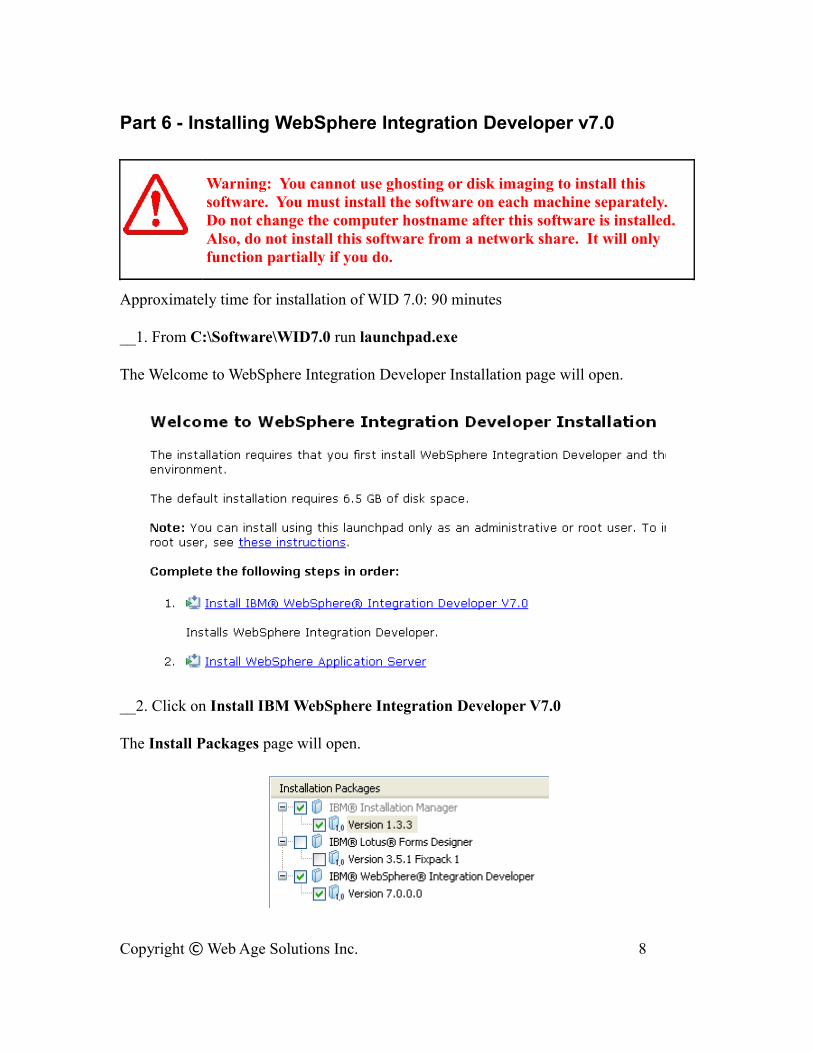
Part 6 - Installing WebSphere Integration Developer v7.0
Warning: You cannot use ghosting or disk imaging to install this software. You must install the software on each machine separately. Do not change the computer hostname after this software is installed. Also, do not install this software from a network share. It will only function partially if you do.
Approximately time for installation of WID 7.0: 90 minutes
__1. From C:\Software\WID7.0 run launchpad.exe
The Welcome to WebSphere Integration Developer Installation page will open.
__2. Click on Install IBM WebSphere Integration Developer V7.0
The Install Packages page will open.
Copyright © Web Age Solutions Inc. 8

__3. Leave all the defaults selected as shown above and click Next.
__4. Accept the license terms and click Next.
__5. Leave the default directories for the installation and click Next.
__6. Leave the default directories for the installation of WID7 and click Next.
Copyright © Web Age Solutions Inc. 9
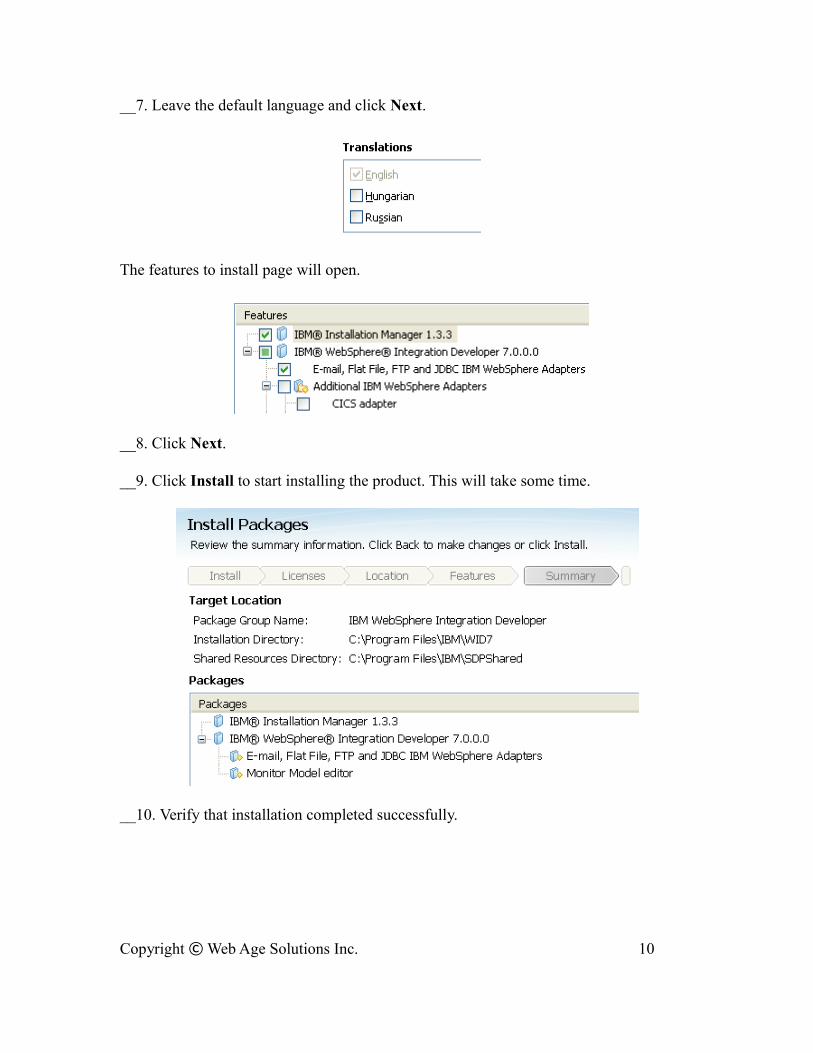
__7. Leave the default language and click Next.
The features to install page will open.
__8. Click Next.
__9. Click Install to start installing the product. This will take some time.
__10. Verify that installation completed successfully.
Copyright © Web Age Solutions Inc. 10

__11. Click Finish.
__12. Close the Launchpad.
Copyright © Web Age Solutions Inc. 11
Part 7 - Verification of the installation of WID 7.0
__1. Launch WID using the following Windows start menu: Start->All Programs ->IBM WebSphere Integration Developer->IBM WebSphere Integration Developer V7.0->WebSphere Integration Developer V7.0.
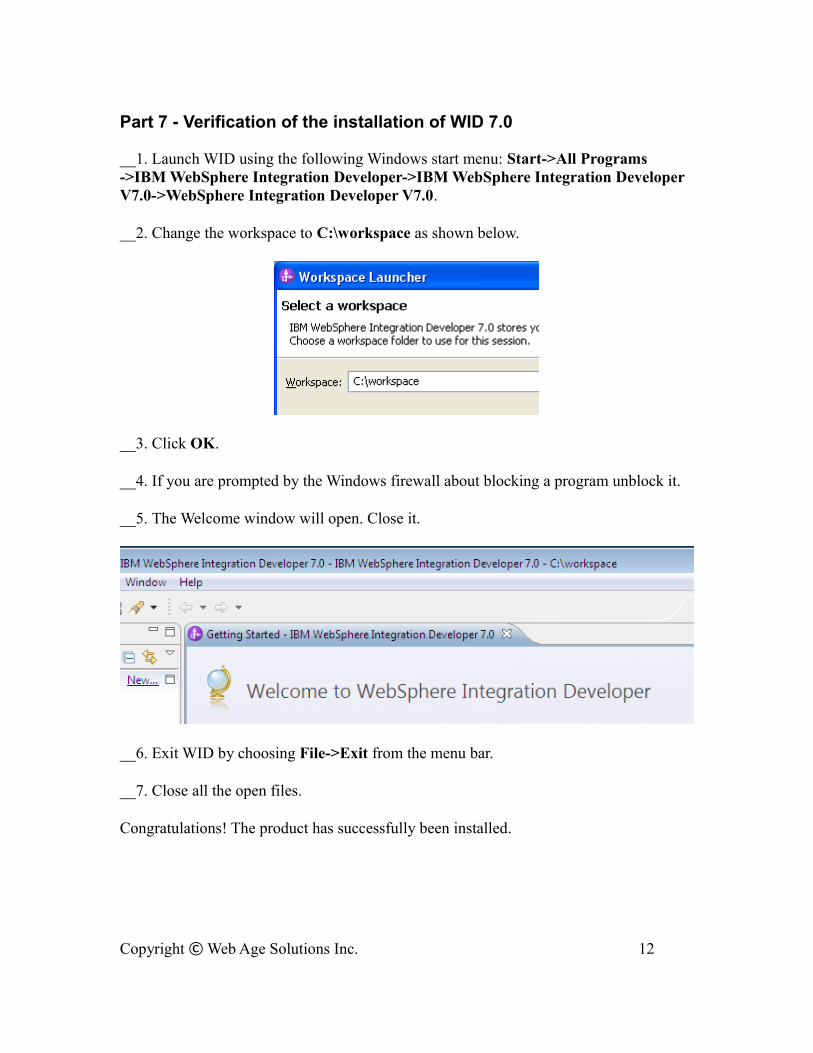
__2. Change the workspace to C:\workspace as shown below.
__3. Click OK.
__4. If you are prompted by the Windows firewall about blocking a program unblock it.
__5. The Welcome window will open. Close it.
__6. Exit WID by choosing File->Exit from the menu bar.
__7. Close all the open files.
Congratulations! The product has successfully been installed.
Copyright © Web Age Solutions Inc. 12
Part 8 - Installing DB2 Enterprise Server Edition v9.5
Warning: You cannot use ghosting or disk imaging to install this software. You must install the software on each machine separately. Do not change the computer hostname after this software is installed. Also, do not install this software from a network share. It will only function partially if you do.
Average time to install this software: 20 minutes
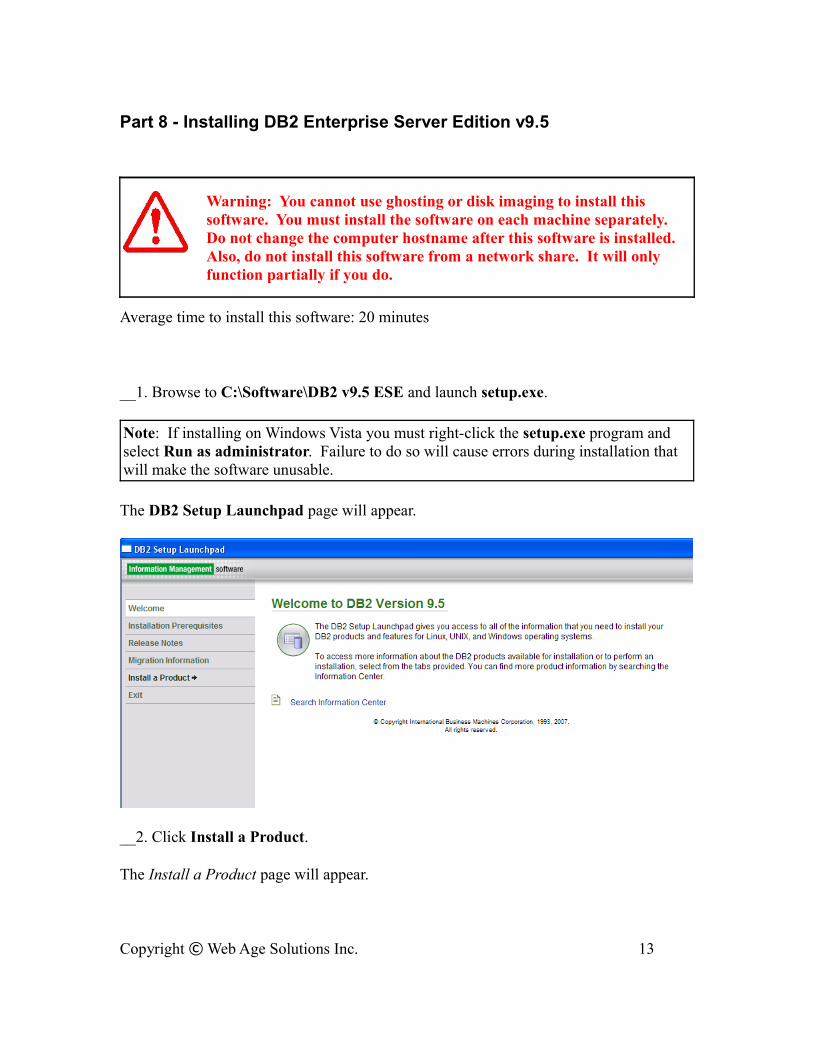
__1. Browse to C:\Software\DB2 v9.5 ESE and launch setup.exe.
Note: If installing on Windows Vista you must right-click the setup.exe program and select Run as administrator. Failure to do so will cause errors during installation that will make the software unusable.
The DB2 Setup Launchpad page will appear.
__2. Click Install a Product.
The Install a Product page will appear.
Copyright © Web Age Solutions Inc. 13
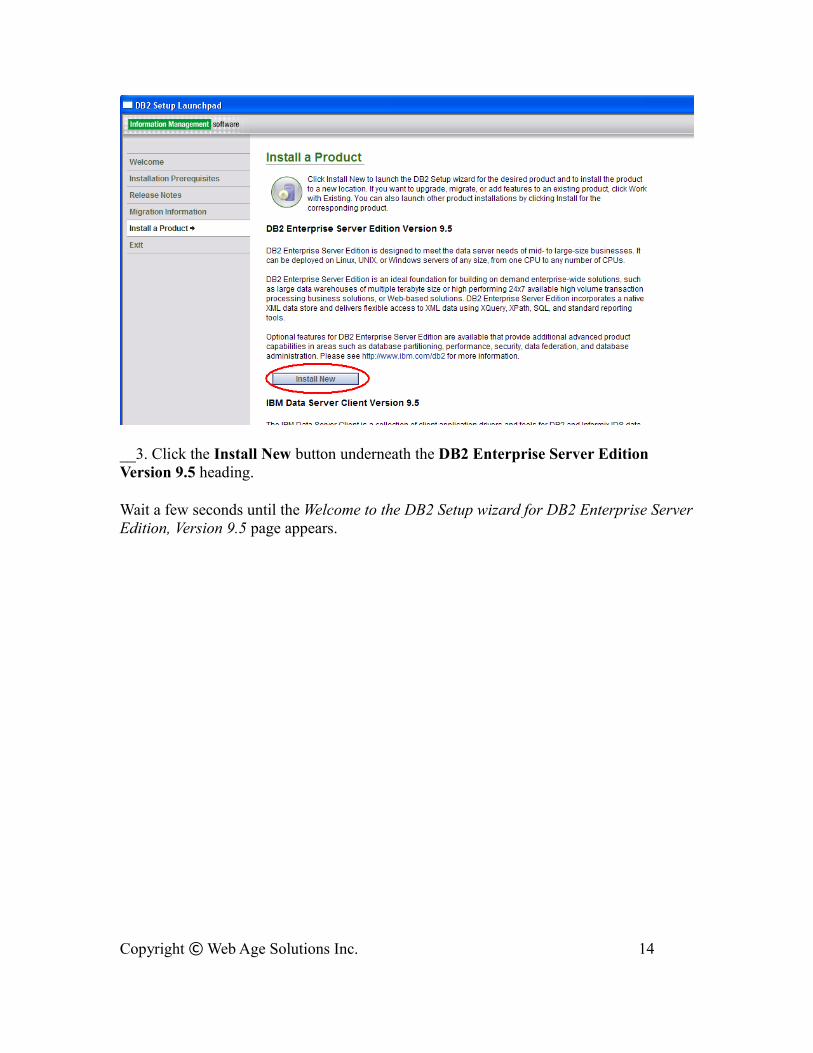
__3. Click the Install New button underneath the DB2 Enterprise Server Edition Version 9.5 heading.
Wait a few seconds until the Welcome to the DB2 Setup wizard for DB2 Enterprise Server Edition, Version 9.5 page appears.
Copyright © Web Age Solutions Inc. 14
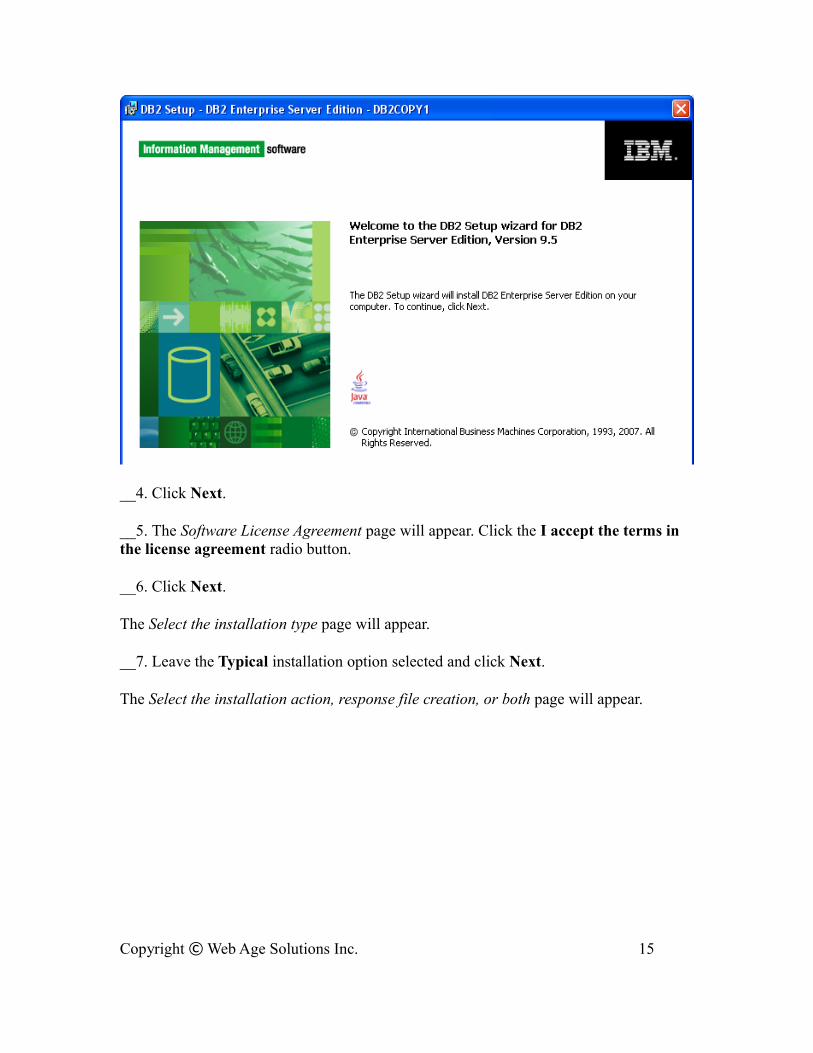
__4. Click Next.
__5. The Software License Agreement page will appear. Click the I accept the terms in the license agreement radio button.
__6. Click Next.
The Select the installation type page will appear.
__7. Leave the Typical installation option selected and click Next.
The Select the installation action, response file creation, or both page will appear.
Copyright © Web Age Solutions Inc. 15
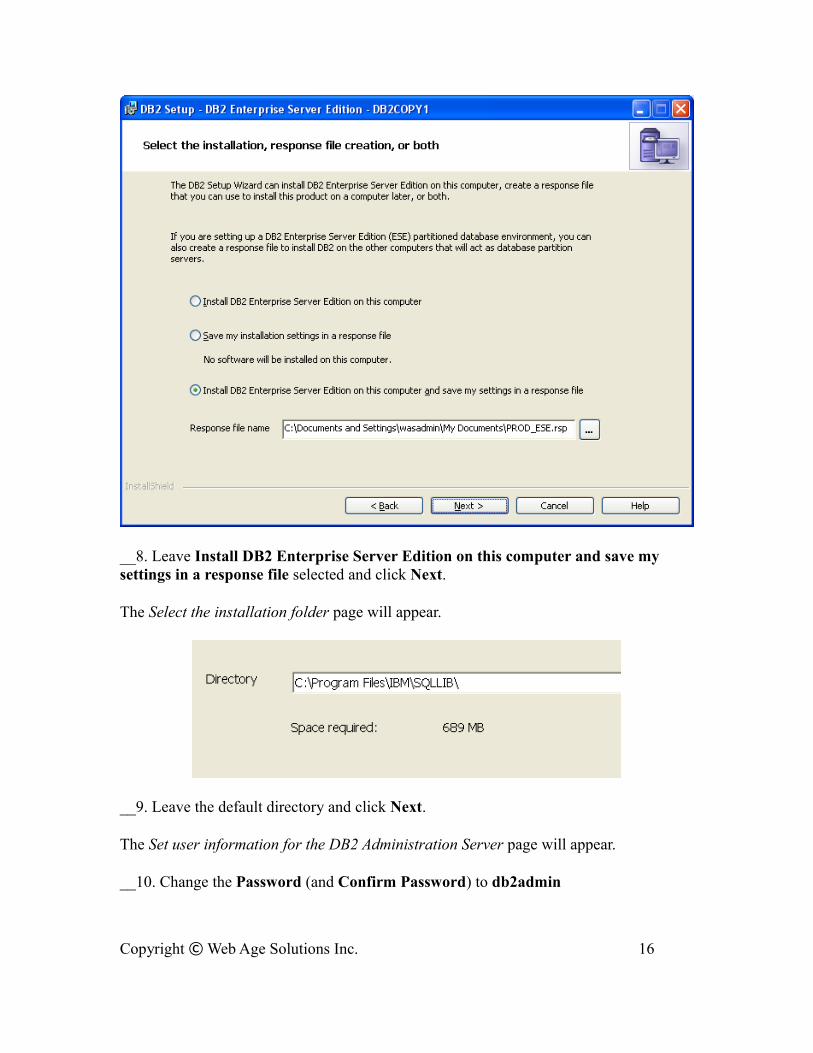
__8. Leave Install DB2 Enterprise Server Edition on this computer and save my settings in a response file selected and click Next.
The Select the installation folder page will appear.
__9. Leave the default directory and click Next.
The Set user information for the DB2 Administration Server page will appear.
__10. Change the Password (and Confirm Password) to db2admin
Copyright © Web Age Solutions Inc. 16
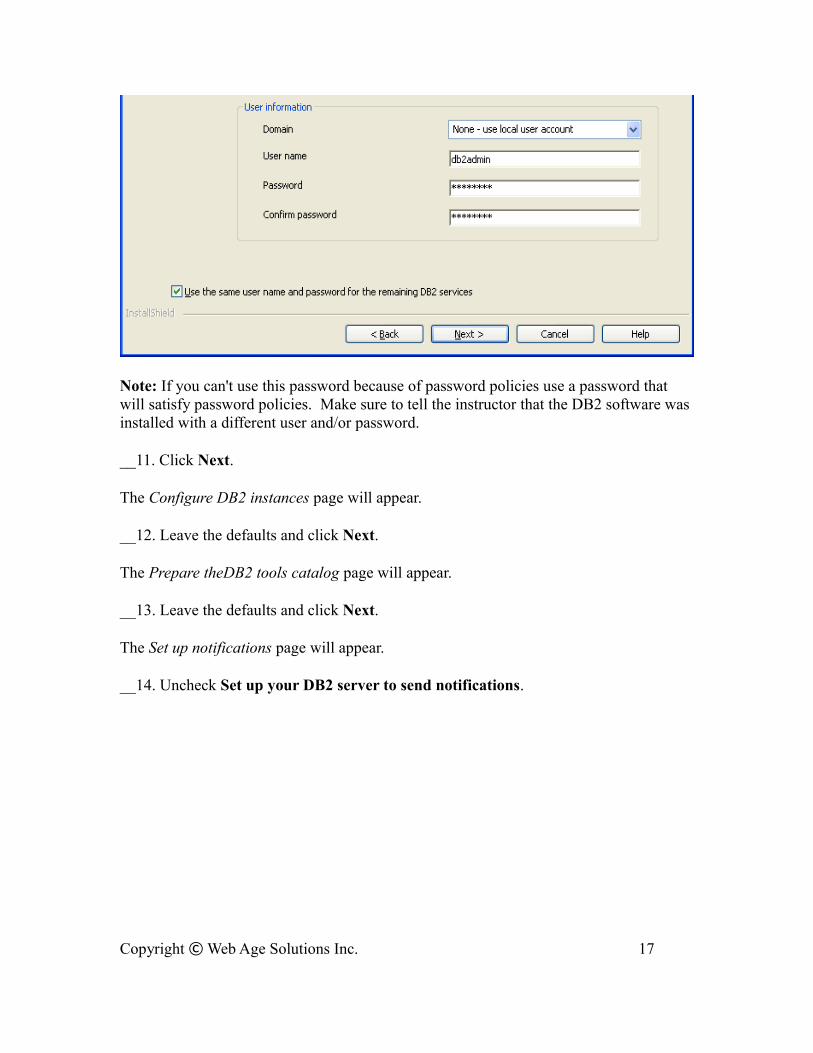
Note: If you can't use this password because of password policies use a password that will satisfy password policies. Make sure to tell the instructor that the DB2 software was installed with a different user and/or password.
__11. Click Next.
The Configure DB2 instances page will appear.
__12. Leave the defaults and click Next.
The Prepare theDB2 tools catalog page will appear.
__13. Leave the defaults and click Next.
The Set up notifications page will appear.
__14. Uncheck Set up your DB2 server to send notifications.
Copyright © Web Age Solutions Inc. 17
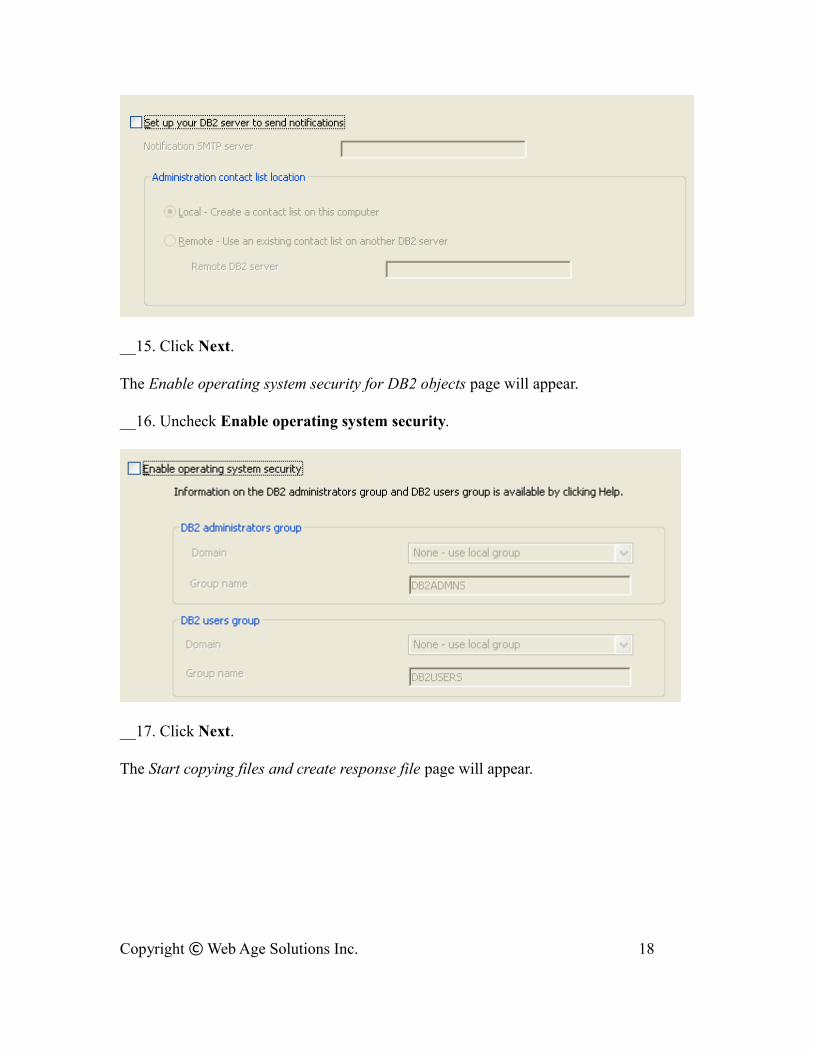
__15. Click Next.
The Enable operating system security for DB2 objects page will appear.
__16. Uncheck Enable operating system security.
__17. Click Next.
The Start copying files and create response file page will appear.
Copyright © Web Age Solutions Inc. 18
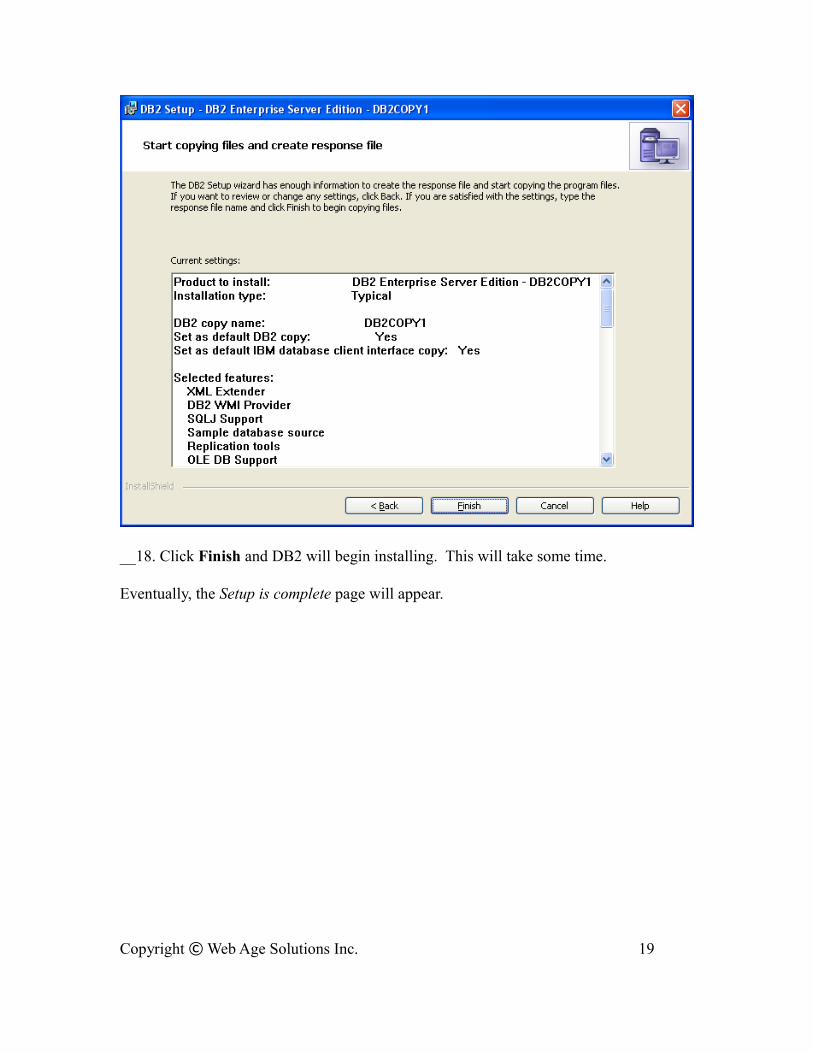
__18. Click Finish and DB2 will begin installing. This will take some time.
Eventually, the Setup is complete page will appear.
Copyright © Web Age Solutions Inc. 19
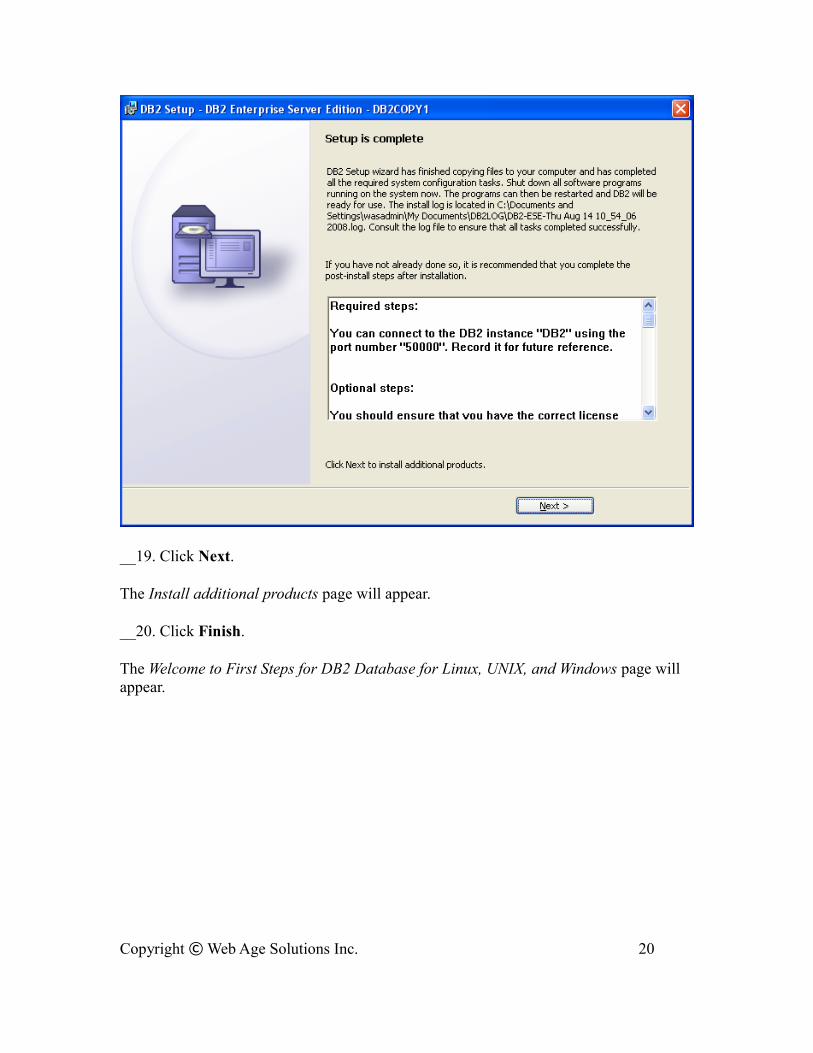
__19. Click Next.
The Install additional products page will appear.
__20. Click Finish.
The Welcome to First Steps for DB2 Database for Linux, UNIX, and Windows page will appear.
Copyright © Web Age Solutions Inc. 20

__21. If the DB2 First Steps dialog appears then close it, we don't need the first steps for the class.
__22. Click the Exit link to close the window.
__23. Restart the computer.
DB2 Enterprise Server Edition v9.5 installation is completed.
Copyright © Web Age Solutions Inc. 21
Part 9 - Installing WebSphere MQ v7.0 Trial
Note: This is a trial version and should not be installed more than 60 days before the class.
__1. Login as a user with local administrative rights.
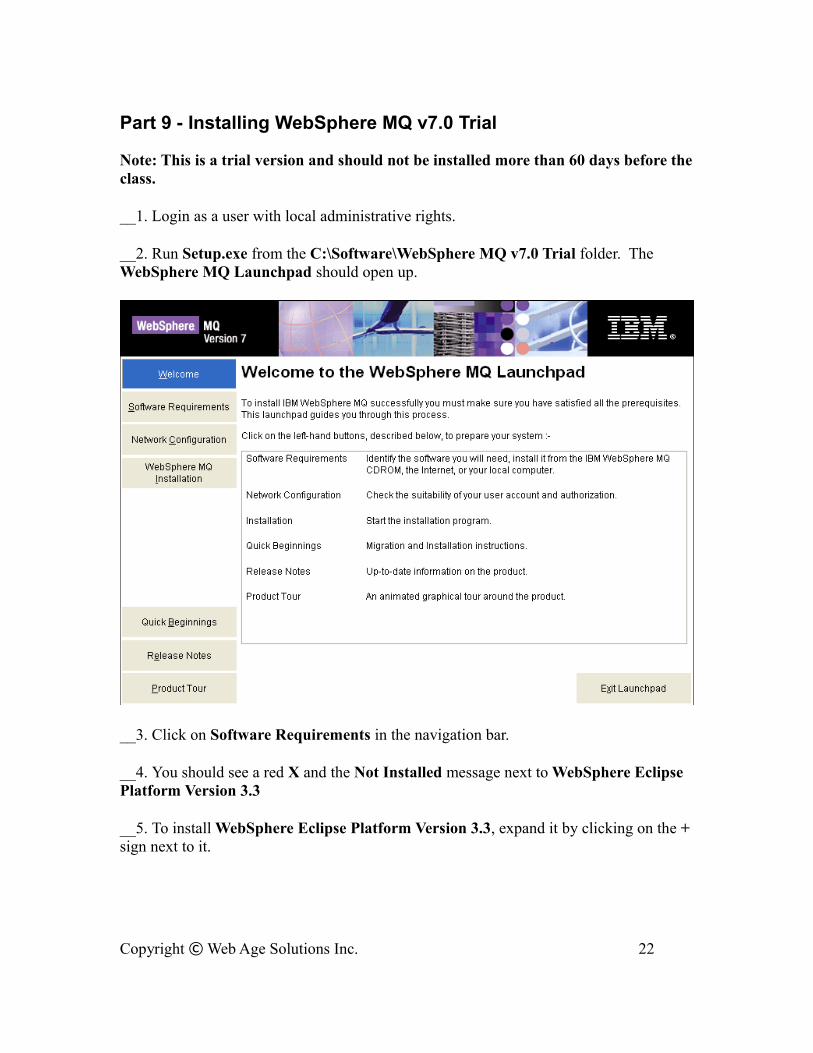
__2. Run Setup.exe from the C:\Software\WebSphere MQ v7.0 Trial folder. The WebSphere MQ Launchpad should open up.
__3. Click on Software Requirements in the navigation bar.
__4. You should see a red X and the Not Installed message next to WebSphere Eclipse Platform Version 3.3
__5. To install WebSphere Eclipse Platform Version 3.3, expand it by clicking on the + sign next to it.
Copyright © Web Age Solutions Inc. 22
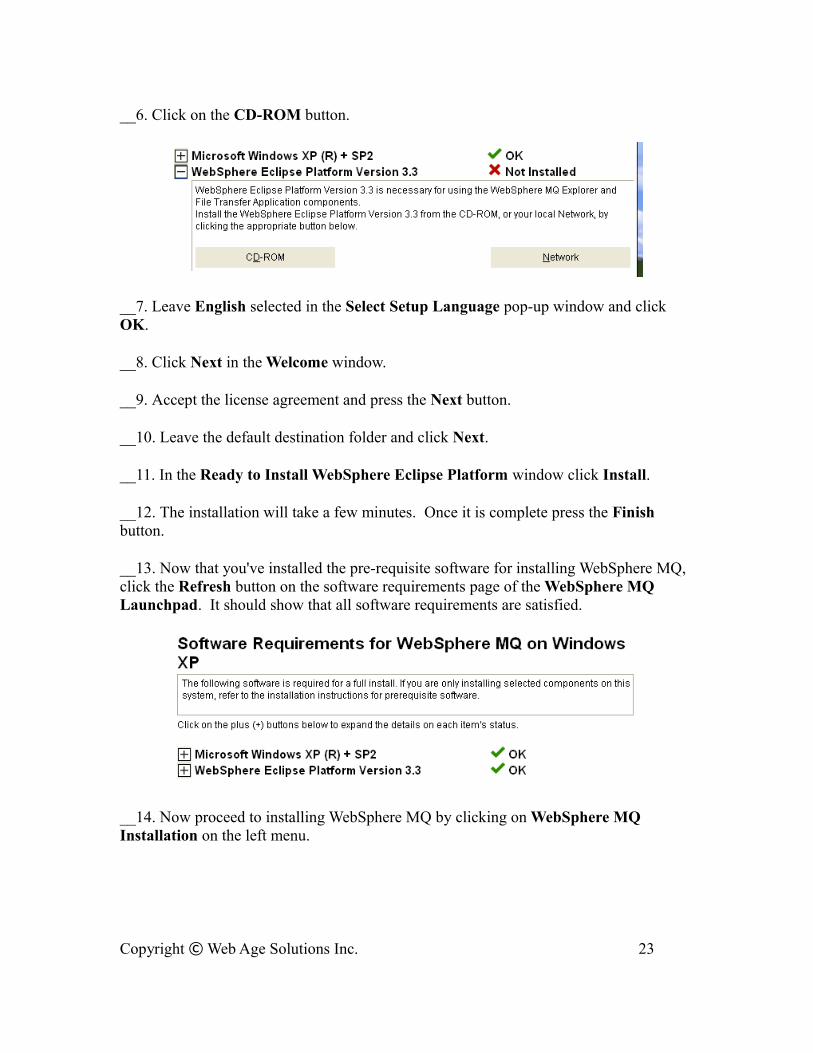
__6. Click on the CD-ROM button.
__7. Leave English selected in the Select Setup Language pop-up window and click OK.
__8. Click Next in the Welcome window.
__9. Accept the license agreement and press the Next button.
__10. Leave the default destination folder and click Next.
__11. In the Ready to Install WebSphere Eclipse Platform window click Install.
__12. The installation will take a few minutes. Once it is complete press the Finish button.
__13. Now that you've installed the pre-requisite software for installing WebSphere MQ, click the Refresh button on the software requirements page of the WebSphere MQ Launchpad. It should show that all software requirements are satisfied.
__14. Now proceed to installing WebSphere MQ by clicking on WebSphere MQ Installation on the left menu.
Copyright © Web Age Solutions Inc. 23
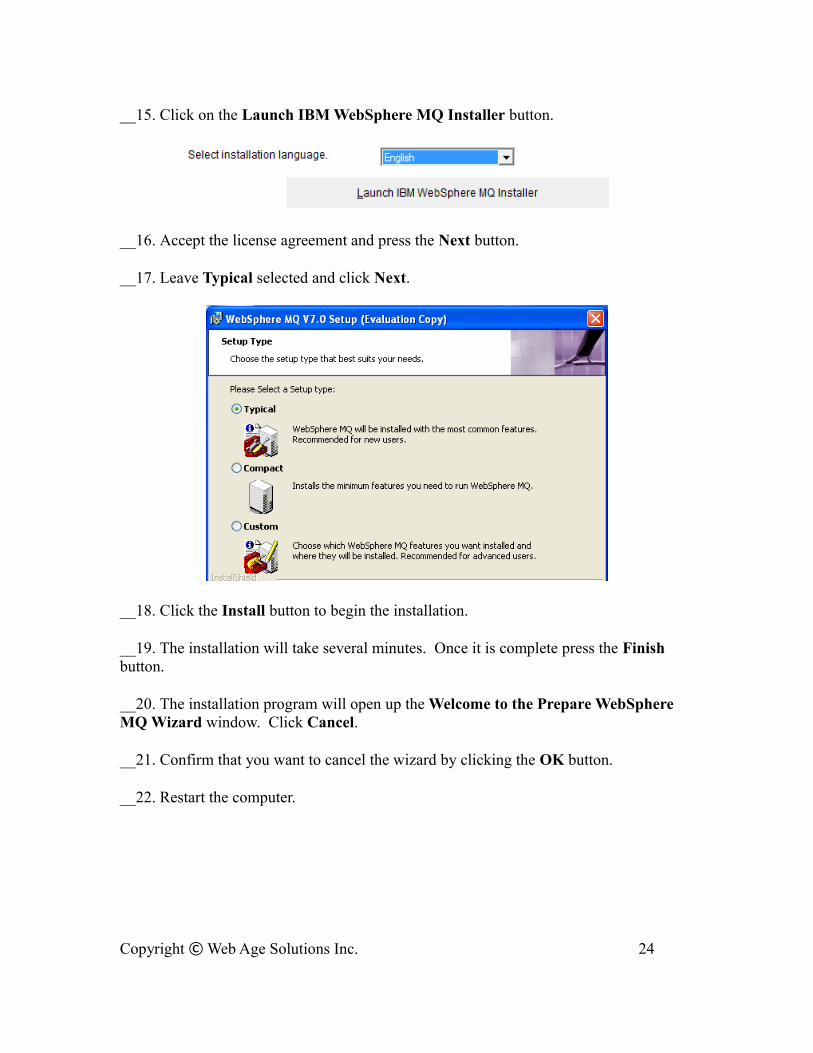
__15. Click on the Launch IBM WebSphere MQ Installer button.
__16. Accept the license agreement and press the Next button.
__17. Leave Typical selected and click Next.
__18. Click the Install button to begin the installation.
__19. The installation will take several minutes. Once it is complete press the Finish button.
__20. The installation program will open up the Welcome to the Prepare WebSphere MQ Wizard window. Click Cancel.
__21. Confirm that you want to cancel the wizard by clicking the OK button.
__22. Restart the computer.
Copyright © Web Age Solutions Inc. 24
Installation verification of WebSphere MQ v7.0 Trial
__1. Login as the same user you used to install WebSphere MQ.
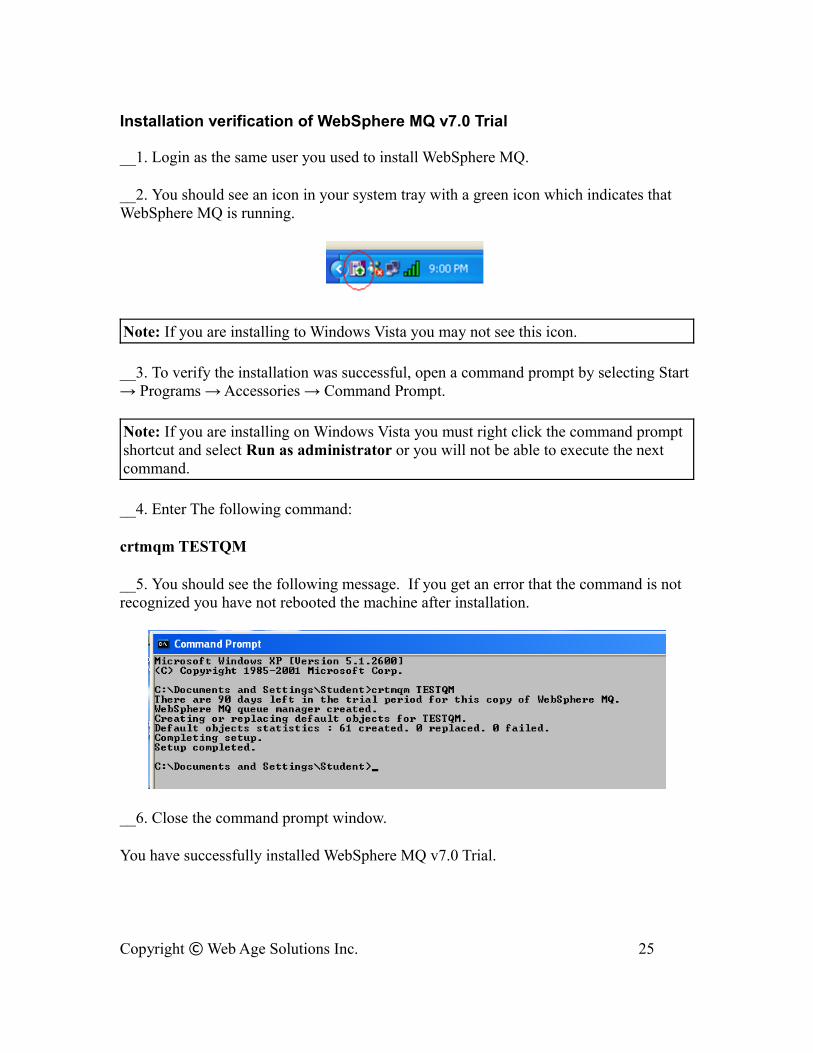
__2. You should see an icon in your system tray with a green icon which indicates that WebSphere MQ is running.
Note: If you are installing to Windows Vista you may not see this icon.
__3. To verify the installation was successful, open a command prompt by selecting Start → Programs → Accessories → Command Prompt.
Note: If you are installing on Windows Vista you must right click the command prompt shortcut and select Run as administrator or you will not be able to execute the next command.
__4. Enter The following command:
crtmqm TESTQM
__5. You should see the following message. If you get an error that the command is not recognized you have not rebooted the machine after installation.
__6. Close the command prompt window.
You have successfully installed WebSphere MQ v7.0 Trial.
Copyright © Web Age Solutions Inc. 25