weber idf carburetors - type2.comtype2.com/~keen/webertech/idfsetup.pdf · weber idf carburetors -...
TRANSCRIPT

Weber IDF Carburetors - Setting up out of the boxSo, you just got a new set of Weber IDF carburetors, and you just pulled them out of the box. Cool, you think, I will just bolt 'em up and run 'em.
Yeah, good luck with that. You'll be bitching in short order about how crappy they are and how you can't seem to make them work right. Well, let me show you why, while I am setting up a pair, out of the box, BRAND NEW.
After you finish with this, you might want to read my article on tuning them. It can be found here
Ok, so here we are, with my new pair of Redline Weber 48 IDF carburetors. Here is the first one I will tackle. Looks pretty clean outside, and ready to go. Well, it's not. Inside it's a mess. Onward.

Removing jets, valves, tubes, etc.
Pull the mixture screws

Remove the O-rings and metal rings from the idle mixture screw holes. Put these aside, not to be put in cleaner.
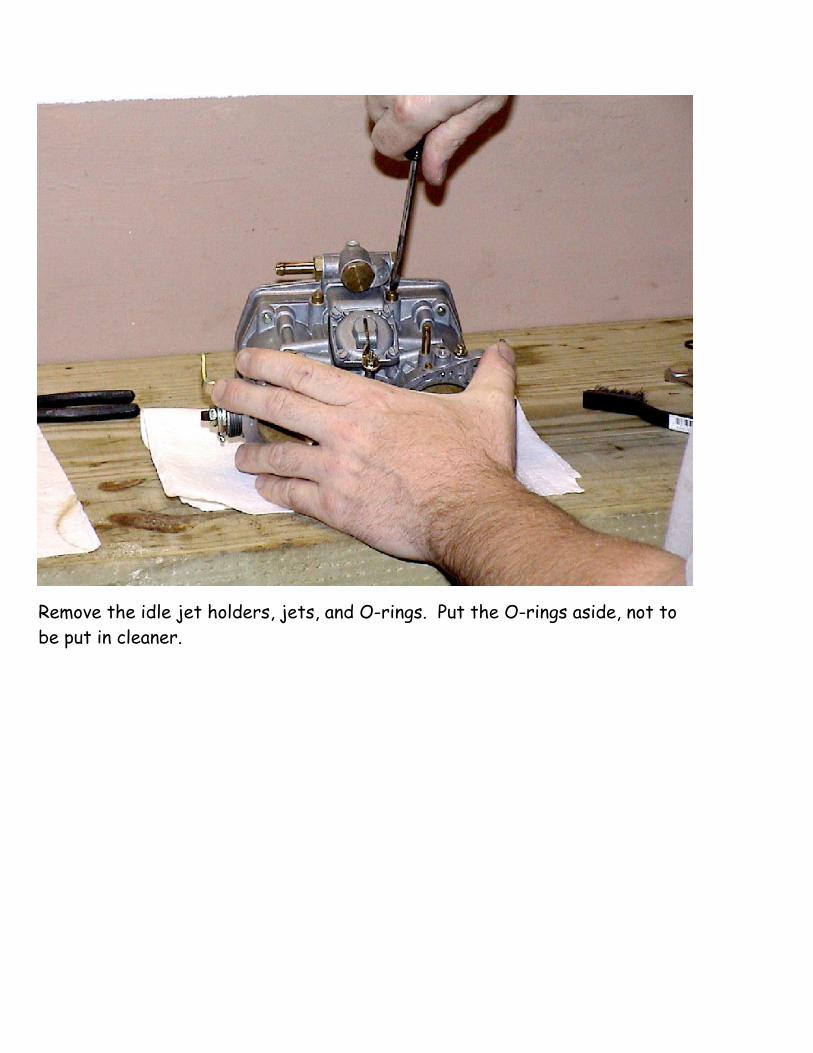
Remove the idle jet holders, jets, and O-rings. Put the O-rings aside, not to be put in cleaner.

Remove the plug and the fuel fitting other side

If your carburetors have the cold start valves on them, remove them. When you put it back together, you can either use blockoff plates or just put these back on. I'd recommend block off plates if you can get them, since these aren't used on the VW engine, unless you are a masochist.
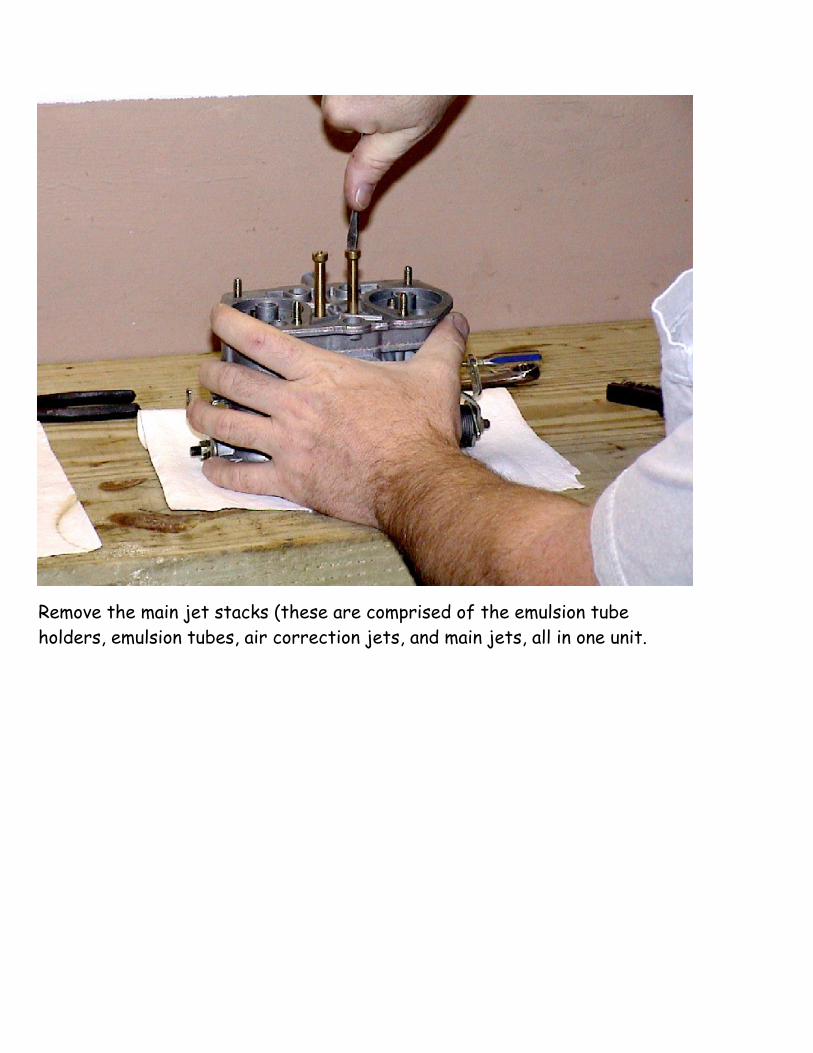
Remove the main jet stacks (these are comprised of the emulsion tube holders, emulsion tubes, air correction jets, and main jets, all in one unit.

Remove the top retaining screws (5).
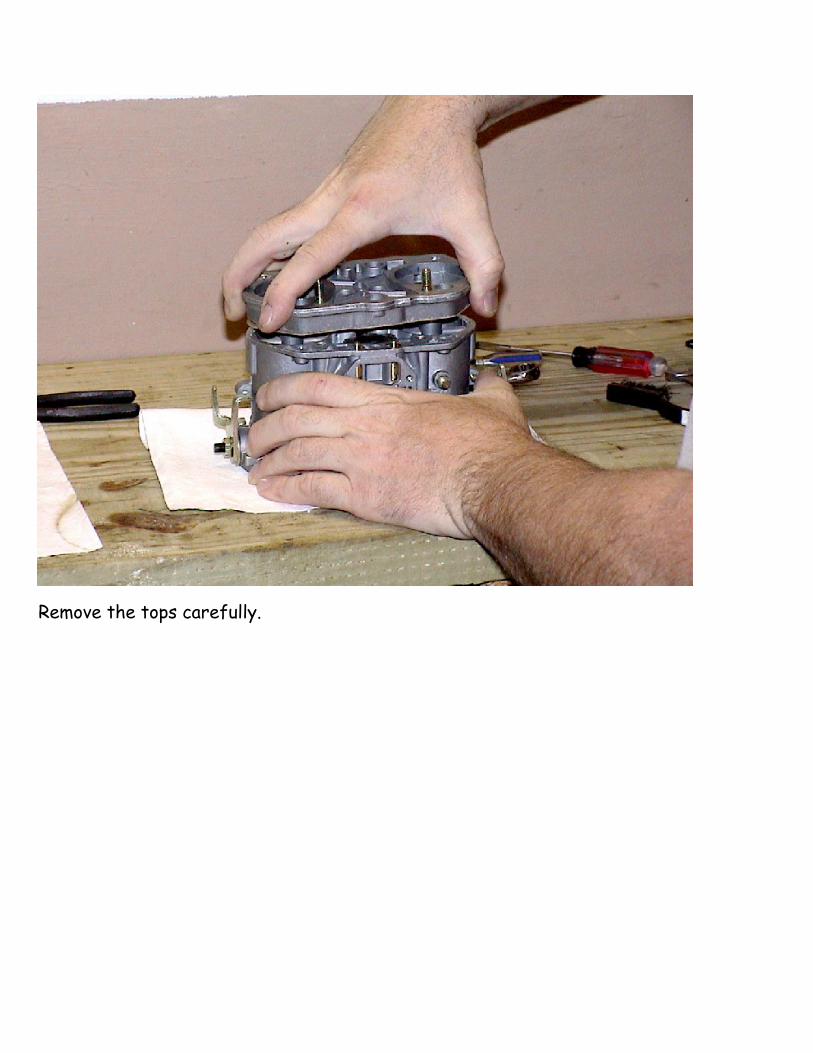
Remove the tops carefully.

The picture is not showing the extent of filth, but it's pretty dirty. Lots of dusty film.
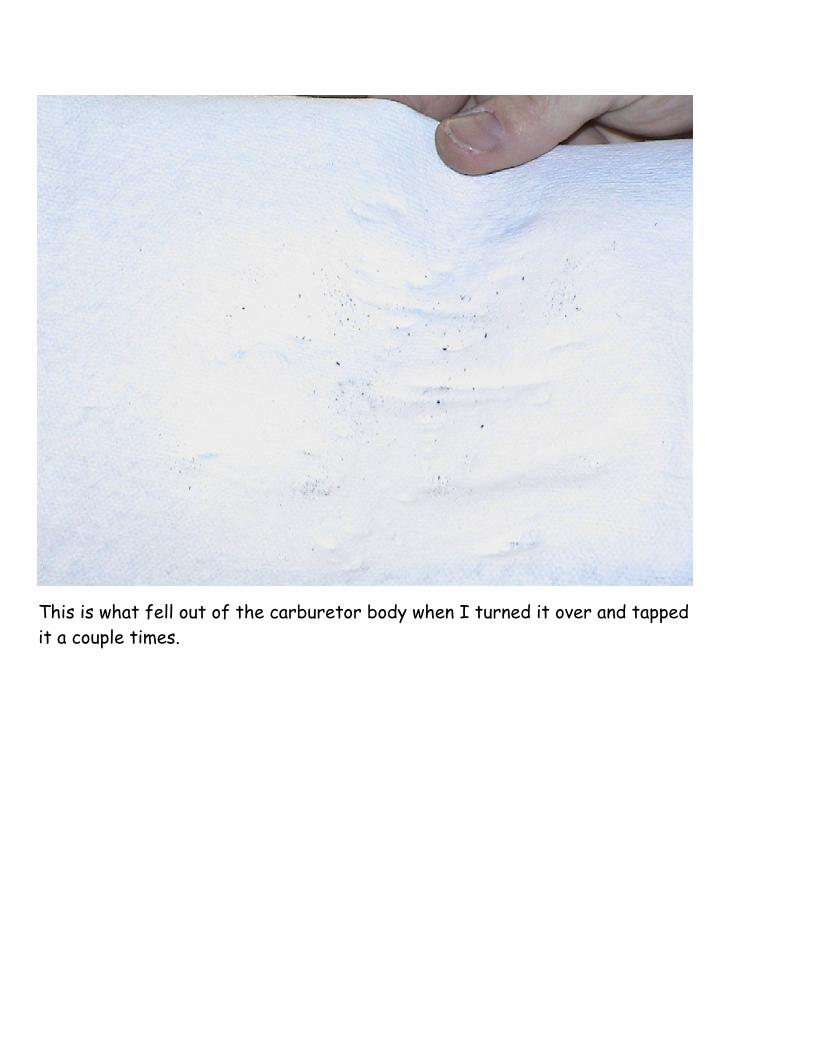
This is what fell out of the carburetor body when I turned it over and tapped it a couple times.

Remove the starter jets.

Remove the accelerator pump delivery valve, pump jet, and two copper washers from each barrel.

Look down the throats at the venturis, and see if they look pushed away from the barrel wall on the side where the retaining screws are. If they do, loosen the locknuts, and back the screws off until they are loose. Then tighten them until you JUST see the vents start to push away from the barrel wall, and stop. Then tighten the locknuts back down. You don't want these to be warped, but you don't want them loose either.
Soak in cleaner
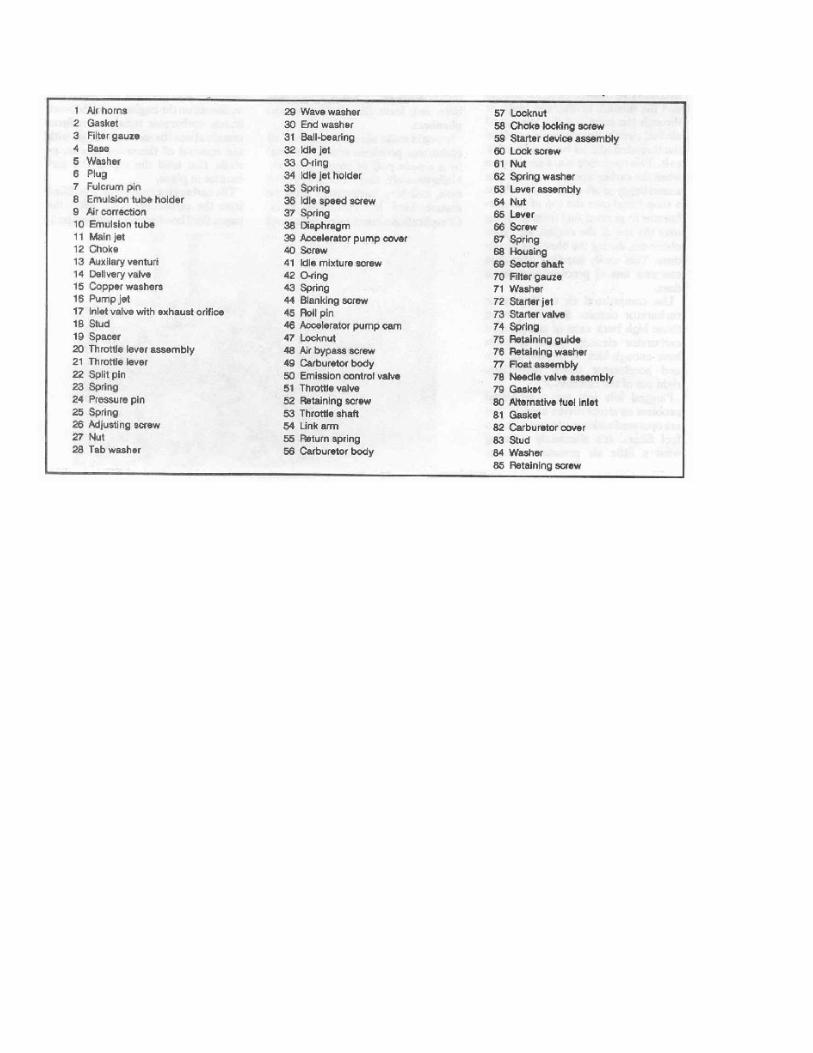
Now, pull the main jet stacks and idle jet stacks apart (see diagram below, parts 8,9,10,11).

You should now have this mess. Put all this stuff except the accelerator pump diaphragm and O-rings in carburetor parts cleaner. I use Berryman B-9 ChemDip. This stuff is bad news so be very careful using it. When you open it, put a rag over the top when you open, because it may build pressure. If you seal the lid while the parts are in it, it will definitely build pressure, so either put the top on loose, or be very careful opening it. You don't want this stuff on you or your eyes, etc.
Let the parts sit in the cleaner overnight or at least a few hours. Take them out and clean them throroughly with carb spray cleaner and compressed air. If you don't have compressed air, get a can of it. Don't skip blowing the parts out. Wear eye protection if you are a spaz.
As far as the carburetor body, spray the outside, the inside, and all openings with carburetor spray cleaner. Blow it out with compressed air.

If you don't have compressed air, get a can of it. Don't skip blowing the parts out. Wear eye protection if you are a spaz.
Spray the top assembly off with carb spray cleaner and blow air lightly on it to dry. You can take the float off if you want by removing the brass pin that holds it in place. If you do this, you'll note that one of the sides that the pin goes into has a slot in it. If you pry this apart to free the pin you will probably break it. Just grab the pin with some pliers and twist it out instead.
Adjust the floats to about 10.5-11.5mm according to this diagram. Folks have differing opinions about float height. The fact is there is no one perfect number you can throw out that is going to make everyone's carburetors work perfectly. This is the ballpark you SHOULD be in though.. anything outside this range suggests something else is not right. The drop measurements are not nearly as critical.. the floats will hopefully never drop that fast. If they do you have other problems.:

What I do: I take the top and position it so that the float is *just* resting on the ball. You can either position the top sideways and let the float swing like a door, and tilt it so it just rests on the ball, or you can hold it at an angle like I have it here.
I just set them to about 11mm and use the caliper OD arms to check the float. The tabs that are illustrated on the above picture, in red, are what you bend. The red one is for the 11mm setting, and the blue one is for the other.
When you do it, make sure you are measuring with the needle valve ball NOT compressed. One way to do this easy is turn the assembly sideways, so the float is rotating on the pin like a door on a hinge, and the tilt it so that the float is just resting on the ball, and then measure. Use the tabs to set the

float correctly. Mine out of the box was about 14mm and 20mm which is way way off.
Once done cleaning, reassembly is reverse of disassembly. Don't over tighten, and take your time. Jetting is another story.
Hope this helps. This is a basic procedure for cleaning out the crap that gets in them at assembly time.
Additional diagrams for parts reference: