welcome to minnesota’s efolio st. cloud technical college june 2, 2003 norman baer matt st....
TRANSCRIPT

Welcome to Welcome to Minnesota’s Minnesota’s eeFolioFolio www.efoliominnesota.comwww.efoliominnesota.com
St. Cloud Technical CollegeSt. Cloud Technical College
June 2, 2003June 2, 2003
Norman BaerNorman Baer
Matt St. MartinMatt St. Martin

eeFolio Folio 101 - Basics101 - Basics
eeFolio Folio examplesexamples
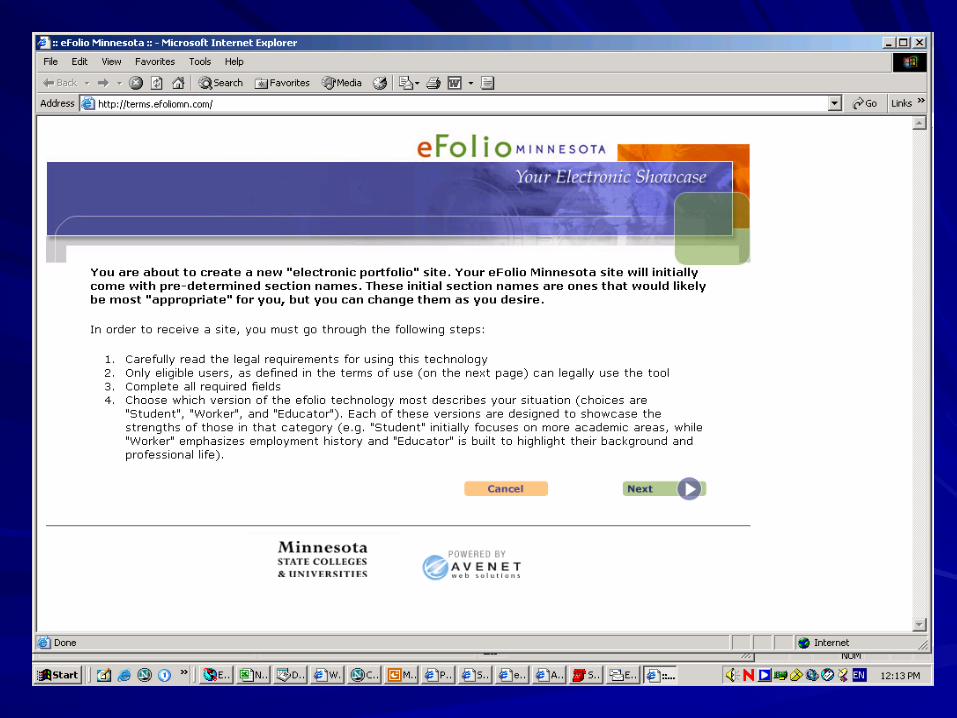
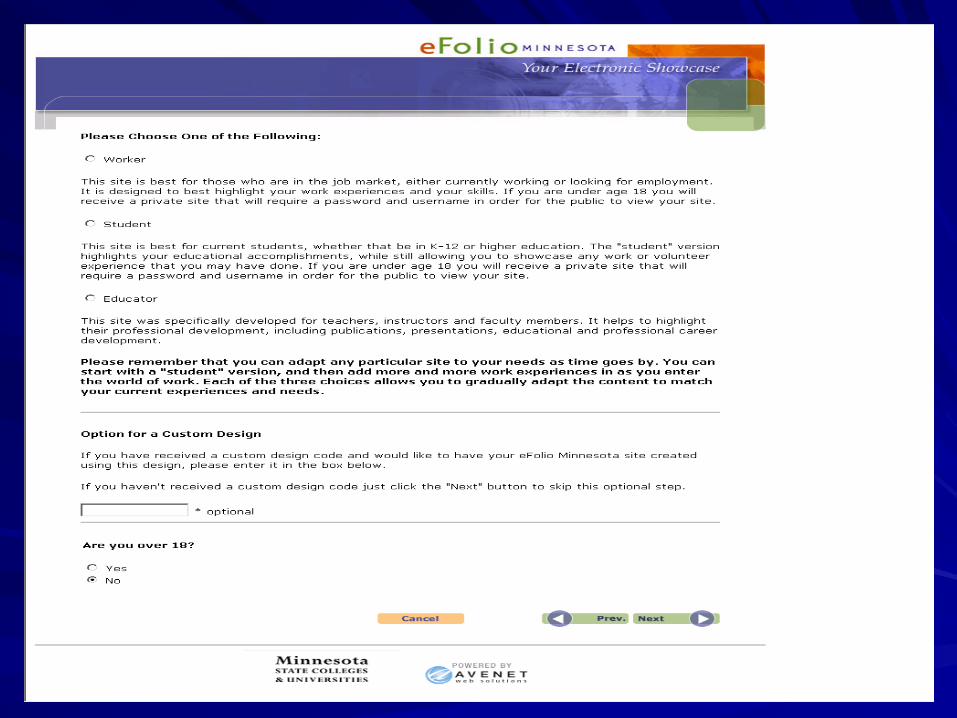
RegistrationRegistration
Where to find helpful information.Where to find helpful information.
Selecting a design and color scheme.Selecting a design and color scheme.
Personalizing your Personalizing your eeFolioFolio..
Basic data entry.Basic data entry.
PowerPoint presentation available atPowerPoint presentation available at: : www.efoliomn.avenet.netwww.efoliomn.avenet.net
Background Material - eFolio TrainingBackground Material - eFolio Training

Examples of eFoliosExamples of eFolios
StudentStudent
Emma Wasko - (Emma Wasko - (wwwwww.emmawasko.efoliomn.com) .emmawasko.efoliomn.com) - Password protected- Password protected
Courtney Church - (www.courtneychurch.efoliomn.com) - Courtney Church - (www.courtneychurch.efoliomn.com) - AnimationAnimation
WorkerWorker
Ted Johnson - (www.tedjohnson.efoliomn1.com) - Ted Johnson - (www.tedjohnson.efoliomn1.com) - General layoutGeneral layout
Bev Friendt - (www.bevfriendt.efoliomn1.com) - Bev Friendt - (www.bevfriendt.efoliomn1.com) - Audio file, Images made into linksAudio file, Images made into links
Benjamin Ellingsworth - (www.benjaminelllingsworth.efoliomn1.com) -Benjamin Ellingsworth - (www.benjaminelllingsworth.efoliomn1.com) -
HTML Table, Password protected pageHTML Table, Password protected page
EducatorEducator
Linda Baer - (www.lindabaer.efoliomn2.com) - Linda Baer - (www.lindabaer.efoliomn2.com) - Layout, Image Map, PowerPointLayout, Image Map, PowerPoint
PresentationsPresentations
Norman Baer - (www.normanbaer.efoliomn2.com) - Norman Baer - (www.normanbaer.efoliomn2.com) - Graphics Graphics

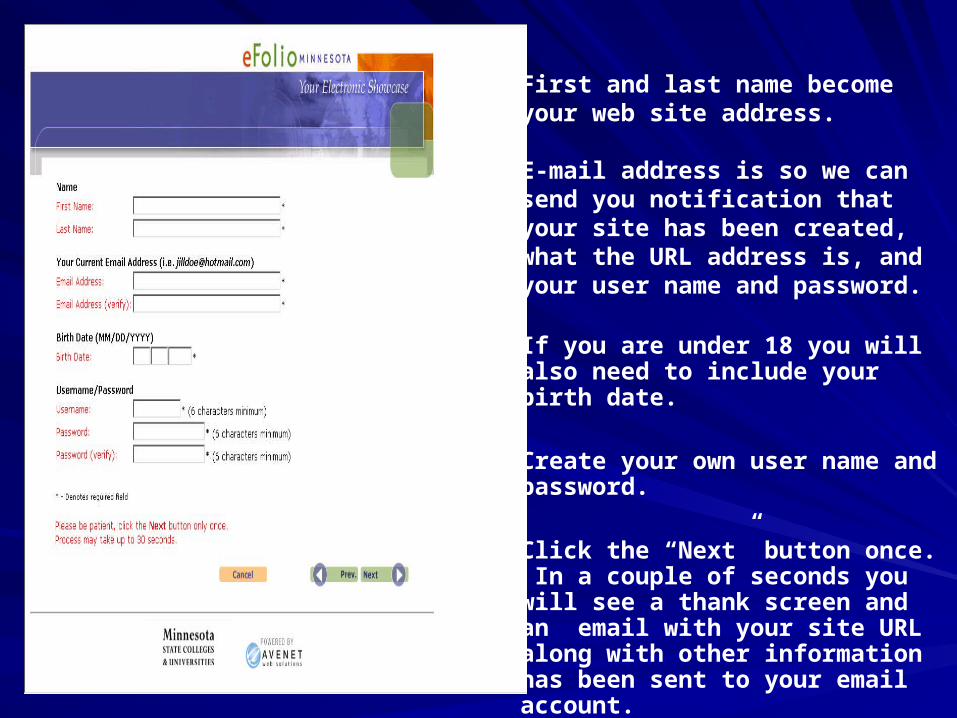
First and last name become your web site address.
E-mail address is so we can send you notification that your site has been created, what the URL address is, and your user name and password.
If you are under 18 you will also need to include your birth date.
Create your own user name and password.
Click the “Next” button once. In a couple of seconds you will see a thank screen and an email with your site URL along with other information has been sent to your email account.
Congratulations! You’ve just created Congratulations! You’ve just created your own electronic portfolio!your own electronic portfolio!
Now let’s get in and start working Now let’s get in and start working with your site.with your site.

Your web site address is:Your web site address is:
www.yourname.efoliomnwww.yourname.efoliomnxx.com.com
Site where you will add information is:Site where you will add information is:
www.yourname.efoliomnwww.yourname.efoliomnxx.com/admin.com/admin
To add information you will need to enter To add information you will need to enter your username and password. your username and password.

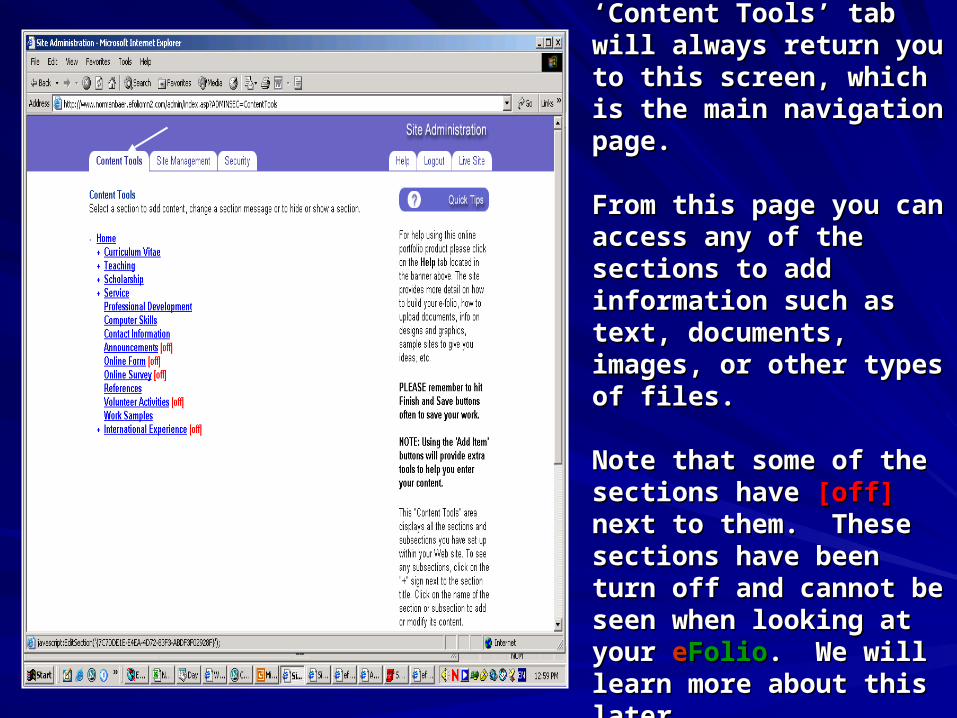
Clicking on the ‘Content Clicking on the ‘Content Tools’ tab will always return Tools’ tab will always return you to this screen, which is you to this screen, which is the main navigation page. the main navigation page.
From this page you can From this page you can access any of the sections access any of the sections to add information such as to add information such as text, documents, images, or text, documents, images, or other types of files.other types of files.
Note that some of the Note that some of the sections have sections have [off] [off] next to next to them. These sections have them. These sections have been turn off and cannot be been turn off and cannot be seen when looking at your seen when looking at your eeFolioFolio. We will learn more . We will learn more about this later.about this later.

Selecting a design and putting Selecting a design and putting your name in the banneryour name in the banner..
First step in making the site First step in making the site your own is to put your name in your own is to put your name in the banner and to select a the banner and to select a design.design.
Click on the words “Site Click on the words “Site Management”Management”
Click on the words “Design Click on the words “Design Center”Center”

You can select from multiple You can select from multiple designs and color variations designs and color variations from clicking on the numbers from clicking on the numbers “1”, “2”, “3” and “4”.“1”, “2”, “3” and “4”.
Click on the design that you Click on the design that you might want to use and you might want to use and you will see a larger version pop-will see a larger version pop-up in the middle of the screen up in the middle of the screen along with some designs along with some designs having additional color having additional color choices.choices.
When you have the design When you have the design you want, click on the you want, click on the “Choose this one” button.“Choose this one” button.
NoteNote: You can always go : You can always go back and change your back and change your design.design.

Names and slogansNames and slogans
After you have After you have selected your selected your design you will design you will see the screen see the screen on the left. Put on the left. Put your name into your name into the box that the box that says “Title” says “Title”
Include a Include a “Slogan” and “Slogan” and “Footer” if you “Footer” if you like.like.
Hit the Hit the ““FinishedFinished” ” button when you button when you are done.are done.
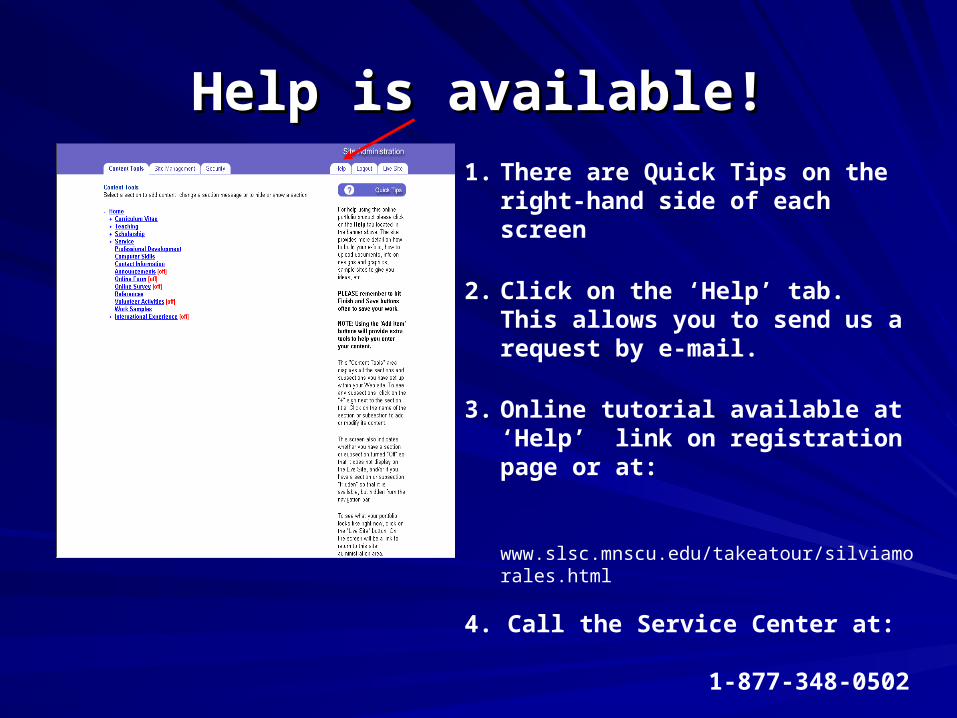
Help is available!Help is available!1. There are Quick Tips on the right-
hand side of each screen
2. Click on the ‘Help’ tab. This allows you to send us a request by e-mail.
3. Online tutorial available at ‘Help’ link on registration page or at:
www.slsc.mnscu.edu/takeatour/silviamorales.html
4. Call the Service Center at: 1-877-348-0502

Viewing yourViewing your eeFolioFolio
To view your site you can click on To view your site you can click on the “Live Site’ tab.the “Live Site’ tab.
You can open up another browser You can open up another browser and type in your and type in your eeFolioFolio URL. URL. Remember if you registered as a Remember if you registered as a student use “efoliomn.com” or student use “efoliomn.com” or “efoliomn1.com” for a worker or “efoliomn1.com” for a worker or “efoliomn2.com” for an educator “efoliomn2.com” for an educator sitesite..
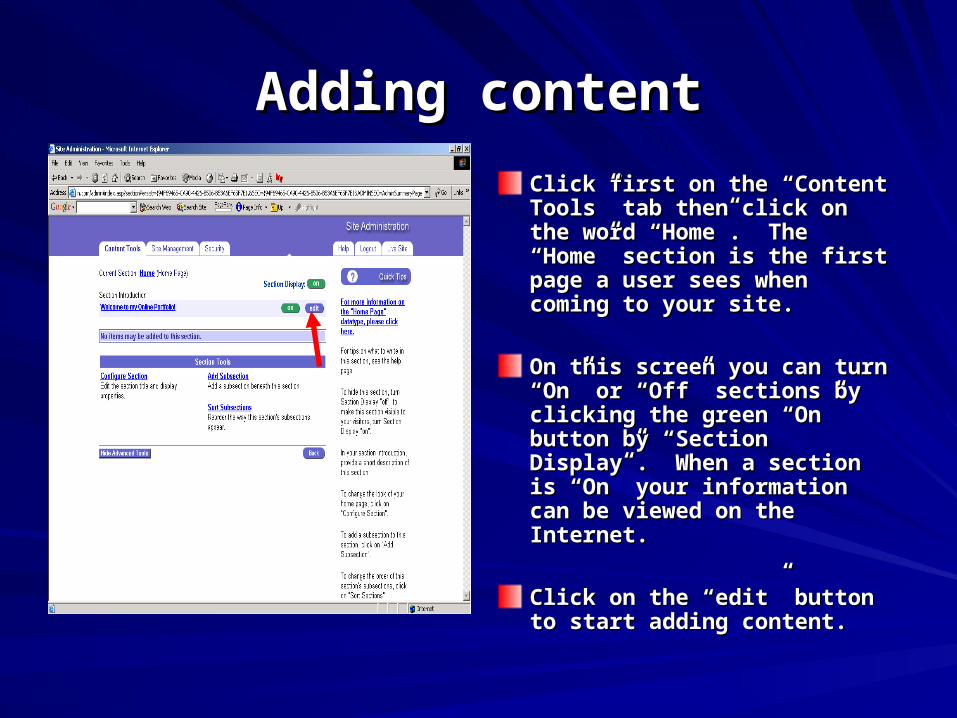
Adding contentAdding content
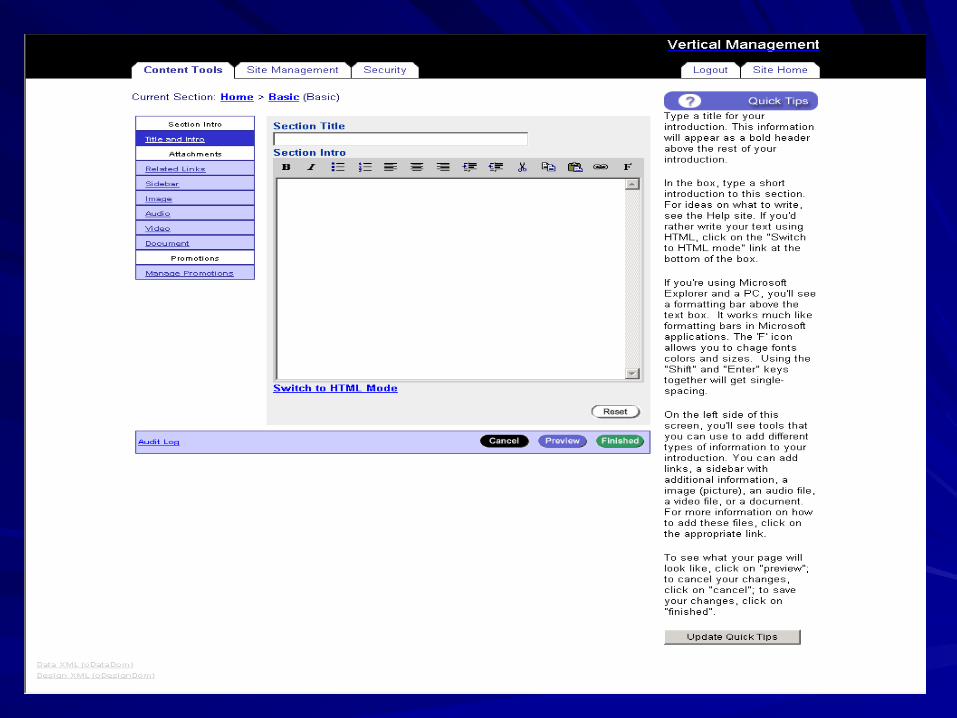
Click first on the “Content Click first on the “Content Tools” tab then click on the Tools” tab then click on the word “Home”. The “Home” word “Home”. The “Home” section is the first page a user section is the first page a user sees when coming to your site.sees when coming to your site.
On this screen you can turn On this screen you can turn “On” or “Off” sections by “On” or “Off” sections by clicking the green “On” button clicking the green “On” button by “Section Display”. When a by “Section Display”. When a section is “On” your section is “On” your information can be viewed on information can be viewed on the Internet.the Internet.
Click on the “edit” button to Click on the “edit” button to start adding content.start adding content.
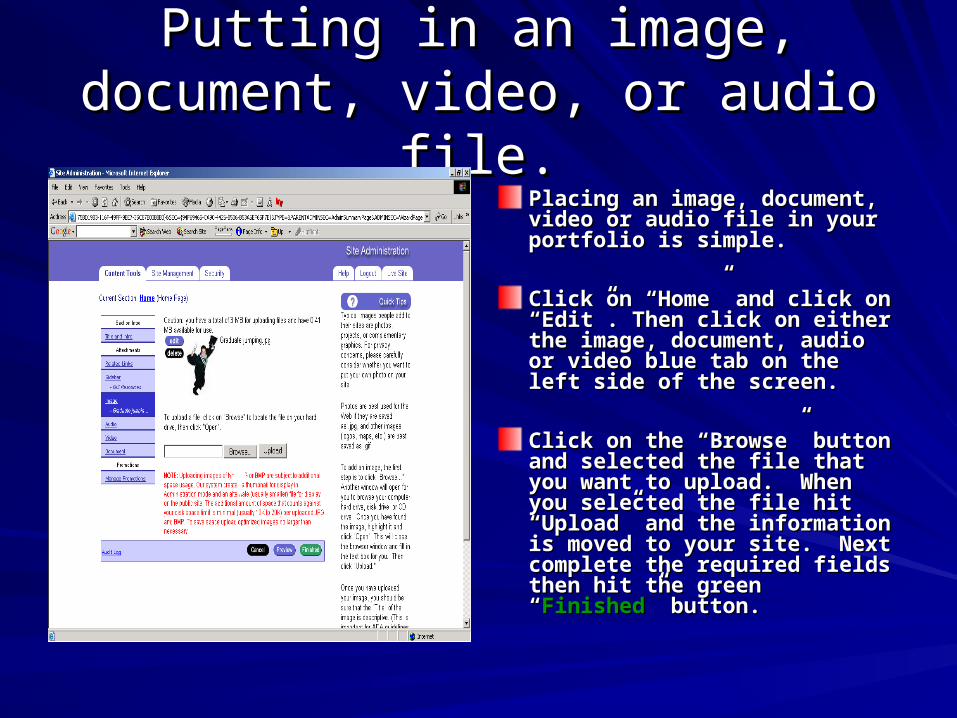
Putting in an image, document, Putting in an image, document, video, or audio file.video, or audio file.
Placing an image, document, Placing an image, document, video or audio file in your video or audio file in your portfolio is simple.portfolio is simple.
Click on “Home” and click on Click on “Home” and click on “Edit”. Then click on either the “Edit”. Then click on either the image, document, audio or image, document, audio or video blue tab on the left side of video blue tab on the left side of the screen.the screen.
Click on the “Browse” button Click on the “Browse” button and selected the file that you and selected the file that you want to upload. When you want to upload. When you selected the file hit “Upload” selected the file hit “Upload” and the information is moved to and the information is moved to your site. Next complete the your site. Next complete the required fields then hit the required fields then hit the green “green “FinishedFinished” button.” button.