wooden bridge - umn cts 1. build two truss beams for both sides of the bridge. " make sure that...
TRANSCRIPT
Wooden Bridge
Introduction:
Objective/Learning Targets
Create a bridge model from toothpicks and understand architecture/engineering principles. The design and construction requires critical thinking and invaluable problem solving processes. The activities provided here include hands-on experiences, collaborative problem solving, and an integrated approach to STEM.
Resources Materials:
• Popsicle Sticks • Hot Glue • Graph Paper • Free Weights • Pencils and Rulers
Amount of Time: 80 minutes Age Range: 7th grade and above
Warm-Up / Before Activity ! There are two additional manuals in addition to the lesson plan. There is a teacher’s guide which
outlines each construction process in great detail. Likewise, there is a student’s guide that splits up the construction for three separate that allows students to be analytical of the building process.
1. What makes a strong Bridge?
- The triangle shape has been found to be the strongest in bridge building largely because its angles do not change significantly, thus buck, under stress as other shapes do.
2. Can you list some famous bridges you know? (Have students share)
3. Share with students some bridge models
4. Have students draw a blueprint of their design on graph paper.
5. Using Popsicle sticks as a reference helps draw a blueprint to scale.

Construction
1. Build two Truss beams for both sides of the bridge. " Make sure that each beam is at least two sticks in thickness.
2. Make “W” shaped cross supports for the bridge. " For each side of the “W” pattern use at least two sticks. " The more bracing equates to a stronger bridge.
3. Glue cradle supports to the top of your bridge and glue upper support beams.
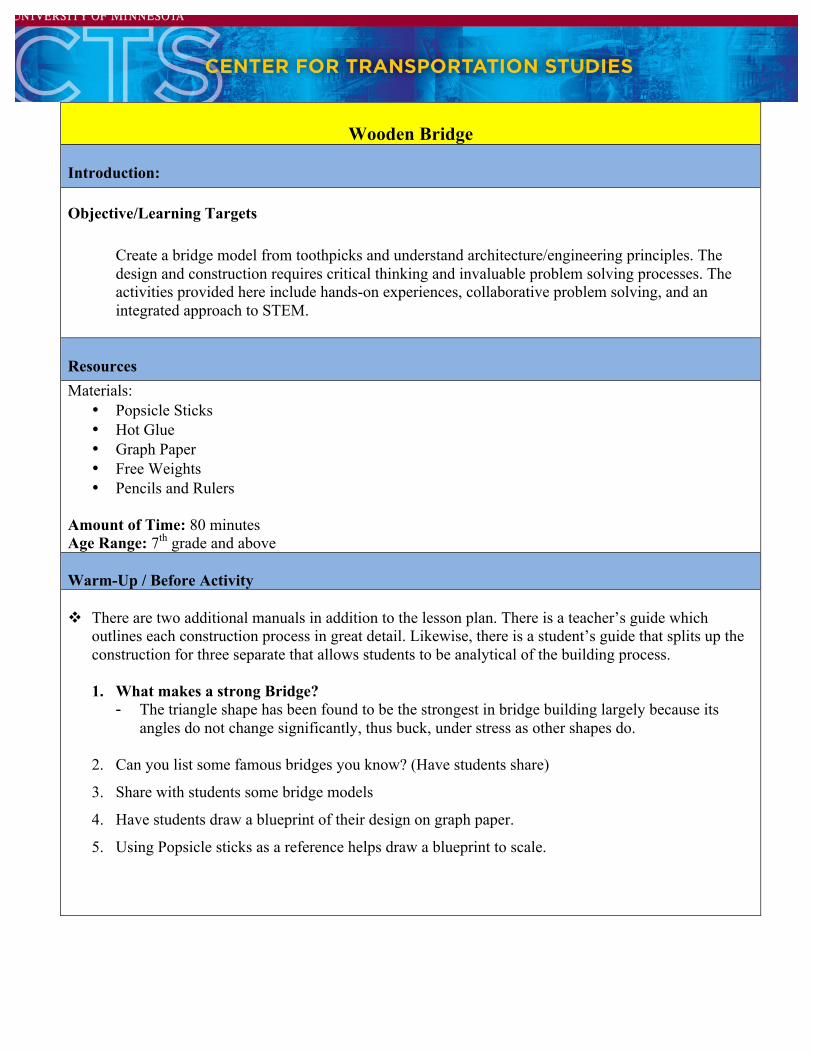
4. Glue the deck on top of the cradle supports.
5. Make the deck 1 Popsicle stick wide so it stretches the entire distance of your top length.
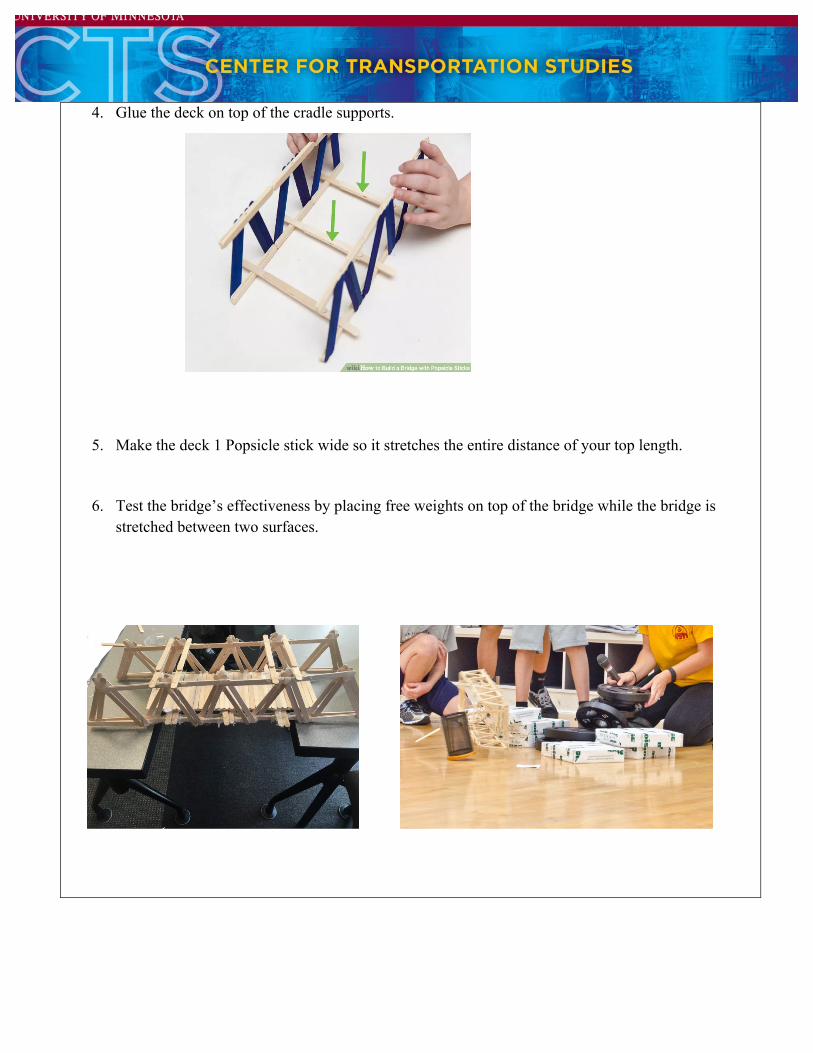
6. Test the bridge’s effectiveness by placing free weights on top of the bridge while the bridge is stretched between two surfaces.
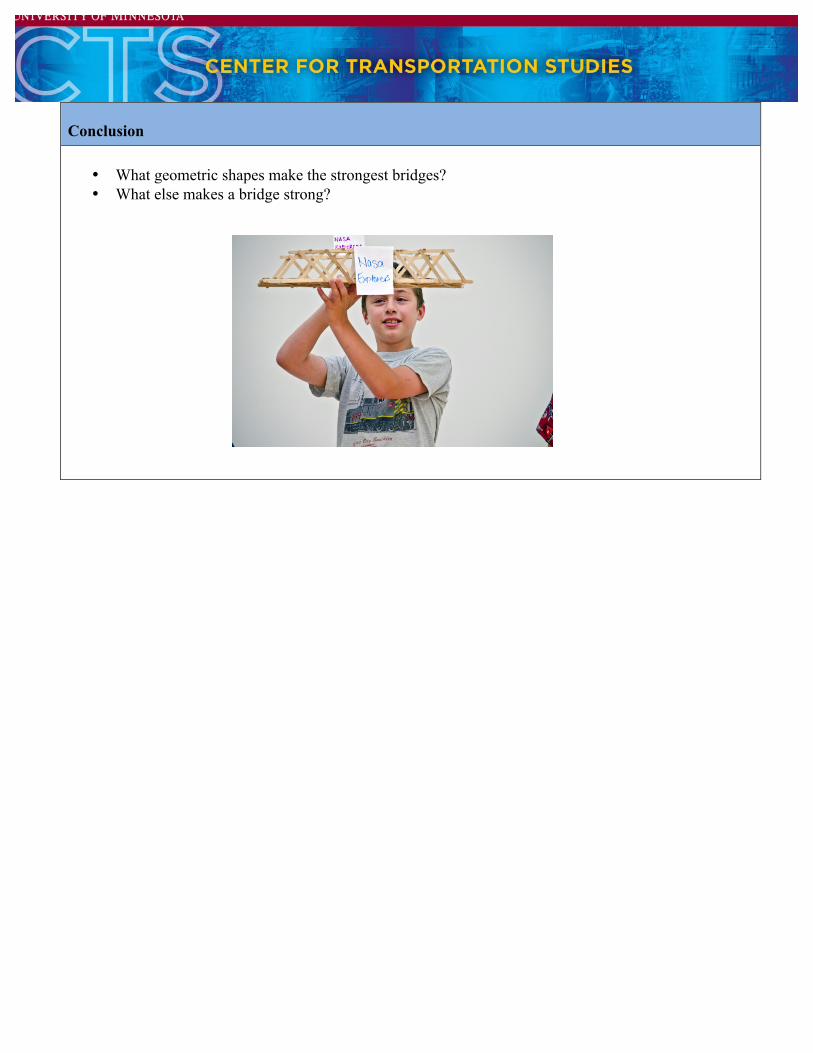
Conclusion
• What geometric shapes make the strongest bridges? • What else makes a bridge strong?