baking cookies - documents.sessions.edu
TRANSCRIPT
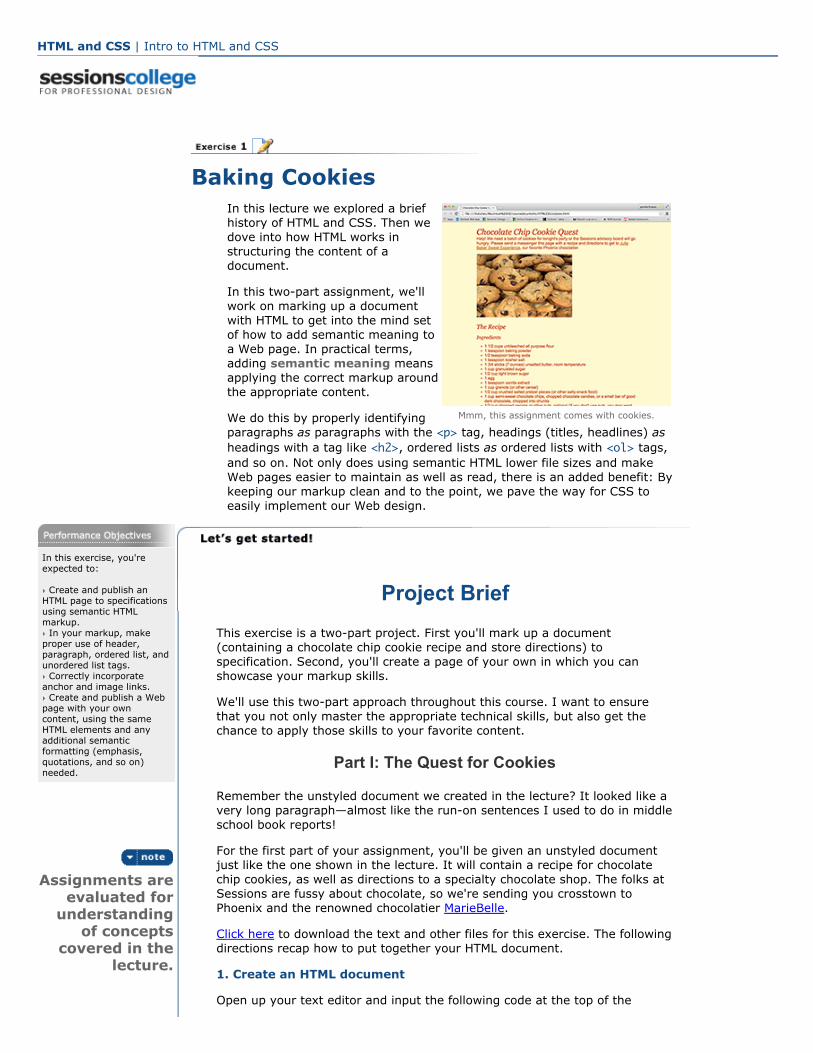
Mmm, this assignment comes with cookies.
HTML and CSS | Intro to HTML and CSS
Baking CookiesIn this lecture we explored a briefhistory of HTML and CSS. Then wedove into how HTML works instructuring the content of adocument.
In this twopart assignment, we'llwork on marking up a documentwith HTML to get into the mind setof how to add semantic meaning toa Web page. In practical terms,adding semantic meaning meansapplying the correct markup aroundthe appropriate content.
We do this by properly identifyingparagraphs as paragraphs with the <p> tag, headings (titles, headlines) asheadings with a tag like <h2>, ordered lists as ordered lists with <ol> tags,and so on. Not only does using semantic HTML lower file sizes and makeWeb pages easier to maintain as well as read, there is an added benefit: Bykeeping our markup clean and to the point, we pave the way for CSS toeasily implement our Web design.
In this exercise, you'reexpected to:
Create and publish anHTML page to specificationsusing semantic HTMLmarkup. In your markup, makeproper use of header,paragraph, ordered list, andunordered list tags. Correctly incorporateanchor and image links. Create and publish a Webpage with your owncontent, using the sameHTML elements and anyadditional semanticformatting (emphasis,quotations, and so on)needed.
Assignments areevaluated forunderstandingof concepts
covered in thelecture.
Project BriefThis exercise is a twopart project. First you'll mark up a document(containing a chocolate chip cookie recipe and store directions) tospecification. Second, you'll create a page of your own in which you canshowcase your markup skills.
We'll use this twopart approach throughout this course. I want to ensurethat you not only master the appropriate technical skills, but also get thechance to apply those skills to your favorite content.
Part I: The Quest for Cookies
Remember the unstyled document we created in the lecture? It looked like avery long paragraph—almost like the runon sentences I used to do in middleschool book reports!
For the first part of your assignment, you'll be given an unstyled documentjust like the one shown in the lecture. It will contain a recipe for chocolatechip cookies, as well as directions to a specialty chocolate shop. The folks atSessions are fussy about chocolate, so we're sending you crosstown toPhoenix and the renowned chocolatier MarieBelle.
Click here to download the text and other files for this exercise. The followingdirections recap how to put together your HTML document.
1. Create an HTML document
Open up your text editor and input the following code at the top of the
document.
<!DOCTYPE html> <html> <head> <title>My Web Page</title> </head> <body> My Web Page Lorem ipsum dolor sit amet, consectetuer adipiscing elit... </body> </html>
Create a title for your page and enter it in the <title> tags: "Chocolate ChipCookie Quest". (No quotation marks, of course.)
Now place all of the text in your page between the <body> tags.
Go to File > Save As in your text editor and save the file with the extension.html (as "cookies.html"). Remember to use a file name with a lower casetitle with no spaces or characters in your file name.
Note: If you're using TextEdit for Mac OS X, make sure to select "Make PlainText" from the "Format" window, and save it under Unicode (UTF8) plaintext encoding. On a PC, make sure All Files and Unicode (UTF8) areselected.
You've created a Web page! Double click on the document on your computerto view it in your default browser. You should see a wall of text that sorelyneeds some semantic markup. On to the next step.
2. Mark up the headings and paragraphs
Start by marking up the page using heading and paragraph tags. Use <h1>tags for "Chocolate Chip Cookie Quest" and <h2> tags for "The Recipe" and"Chocolate Store," and <h3> tags for "Ingredients," and "Directions."Remember to close all tags.
Now wrap each major block of text in paragraph tags: "Help! We need..,.", "11/2 cups unbleached...," "Adjust oven rack...," "From: Sessions...," and"Cookie recipe courtesy of..."
Save and preview your page. It should now look much better organized.
3. Format the lists
It's time to format the lists to make them easier to read. Please useunordered lists <ul> for the ingredients in the recipe, and ordered lists <ol>for the directions to the store.
Also remember to wrap each individual list item in a pair of list item <li>tags. Save and preview your page again.
4. Add anchor links
Next, let's use some anchor links to add some interactivity to the page.
First, add links to Sessions, MarieBelle, and Food 52. The basic external linkformat is this:
<a href="http://wikipedia.org/"></a>
The URLs are as follows:
http:///www.sessions.eduhttp://mariebelle.com/http://food52.com/
Don't forget to add a description title attribute to each link, like so:
<a href="http://wikipedia.org/" title="learn almost anything at Wikipedia">Wikipedia</a>
Save your file and preview your page. Are the links in the right place? Dothey launch the correct page in your browser?
5. Add images
Next, create an folder called "images" within your root folder—the folderyou're using for this course. Use the image of cookies from your downloadsand insert an image link directly after the word "chocolatier." The format foran image link is this:
<img src="images/cookies.jpg" alt="cookie">
Remember to add an alt attribute describing the content of the image. Saveyour file and preview your page. Is the image displaying as intended? If not,check that your file path is spelled correctly and the image is located in thecorrect place.
6. Add CSS
Now, you haven't learned any CSS in this course yet, but one of the benefitsof good markup (as you'll learn in Lectures Four through Six) is havingcontrol over your design in CSS.
To get you excited about CSS, please place the simple CSS stylesheet fromthis exercise's download folder to your local root folder and insert this code inyour header tags (in the section of your document marked <head>...</head>):
<link rel="stylesheet" type="text/css" href="Cookies.css">
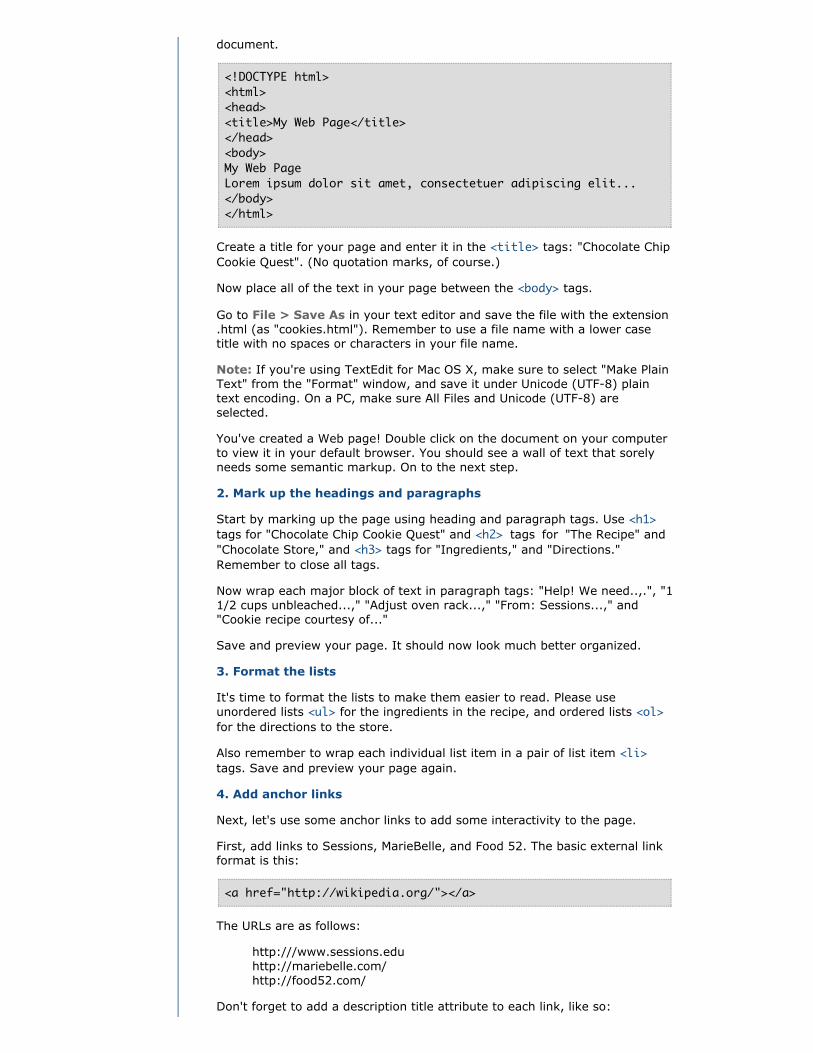
If you've coded your page correctly, you should see something like this:
Part II: Your Semantic Page
This next part is all you. I would like you to create and publish an HTMLdocument containing your own content.
First, write or edit some content that interests you and gather/research someimages. As you write, bear in mind that you will need your Web page tocontain the following elements:

HeadersParagraphsOrdered listAdditional semantic formatting as needed (bold,emphasis, quotes, blockquotes, computer code)Links to external Web sitesAt least one embedded image
When you create your own page, follow the steps we used in the earlierexercise and take the time to look for any instances of semantic formatting(bold, emphasis, quotes, blockquotes, computer code) on the page.
Use the following Review Kit to recap the tags you'll need to build your page:
Take some time over the content because we'll revisit this page later in thecourse and you'll add some CSS of your own.
Please include the above list of page components as an unordered list at thebottom of your page. You can use it as a "this page contains" checklist, tomake sure you include all the components in this part of the assignment.
When You Are FinishedWhen you are finished, be sure to upload both assignments, together withany associated graphics and stylesheets, to the Web. You'll be posting directlinks to your work to the Dropbox for evaluation.
Details on choosing Web hosting and FTPing to the Web follows, but first,watch this video tutorial for an overview of setup, the uploading process, andtroubleshooting. Note that in this video, the highly recommended FireFTPprogram is used.
The <html></html> tags are wrapped around al l ofthe content of your document l ike a big container.These tel l the browser when the page starts andends.
html head body Headers p Lists Formatting
00:00 / 00:00
Basic Page-BuildingTags
Web Hosting
Adfree Web hosting is a requirement for this course so your instructor cansee your work live online. If you need help understanding the terms involvedin Web hosting (like host, server, and domain), please see our guide to Webvocabulary.
If you don't have a Web host yet, there are many choose from. Somerecommend doteasy.com's basic hosting plan, or you can find lowcostquality hosting by doing a quick Google search.
Another option is try one of these sites that provide costfree and adfreehosting. Just like in the real world you'll have to determine which works bestfor you.
www.awardspace.comwww.biz.nfwww.agilityhoster.comwww.x10hosting.com
Please note: We are not affliated nor do we endorse these Web hosts. It isour reasonable assumption they will provide Web hosting at no cost to allowyou to host your assignments without interference from forced ads.
When you sign up for hosting, you are typically given all of the logininformation you'll need to FTP your files to your Web site: host name,username, and password. Be sure to keep that information in a safe placeand to have it on hand for the next step.
FTPing Your Work
00:00 / 00:00
Using FTP
As you learned in Lecture One, files are placed on your Web server via FTP,and many programs are available that allow you to FTP to the Web. Inaddition to standalone programs, your host may provide an area for you toeasily upload to your server. Click here if you need a refresher on choosingand using an FTP program to upload your files. Below is a basic overview.
The first step when opening your FTP program is always to log in to yourserver using the information provided by your host. This includes the hostURL to which you are posting (this may or may not be different from yoursite's domain name—your hosting company will tell you), your username,and your password. If you can't log in, check with your host to make sureyou're using the correct information.
Once logged in, you should see two panes in the FTP program, one for yourlocal (hard drive) files and one for your server files. Navigate in the localpane to the files you wish to upload.
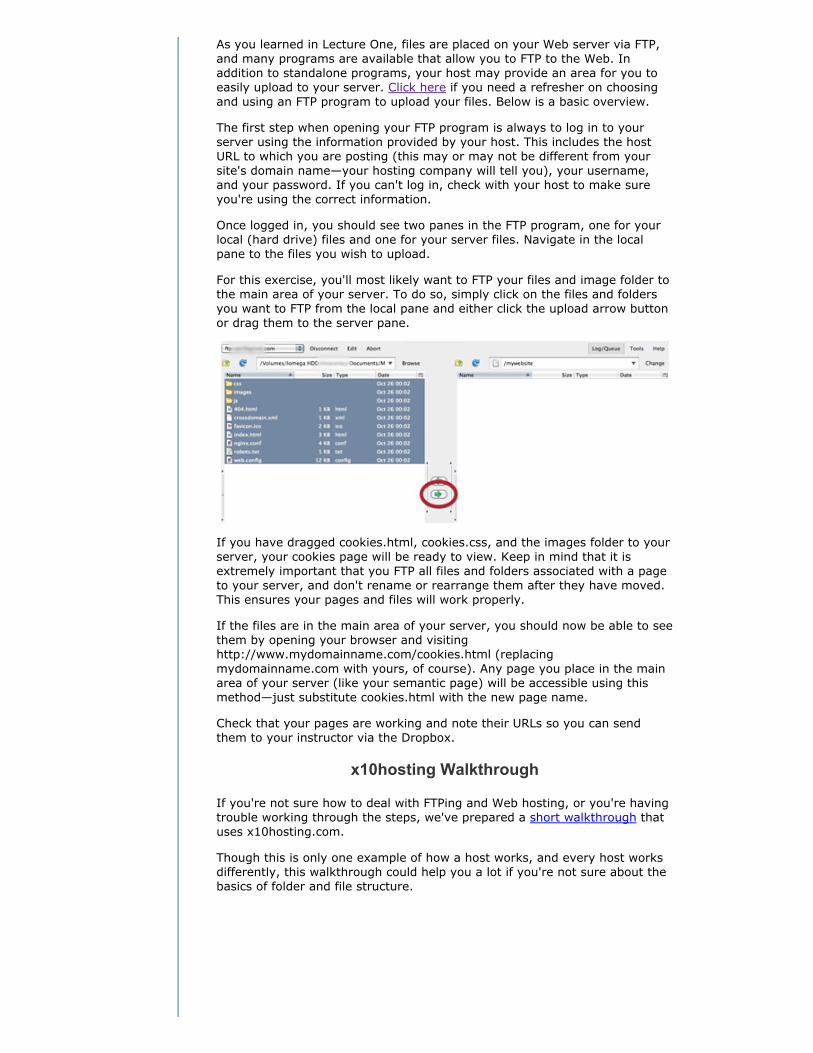
For this exercise, you'll most likely want to FTP your files and image folder tothe main area of your server. To do so, simply click on the files and foldersyou want to FTP from the local pane and either click the upload arrow buttonor drag them to the server pane.
If you have dragged cookies.html, cookies.css, and the images folder to yourserver, your cookies page will be ready to view. Keep in mind that it isextremely important that you FTP all files and folders associated with a pageto your server, and don't rename or rearrange them after they have moved.This ensures your pages and files will work properly.
If the files are in the main area of your server, you should now be able to seethem by opening your browser and visitinghttp://www.mydomainname.com/cookies.html (replacingmydomainname.com with yours, of course). Any page you place in the mainarea of your server (like your semantic page) will be accessible using thismethod—just substitute cookies.html with the new page name.
Check that your pages are working and note their URLs so you can sendthem to your instructor via the Dropbox.
x10hosting Walkthrough
If you're not sure how to deal with FTPing and Web hosting, or you're havingtrouble working through the steps, we've prepared a short walkthrough thatuses x10hosting.com.
Though this is only one example of how a host works, and every host worksdifferently, this walkthrough could help you a lot if you're not sure about thebasics of folder and file structure.
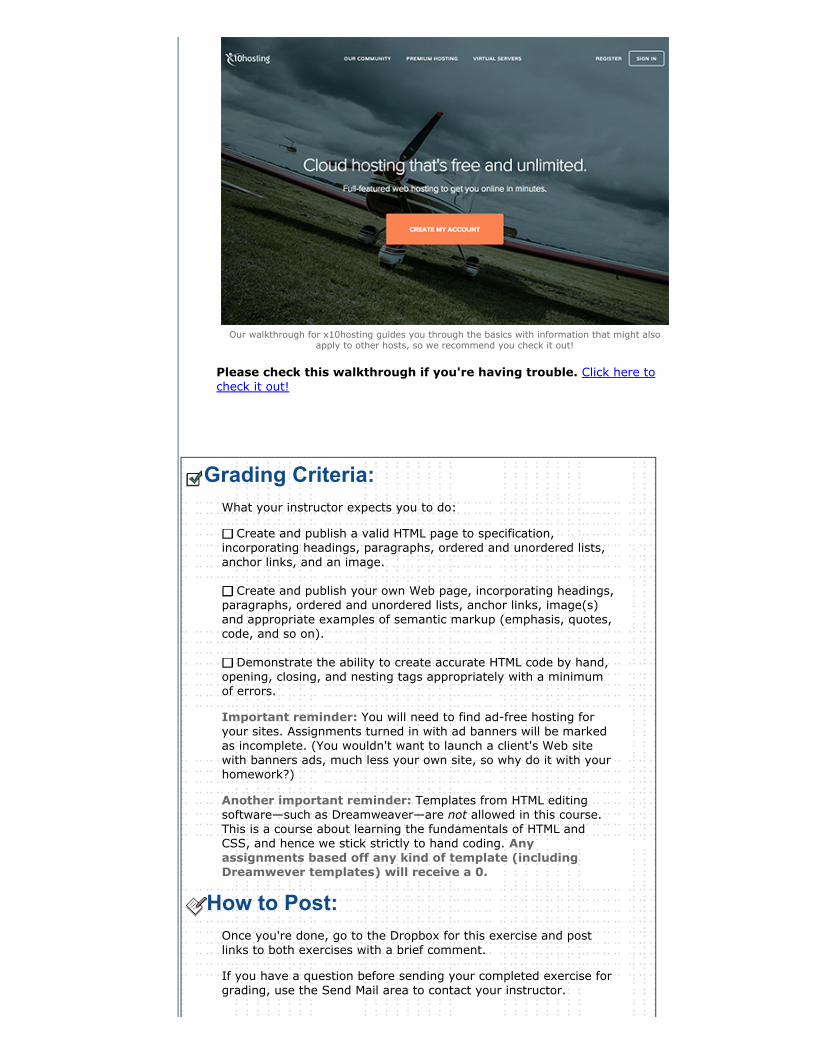
Our walkthrough for x10hosting guides you through the basics with information that might alsoapply to other hosts, so we recommend you check it out!
Please check this walkthrough if you're having trouble. Click here tocheck it out!
Grading Criteria:What your instructor expects you to do:
Create and publish a valid HTML page to specification,incorporating headings, paragraphs, ordered and unordered lists,anchor links, and an image.
Create and publish your own Web page, incorporating headings,paragraphs, ordered and unordered lists, anchor links, image(s)and appropriate examples of semantic markup (emphasis, quotes,code, and so on).
Demonstrate the ability to create accurate HTML code by hand,opening, closing, and nesting tags appropriately with a minimumof errors.
Important reminder: You will need to find adfree hosting foryour sites. Assignments turned in with ad banners will be markedas incomplete. (You wouldn't want to launch a client's Web sitewith banners ads, much less your own site, so why do it with yourhomework?)
Another important reminder: Templates from HTML editingsoftware—such as Dreamweaver—are not allowed in this course.This is a course about learning the fundamentals of HTML andCSS, and hence we stick strictly to hand coding. Anyassignments based off any kind of template (includingDreamwever templates) will receive a 0.
How to Post:Once you're done, go to the Dropbox for this exercise and postlinks to both exercises with a brief comment.
If you have a question before sending your completed exercise forgrading, use the Send Mail area to contact your instructor.

I look forward to seeing your work!