chapter 16 haircutting. basic principles of haircutting good haircuts: *understand the shape of the...
TRANSCRIPT

Chapter 16
Haircutting

Basic Principles of Haircutting
Good haircuts:
*understand the shape of the head
Hair responds differently:
*various areas
*depends on length
*cutting technique used
Be aware of head form:
*curves
*turns
*changes

Reference Points:
*where surface changes
~ears
~jaw line
~occipital bone
~apex
*establish design lines
Baldheadfarms.com
Sxc.hu

Helps:
*find balance
~both sides turn out the same
~recreate the same haircut
~where/when to change technique
-flat crown
-bangs

Parietal Ridge:
*widest area
*temples to bottom of crown
Find:
*comb flat on side of head
Found:
*where starts to curve away from the comb
Occipital bone:
*protrudes at base of skull
Find:
*feel
*comb flat against nape
Apex:
*highest point
*top of head
Find:
*comb flat on top of head

Four corners:
Find:
*make two diagonal lines
*crossing the apex
*front and back corners
*will not use every point for every haircut
*know where they are
Example:
Front corners=widest point in bang area

Areas of the Head
Top:
*parietal ridge and above
*hair “lies” on head
Front:
*apex to back of ear
*falls in front of ear
Short-hair-styles.com

Sides:
*back of ear forward
*below parietal ridge
Crown:
*between apex and back of parietal ridge
*often flat
*cowlicks and whorls
*pay special attention
Hairstyletalk.com

Nape:
*below the occipital bone
Back:
*apex to the back of the ear
*all hair that falls behind the ear

Flickr.com
Myddnetwork.com

Flickr.com

Bang: (fringe)
*apex to front corners
*no farther than outer corner of eyes
(end of eyebrow)

Tanyalovesyou.b;ogspot.com
Junk2jewels.typepad.com

Lines and Angles
Line: thin continuous mark
*used as a guide
Angle
*space between two lines
*intersect at a given point
~straight
~curved

Horizontal lines: (0 degrees)
*parallel to floor
*directs eyes from one side
to another
*build weight
*one-length haircuts
*low-elevation haircuts

Top40.about.com
Tonyandguy.com
Awonderfuleverything.blogspot.com
Vertical lines: (90 degrees)
*up and down
*perpendicular to floor
*removes weight
*graduated or layered haircuts
*higher elevations

Hairstylescut.com
Hairstylestips.blogspot.com
Greatlooks.com

Shorthairstyles.com
Hjico.uk/image
Hairstyles-picture.com

Diagonal lines:
*slanting
*sloping
*create fullness
*blend long layers

Hairstyleshaircuts.info
Batchplease.com
Hairstyles53.com
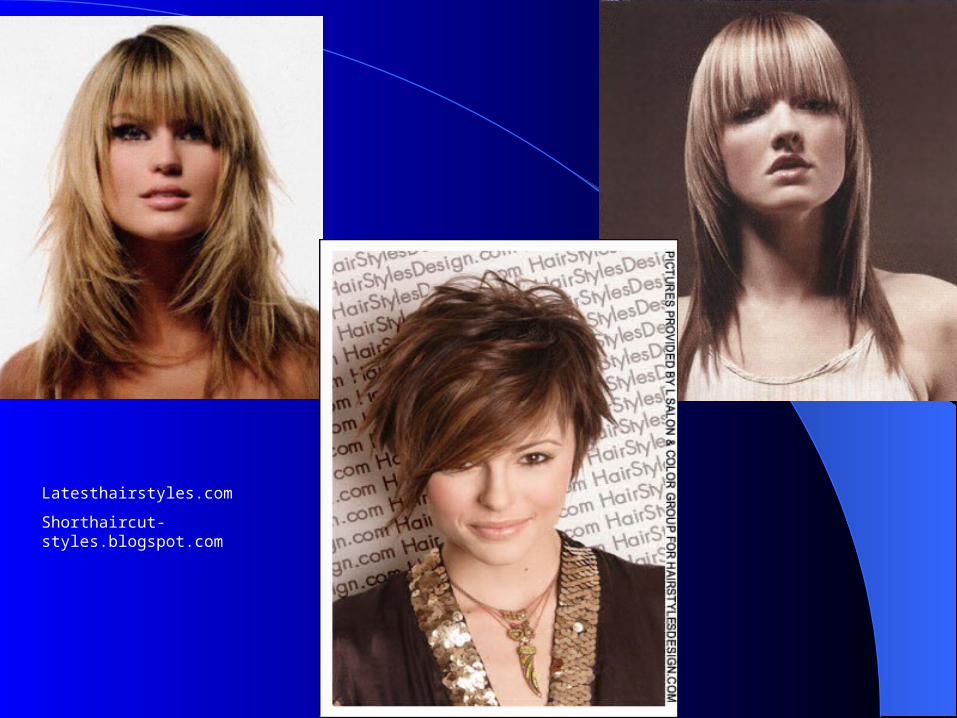
Latesthairstyles.com
Shorthaircut-styles.blogspot.com

Beveling:
*stacking
*diagonal lines
*slight increase/decrease
in length

Haircutsformen.org
Hairfinder.com

Elevation:
*hair parted in sections
(four)
*smaller
~subsections
*part or partings
~line dividing the hair

Elevation: Known as Projection or Lifting
*angle or degree hair is held, or elevated, from the head
*creates graduation
~layers
*described in degrees

Blunt/one-length haircuts
*no elevation
*0 degrees
Elevation occurs when:
*lift hair above 0 degrees
From pictures:
~determine what elevations were used
~create any shape you desire

45 and 90 degree
*more elevate=more graduation
*below 90 degrees
~builds weight
*90 degrees or higher
~removing weight

Associatedcontent.com
Hairstyles-tips.blogspot.com

Curly hair
*use less elevation
*leave longer for shrinkage

Cutting line: known as cutting position, cutting angle, finger angle, finger position
*angle the fingers are held
~horizontal
~vertical
~diagonal
~by degrees

Guidelines: known as guide
*determines the length the hair will be cut
~perimeter (the outer line)
~interior inner or internal line)
*first section cut
Stationary guide:
*does not move
*all sections are combed to guide
Used in:
*blunt haircuts
*over-direction
~length or width

Hairstylestalk.com
Hairstyles53.com

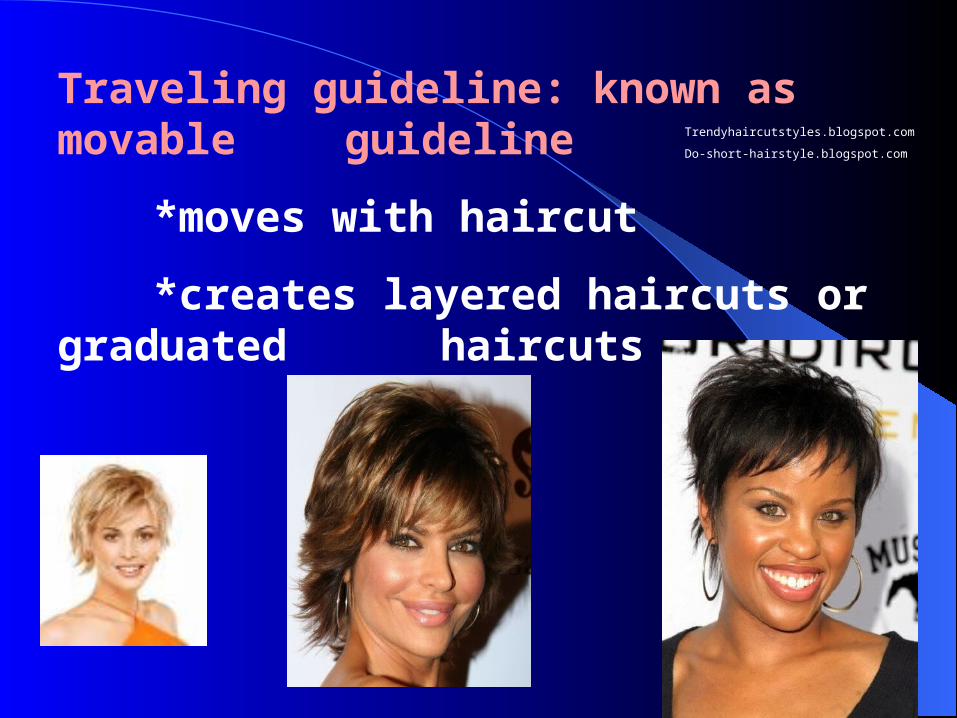
Traveling guideline: known as movable guideline
*moves with haircut
*creates layered haircuts or graduated haircuts
Trendyhaircutstyles.blogspot.com
Do-short-hairstyle.blogspot.com

Figure 16-22 & 16-23 (traveling guideline)
*guideline travels with you as you work through the haircut
*move it to the next subsection where it becomes your new guideline
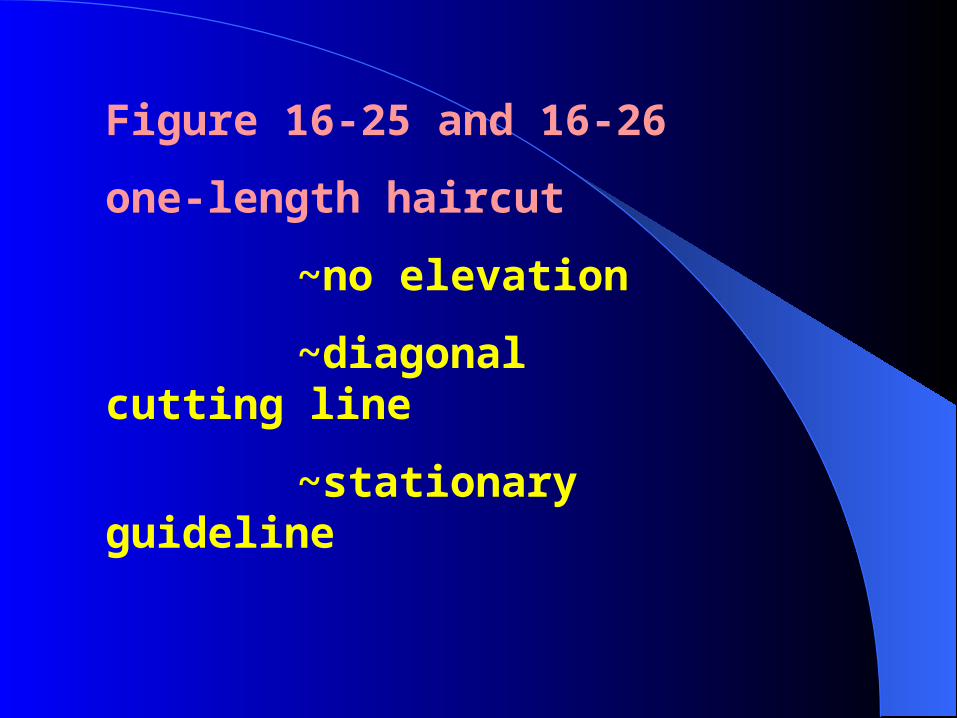
Figure 16-25 and 16-26
one-length haircut
~no elevation
~diagonal cutting line
~stationary guideline

Figure 16-27 & 16-28
90 degree
~vertical cutting line
~traveling guideline
Figure 16-29 & 16-30
45 degree (stacked effect)
~diagonal cutting line (nape)
90 degree on top
~traveling guideline

Over-direction:
*comb hair away from natural falling position
*used to create length increase

Longer front:
~stationary guide at back of ear
Beauty.about.com

Shorter front:
~stationary guide at front
Hairstyles53.com

Client consultation:
*find out what client is looking for
*offer suggestions
*professional advice
*joint decision
*discuss whether that look is a good choice for the client

When not the best look for him/her:
*use gentle persuasion
*positive reinforcement
*offer alternatives
Work with:
~hair texture
~face shape
~lifestyle

Analyze:
*clean
*unstyled hair
Client:
*ask you about their hair
*tell you about their hair
*ask you for suggestions

Factors to consider:
*hair type
*time
*lifestyle
*classic or trendy

Analyze:
*density
*texture
*growth patterns
*hairline
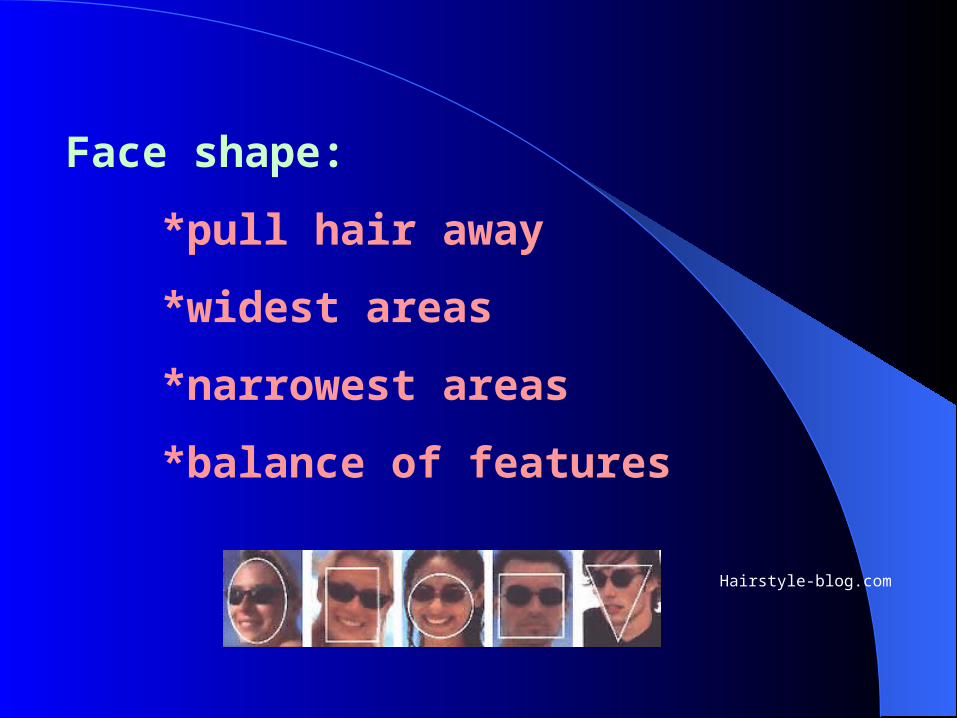
Face shape:
*pull hair away
*widest areas
*narrowest areas
*balance of features
Hairstyle-blog.com

Look for:
*features to bring out
*de-emphasize
*weight and volume draw attention
Wide face
~ fuller sides
~appears wider
~narrow shape (style)
~length to face
Long face
~give fullness on sides
~adds width
Narrow forehead
~increase volume and width
To balance
~draw eye away from certain areas
~add or remove weight/volume

Consider:
*profile
~from the side
~pull hair away
*features to emphasize
*features to de-emphasize
~prominent or receding chin
~double chin
~overly large nose

Prominent/receding chin
Ctghealth.co.uk
Sciforums.com

Double chin Large nose
Thelittlegreenblog.blogspot.com
Medscape.com

Type of part:
*natural
*center
*side

Use parts of face and body:
*points of reference
~chin length
~shoulder length

Hair shrinks when dry:
*1/4” to ½”
*cut longer
Curly hair
* ½ ” to 2” or more
Hairlines:
*hairline
*outermost perimeter

Growth Patterns:
*direction grows from scalp
~cowlicks
~whorls
~affects where hair ends up
*use less tension
Nape:
*less tension
*avoid getting “hole”
Crown:
*be careful
Density:
# of individual hair strands on 1 square inch
~thin
~medium
~thick

Texture:
thickness of each hair strand
~course
~medium
~fine
*different hair types
~respond differently to the same type of cutting
~some need more layers
~some need more weight
Coarse:
*sticks out if too short
Fine:
*cut very short, still lies flat
*scalp shows
Wave pattern:
*amount of movement in hair strand
*same length on different hair=different results
Review top of page

Haircutting tools:
*use only high-quality implements
*use properly
*take care of them
Hairproducts.com
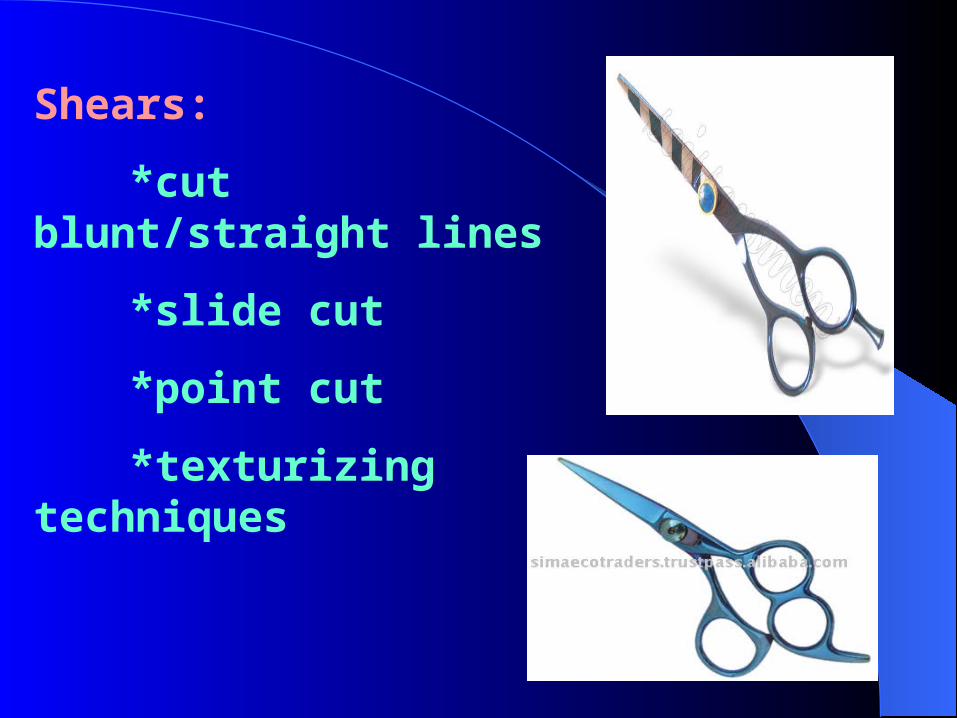
Shears:
*cut blunt/straight lines
*slide cut
*point cut
*texturizing techniques
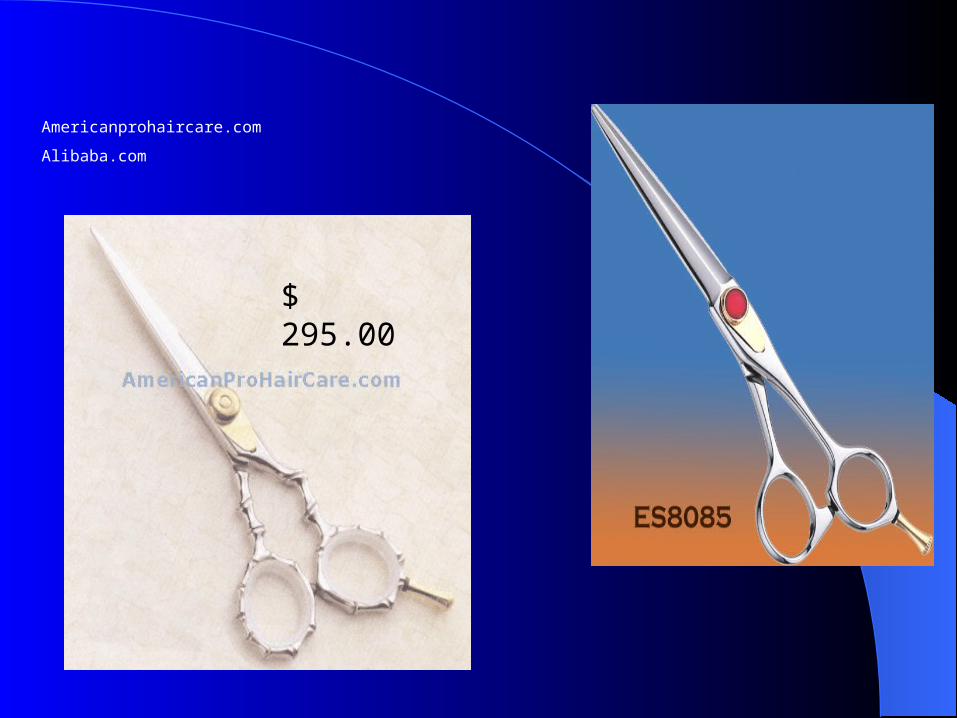
Americanprohaircare.com
Alibaba.com
$ 295.00

Royalshears.com
Wisecutshears.com


Texturizing shears:
*remove bulk
Called:
*thinning shears
*tapering shears
*notching shears
Absolutelygolden.com

*more teeth=less hair removed
Notching shears
*remove more hair
*larger teeth
*farther apart
Hicariscissors.com

Straight razors or feather blades:
*softer effect
*entire haircut
*thin hair out
*texturize
*different shapes and sizes
*with or without guards
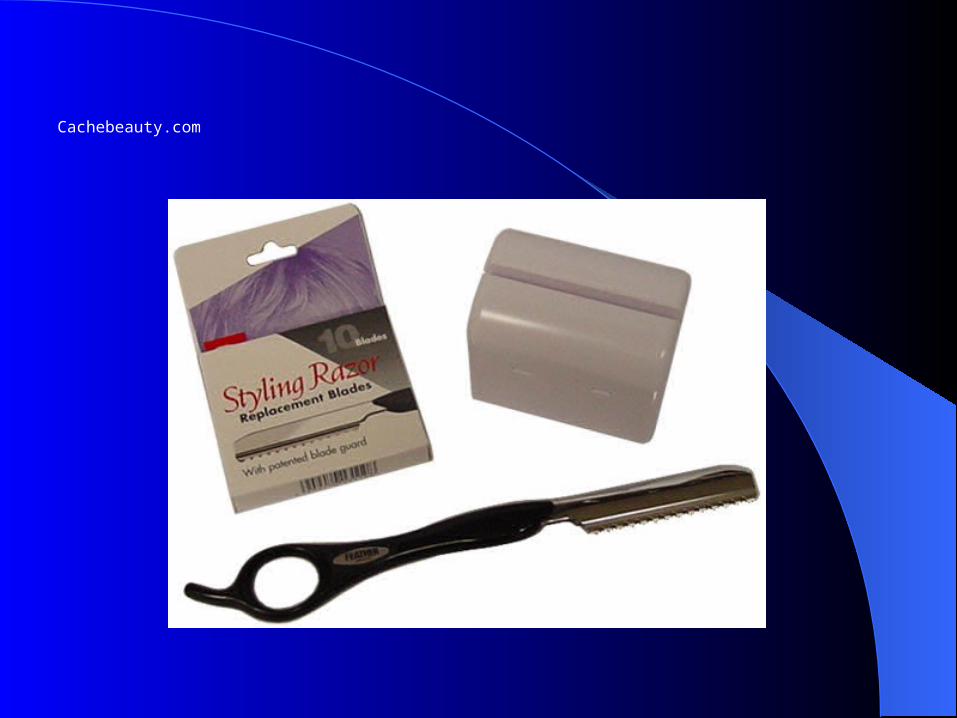
Cachebeauty.com

Beautystoreinc.com

Clippers:
*short haircuts
*tapers
*fades
*flat tops
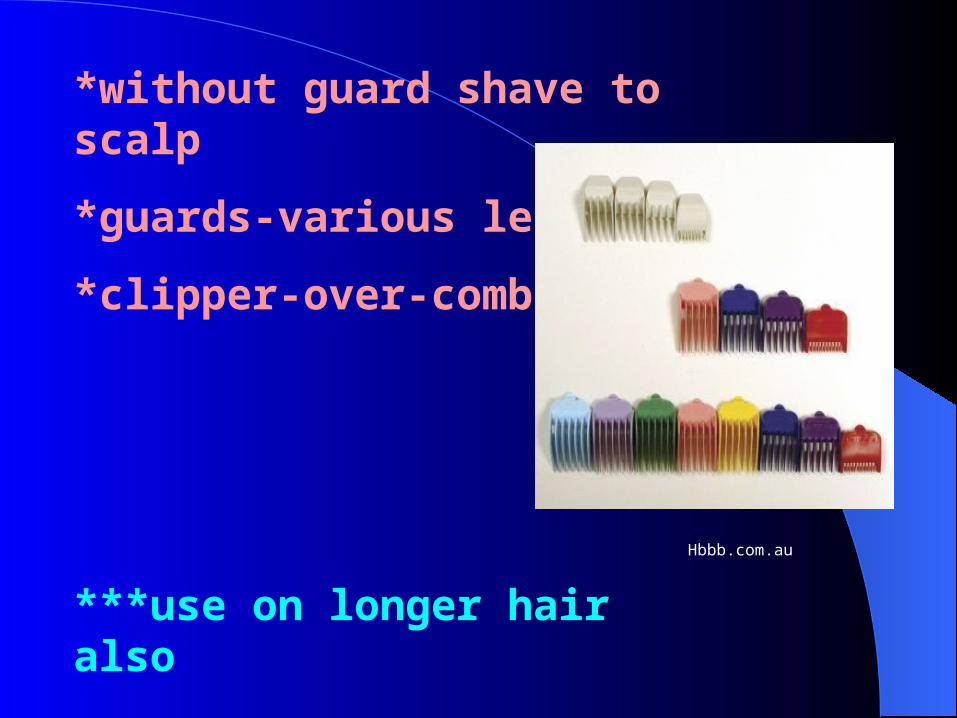
*without guard shave to scalp
*guards-various lengths
*clipper-over-comb
***use on longer hair also
DEMO
Hbbb.com.au
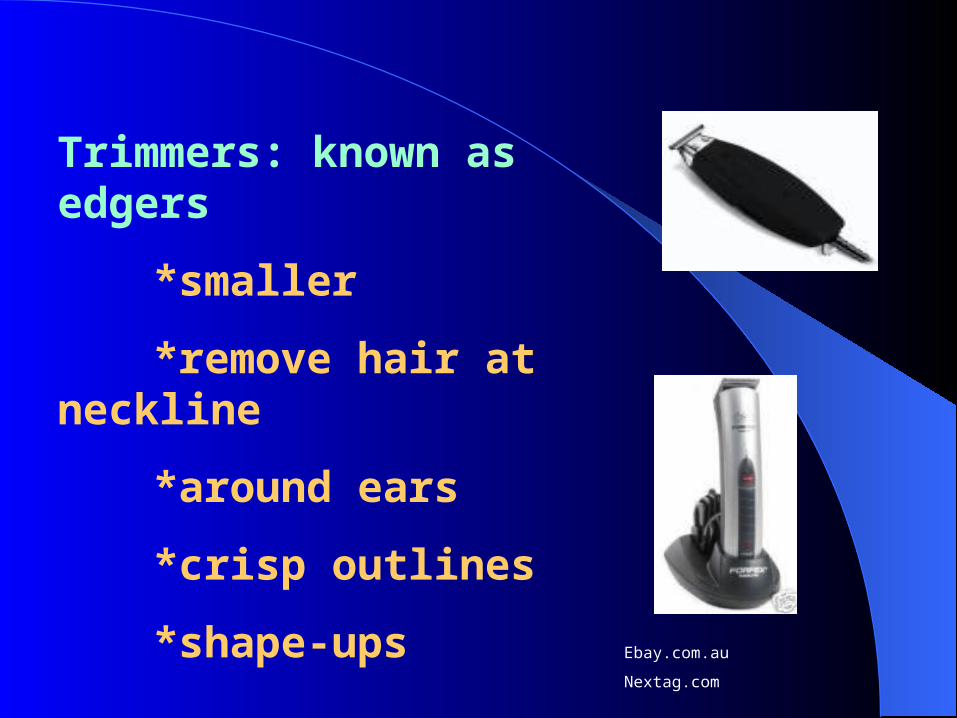
Trimmers: known as edgers
*smaller
*remove hair at neckline
*around ears
*crisp outlines
*shape-ups
Ebay.com.au
Nextag.com

Clips:
Please, Please, Please…
*long hair-butterfly clips
*short hair-duckbills

Wide-tooth comb:
*detangle hair
Tail comb:
*section

Barber comb:
*close tapers
*scissor-over-comb
Styling comb:
*used most

All About Shears
•Most important tool
•Have the right type, size, and make of shear for you
•One that fits and is comfortable
Steel
Primary manufacturers: Japan, Germany, United States
Gauge the hardness of the metal: *can the shear hold a sharp edge for an extended period of time
•Too soft-sharpened more often•Rockwell hardness---56-57 ideal
•63 or over-too hard=brittle-can break while using

Forged versus Cast Shears
Cast
•Molten steel poured into a mold
•Metal cools-takes the shape of the mold
•Disadvantages:*if dropped-could shatter
*if bent-cannot be bent back
•Usually less expensive

Forged
•Working metal by hammering or pressing
•Metal is heated, cooled, repeated
•Similar in price as cast shears
•Much higher quality and durability
•Lasts significantly longer than cast shears

• Some have handles welded to the blades
• Usually blades are made with harder metal than handles
• Can be repaired or adjusted by a technician

Parts of a Shear
•Cutting edge does the cutting
•Pivot and adjustment area makes the shears cut
•Adjustment knob*when tightened-pulls blades together so
hair does not fall or slide between the blades
•Finger tang-pinky-less stressed and pressure is relieved
•More control over the shear
• Ring finger hole----for the RING finger
• Thumb hole---should only go to or slightly over the cuticle
Shear Maintenance
• Daily cleaning and lubrication
• Wipe off between each client---use scissor oil
• Keep blades lubricated- reduces friction-makes shears last longer-less sharpening needed

Daily adjustment and balancing
•Tension too loose---shears will fold the hair
•Too tight---cause shears to bind---unnecessary wear, user fatigue
•Test for tension---DEMO

Weekly cleaning and lubricating
•Carefully open shears to a 90 degree angle
•Loosen the adjustment knob enough so a paper towel slides between the pivot point
•Push out any hair and debris
•Place one or two drops between the blades
•Do not put oil on adjustment knob.

Disinfecting shears
•Disinfect after each client
•Clean shears with soap and water
•Completely submerge in an EPA-registered disinfectant spray
•Thoroughly dry the shears
•Relubricate your bladeshttp://www.bigdaddybeauty.com/p-2755-king-research-barbicide-large-disinfecting-jar-holds-37ozs.aspx

Sharpening shears
•Only sharpen as needed
(not every time the sharpening technician comes to the salon)
•The better you care for your shears, the longer the edge will last
•Go one year or longer between sharpening
•Have a factory-certified technician sharpen your shears•Or send to the manufacturer for service
http://www.allbrands.com/products/abp12706.html
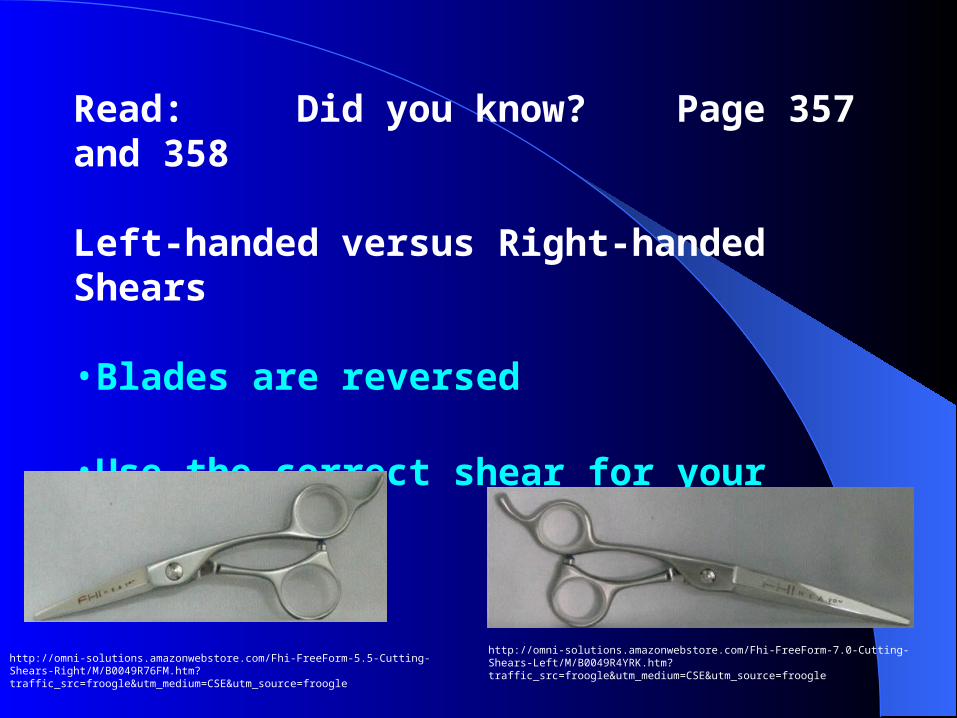
Read: Did you know? Page 357 and 358
Left-handed versus Right-handed Shears
•Blades are reversed
•Use the correct shear for your dominant hand
http://omni-solutions.amazonwebstore.com/Fhi-FreeForm-5.5-Cutting-Shears-Right/M/B0049R76FM.htm?traffic_src=froogle&utm_medium=CSE&utm_source=froogle
http://omni-solutions.amazonwebstore.com/Fhi-FreeForm-7.0-Cutting-Shears-Left/M/B0049R4YRK.htm?traffic_src=froogle&utm_medium=CSE&utm_source=froogle

Purchasing shears
•Know how the shear was manufactured
•Ask about steel quality
•Decide on the right blade edge (convex edge is best)•Decide on the best handle design
*opposing grip*offset grip*full offset or crane grip (anatomically correct)*releases pressure and stress on the nerves and tendons
Be sure the shear fits properly
*finger-fitting system-exact size of your ring finger and thumb
•A proper fit ensures maximum performance, comfort, and control
Read: Here’s a Tip

Hold the shears in your hand
•You need to feel the shears in your hand before you buy them
•Make sure manufacturer offers a 30-day trial period
*if not satisfied exchange or return for a full refund

Swivel thumb shears
•Provides great comfort and control
•More relaxed working posture
Ask about the service agreement
•Certified person in area to sharpen
•Or send away to be sharpened

Ask about the warranty
•Warranty period is
•Exactly what is covered
Analyze the cost of the shears
•High-quality steel
•New cosmetologist-spend between $250-$350.
Determine how many pairs of shears you need
•Rule of thumb: two shears (in case something happens to favorite shear)
•One thinning or blending shear
Read: Here’s a Tip and both Did you know? and Types of texture shears

Custom-fitted Shears
•Properly fitted protects you from long-term repetitive motion injuries*carpal tunnel syndrome or
musculoskeletal disorders
•Prevention is the key
•Your hand’s main job is the steer the shear-correct blade tension does the cutting

Buying and using ergonomically correct and custom-fitted shears
•Allows you to relax your grip*reducing thumb pressure*keeps blades sharper, longer
•Reduces pressure on nerves and tendons (prevents damage)
•Allows the shears to do the cutting

1. Fitting the Shear Correctly
•Ring finger-hole rests between the first and second knuckle
2. Fitting the thumb
•Thumb hole will rest at or slightly over the cuticle area of your thumb
3. Relaxing your grip
•Allows you to cut without any thumb pressure

Correct finger position and alignment
•Crucial to having a healthy career
•Correct finger position allows your fingers to stay properly aligned
http://www.mediafocus.com/stock-photo-hair-stylist-cutting-hair-61008.html
http://images.google.com/imgres?q=stylist+cutting+hair&hl=en&biw=1024&bih=619&gbv=2&tbm=isch&tbnid=9dtefZUJbP1TUM:&imgrefurl=http://www.123rf.com/photo_2457354_hair-cutting-hair-stylist-at-work-with-scissors.html&docid=sIgkYDMyGKm-cM&imgurl=http://us.123rf.com/400wm/400/400/erierika/erierika0801/erierika080100063/2457354-hair-cutting-hair-stylist-at-work-with-scissors.jpg&w=1200&h=801&ei=rGJnT8KGBOrk0QGb29i8CA&zoom=1&iact=rc&dur=493&sig=117154882344098738236&page=1&tbnh=150&tbnw=199&start=0&ndsp=10&ved=1t:429,r:2,s:0&tx=91&ty=33
Notice where her thumb is placed

Holding your tools properly:
*most control
*best results
*avoid muscle strain
Dail.stanford.edu
Backstagesf.com

Jolieaidesalon.com

Holding your shears:
*ring finger
*thumb
*move only thumb

Shears and comb:
*at the same time
*dominant hand
~holds shears
~parts
~combs
~cuts
Picasaweb.google.com
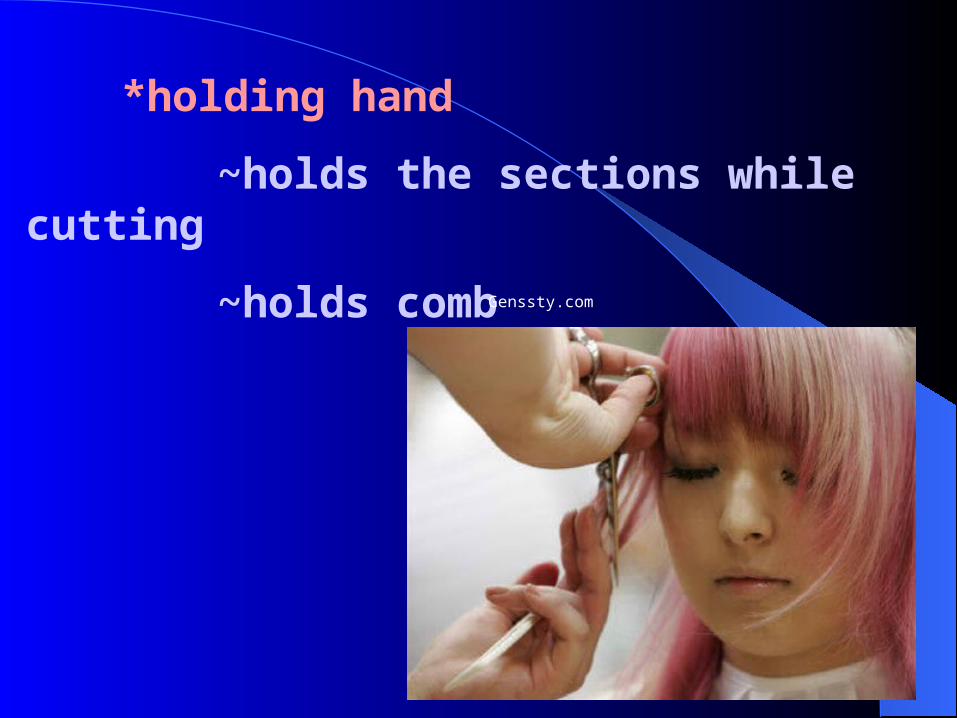
*holding hand
~holds the sections while cutting
~holds combGenssty.com
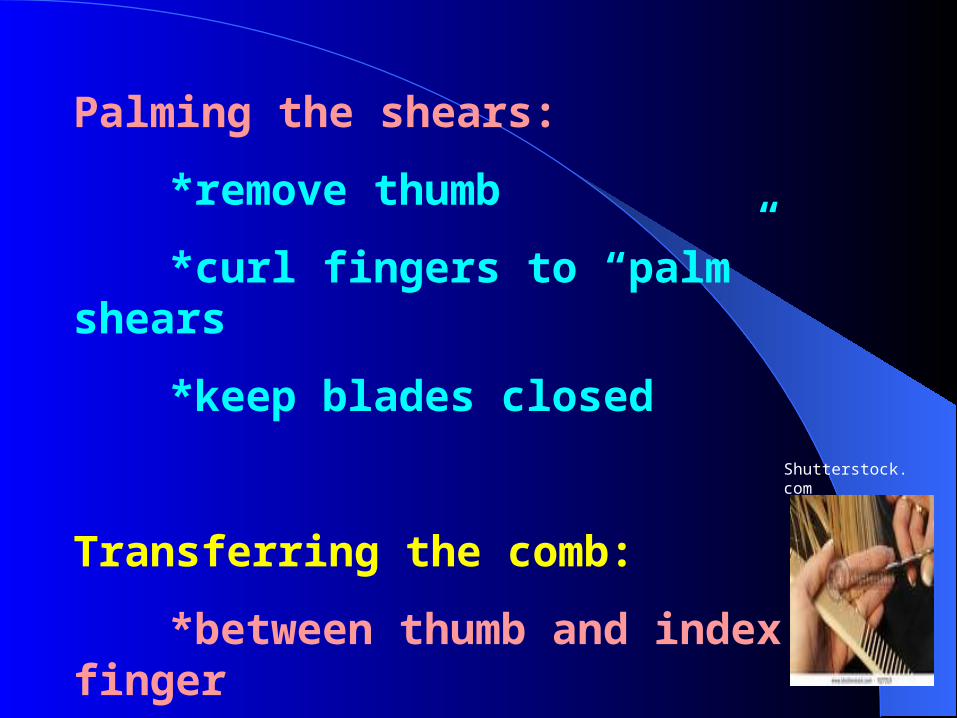
Palming the shears:
*remove thumb
*curl fingers to “palm” shears
*keep blades closed
Transferring the comb:
*between thumb and index finger
Shutterstock.com

Holding the razor
*entire haircuts
*detailing
*texturizing
Hairstyle-pictures.biz
Prohaircut.com
Hairbarsalon.com
Method A:
*open razor
~handle is higher
*little finger in tang
*position
~top of subsection
~part facing you

Method B:
*handle and shank are in straight line
*thumb on grip
~wrap fingers around

*palm when combing
Accidents:
*when combing
~not cutting

Handling the Comb:
*wide teeth
~combing
~parting
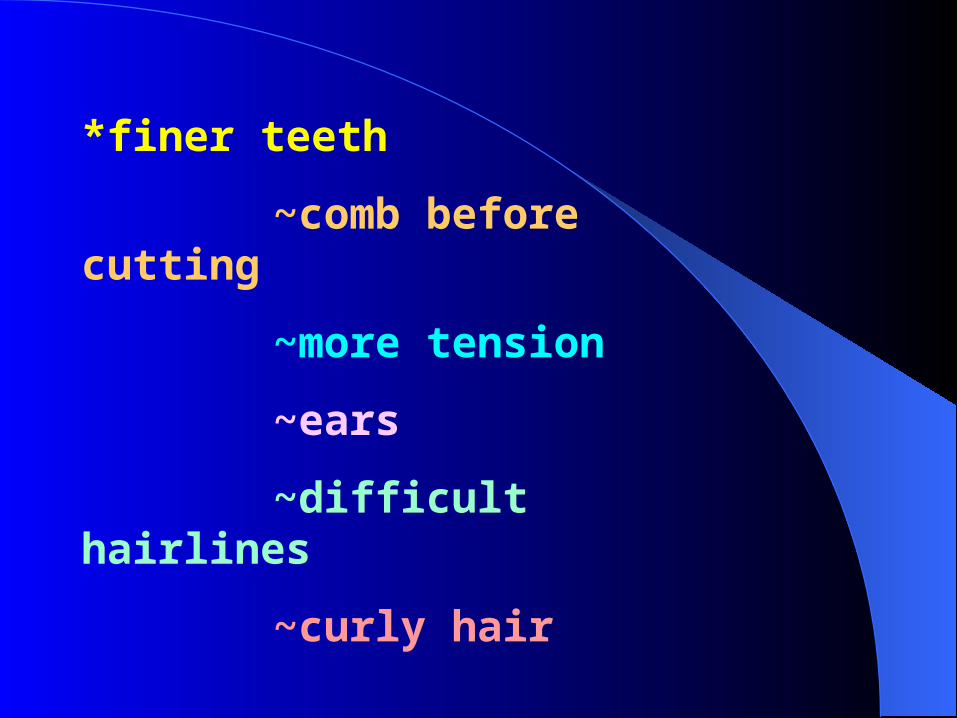
*finer teeth
~comb before cutting
~more tension
~ears
~difficult hairlines
~curly hair

Tension
*amount of pressure
~stretching
~pulling
*minimum to maximum
*consistent tension
~constant even results

*maximum tension
~straight hair
~precise lines
*less tension
~curly, wavy hair
~less shrinkage

Minimum tension:
*ears
*hairlines

Posture and Body Position:
*important
*avoid future back problems
*better haircutting results
*move more efficiently
*more control
In the next slide, who’s body position is a bad choice?
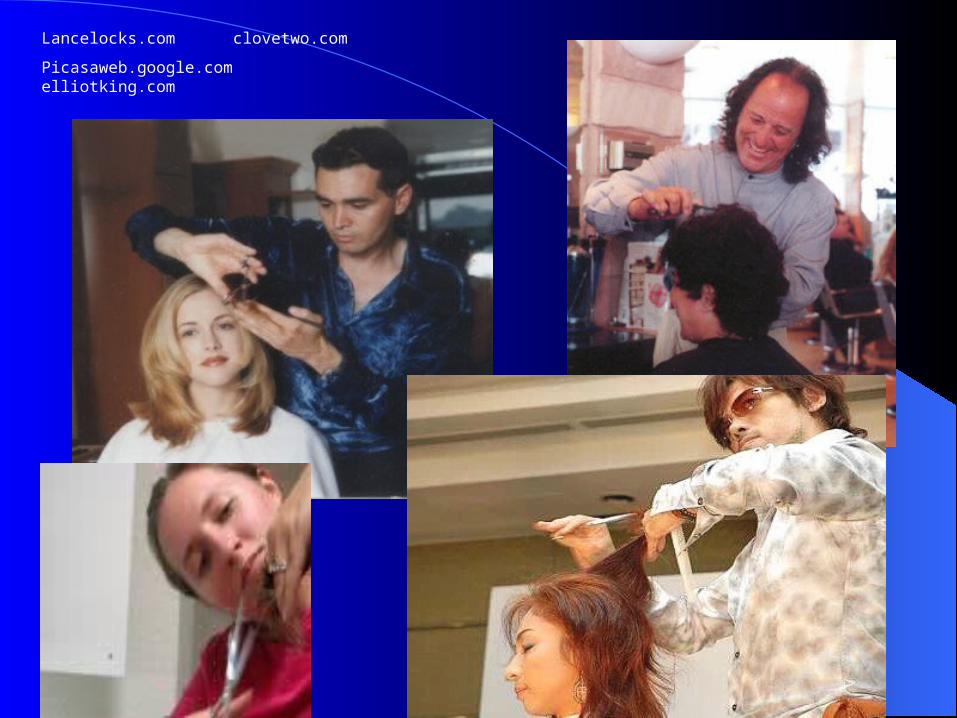
Lancelocks.com clovetwo.com
Picasaweb.google.com elliotking.com

Position the client
*sitting upright
~legs not crossed
~facing mirror
~see what you are doing
***standing if hair is long

Center your weight
*body centered and firm
*knees slightly bent
Sitting:
*both feet on floor

Work in front of your section
* directly in front of area cutting
*position hands to cutting line

Hand Positions:
*cutting over fingers
~top of knuckles
~uniform or
increasing layers
Tribuneindia.com
Beautynewsync.com

*cutting below fingers
~one-length bob
~heavier graduated cuts
~horizontal cutting line
~inside knuckles
Blessinghandsbeautysalon.cpm
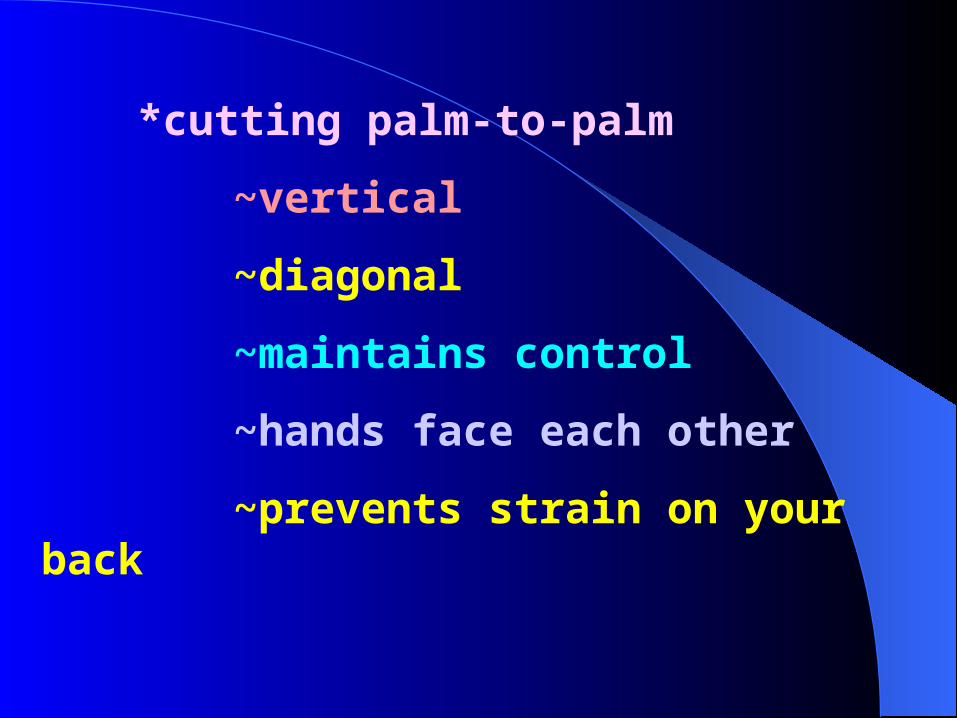
*cutting palm-to-palm
~vertical
~diagonal
~maintains control
~hands face each other
~prevents strain on your back
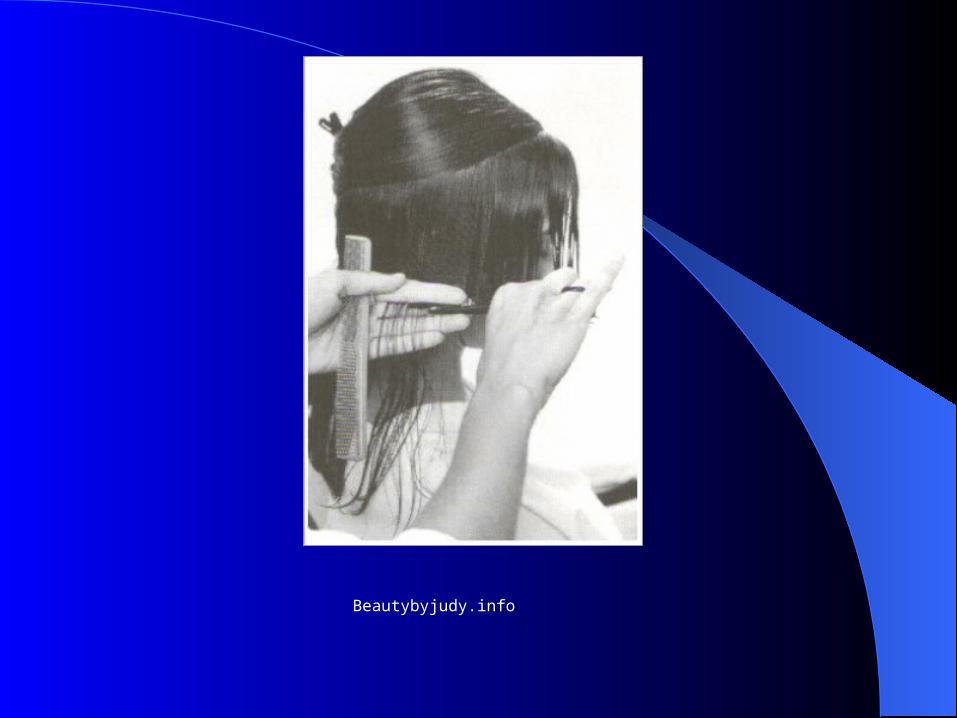
Beautybyjudy.info
Safety in Haircutting
*accidents can happen
*protect yourself and clients
*palm shears and razor while combing
*shears closed
~pointed away from client

•Not past second knuckle
•Ears
~take extra care
~lots of blood

•Bangs (fringe)
~balance shears on index finger
~prevents poking client
~cleaner line
•Razor
~with guard
~take care removing and disposing old blade
~empty perm bottle, or wrap with scotch tape

Basic Haircuts
Blunt haircut:
*one-length
*weight line
Weight line: visual line in a haircut

*zero/no elevation
*stationary guide
*horizontal, diagonal, rounded
*use on finer hair
~appears thicker
Greathomehaircuts.com
Beauty.about.com

Short-haircutstyles.com
Choicehairstyles.com
Hairstyles53.com
Graduated haircut
*low-to-medium elevation
*over-direction
*45 degrees
*buildup of weight
*ends appear to be “stacked”

Kimlake.com
Austin.craigslist.com
Zimbio.com

Layered haircut
*higher elevations
*90 degrees and above
*less weight
*create movement
~volume
*traveling and or stationary guideline

Beauty.about.com
Hubpages.com

Short-hairstyles.com

Short-hairstyles.com
Menscoolhairstyles.com

Long-layered haircut
*180 degrees
*more volume
*shorter on top
~longer layers at perimeter
Clinic floor:
*two 180 degree haircuts used
In Lesson Book…
*Shortened 180 (write this)
Use on medium-long length hair

Hairstyles53.com
Celebrityhaircut.blogspot.com
Zimbio.com

Extended 180 (write this)
*Mrs. Kucas’ way
~use for long-very long hair
*both maintains weight in perimeter

Celebrityhaircut.blogspot.com

Long-hairstyle.blogspot.com
H4hair.co.uk
Myhaircuts.blogspot.com

Coolmenshair.com
Hairfinder.com
Mensvogue.com
Every haircut uses:
~one
~two
~three of these techniques

*add
~texturizing
~slide cutting
~scissor-over-comb
gives you advanced haircutting
*unlimited shapes and effects
Focus on: General Haircutting Tips
•clean consistent partings
~more precise results
•extra care (danger zones)
~crown
~neckline

•Danger zone
~ears
~keep weight
~minimal tension
•consistent tension
~maximum to minimum
~light tension-wide teeth

•Head position
~if not upright
may alter elevation and over-direction
•Even moisture
~variable wetness=uneven results
•Work with guideline
~cannot see guide
*subsection too thick
~BIG section=BIG mistake

•Cross-check
~part opposite way you cut
Ex. Vertical partings for cut/
horizontal partings to check for precision

•Use mirror
~even lines
~maintains visual balance
•Check both sides
•Curly hair
~shrinks ½-2”

Blunt haircut
•Known as bob, one-length, one-level, pageboy, bowl haircuts
*head upright and straight
*bent forward
~line will not fall as you cut it
~some graduation you did not want
*use little or no tension
*length past shoulders
~minimal tension
*long hair (below the back of the styling chair)
~client stands up

Beware of crown area (danger zone)
*growth patterns
*cut this area at the very end of the haircut
*or cut it slightly longer
*once hair is dry, match the length to the guideline

Another danger zone---ears
•Very little or no tension
Blunt cuts can be designed with or without bangs (fringe)
*on straight, or curly hair
*short, medium, or long length

Other blunt cuts
*A-line
~diagonal cutting line
Awonderfuleverything.blogspot.com

Longer blunt
*horizontal finger angle
*little tension
On curly hair
*naturally graduates
Naturalcurlyhair.com
Wilshirewigs.com

“Bowl” shape
~perimeter is curved
~horizontal and
curved cutting lines
Celebrityhairstylesnews.com
Hairstyles-tips.blogspotcom
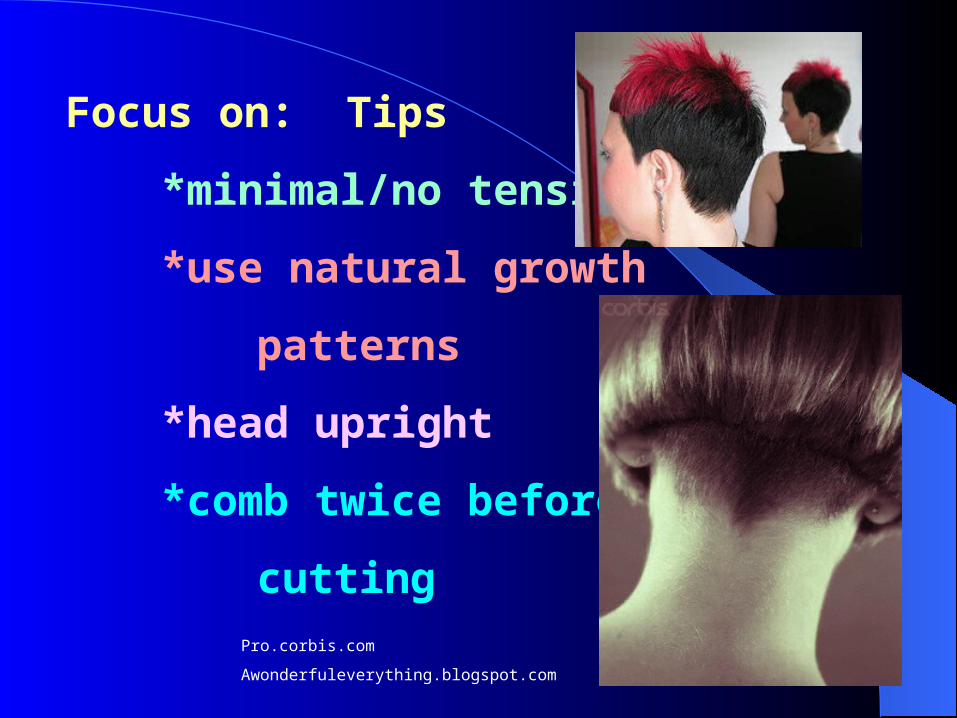
Focus on: Tips
*minimal/no tension
*use natural growth
patterns
*head upright
*comb twice before
cuttingPro.corbis.com
Awonderfuleverything.blogspot.com

*even moisture
*crown/hairline
*ears
~avoid “hole”
***stay centered-bring outside corners to you

Graduated
*vertical cutting line
*45 degree (also 90-degree elevation)
*any part (side, center, bang)
*stationary and traveling
guideline
*begins in the back (45-degree elevation throughout)
*incorporates sides and top

Zimbio.com
Kidscrafts.bradandkris.com

Pictures on side bar
*shorter shape
*rounded weight
*diagonal partings
Con’t

Sides
*elevated
*over-directed
*more length
Back
*traveling guideline
*each section over-directed to previous section

Focus on: Tips
*hair “expands” when dry
*coarse textures/curly hair
~keep elevation below 45 degrees

*fine hair– great for graduation
~builds weight
~thicker/fuller
~avoid heavy weight line
~diagonal partings=softer line
~medium density-safe to elevate

*check neckline
~if hair grows straight up
-leave longer
-graduation lower
~blend
-scissor-over-comb
*fine teeth
~even tension
Uniform-layered
*90 degrees
*same length
*interior traveling guideline
*soft and rounded
*no weight or corners
*perimeter will fall softly due to reduced weight

Other examples
*1 inch length
~pixie
~crop
~Caesar???
*men and women
Greatestlook.com
Oiqot.com

*keep corners
~fingers vertical
~square shape
~men’s basic haircut
Pzazzsalon.com

Shazamhair.com
Do-short-hairstyles.blogspot.com

Haircutsformen.org
Flicker.com
Menshairstylesonline.com
Extreme corners…

*longer perimeter lengths
~shag
~top area
uniform layers
~sides and back
straight up
~180 degrees
Hairforbunnies.blogspot.com

Zimbio.com
Hairstyles-picture.com

Long-layered haircuts
•Interior guide
•Beginning at the top of the head
•All hair will be elevated to 180 degrees to match the guide
Focus on: Tips
*cut interior first
~then perimeter
~on clinic floor
*short hair
~best on medium-thick
densities
~thin hair exposes scalp
*coarse hair
~sticks out if shorter than 3”
~needs extra length
*longer layers
~thickness at bottom
~layers too short
stringy perimeter

*past shoulder blades
~slide cut
~ maximum length
weight
Imageandstylenews.com

Other cutting techniques
*create different effects
Cutting curly hair
*can be a challenge
*use any cutting technique
*very different results than straight hair

Examples
Figure 16-94
*hair appears stacked
*cut blunt
Figure 16-95
*volume
*hair shrinks when dry-weight line has graduated itself

Tips
*curly hair shrinks
*use minimal tension
~wide teeth
*have consistent dampness

*when dry has more volume
~leave longer
*no razor
~frizz
*texturize carefully
~avoid razor
~use point cutting
~free-hand notching

Cutting bangs
*England
~fringe
*hair that lies between the two front corners
*between outer corners of eyes
*work with the natural distribution
***one-length/90 degrees
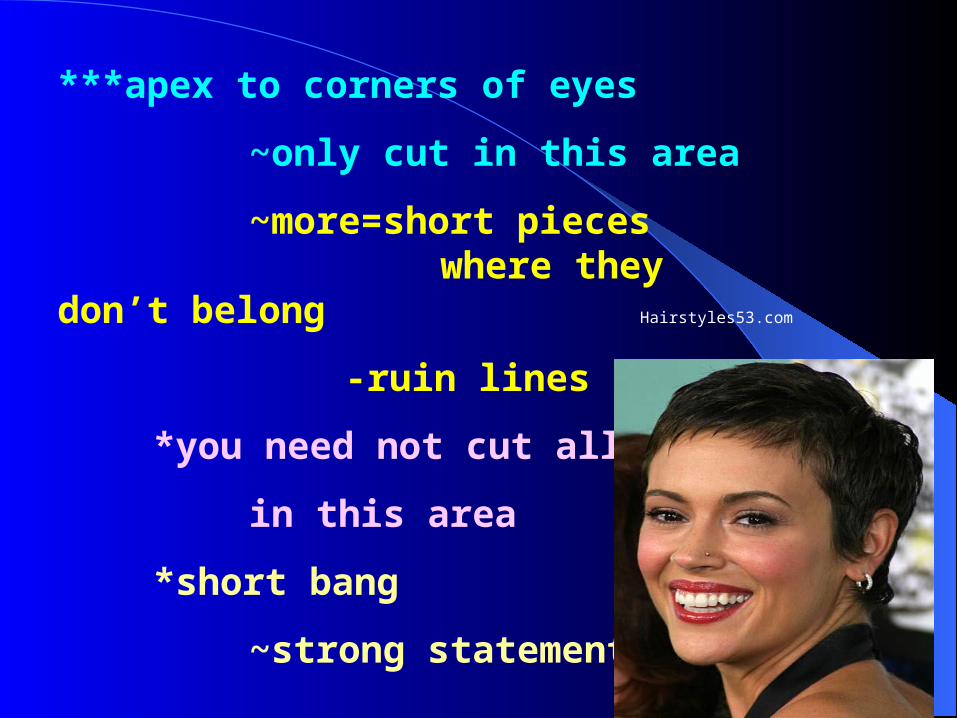
***apex to corners of eyes
~only cut in this area
~more=short pieces where they don’t belong
-ruin lines
*you need not cut all hair
in this area
*short bang
~strong statement
Hairstyles53.com

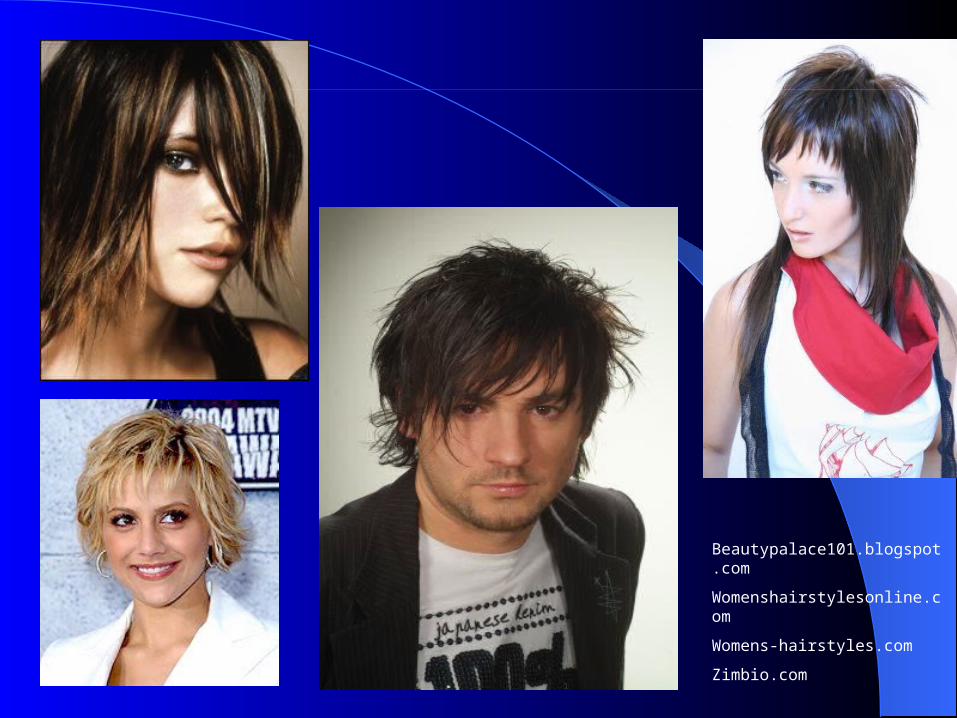
*long bang
~slide-cut
~wispy effect
*few pieces
~small portion
~razor
Latesthairstyles.com
Trendynewhairstyles.blogspot.com
*can be blended or not
*blunt cut
~not blended
*layered cut
~may want to blend

Razor cutting
*totally different result
*softer appearance
*line is not blunt
* “feathered” effect on ends
*finer blade than shears
Shears-two blades blunt ends
Beautypalace101.blogspot.com
Womenshairstylesonline.com
Womens-hairstyles.com
Zimbio.com

*create any haircut with razor
*cut horizontal, vertical, or diagonal
*guide is above fingers
*practice

Two methods
1. Parallel to subsection
~thins ends
~entire blade is used
2. Approach subsection at 45 degree angle
~one-third blade used
~small strokes

*move
~top to bottom
~side to side
Wikihow.com

Focus on: Tips
*hair in good condition
Not on:
~curly
~coarse, wiry
~over-processed
~damaged hair

*use guard
*use new blade
~dull blade-painful
~discard safely
*keep hair wet
~frizz
~painful
*work at an angle
~never force

Slide cutting
*fingers and shears glide along edge of hair
*removes length
*blending shorter to longer
*texturizing

*layer very long hair
*keep weight
*blade partially open
*on wet hair
*very sharp shears
Diamondbeautyproducts.com

Razor on outside edge of shears (both sides)
Sumukai $395.00

Two methods
*visualize the line before you cut
1. Hold subsection with tension beyond cutting line
***interior
2. Place shears on top of knuckles
~both hands move simultaneously out to the ends
***perimeter

Jolielaidesalon.com

Scissor-over-comb
*barbering technique
*hold hair in place with comb
*tips of shears removes length
*very short tapers
*extremely short to longer lengths

*start at hairline
*work your way up
*dry hair
~see how much
~maintain control
*lift away from head
*do not hold between fingers

*shear and comb
~ move simultaneously up the head
*cut with even rhythm
*stopping
~causes “steps”
~visible weight line (not wanted)
Basic steps
1. stand in front of section
*eye level
2. comb, teeth first in hairline
*teeth are angled away from the head
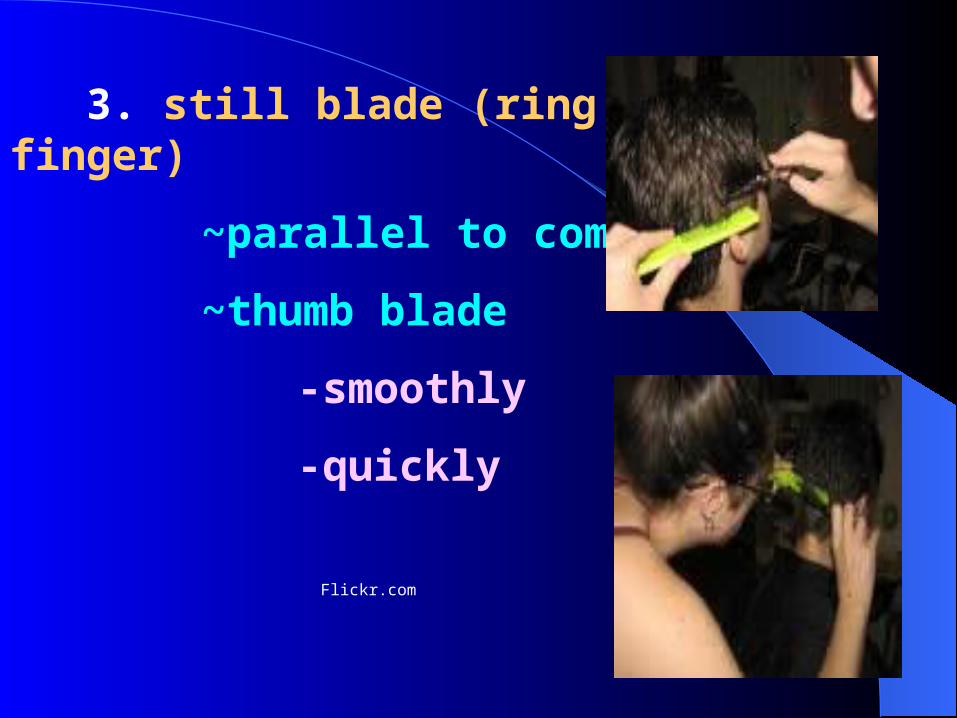
3. still blade (ring finger)
~parallel to comb
~thumb blade
-smoothly
-quickly
Flickr.com

4. angle comb away from head as you move up
*avoid cutting into the length
Focus on: Tips
*work small areas
*start at hairline
~work up
*cross-check
*barber comb
~close to head

Texturizing
*remove excess bulk
~without shortening length
*use for effect
~wispy
~spiky

*add volume *done with cutting shears,*remove volume thinning shears,
*make move or razor
*blend
*for different densities
Short.hair-styles-magazine.com
Cool-mens-hairstyles.blogspot.com

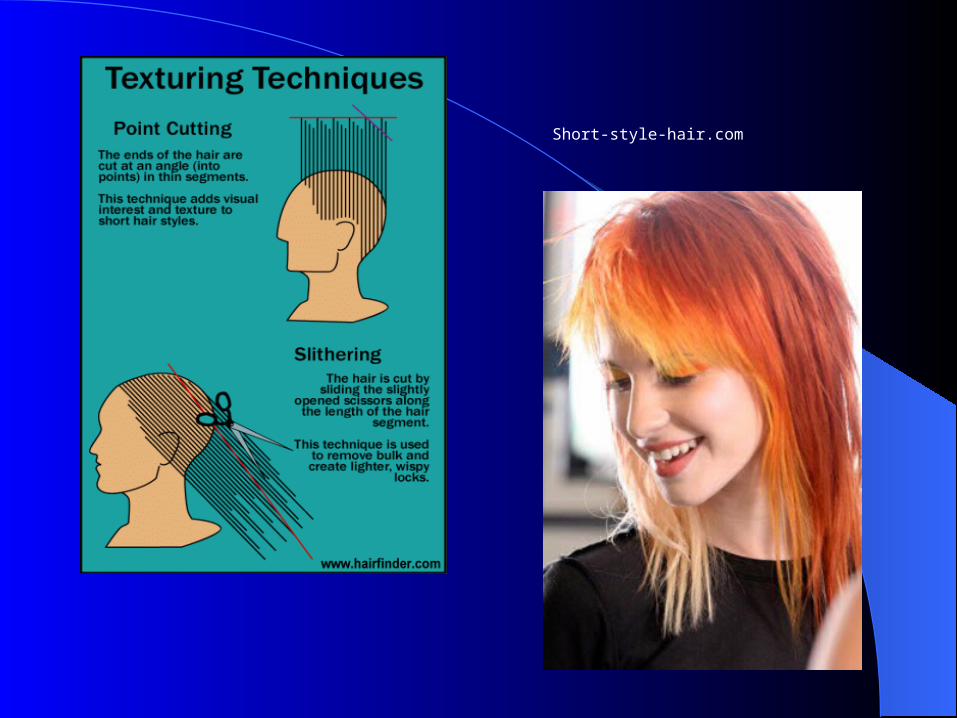
Texturizing with Shears
*point cutting
~cut ends of hair using tips, or points of shears
*wet or dry
*hold hair 1-2” from ends

*tips of scissors point into the ends
*close scissors
~move away from fingers
*cut “points”
*more vertical
~removes less
*diagonal
~removes more
~chunkier effectEhow.com

Beautyschoolsdirectory.com

Diamondbeautyproducts.com

Notching
*more aggressive
*chunkier effect
*toward the ends
*hold 3” from ends
Coolmenshair.com
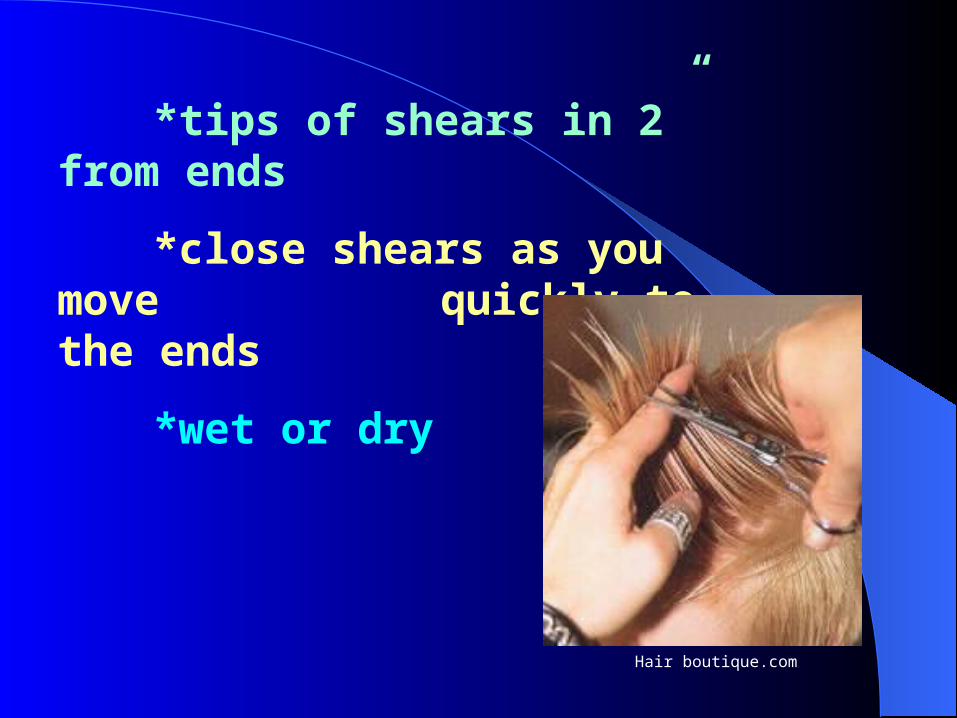
*tips of shears in 2” from ends
*close shears as you move quickly to the ends
*wet or dry
Hair boutique.com

Notching/texturizing
Lacayoshearsint.com
Wiesecutshears.com
Ehow.com
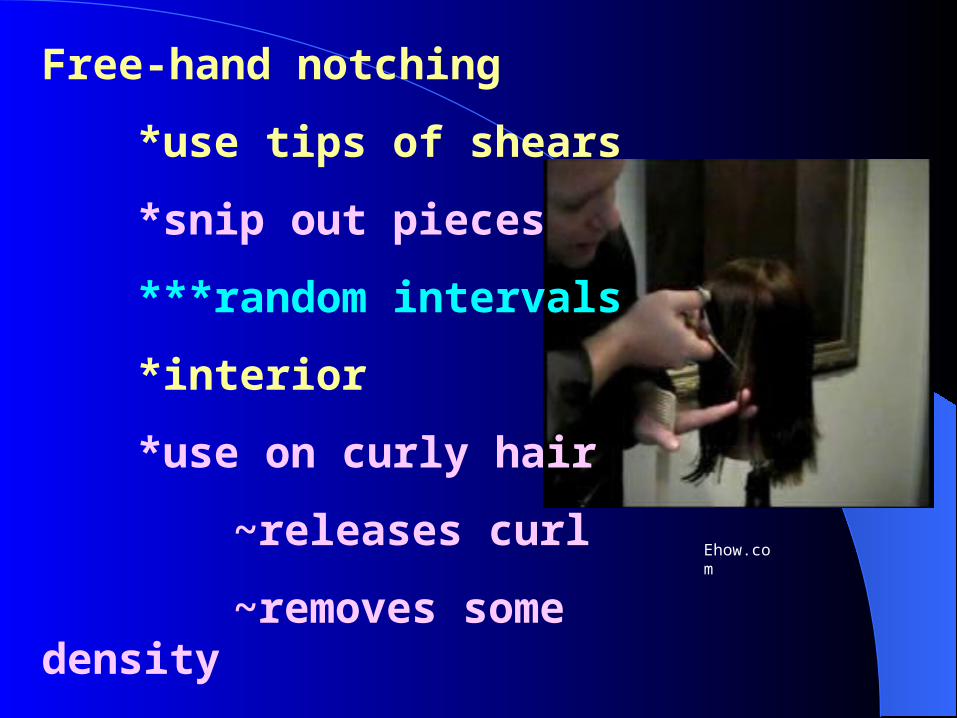
Free-hand notching
*use tips of shears
*snip out pieces
***random intervals
*interior
*use on curly hair
~releases curl
~removes some density

Another Free-hand notching technique

Slithering
*effilating
*thinning hair to
graduated lengths
*sliding
movement

*blades partially open
*reduces volume
*creates movement
Short-style-hair.com

Hairstyle-blog.com
Slicing
*removes bulk
*adds movement
*never completely close scissors
*use blade near pivot
*prevents removing large pieces

*within subsection or on the surface of the hair
*shears or texturizing shears
*wet or dry
*dry
~see what you are taking away


Carving
*visual separation
*short hair
*place still blade in hair
~resting on scalp

*move through
~gently opening and partially closing
*horizonal
~removes more
*vertical
~removes less

Texturizing with the Razor
*removes weight
~thin out ends
*damp hair
*razor flat
~2-3”away from fingers

*gently stroke
~removing a thin “sheet”
*tapers the ends
Free-hand slicing
*wet hair
*midshaft
*comb hair out from head
*hold fingers close to ends

*use TIP of razor
~slice out pieces
*vertical
~less removed
*horizontal
~more removed
*releases weight

Texturizing with Thinning Shears and Razor
Removing bulk or removing weight
~thinning shears
~same sectioning as the haircut
*comb hair away from head
~stay 4-5” away from scalp
*may repeat towards ends
*coarse hair
~farther from scalp
*blunt cuts
~avoid top surfaces
~see lines
*curly hair
~free-hand notching
Removing weight from ends
*thinning shears
*tapers perimeter
*elevating subsection
~thinning shears at angle
~close shears a few times
~work toward ends

Scissor-over-comb with thinning shears
*good way to master technique
*blending weight lines
*sides and nape
~hair lies closer to head

Other thinning shear techniques
*any technique
*fine hair
~avoid over-texturizing
~removing too much weight
Free-hand slicing with razor
*ends of hair
*softer perimeter
*creates separation

*hold small piece of hair
~vertically
*3” from fingers
~slide down one side
~toward fingers
***not all the way through
Razor-over-comb
*used on surface of hair
*softens weight lines
*lies closer to head
~shorter haircuts
Two ways:
1. Comb in hair
~teeth down
~above area
~make small, gentle strokes
-on top of comb
~on surface of hair

*move comb down
~move razor down
*tapering nape
*soften weight lines

2. Razor rotation
*small circular motions
*comb hair in direction desired
*place razor on surface of hair
***behind comb
*comb to follow razor
*soften texture
*gives direction

Review the pictures showing texturizing techniques
Figure 16-137Figure 16-138-free -hand razor slicing
Figure 16-139Figure 16-140- free-hand scissors slicing
Figure 16-141Figure 16-142- notching the ends and free-
hand notching

Clippers and Trimmers
*electric
*battery-operated
*shorter haircuts
~I beg to differ

*create tapers (now called fades)
~very close to hairline
~gradually get longer
*men and women
womenshorthairstylesonline.com
Vtap.com

888haircut.com
Menshairstyles.net

*without length guards
~removes hair completely
~necklines
~around ears
Zimbio.com

*without
~taper hairlines
~extremely short
to longer
*clipper-over-comb
~side-to-side
Shorthairfashion.blogspot.com
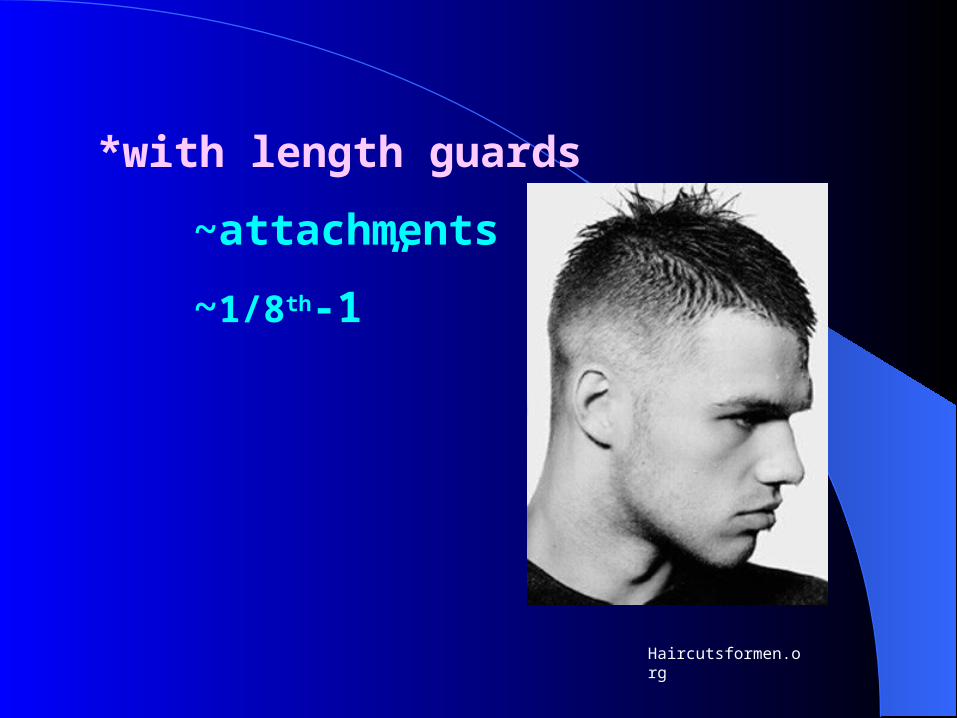
*with length guards
~attachments
~1/8th-1”
Haircutsformen.org

Tools for Clipper Cutting
Clippers
~different shapes and sizes
~with or without
attachments
Trimmers
~edgers
~cordless, smaller
Cachebeauty.com

Clean:
*after each use-brush
*spray disinfectant spray ~running blades
~hold down
*add one or two drops of oil ~running blades
~sidesCachebeauty.com
Smartpakcanine.com
*disinfect detachable blades or guards
Length guard attachments
~cut all hair evenly
~1/8th-1”
~different combinations/different lengths

Hbbb.com.au

Haircutting shears
~remove length
~detailing
Thinning shears
~blending/tapering scissors
~remove bulk
~blending
Combs
~regular cutting
~wide-teeth
-combing and cutting
~finer teeth
-detailing
-scissor-over-comb
-clipper-over-comb
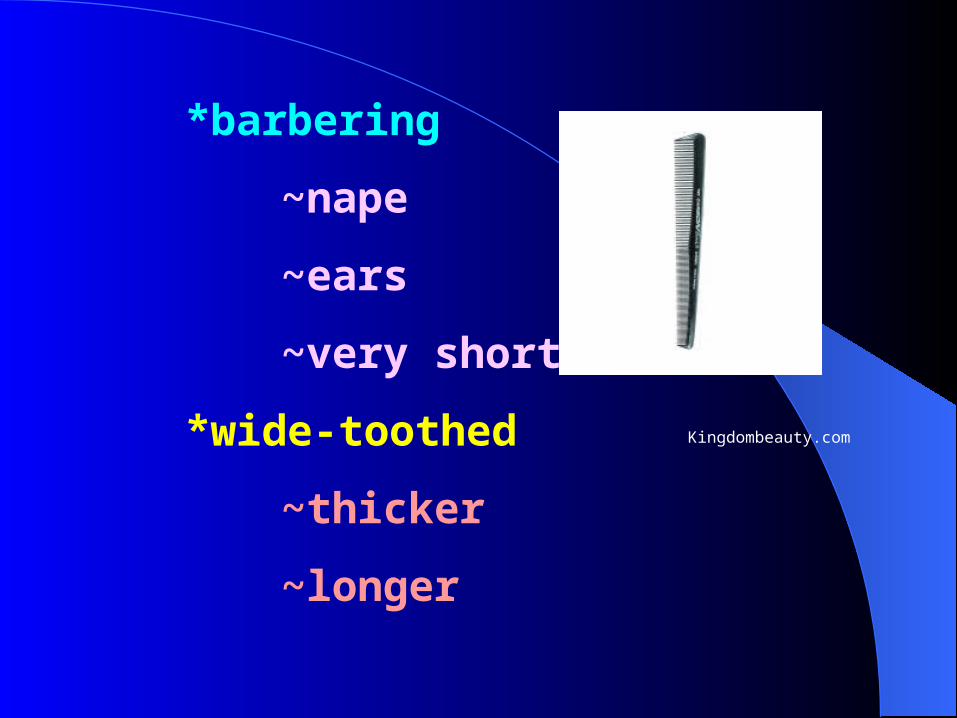
*barbering
~nape
~ears
~very short
*wide-toothed
~thicker
~longer
Kingdombeauty.com
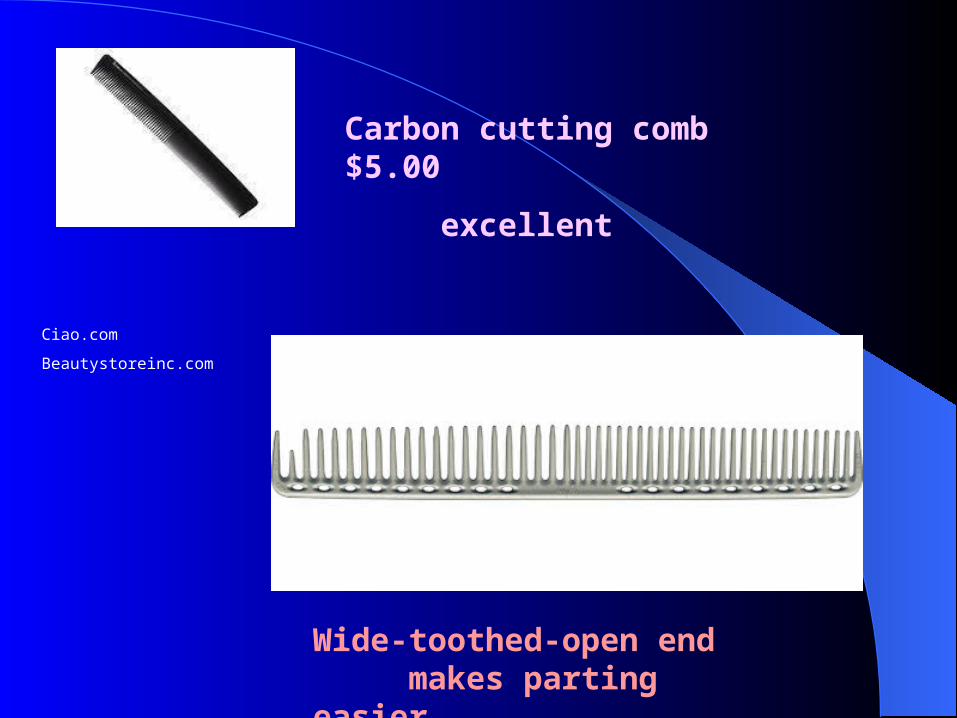
Carbon cutting comb $5.00
excellent
Wide-toothed-open end makes parting easier
Ciao.com
Beautystoreinc.com

Clipper-over-comb
*close
*flat-top
*square shape
*keep comb in position
***different from scissor-over-comb
*angle of comb
~determines amount cut

*dry hair to slightly damp hair
*lever switch
~numbered attachments
~vary the distance
Tips
1. stand in front
~eye level
2.comb, teeth first
~hairline
~angled slightly away
~work against growth pattern
3. hold comb stationary
~cut the length against comb
~move clipper right to left
4. movements fluid
~previous section is guideline

Clipper with attachments
*quick and easy
*1/4” guard on nape and sides
~swicth to ½” as you reach the
*parietal ridge
~more length
~square shape

Tips
*work against growth
*ensures lifting
~cutting evenly
*use small sections
*clipper-over-comb
~no wider than 3” across comb
C-O-C
*angle determines length
*parallel to head
~same length up head
*angled away
~begin to increase length
Men’s basic
*close bottom and sides
*positioned
~horizontally
~vertically
~diagonally

Using trimmers
*ears-hold edger sideways
*outer edge on the skin
*comb holds hair
*ears
~arcing motion
*neckline
~more defined lines at the perimeter

Trimming facial hair
*use clippers/trimmers-beards and mustaches
*similar to C-O-C
~cut against the comb
~length guard attachments
*shears
~less expensive pair
~very coarse/dulls scissors

Excess hair on eyebrows/in ears
~eyebrows-always ask client first
*remove
*shears or trimmers
*using complete focus
Review Service Tips in Procedure pages after next two slides
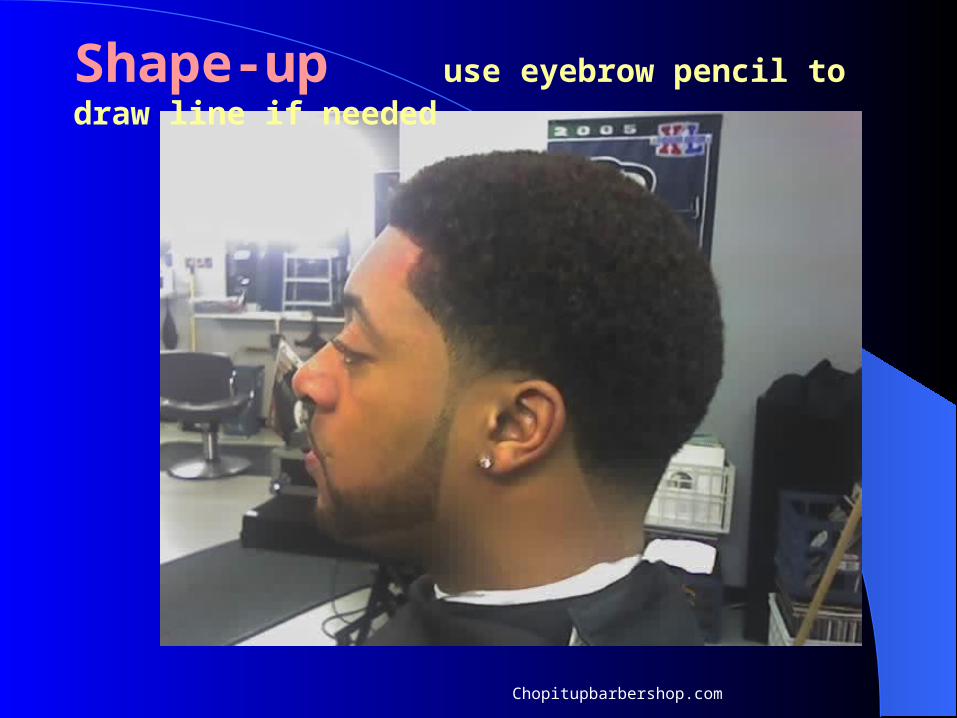
Shape-up use eyebrow pencil to draw line if needed
Chopitupbarbershop.com

Boingboing.net
The ultimate in clipper cutting!!!