cleaning, packaging & sterilization of instruments presented by: sps medical supply corp. 6789...
TRANSCRIPT

Cleaning, Packaging & Sterilization of
Instruments
Presented by:
SPSmedical Supply Corp.6789 W. Henrietta Road ∙ Rush, NY 14543 USA

Presented by SPSmedical
• Largest sterilizer testing Lab in North America with over 50 sterilizers
• Corporate member of OSAP
• Develop and market sterility assurance products
• Provide variety of educational programs to assist with compliance in best practices to medical and dental facilities worldwide
• Woman owned business, certified by the state of NY

Continuing Education Program
Following established protocols for instrument processing is an important aspect of modern dental care as it helps to minimize the patient’s risk for infection.
This program is intended to provide an “overview” of current recommended CDC guidelines and is approved for 1.0 CDE credit by DANB.
Approved for 1 hour by the Dental Assisting National Board, Inc.
Category 4.

INSTRUMENT PROCESSING
There are six (6) recommended
steps for Instrument Processing:
1. Cleaning
2. Inspection
3. Packaging
4. Sterilization
5. Storage & Delivery
6. Quality Assurance

STEP 1 - CLEANING
Cleaning of instruments (manual
or mechanical) should be
performed in a designated area,
immediately after the procedure.
Quick cleaning removes blood
or debris much easier and can
minimize instrument staining,
corrosion and/or pitting.
STEP 1 - CLEANING
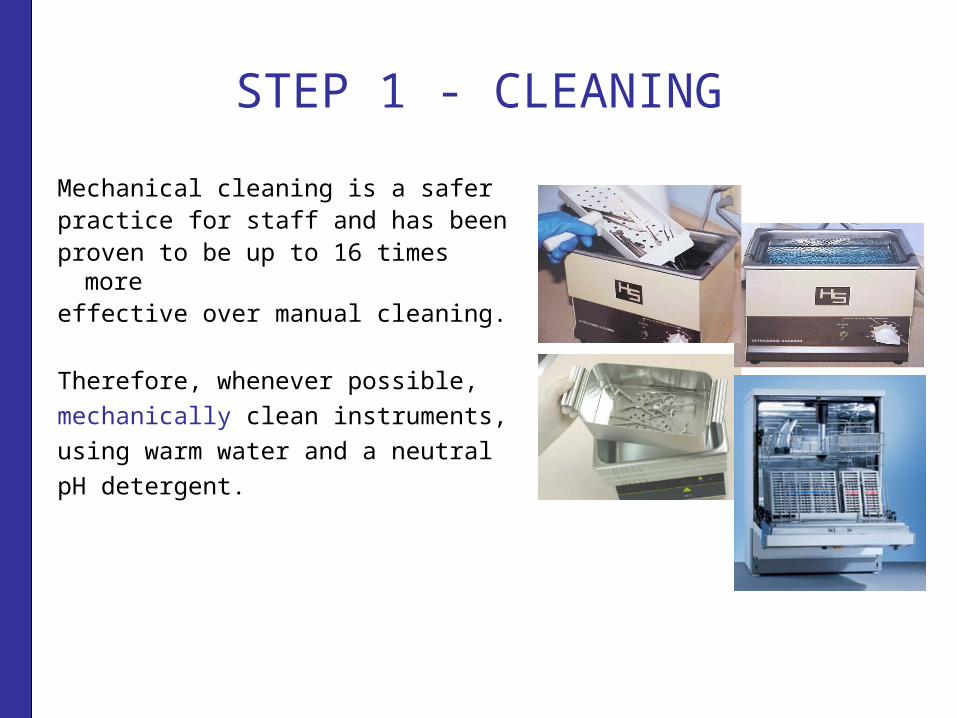
Mechanical cleaning is a safer practice for staff and has been proven to be up to 16 times more effective over manual cleaning.
Therefore, whenever possible,
mechanically clean instruments,
using warm water and a neutral
pH detergent.

STEP 1 - CLEANING
After cleaning, thoroughly rinse instruments with tap water to ensure loosened debris and detergents are removed.
If the tap water is of poor quality, consider using treated water as a final rinse to avoid instrument staining.

STEP 2 - INSPECTION
Each instrument should be
critically inspected after
each cleaning for residual
debris or damage.
Replace instruments as
needed and never sterilize
a “dirty” instrument..

In addition, check eachinstrument for proper function and lubricate those that have “metal to metal” action.
Instruments with stiff joints may be a sign ofinadequate cleaning..
STEP 2 - INSPECTION

STEP 3 - PACKAGING
Instrument packaging should be done in a clean and low contamination area, usingFDA approved products:
• Sterilization pouches• Sterilization wrappers• Sterilization containers

STEP 3 - PACKAGING
Sterilization pouches are for packaging single instruments and small, light weight items.
Paper/plastic pouches allowyou to see the contents and are available in heat seal and selfseal design and a wide selection of sizes.

STEP 3 - PACKAGING
When pouching instruments, be sure to select an appropriate size pouch and to remove any excess air before sealing.
For quality assurance, include a chemical indicator/integrator, inside to verify the sterilization parameters were met.
Chemical indicators verify some parameters
have been met
Chemical integrators verify all parameters have
been met

STEP 3 - PACKAGING
To assist sterilization and aid drying, place pouches facing each other and on edge using a pouch divider.
SPSmedical has inexpensive pouch dividers available for small and large sterilizers.

STEP 3 - PACKAGING
Sterilization wrap may be used
for packaging dental trays or
cassettes.
For an effective barrier and to
maintain sterility until point of
use, be sure to double wrap per
the wrap mfg’s instructions for
use and FDA clearance.

STEP 3 - PACKAGING
Wrap in a way that allows sterile presentation of the dental tray or cassette.
Select the appropriate size wrap and be careful not to wrap too tight or too loose as this can compromise sterility by creating air pockets or allowing strike through..

STEP 3 - PACKAGING
Wrapped instruments should be sealed with a color change indicator tape.
For quality assurance, include a chemical indicator or integratorinside, to verify sterilization parameters were met.
Chemical Indicator Chemical Integrator

STEP 3 - PACKAGING
Wrapped trays (being heavier)
should be placed on the lower
shelf of the sterilizer.
Loading heavier items on the
bottom shelf and lighter items
on the top, enables condensate
to drain out without wetting
other items in the load.
To maintain sterility, packages should be visibly dry before transporting to a
sterile storage area

STEP 4 - STERILIZATION
Sterilizers are Class II medical devices subject to FDA approval per a 510(k) clearance letter.
They are available in a variety of sizes with the following processes most common to dental:• Steam• Chemical vapor• Dry heat / Rapid heat transfer
STEP 4 - STERILIZATION
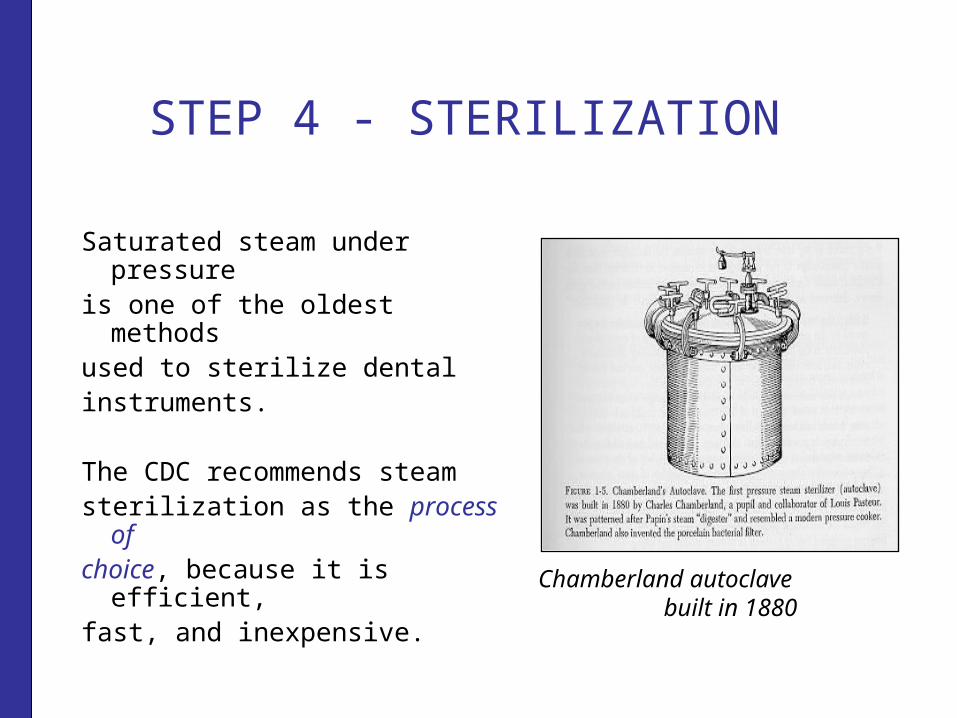
Saturated steam under pressure is one of the oldest methods used to sterilize dental instruments.
The CDC recommends steam sterilization as the process of choice, because it is efficient,fast, and inexpensive. Chamberland autoclave built
in 1880

STEP 4 - STERILIZATION
By heating distilled water under
pressure, moist heat is created
and rapidly kills microorganisms.
Some common steam sterilizer
cycle parameters are:
• 250°F/121°C for 30 minutes
• 270°F/132°C for 10 minutes
• 273°F/135°C for 4 minutes
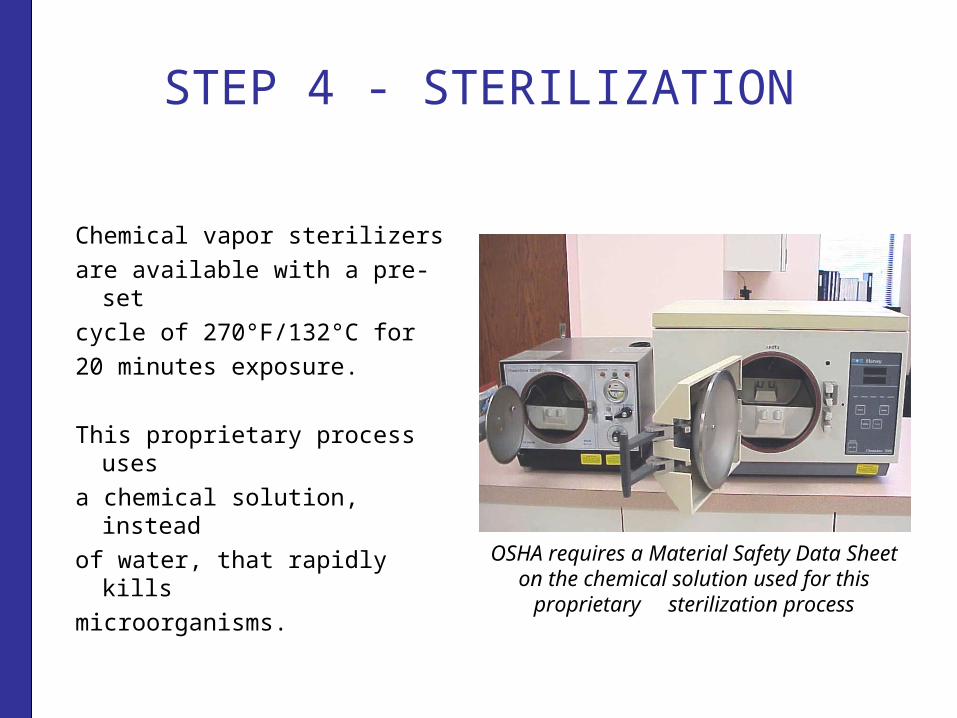
Chemical vapor sterilizers
are available with a pre-set
cycle of 270°F/132°C for
20 minutes exposure.
This proprietary process uses
a chemical solution, instead
of water, that rapidly kills
microorganisms.
STEP 4 - STERILIZATION
OSHA requires a Material Safety Data Sheet on the chemical solution used for this proprietary
sterilization process

STEP 4 - STERILIZATION
Dry heat sterilizers are also used in dentistry for instruments and materials that can withstand very high temperatures.
Static air dry heat sterilizers are similar to an oven, as they utilize heating coils to transfer heat to the instruments over long exposure times.
Static air dry heat sterilizers typically operate at 320°F/160°C for 1 to 2
hours exposure time

STEP 4 - STERILIZATION
Forced air dry heat sterilizers are also called “rapid heat transfer” sterilizers and they circulate hot air during the cycle reducing the time needed for sterilization.
This type of dry heat sterilizer iscapable of sterilizing unwrapped instruments in as little as 6 mins.
Forced air dry heat sterilizers operate at a range of 375°F to 420°F depending on
the manufacturer

STEP 5 – Storage & Delivery
Sterile items should be stored in a
manner that reduces the potential
for contamination.
The shelf-life of sterile packages
is event related and depends on
the quality of the packaging
material, storage conditions and
amount of handling.

STEP 5 – Storage & Delivery
Sterile packages should always be handled with care. Avoid dragging, crushing, bending, compressing or puncturing, as this can compromise sterility.
Be sure to inspect sterile packages before distributing. Do not use any package that is damaged, wet or opened.

STEP 5 – Storage & Delivery
Special Note:
Opening sterile packages
at point of use, increases
patients’ confidence.

STEP 6 – Quality Assurance
Sterility assurance of processed instruments should be routinely
verified using three (3) types of indicators:
1) Physical
2) Chemical
3) Biological

STEP 6 – Quality Assurance
1) Physical indicators are the time, temperature and pressure gauges built into sterilizers.
These readings should be recorded for every cycle and verified prior to unloading the sterilizer.
Hospital sterilizers are required to have a chart or printout, whereas this is optional for sterilizers located in private offices or clinics.

STEP 6 – Quality Assurance
2) Chemical indicators should be on the outside and inside of all packages to visibly show they have been
processed.
Some internal chemical indicators are
FDA cleared as Class 5 “integrators”
which can measure all parameters of
sterilization inside the package.

STEP 6 – Quality Assurance
3) Biological indicators provide users
the highest level of sterility assurance
and contain bacterial spores available
in plastic vial or paper strip format.
The CDC says sterilizers should be
spore tested at least weekly, and
every load that contains an implant.

STEP 6 – Quality Assurance
Biological Indicators are processed along with a normal load. After processing, self-contained BI vials are activated by crushing the side of the plastic vial and then incubated.
Sterilizer failure is noted if the spores in the vial grow during incubation. Growth is observed by a color change in the media from purple to yellow.

STEP 6 – Quality Assurance
Biological Indicators can also be sent to an outside Lab for 3rd party verification.
After processing the BI strip along with a normal load, the BI is sent to a lab for incubation. Test results are returned via mail or fax, with some services offering internet record keeping via password. If a failure is recorded, the Laboratory
calls the user with recommendations and instructions to retest

STEP 6 – Quality Assurance
Mail-in spore testing of sterilizers is very popular with medical device mfg’s and private offices.
SPSmedical provides this 3rd party service to thousands of customers each day. For user convenience, test reports are also posted online*at www.checkyourtest.com.
* Password protected

STEP 6 – Quality Assurance
While sterilizers can and do
mechanically fail, operator
error is the leading cause of
sterilizer failure.
• Cold start
• Wrong cycle
• Overloading
• Improper packaging Sterilizers that fail the spore test, should not be used until a passed test is recorded

SPSmedical thanks you for taking the time to review…
The six (6) recommended steps
for Instrument Processing:
1. Cleaning
2. Inspection
3. Packaging
4. Sterilization
5. Storage & Delivery
6. Quality Assurance

TEST - What did you just learn?
1. Name the 6 recommended steps? 2. What is considered the best way to clean? 3. Why should you inspect instruments? 4. Name 3 types of sterile packaging? 5. Which sterilization process is preferred? 6. How long do packages remain sterile? 7. Is autoclave tape a reliable sterility indicator? 8. How often should you use a spore test? 9. Mail-in services offer _______ verification?10. What can cause a sterilizer to fail?

CE Certificate Available
This continuing education program was developed and produced by SPSmedical Supply Corp.
Participants who view this program may request a Certificate with CE contact hours at no charge directly from SPSmedical.
1.0 hr DANB (Dental Assisting National Board)

THANK YOU!!
SPSmedical Supply Corp.Sterilization Products & Services6789 W. Henrietta RoadRush, NY 14543 USAFax: (585) 359-0167Ph: (585) 359-0130website: www.spsmedical.com
For technical questions or toreceive your Certificate, call: 800-722-1529 or E-mail: [email protected]
© 2008, SPSmedical Supply Corp.

Reference
Center for Disease Control and Prevention. Guidelines for infection control in dental health-care settings, 2003. MMWR Recomm Rep, 52 (RR-17): 1-76.