click on start > control panel > network and sharing centervpn.umc.edu/64 bit vpn.pdf ·...
TRANSCRIPT

Click on Start > Control Panel > Network and Sharing Center
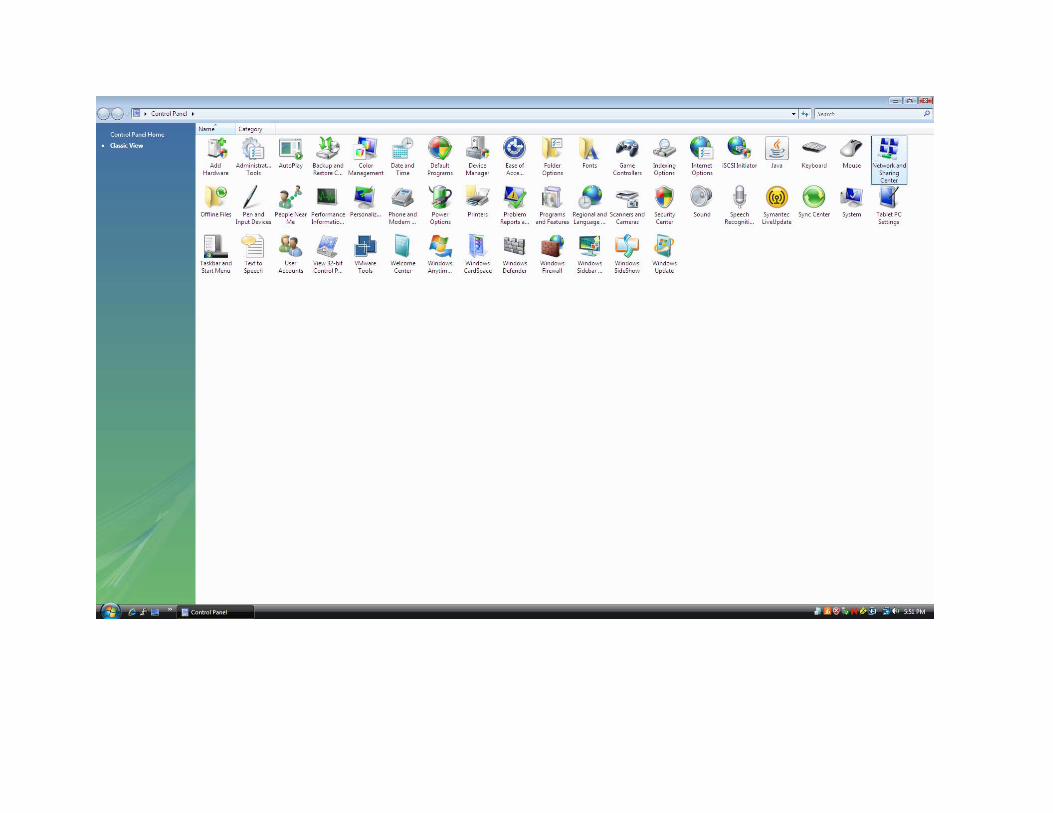

Click on Set up a connection or network on the left hand side of the screen
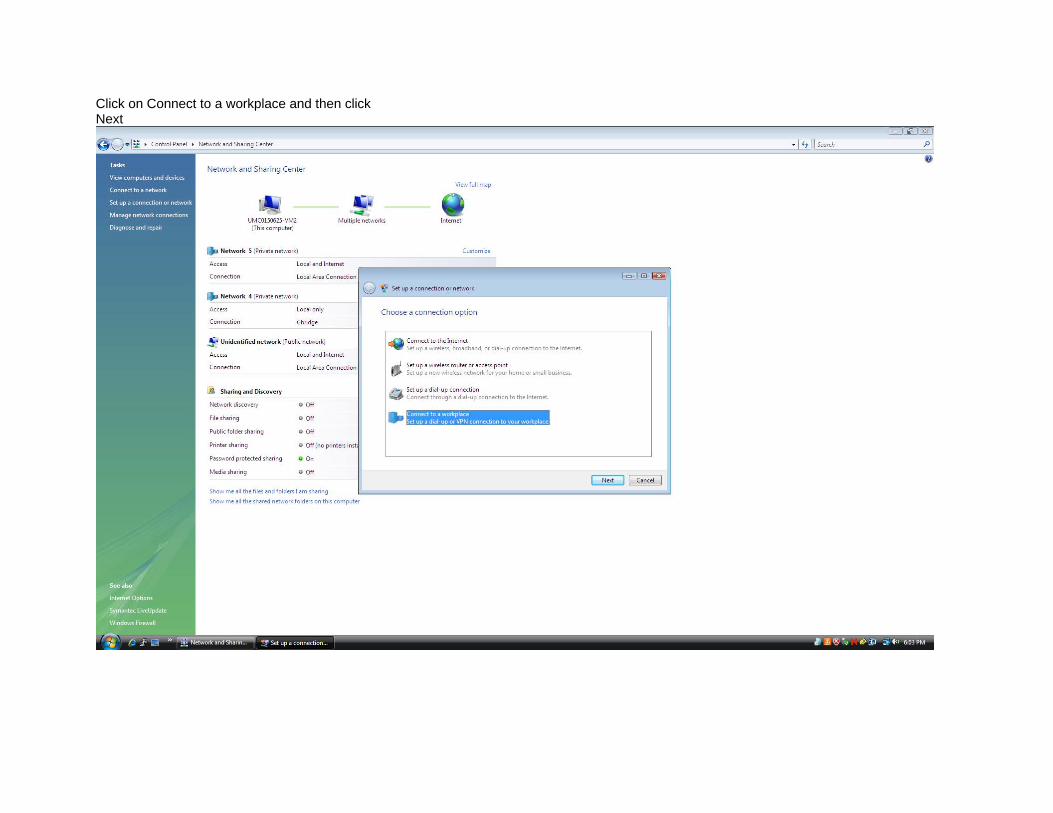
Click on Connect to a workplace and then click Next

Click on Use my Internet connection (VPN)
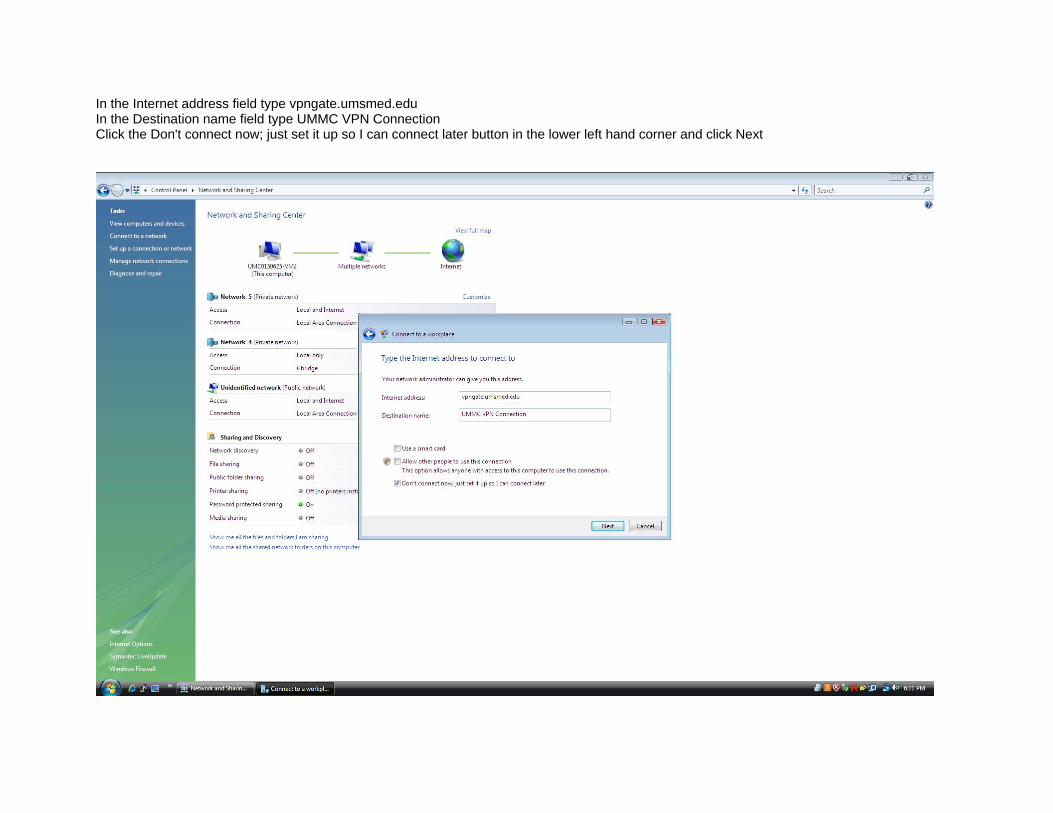
In the Internet address field type vpngate.umsmed.edu In the Destination name field type UMMC VPN Connection Click the Don't connect now; just set it up so I can connect later button in the lower left hand corner and click Next

Leave the Name, Password and Domain fields empty (blank) and click the Create button
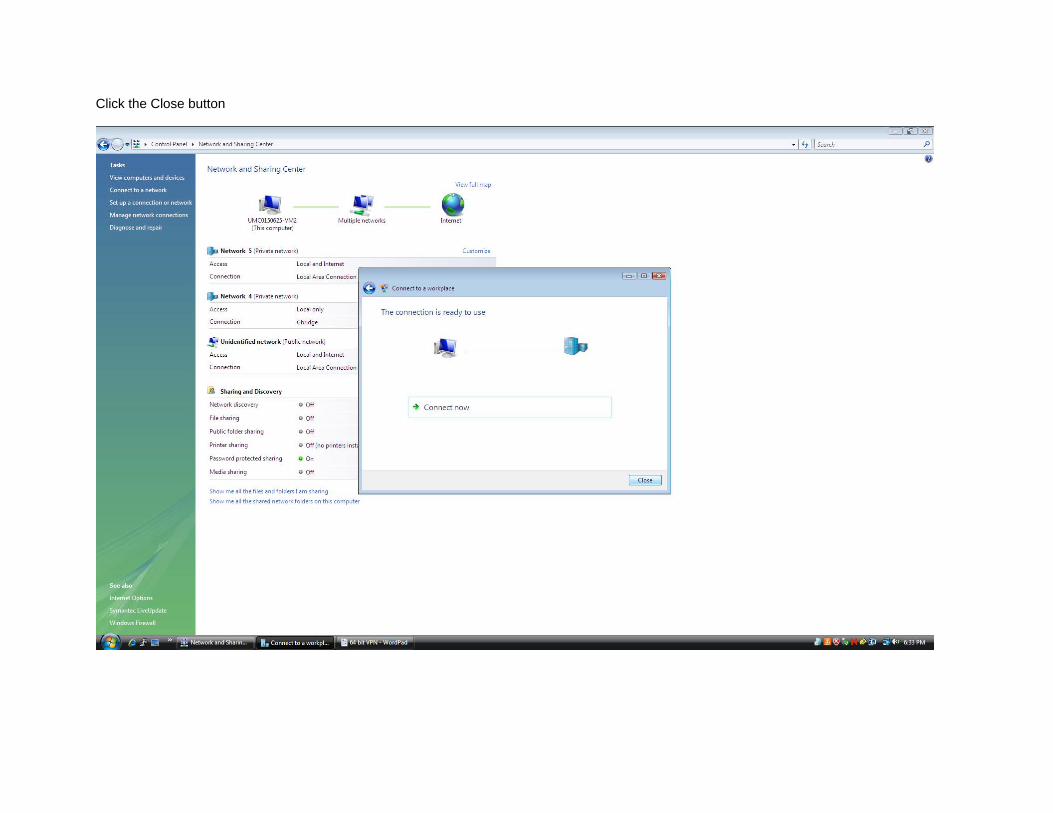
Click the Close button

Click the Manage Network Connections link on the left hand side of the screen
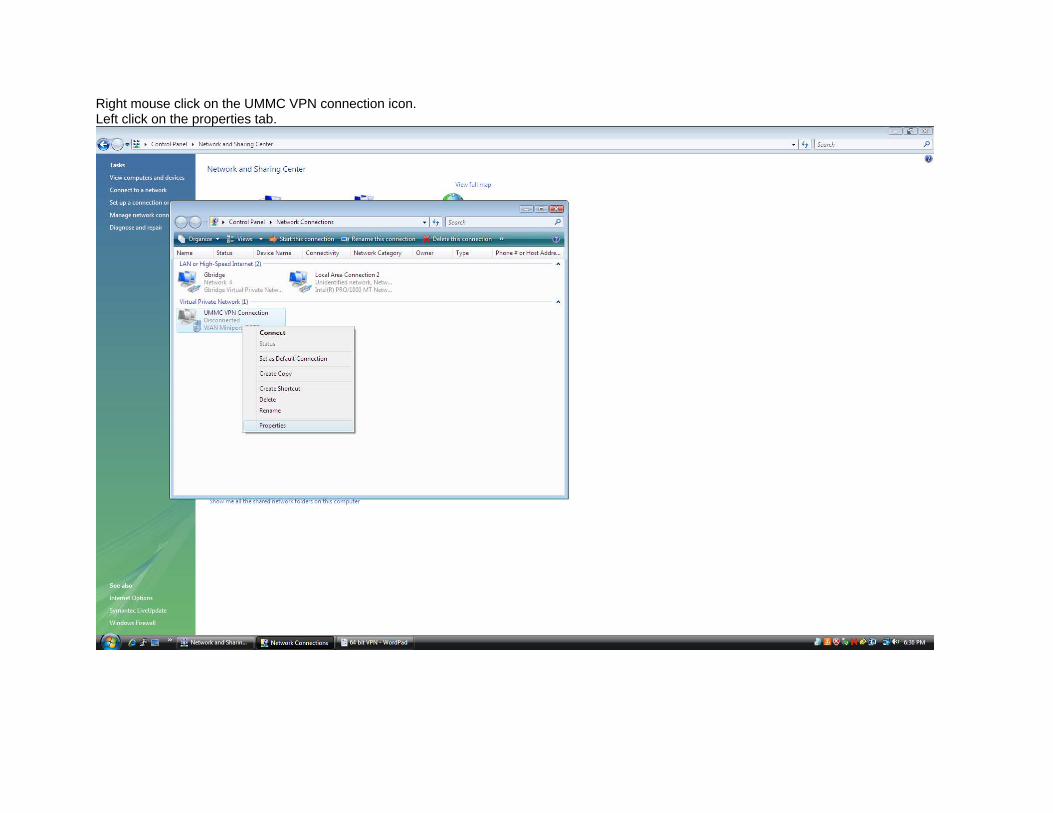
Right mouse click on the UMMC VPN connection icon. Left click on the properties tab.
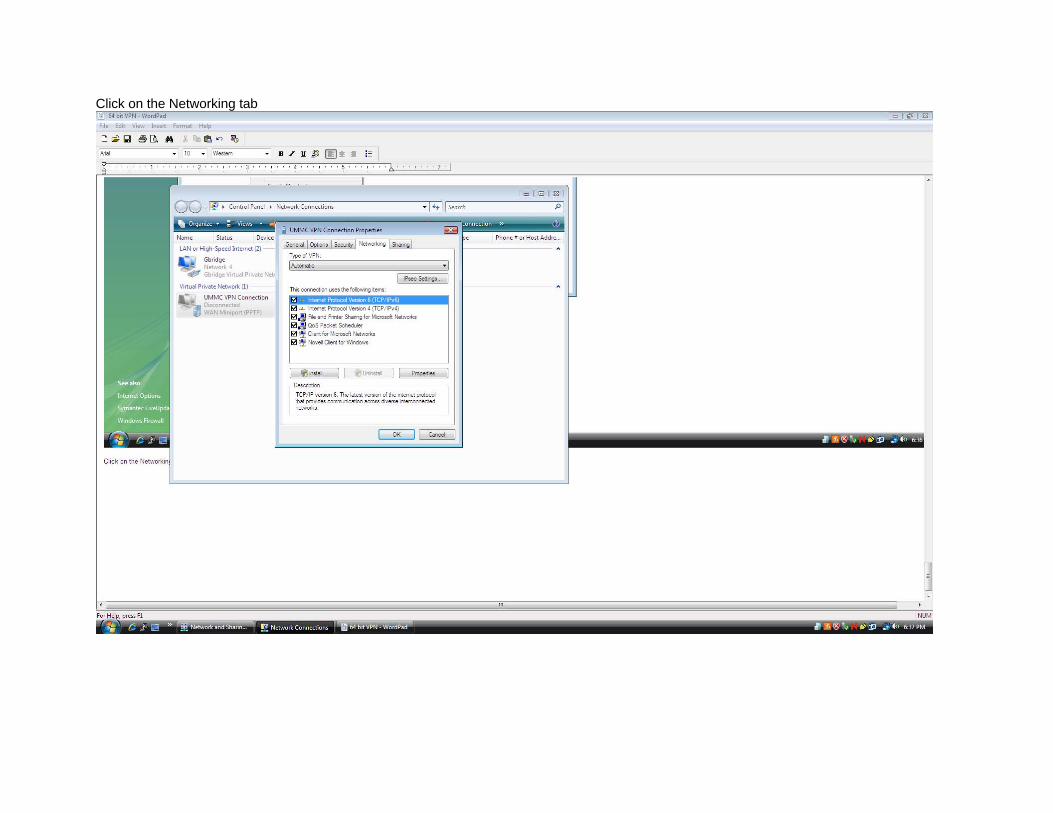
Click on the Networking tab

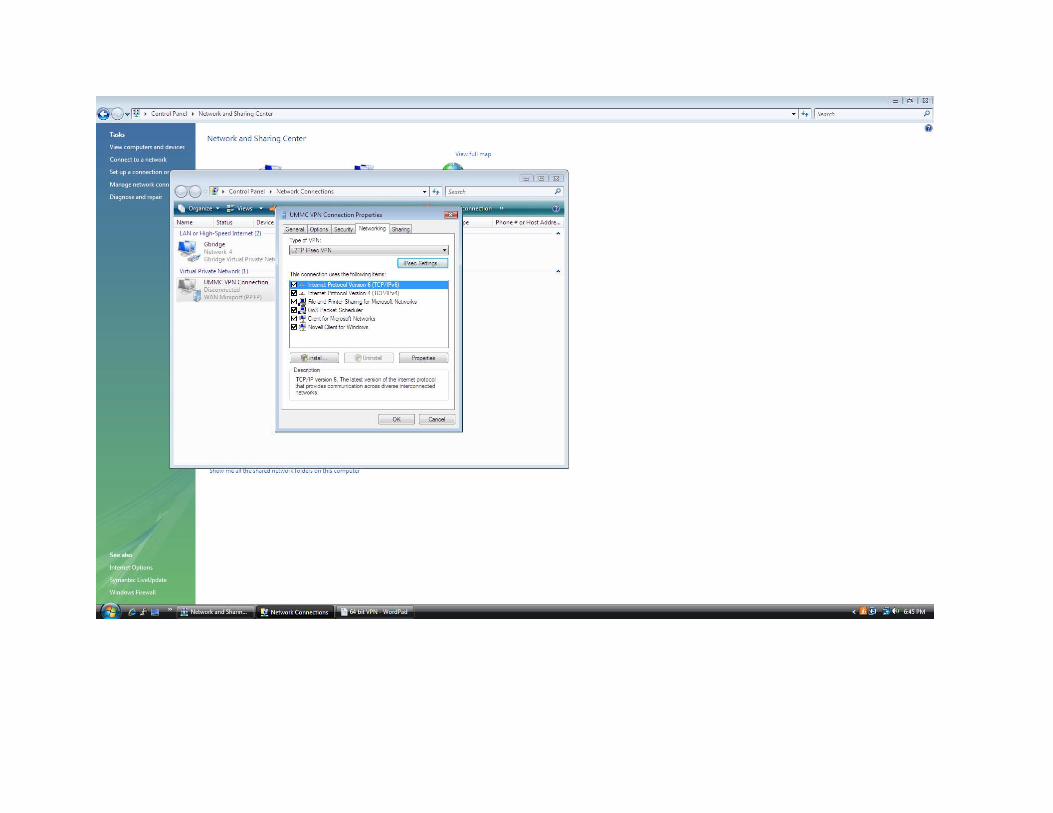
Click on the Type of VPN field and choose L2TP over IPSEC
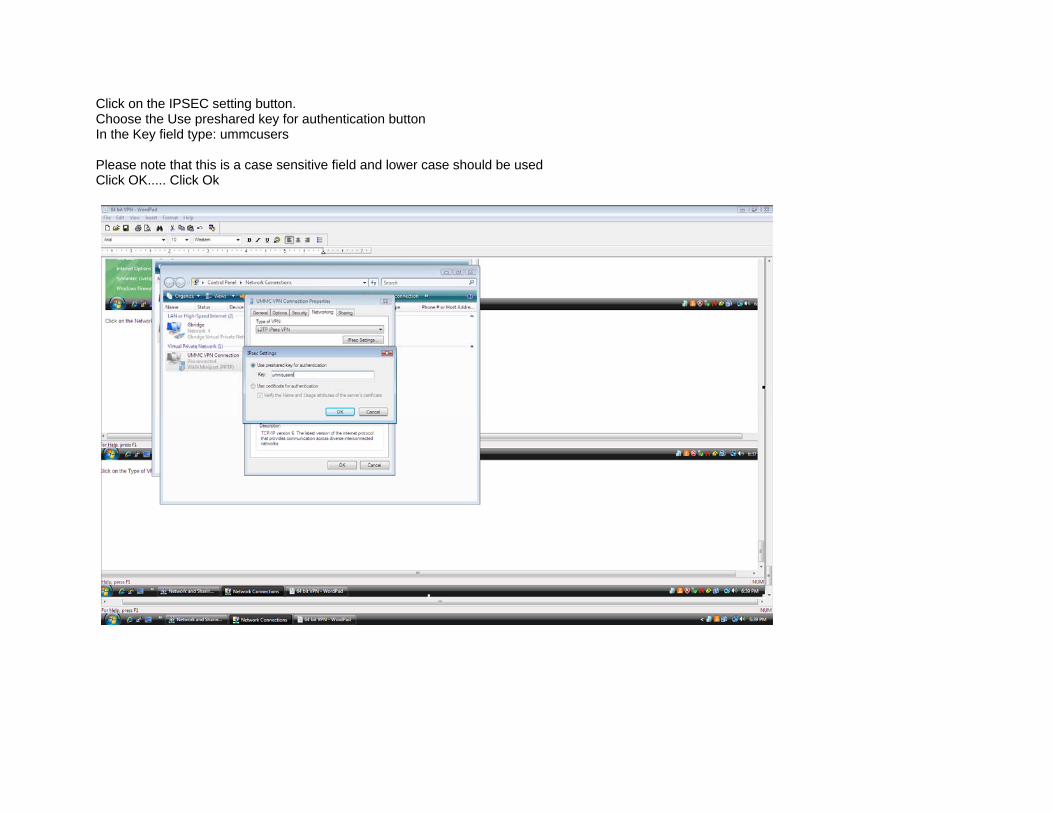
Click on the IPSEC setting button. Choose the Use preshared key for authentication button In the Key field type: ummcusers Please note that this is a case sensitive field and lower case should be used Click OK..... Click Ok

Double click the UMMC VPN Connection Type in your VPN/Active Directory Username and Password Click Connect
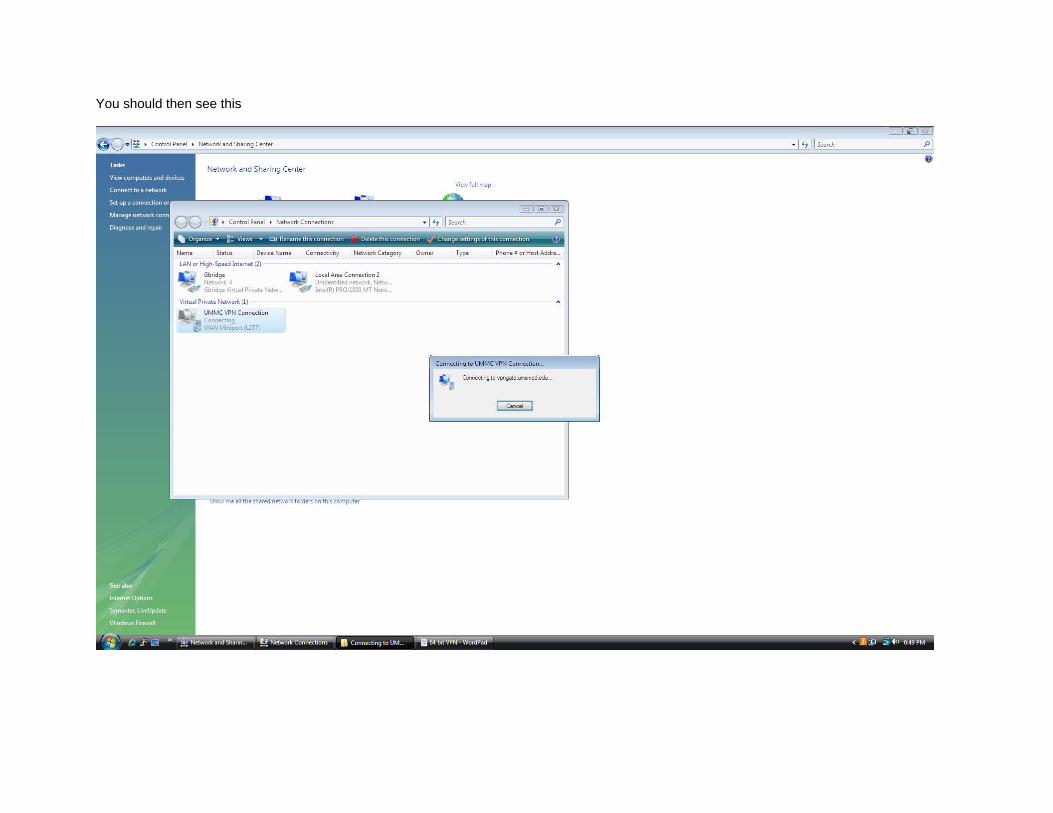
You should then see this
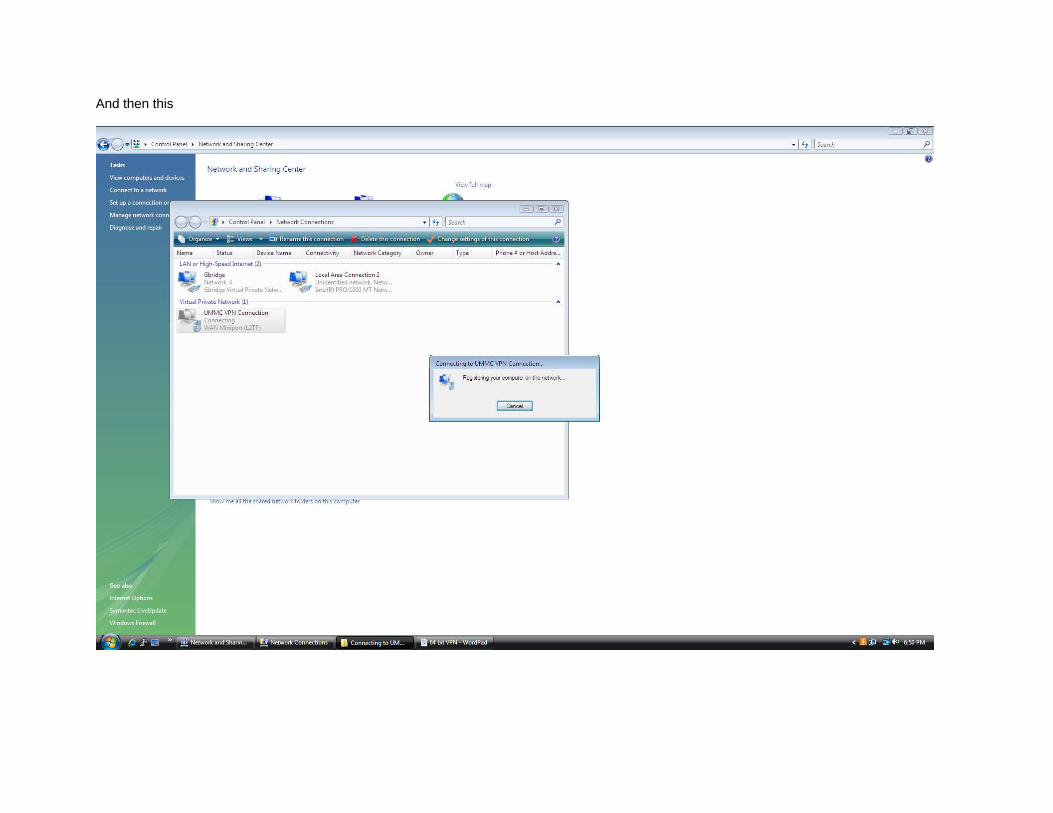
And then this
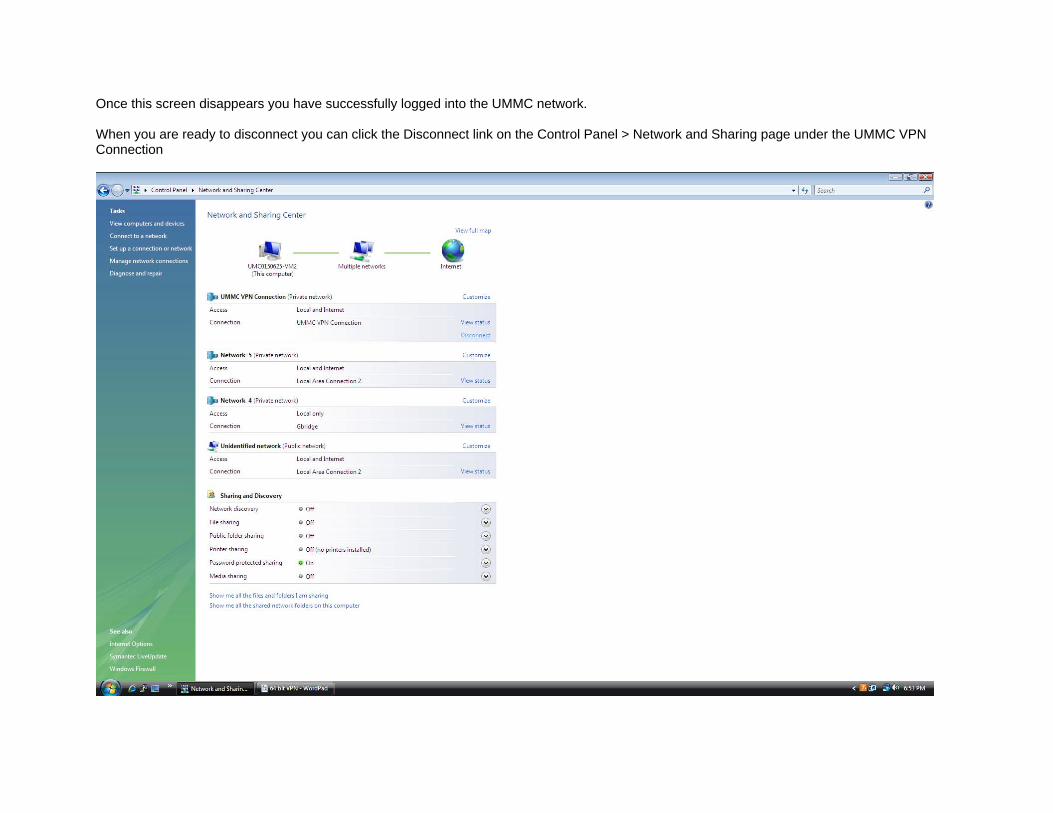
Once this screen disappears you have successfully logged into the UMMC network. When you are ready to disconnect you can click the Disconnect link on the Control Panel > Network and Sharing page under the UMMC VPN Connection