developing user experiences visit us at
TRANSCRIPT

Licensed under Creative Commons BY-SA 4.0
Developing User Experiences on Genivi Demo Platform
Hands On Seminar - Genivi AMM April 2016
Visit us at http://www.ics.com
Produced by Integrated Computer SolutionsMaterial based on Qt 5.5.xCopyright 2016, Integrated Computers Solutions, Inc.
This work is licensed under Creative Commons BY-SA 4.0
Integrated Computer Solutions, Inc.
1

Licensed under Creative Commons BY-SA 4.0
Module: Board Bringup● Introductions
○ VirtualBox Installation and ICS VirtualBox Image● Board Unwrap
○ Connections, Peripherals, Power○ Gentlemen, Connect your Devices
● Yocto Linux - The Boot Process ○ Raspberry Pi boot using firmware loader ○ Renesas Porter, u-Boot ○ options, setting mac addresses and configuration

Licensed under Creative Commons BY-SA 4.0
Step 1: Install VirtualBoxStep 2: Install the ExtensionPack by selecting File->Preferences
Install the ICS Development Image

Licensed under Creative Commons BY-SA 4.0
Setup of Development Host
● Copy all files from the provided USB pen drive to your desktop first
● Unzip the file ICS-Ubuntu-Qt-RPi.zip ● Add the virtual machine ● Click on Settings -> Network
and set Adapter 1 to Bridged Adapter Select your Ethernet Adapter and not your Wifi Adapter!

Licensed under Creative Commons BY-SA 4.0
Setup of Development Host (cont.)
● Next, enable a shared folder between your laptop and the virtual machine
● Start the virtual machine● Username: ics, password: ics

Licensed under Creative Commons BY-SA 4.0
Development Host - A First Look

Licensed under Creative Commons BY-SA 4.0
The ICS Development Image
● ICS created virtual machine image for VirtualBox○ Supplied via USB pen drive. ○ VirtualBox installer for Windows, Linux and Mac hosts included
● Contains GDP-9 SDKs with cross-compiler and sysroot ○ RaspberryPi-2 and Renesas Porter targets
○ Contains a cross-compiled version of Qt 5 and Qt tool-chain (qmake, moc, uic, etc..)
● Contains Qt Creator● Default user “ics” has sudo w/o password,
Use with care!

Licensed under Creative Commons BY-SA 4.0
Module: Board Bringup● Introductions
○ VBox-Installation and ICS VirtualBox Image● Board Unwrap
○ Connections, Peripherals, Power○ Gentlemen, Connect your Devices
● Raspbian Linux - The Boot Process ○ BOOTP and TFTP○ U-Boot and disk based boot process○ Micro-kernel, options, loading drivers
Licensed under Creative Commons BY-SA 4.0
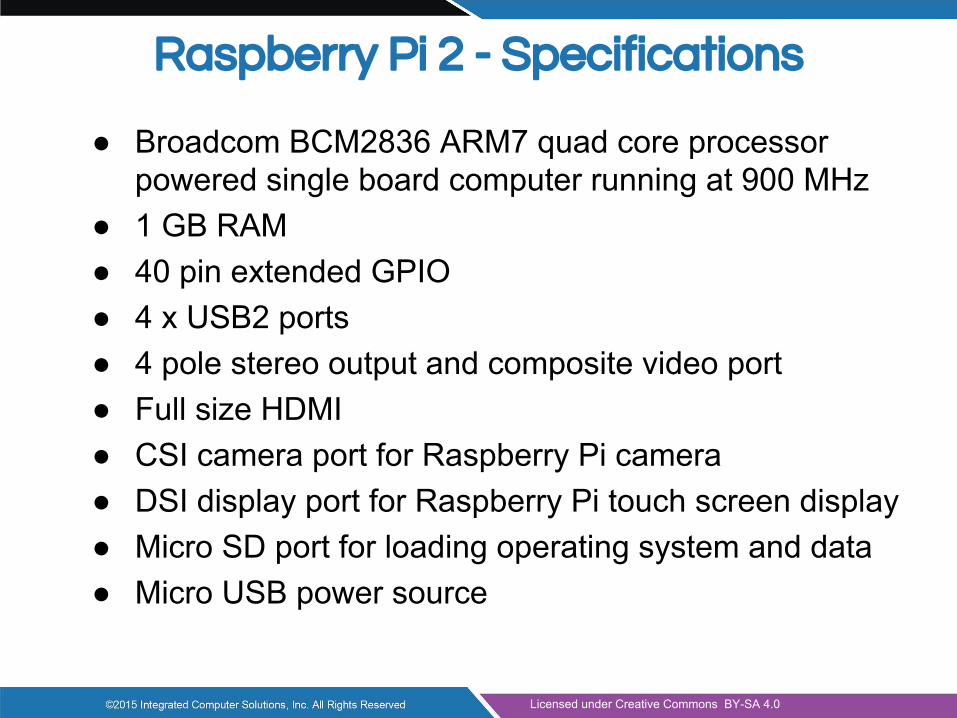
Raspberry Pi 2 - Specifications
● Broadcom BCM2836 ARM7 quad core processor powered single board computer running at 900 MHz
● 1 GB RAM● 40 pin extended GPIO● 4 x USB2 ports● 4 pole stereo output and composite video port● Full size HDMI● CSI camera port for Raspberry Pi camera● DSI display port for Raspberry Pi touch screen display● Micro SD port for loading operating system and data● Micro USB power source

Licensed under Creative Commons BY-SA 4.0
Raspberry Pi Touchscreen
● RGB 800×480 display @60fps● 24-bit color● FT5406 10 point capacitive touchscreen● 70 degree viewing angle● Metal-backed display with mounting holes for the Pi

Licensed under Creative Commons BY-SA 4.0
Demo - Booting with Yocto

Licensed under Creative Commons BY-SA 4.0
Renesas Porter Boot
Connect to the Porter board using a USB cable. Open a terminal, type:
sudo minicom porter
Now you can observe and interrupt the system during the boot process. Login as root, password “root”Type ifconfigIf the ip-address is anything but: 192.168.1.26Type
ifconfig eth0 192.168.1.26

Licensed under Creative Commons BY-SA 4.0
First Contact
● When the target boots○ We have configured the device to have a static ip-
address: 192.168.1.28 raspberrypi192.168.1.26 porter
○ The development host also has static ip: 192.168.1.211
○ We aliased the ip to rpi and porter in /etc/hosts ● Connect to the target from the terminal in the
development machine;○ ssh root@rpi○ ssh root@porter○ The password is: root

Licensed under Creative Commons BY-SA 4.0
Module: Board Bringup● Introductions
○ VBox-Installation and ICS VirtualBox Image● Board Unwrap
○ Connections, Peripherals, Power○ Gentlemen, Connect your Devices
● Yocto Linux - The Boot Process ○ BOOTP and TFTP ○ U-Boot and disk based boot process○ Kernel, options, loading drivers

Licensed under Creative Commons BY-SA 4.0
Boot Process - Raspberry Pi
Boots off the first partition of the SD card using the GPU:1. GPU loads start.elf, which includes the
firmware for the GPU.2. GPU firmware then loads bootcode.bin, which
is the 2nd stage bootloader.3. The second stage then loads loader.bin,
which is 3rd stage (moved into bootcode.bin recently)
4. The third stage then loads kernel.img with the options in cmdline.txt, and boots it.

Licensed under Creative Commons BY-SA 4.0
Boot Process - Das U-Boot
● Bootloader, similar in function to GRUB● Supports most architectures, including ARM● Can boot from local storage or network
(including network rootfs)● Works with most UNIX derivatives, including
QNX● Written in C and released under the GPL

Licensed under Creative Commons BY-SA 4.0
Boot Process - Das U-Boot
● Can be configured at boot via a feature rich command line
● Configured using environment variables○ Pre-set at compile time○ Can be changed via command line or uEnv.txt file○ Changes can be saved if storage is writable
● Must be cross-compiled for your specific hardware.
● Can be installed via JTAG or custom board tools. Also supports updating itself.

Licensed under Creative Commons BY-SA 4.0
● UDP based network protocol used to configure network devices.
● Device broadcasts UDP BOOTP packet● BOOTP server identifies device based on
ethernet (MAC) address and sends configuration data○ IP Address device should use○ Address of boot server where initial kernel should be
downloaded via gateway, nameserver, and other information
● Device downloads kernel and boots it○ TFTP protocol
BOOTP

Licensed under Creative Commons BY-SA 4.0
Connecting to the Device
● For development and deployment we have to connect host and target○ SD Card process is very simple, slow and cumbersome○ Serial TTY - this is a must have for many use cases○ USB: If the device supports client mode it can be mounted.
● Network Connection:○ Target: DHCP assigned or static ip address must be known to the host○ Connect via ssh○ Set up private-public key pair for effortless login
● NFS mount part or all of the target file-system○ Mount the Raspberry Pi SD card to /mnt/rpi-rootfs○ Must be executed before we can compile and run code on the device

Licensed under Creative Commons BY-SA 4.0
Module: Development for Device● Developing Using a cross-compiler
○ Why you need it, Where to get it.● SYSROOT
○ What is it, Why you need it, Where to put it.● Qt Creator and Qt 5 on the ICS
Development Image.○ Qt Creator Concepts: Kits, Devices, Toolchains,
Qt-versions● Hello World with and without Qt Creator

Licensed under Creative Commons BY-SA 4.0
● A cross-compiler is a compiler capable of creating executable code for a platform other than the one on which the compiler is running.
● Cross-compiler tools are used to generate executables for embedded system or multiple platforms.
● Often used to compile for a platform where compilation is not feasible.○ Embedded computers where a device has extremely
limited resources.
Cross-Compilers

Licensed under Creative Commons BY-SA 4.0
Cross-Compilers
● Also use for bootstrapping to a new platform.● For ARM the most popular and widely used
are from Linaro (www.linaro.org) ○ A not-for-profit engineering organization consolidating
and optimizing open source Linux software and tools for the ARM architecture
○ Compilers based on gcc of course: Open Source
● Usually board supplier has a cross-compiler as part of the BSP, SDK or tool-chain../rpi-tools/tools/arm-bcm2708/gcc-linaro-arm-linux-gnueabihf-raspbian/bin/arm-linux-gnueabihf-gcc -v
● Cut and paste the above (into a single line)

Licensed under Creative Commons BY-SA 4.0
SYSROOT
● Sysroot is usually the "/" filesystem of your target device
● When cross-compiling you will not include nor link against libraries on the host system
● You might keep a version of sysroot on your host file system
● Sometimes you NFS mount sysroot - we do!● In any case you must specify where sysroot is
during compilation and linking○ GCC has a -sysroot option that makes it easier to
specify cross-compile libraries and header locations. Look it up!

Licensed under Creative Commons BY-SA 4.0
Development Framework● C++ and QML/JS● Cross-platform● Write once,
deploy everywhere● Comprehensive Class Library
○ Over 800 classes
○ Qt Quick, Qt Widgets, Data I/O, XML,Canvas, OpenGL, Network, WebEngine,...
● Advanced development tools:○ Rapid UI development ○ Internationalization○ Documentation
What is Qt?

Licensed under Creative Commons BY-SA 4.0
Qt Creator – The IDE for Qt
● Integrated Development Environment○ Written in Qt/C++○ Free, Open Source, Highly Configurable
● Ideal for Qt Development○ Editor, Project Management, Build System
Management, Debugging Front-End, Documentation and much more
○ User Interface for Qt Tools from qmake to assistant○ Code completion, Code navigation, Follow symbol,
Find usages
● Knows about Qt versions, Cross-Compilers, Sysroot, Devices etc..

Licensed under Creative Commons BY-SA 4.0
Qt Creator – The IDE for Qt (cont.)
● Integrates with native compilers and tool-chains:○ GNU gcc, gdb, make,○ Microsoft Visual Studio Compilers○ Apple LLVM
● Integrates common third party build systems○ CMake, Automake
● Integrates common source control systems○ Git, Mercurial, SVN, CVS, Perforce

Licensed under Creative Commons BY-SA 4.0
Qt Creator: Add the Raspberry Pi Device

Licensed under Creative Commons BY-SA 4.0
Qt Creator: Add the Cross-Compiler

Licensed under Creative Commons BY-SA 4.0
Qt Creator: Add a Qt Version

Licensed under Creative Commons BY-SA 4.0
Qt Creator: Defining Kits

Licensed under Creative Commons BY-SA 4.0
Qt Creator: Shadow Builds
● Qt Creator builds projects outside source ○ Useful when building for different targets or Qt versions○ Avoids polluting source directory with temporaries○ side-effect: your executable runs from a different
location○ Files accessed by relative path may not be found
● Workarounds○ Use absolute paths or resources instead of relative
paths○ Un-check “use shadow build” in build settings○ Set “working directory” from Run Settings○ Environment variables can be set there too

Licensed under Creative Commons BY-SA 4.0
Qt Creator: Project Settings

Licensed under Creative Commons BY-SA 4.0
Qt Creator: Locator

Licensed under Creative Commons BY-SA 4.0
Lab: Hello World with Qt Creator

Licensed under Creative Commons BY-SA 4.0
Module: Development for Device● Qt 5 Architecture ● Qt Platform Abstraction● Building Qt 5 for the target● The Boot Process and How, When and
Why you load your application● Debugging

Licensed under Creative Commons BY-SA 4.0
Qt 5 - Architecture
Licensed under Creative Commons BY-SA 4.0
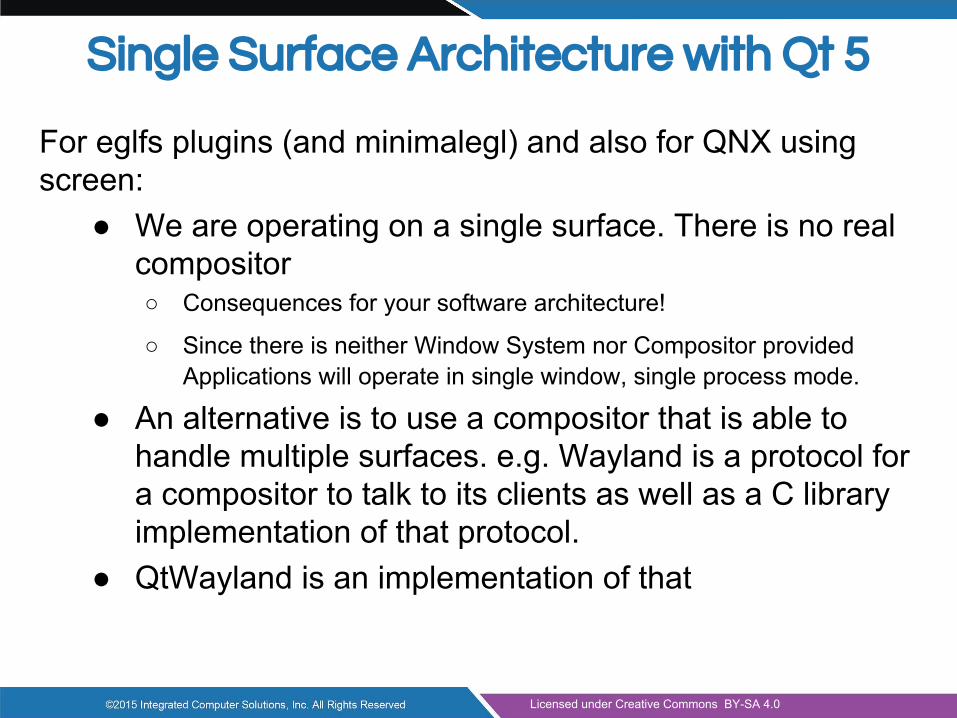
Single Surface Architecture with Qt 5
For eglfs plugins (and minimalegl) and also for QNX using screen:
● We are operating on a single surface. There is no real compositor ○ Consequences for your software architecture!
○ Since there is neither Window System nor Compositor provided Applications will operate in single window, single process mode.
● An alternative is to use a compositor that is able to handle multiple surfaces. e.g. Wayland is a protocol for a compositor to talk to its clients as well as a C library implementation of that protocol.
● QtWayland is an implementation of that
Licensed under Creative Commons BY-SA 4.0
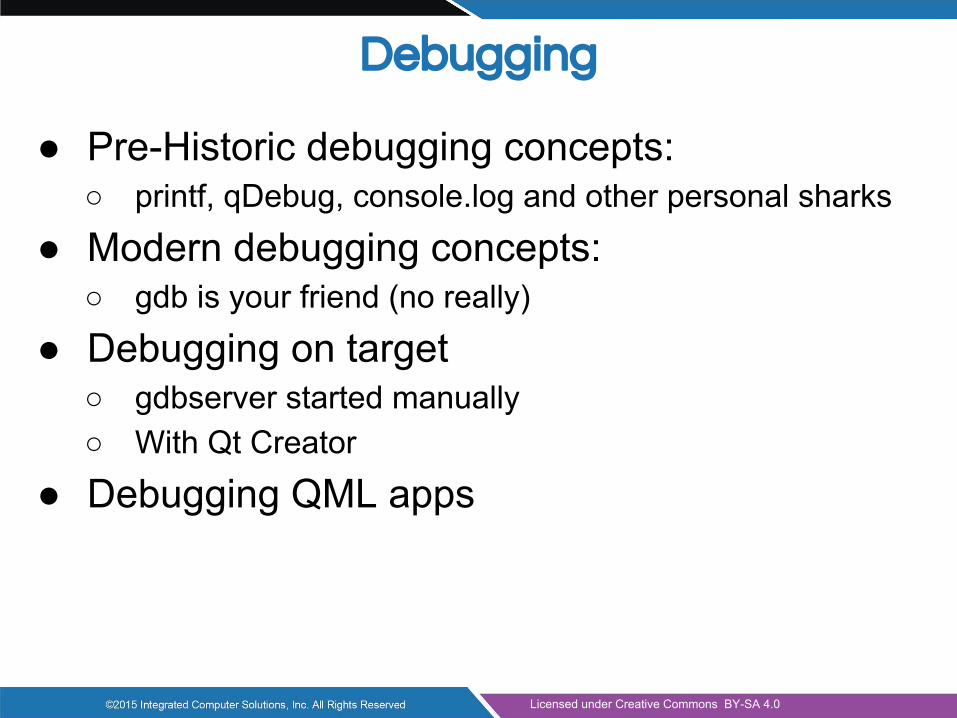
Debugging
● Pre-Historic debugging concepts: ○ printf, qDebug, console.log and other personal sharks
● Modern debugging concepts: ○ gdb is your friend (no really)
● Debugging on target○ gdbserver started manually○ With Qt Creator
● Debugging QML apps

Licensed under Creative Commons BY-SA 4.0
Debugging the Old Fashioned Way
There is nothing wrong with the "print statement"printf(stdout,...), std::cout
Just don't try it to untangle multi-threaded code and don't forget to flush.

Licensed under Creative Commons BY-SA 4.0
Debugging the Old Fashioned Way
● In Qt programs it is called qDebug:qDebug() << "Debug Statement" << myObject;
● Takes care of serializing Qt types● Inserts spaces between operands ● Appends end of line (CR)● qWarning() and qError() ● In QML it's called console.log()

Licensed under Creative Commons BY-SA 4.0
gdb - the GNU Debugger
● Demo of gdb command line on the VM● Demo of gdb within Qt Creator● Remote debugging with gdb:
○ gdbserver started on the target○ Listening on <comm>
gdbserver <comm> <program> [arg1[arg2[...argN]]]
○ <comm> can be device name (e.g. /dev/com1) ○ Or TCP hostname and port number
(e.g. localhost:110264)○ Remote program can be stripped of dbg symbols

Licensed under Creative Commons BY-SA 4.0
gdb - the GNU Debugger
Remote debugging with gdb:○ On host start gdb with program name○ Listening on <comm>
gdb <program>target remote <comm>
○ <comm> is the device name (e.g. target-ip:110264)○ Local program needs to be unstripped copy of your
program, since GDB needs symbols and debugging information
break, cont, next, ...

Licensed under Creative Commons BY-SA 4.0
Remote Debugging with Qt Creator
Need to make sure you have the correct debugger executable from your tool-chain

Licensed under Creative Commons BY-SA 4.0
Basic Elements of Modern Qt Applications
● QtQuick: ○ QML, Elements, Rectangles and Images, Properties,
Bindings, Anchors, Rows and Columns, Objects● QCore:
○ Strings, Containers● QtQuick:
○ States, Transitions and Animations● C++ QObjects
○ QObjects, Properties, Signals and Slots

Licensed under Creative Commons BY-SA 4.0
Rewinding the Lab
This will rewind the lab to an initial state:cd ~/Desktop/gdp/amm-examples/amm-handson-labforward-to.sh 0
To get to the solution of part 1 for example:forward-to.sh 1
To get to the end result of the lab exercise type:forward-to.sh

Licensed under Creative Commons BY-SA 4.0
Hands-on Lab - Part 1
Begin by opening amm-handson-lab in QtCreator:
#include <QGuiApplication>#include <QQuickView>
int main(int argc, char *argv[]){ QGuiApplication app(argc, argv);
QQuickView mainView; mainView.setSource(QUrl("../amm-handson-lab/main.qml")); mainView.show();
return app.exec();}

Licensed under Creative Commons BY-SA 4.0
Hands-on Lab - Part 1
● We begin working in main.qml● Create a Rectangle, Add Text
○ Let’s call this a “WorkSpace” assign the id: workSpace● Create a second Rectangle underneath, Add Text● Make the second Rectangle into a Button by adding a
MouseArea● Implement:
○ onClicked: output to console○ onPressed; change the main workspace text color to “white”○ onReleased: revert the change to workspace text color back
● Add a “Board Kit”, Deploy! - Enjoy!

Licensed under Creative Commons BY-SA 4.0
Lab: Deployment Hints
Genivi Demo Platform uses Wayland and a custom Wayland Shell as well as IVI Layer Management Extension setenv("QT_QPA_PLATFORM","wayland",1);
We like our applications to run “full screen” without Window Decoration
setenv("QT_WAYLAND_DISABLE_WINDOWDECORATION","1",1);
In order for GDP IVI Layer Management to recognize our layer we will “borrow” a well known “Surface ID” #define LAB_SURFACE_ID 3
mainView.setProperty("IVI-Surface-ID",LAB_SURFACE_ID);
This has to be done before the window is “shown”

Licensed under Creative Commons BY-SA 4.0
Running on Renesas Porter
Need to add the environement variable:LD_PRELOAD /usr/lib/libEGL.so

Licensed under Creative Commons BY-SA 4.0
Lab: How to Deploy QML
In order to deploy extra files add this to .pro:
ExtraQml.files += main.qml
ExtraQml.path = /opt/${{TARGET}
INSTALLS += ExtraQml
And in main.cpp load the qml file with an absolute path.
This will become a lot easier when we use resource files.

Licensed under Creative Commons BY-SA 4.0
ICS GDP Image
● Has a few extra packages (QtMultiMedia, etc.) ● Has a LayerManagerControl script (lmc.sh)
that can be used to put non-registered surfaces “on top”
● Use systemctl to stop qml-example before deploying and running systemctl --user stop qml-example
● To permanently disable it:mv \/usr/lib/systemd/user/qml-example.service \~/usr-lib-systemd-user
Licensed under Creative Commons BY-SA 4.0
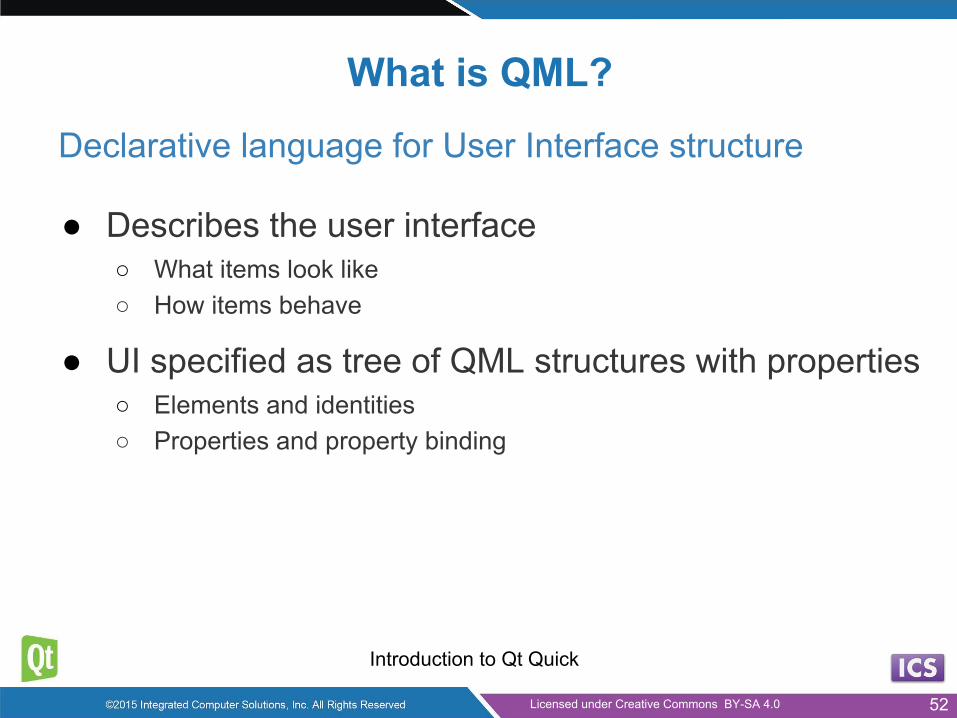
What is QML?
Introduction to Qt Quick
● Describes the user interface○ What items look like○ How items behave
● UI specified as tree of QML structures with properties○ Elements and identities○ Properties and property binding
Declarative language for User Interface structure
52

Licensed under Creative Commons BY-SA 4.0
A Tree of QML Structures
Introduction to Qt Quick
53
Licensed under Creative Commons BY-SA 4.0
QML Types
Introduction to Qt Quick
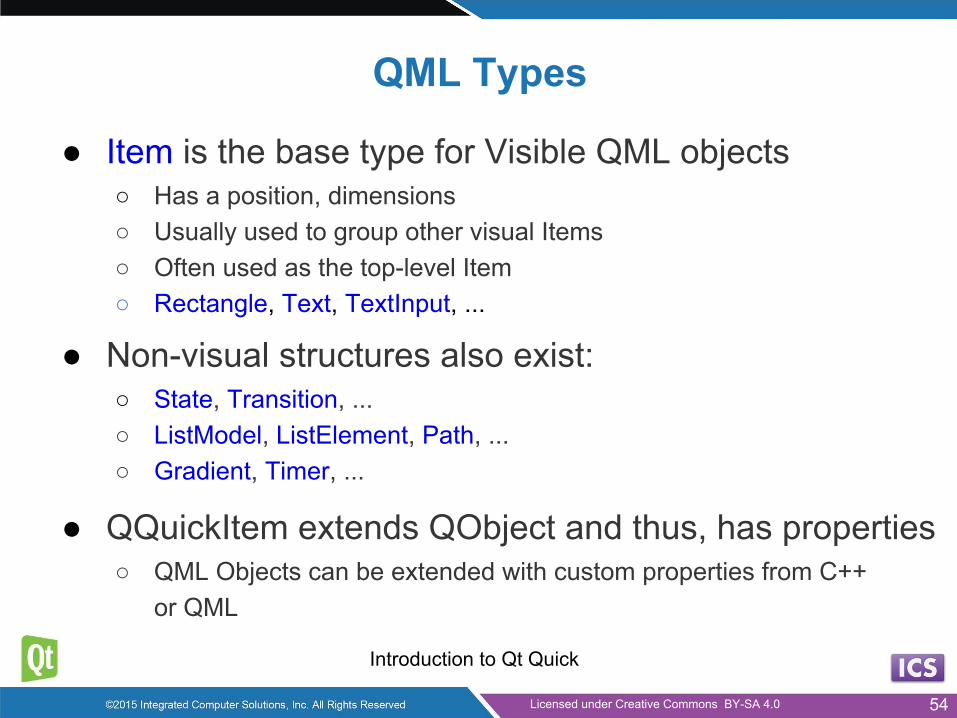
● Item is the base type for Visible QML objects○ Has a position, dimensions○ Usually used to group other visual Items○ Often used as the top-level Item○ Rectangle, Text, TextInput, ...
● Non-visual structures also exist:○ State, Transition, ...○ ListModel, ListElement, Path, ...○ Gradient, Timer, ...
● QQuickItem extends QObject and thus, has properties○ QML Objects can be extended with custom properties from C++
or QML
54

Licensed under Creative Commons BY-SA 4.0
Properties
Introduction to Qt Quick
● Simple name-value definitions○ width, height, color, ...○ With default values○ Each has a well-defined type○ Separated by semicolons or line breaks
● Used for○ Customizing their appearance○ Changing their behavior
Objects are described by properties
55

Licensed under Creative Commons BY-SA 4.0
Property Examples
Introduction to Qt Quick
● Standard properties can be given values:Text {
text: "Hello world"
height: 50
}
● Grouped properties keep related properties togetherText {
font.family: "Helvetica"
font.pixelSize : 24
}
56

Licensed under Creative Commons BY-SA 4.0
Identifying QML structures
The id defines an identity of a QML structure● Lets other QML structures refer to it
○ For relative alignment and positioning○ To access or modify an Item's properties○ To re-use common structures (e.g., gradients, images)
● Used to create relationships between structures● id is not a property
○ Not stored in the QObject with other properties○ More like a "label"○ A single Item can have different identities in other
files/scopes.● parent is a special id referring to the relative
parent structure
Introduction to Qt Quick
57

Licensed under Creative Commons BY-SA 4.0
Attached and Custom Properties● Attached properties are applied to QML structures
TextInput {text: "Hello world"
KeyNavigation.tab : nextInput
}
• KeyNavigation.tab is not a standard property of TextInput• Is a standard property that is attached to Items
● Custom properties can be added to any QML typeRectangle {
property real mass: 100.0
}
Circle {
property real radius: 50.0
}
Introduction to Qt Quick
58

Licensed under Creative Commons BY-SA 4.0
Binding Propertiesimport QtQuick 2.0
Item {
width: 400; height: 200
Rectangle {
x: 100; y: 50width: height * 2; height: 100
color: "lightblue"
}
}
● Properties can contain expressions○ See above: width is twice the height
● Not just initial assignments● Expressions are re-evaluated when needed
Introduction to Qt Quick
See Property Binding Documentation
Demo qml-intro/ex-concepts/expressions.qml
59

Licensed under Creative Commons BY-SA 4.0
import QtQuick 2.0
Item {
width: 300; height: 115
Text {
id: title
x: 50; y: 25text: "Qt Quick"
font.family: "Helvetica"
font.pixelSize : 50
}
Rectangle {x: 50; y: 95; height: 5
width: title.width
color: "green"
}
}
Using Identities
Introduction to Qt Quick
60

Licensed under Creative Commons BY-SA 4.0
Using Identities
Text {
id: title
x: 50; y: 25text: "Qt Quick"
font.family: "Helvetica"
font.pixelSize: 50
}
Rectangle {x: 50; y: 95; height: 5
width: title.width
color: "green"
}
● Text item has the identity, title● width of Rectangle bound to width of title● Try using TextInput instead of Text
Introduction to Qt Quick
61

Licensed under Creative Commons BY-SA 4.0
Lab: Part 2
● Move the button into its own Component ”Button_1.qml”○ Create a Component Button_1.qml, move the button code○ Note that “naively” moving the code into a file does not give us the same
functionality○ Name the button with an id to fix the size issues
● Create a second Button: button2, put buttons in a Row○ Try to get the buttons evenly spaced.
● The button refers to workspaceText property directly○ If the button is to be re-used, then this needs to be fixed○ Introduce “signals” for pressed, released, clicked ○ Using these signals now have the left button set the text color “white” and
the right button set the text color “yellow”● Add an image if the Genivi Logo to the workspace in the
top right corner ○ Deploy the application again: Where is the image?○ Add a resource file, add the image as a resource and deploy again

Licensed under Creative Commons BY-SA 4.0
Module: Composing User Interfaces
● Nested Elements● Graphical Types ● Text Items ● Anchor Layout
Composing User Interfaces63/327

Licensed under Creative Commons BY-SA 4.0
import QtQuick 2.0Rectangle {
width: 400; height: 400color: "lightblue"
Rectangle {x: 50; y: 50; width: 300; height: 300color: "green"
Rectangle {x: 200; y: 150; width: 50; height: 50color: "white"
}
}
}
● Each Item is positioned relative to its parents
Nested Elements
Composing User Interfaces
Demo qml-composing-uis/ex-elements/nested2.qml
64

Licensed under Creative Commons BY-SA 4.0
Module: Composing User Interfaces
● Nested Elements ● Graphical Types ● Text Items ● Anchor Layout
Composing User Interfaces65/327

Licensed under Creative Commons BY-SA 4.0
Colors
● Specifying colors○ Named colors (using SVG names): "red", "green",
"blue", …○ HTML style color components: "#ff0000", "#008000",
"#0000ff", …○ Built-in function: Qt.rgba(0,0.5,0,1)
● Changing items opacity:○ Using the opacity property○ Values from 0.0 (transparent) to 1.0 (opaque)
Composing User Interfaces
See QML basic Type: color Documentation
66

Licensed under Creative Commons BY-SA 4.0
import QtQuick 2.0
Item {
width: 300; height: 100
Rectangle {
x: 0; y: 0; width: 100; height: 100; color: "#ff0000"
}
Rectangle {x: 100; y: 0; width: 100; height: 100
color: Qt.rgba(0, 0.75, 0, 1)
}
Rectangle {
x: 200; y: 0; width: 100; height: 100; color: "blue"
}
}
Colors
Composing User Interfaces
Demo qml-composing-uis/ex-elements/colors.qml
67

Licensed under Creative Commons BY-SA 4.0
Images
● Represented by the Image class● Refer to image files with the source property
○ Using absolute URLs○ Or relative to the QML file
● Can be transformed○ Scaled, rotated○ About an axis or central point
Composing User Interfaces
68

Licensed under Creative Commons BY-SA 4.0
import QtQuick 2.0
Rectangle {
width: 400; height: 400
color: "black"
Image {
x: 150; y: 150
source: "../images/rocket.png"
}
}
● source contains a relative path● width and height are obtained from the
image file
Images
Composing User Interfaces
69

Licensed under Creative Commons BY-SA 4.0
import QtQuick 2.0
Rectangle {
width: 400; height: 400
color: "black"
Image {
x: 150; y: 150source: "../images/rocket.png"
scale: 2.0
}}
● Set the scale property● By default, the center of the item remains in the same place
Image Scaling
Composing User Interfaces
70

Licensed under Creative Commons BY-SA 4.0
import QtQuick 2.0
Rectangle {
width: 200; height: 200
color: "black"
Image {
x: 50; y: 35source: "../images/rocket.png" rotation: 45.0
}
}
● Set the rotate property● By default, the center of the item remains in the same place
Image Rotation
Composing User Interfaces
Demo qml-composing-uis/ex-elements/image-rotation.qml
71

Licensed under Creative Commons BY-SA 4.0
Image Rotation
import QtQuick 2.0
Rectangle {
width: 200; height: 200
color: "black"
Image {
x: 50; y: 35source: "../images/rocket.png"
rotation: 45.0
transformOrigin : Item.Top
}
}
● Set the transformOrigin property● Now the image rotates about the top of the item
Composing User Interfaces
72

Licensed under Creative Commons BY-SA 4.0
Lab: Part 3
Begin with the solution to Part 2● Create a Component: WorkspaceContent
○ It should contain an Image that fills it out○ Create a property alias for the image source!
● Swap the current content of the workspace (but not the workspace itself) for this component, load image “genivi_screenshot.png”○ Create two additional WorkSpaceContent elements with images:
“gdp_block_diagram.png” and “mm-screen.png”● Observe that only the third one is now visible:
○ Set content1 visible instead○ Two other ways to determine what is visible on the screen:
Opacity, Position, try them both● Replace your own button box with the one from file
buttonBox_qml.txt

Licensed under Creative Commons BY-SA 4.0
Property Aliases
// AliasLineEdit.qml Rectangle {
...
TextInput {
id: text_input
...
text: "Enter text..."
...
}
property alias text: text_input.text
}
● Custom text property aliases text_input.text
● Setting the custom property○ Changes the TextInput's text
● Custom property acts like a proxy
Qt Quick Structures
74
Demo qml-modules-components/ex-modules-components/alias-property/AliasLineEdit.qml
Licensed under Creative Commons BY-SA 4.0
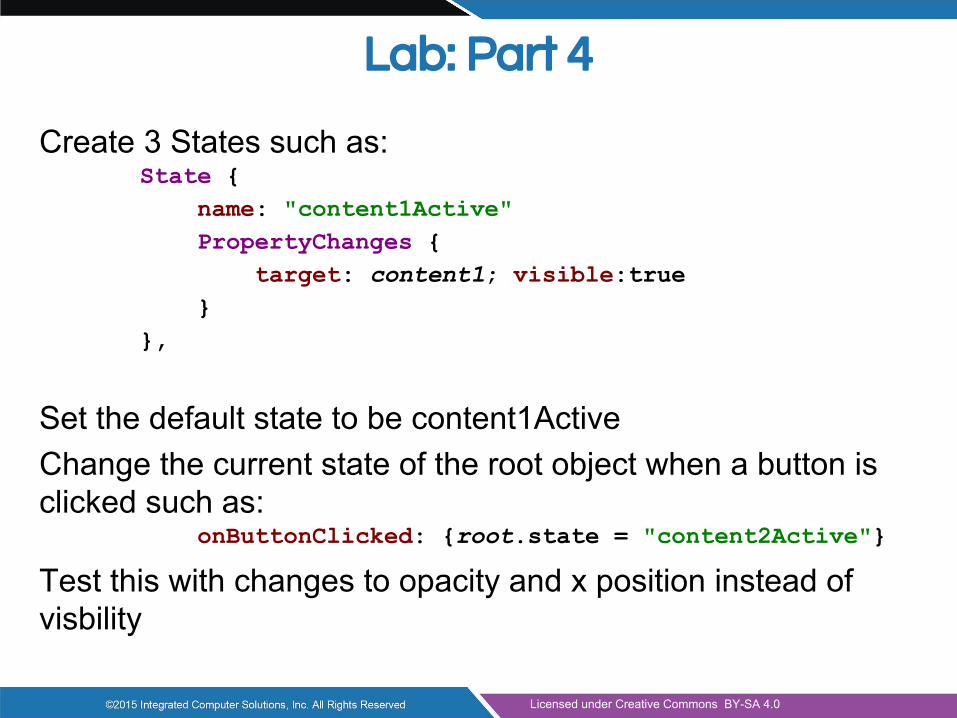
Lab: Part 4
Create 3 States such as: State { name: "content1Active" PropertyChanges { target: content1; visible:true } },
Set the default state to be content1ActiveChange the current state of the root object when a button is clicked such as: onButtonClicked: {root.state = "content2Active"}
Test this with changes to opacity and x position instead of visbility
Licensed under Creative Commons BY-SA 4.0
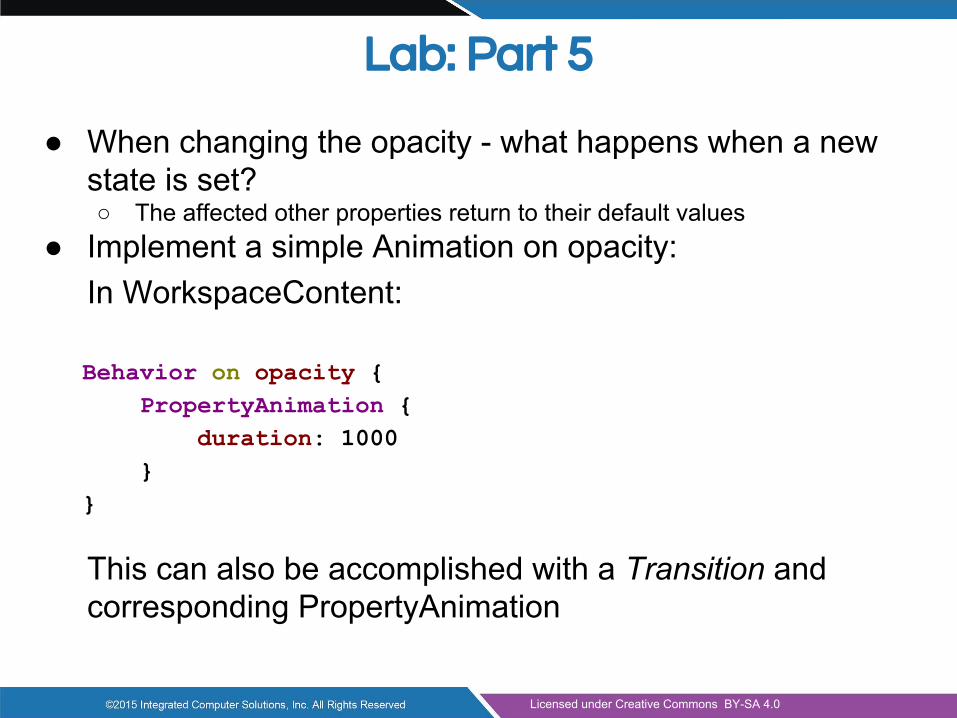
Lab: Part 5
● When changing the opacity - what happens when a new state is set? ○ The affected other properties return to their default values
● Implement a simple Animation on opacity: In WorkspaceContent:
Behavior on opacity { PropertyAnimation { duration: 1000 } }
This can also be accomplished with a Transition and corresponding PropertyAnimation

Licensed under Creative Commons BY-SA 4.0
Lab: Part 5 continued
Note that even though the WorkspaceContent is moved out of the Workspace it is still active. ● Need to set “visible” to false.
○ How can we accomplish this?● The solution is to run a ScriptAction at the beginning and
end of the Animation: Behavior on opacity { SequentialAnimation { ScriptAction { script: { if (opacity===0.0) visible=true; } } PropertyAnimation { duration: 1000 }
// ...

Module: States and Transitions
States and Transitions
● States● State Conditions● Transitions
78/327

States
States manage named items● Represented by the State class● Each item can define a set of states
○ With the states property○ Current state is set with the state property
● Properties are set when a state is entered● Can also
○ Modify anchors○ Change the parents of items○ Run scripts
States and Transitions79/327
See QML States Documentation

States Exampleimport QtQuick 2.0
Rectangle {
width: 150; height: 250
Rectangle {
id: stop_light
x: 25; y: 15; width: 100; height: 100
}
Rectangle {
id: go_light
x: 25; y: 135; width: 100; height: 100
}
...
● Prepare each item with an id● Set up properties not modified by states
States and Transitions80/327

Defining Statesstates: [ State {
name: "stop"PropertyChanges { target: stop_light; color: "red" }
PropertyChanges { target: go_light; color: "black" }
},State { name: "go"
PropertyChanges { target: stop_light; color: "black" }
PropertyChanges { target: go_light; color: "green" }
}
]
● Define states with names: "stop" and "go"● Set up properties for each state with PropertyChanges
○ Defining differences from the default values
States and Transitions81/327
Demo qml-states-transitions/ex-states/states.qml

Setting the StateDefine an initial state:state: "stop"
Use a MouseArea to switch between states:MouseArea {
anchors.fill: parentonClicked: parent.state == "stop" ? parent.state =
"go" : parent.state = "stop"
}
● Reacts to a click on the user interface○ Toggles the parent's state property○ Between "stop" and "go" states
States and Transitions82/327

Changing PropertiesStates change properties with the PropertyChanges class:
State {
name: "go"PropertyChanges { target: stop_light; color: "black" }
PropertyChanges { target: go_light; color: "green" }
}
● Acts on a target structure named using the target property○ The target refers to an id
● Applies the other property definitions to the target structure○ One PropertyChanges class can redefine multiple properties
● Property definitions are evaluated when the state is entered● PropertyChanges describes new property values for an item
○ New values are assigned to items when the state is entered○ Properties left unspecified are assigned their default values
States and Transitions83/327

Licensed under Creative Commons BY-SA 4.0
Lab: Part 6
Next we want to add a C++ backend that will get notified by events on the UI and also will update the UI with data.
Create a class MainController, with two properties for the UI state and the value of a “Slider”class MainController : public QObject{ Q_OBJECTpublic: Q_PROPERTY(QString uiState READ uiState
WRITE setUiState NOTIFY uiStateChanged) Q_PROPERTY(int sliderValue READ sliderValue
WRITE setSliderValue NOTIFY sliderValueChanged)

Licensed under Creative Commons BY-SA 4.0
Lab: Part 6 continued
To export the “Properties” of a QObject into the Context of a QtQuick Presentation
MainController * mc = new MainController; QQuickView mainView; QQmlEngine * engine = mainView.engine(); QQmlContext * ctxt = engine->rootContext(); ctxt->setContextProperty("controller",mc); mainView.setSource(QUrl(QStringLiteral("qrc:/main.qml")));
We grab the view’s engine root context and set a context property named “controller”. In our MainComponent.qml:
state: controller.uiState onStateChanged: controller.uiState=state

Licensed under Creative Commons BY-SA 4.0
Qt's C++ Object Model - QObject
● QObject is the heart of Qt's object model● Include these features:
○ Memory management○ Object properties○ Introspection○ Signals and Slots○ Event handling
● QObject has no visual representation
86

Licensed under Creative Commons BY-SA 4.0
Object Trees
● QObjects organize themselves in object trees○ Based on parent-child relationship
● QObject(QObject *parent = 0)○ Parent adds object to list of children○ Parent owns children
● Construction/Destruction○ Trees can be constructed in any order○ Trees can be destroyed in any order
■ If object has a parent: object is first removed from the parent■ If object has children: deletes each child first■ No object is deleted twice
Note: Parent-child relationship is NOT inheritance
87

Q_OBJECT - flag for MOC
● Meta Object Compiler (MOC)● Q_OBJECT
○ Enhances QObject with QMetaObject information○ Required for Q_PROPERTY, QObject::metaObject(), qobject_cast, etc.○ Required for signals, slots, and QMetaObject::invokeMethod()
● moc creates generates the QMetaObject code for each Q_OBJECT
moc -o moc_myclass.cpp myclass.hc++ -c myclass.cpp; c++ -c moc_myclass.cppc++ -o myapp moc_myclass.o myclass.o
● Makefiles generated by qmake take care of making the Q_OBJECT-marked classes automatically for you.
88

Properties
● Qt Quick exampleimport QtQuick 2.0Rectangle {
width: 400; height: 400color: "lightblue"
}
● Generic property access:QObject* root = view->rootObject();if (root != NULL) {
QString color = root->property("color").toString();int width = root->property("width").toInt();
}
89

Properties
● Q_PROPERTY is a macro:Q_PROPERTY(type name READ getFunction
[WRITE setFunction] [RESET resetFunction][NOTIFY notifySignal] [DESIGNABLE bool][SCRIPTABLE bool] [STORED bool])
● Property access methods:QVariant property(const char* name) const;void setProperty(const char* name,const QVariant& value);
● If setProperty() is used to set a property name that has not been declared as a Q_PROPERTY○ Stored as a dynamic property in QObject not in QMetaObject○ Hence not accessible from Qt Quick
● Note:○ Q_OBJECT macro is required for Q_PROPERTY to work
90
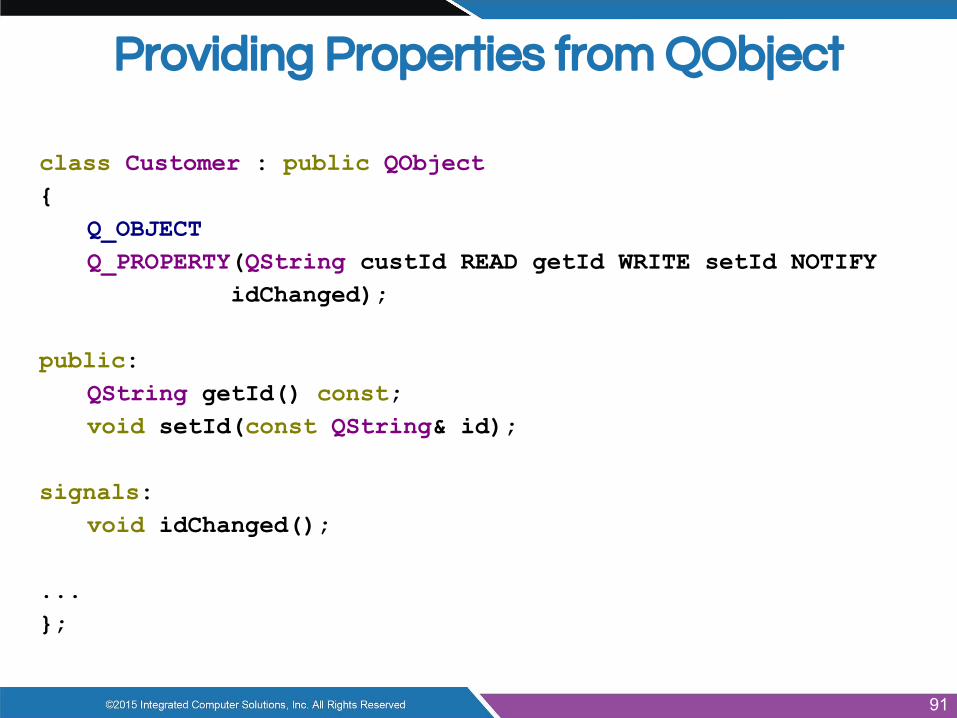
Providing Properties from QObject
class Customer : public QObject{
Q_OBJECTQ_PROPERTY(QString custId READ getId WRITE setId NOTIFY
idChanged);
public:QString getId() const;void setId(const QString& id);
signals:void idChanged();
...};
91

Licensed under Creative Commons BY-SA 4.0
Lab: Part 7
To simulate “Automotive Hardware Layers” changing values, let’s fire a QTimer in main.cpp and connect a signal to change the state of the UI.
QTimer timer; timer.setInterval(5000); QObject::connect (&timer,&QTimer::timeout,mc,
&MainController::nextUiState); timer.start();
As a final exercise: Add a Slider (Slider.qml) to one of the three workspaces. Connect the slider’s valueChanged signal to the MainController setSliderValue() slot.

Licensed under Creative Commons BY-SA 4.0
Conclusion
Thanks for Drinking from the Firehose!
Join us at www.ics.com and come to one of our trainings!