lightroom tips tricks addendum notes · lightroom tips tricks addendum of the two files, and you...
TRANSCRIPT
notes
19
Lightroom Tips & Tricks Addendum
HERE’S THAT OTHER STUFF These are the techniques that I added to the class that were too late to add to the workbook, but I didn’t want you to have to take notes, just because there’s new stuff, so…well…ya know…here they are. BTW: Thanks for coming to my class. :)
GPS TRICKS(1) If your camera has built-in GPS Or, if you connected a GPS to your DSLR through an acces-sory, try this — open at an image that you know has GPS data embedded in the Library Grid view, and in the bottom right-corner of the image’s thumbnail you’ll see a little icon that looks like a comment bubble. Click on that (or, go to the metadata panel in the Library Module; scroll down to the GPS field and click on the right-arrow button to the far right of the GPS data).
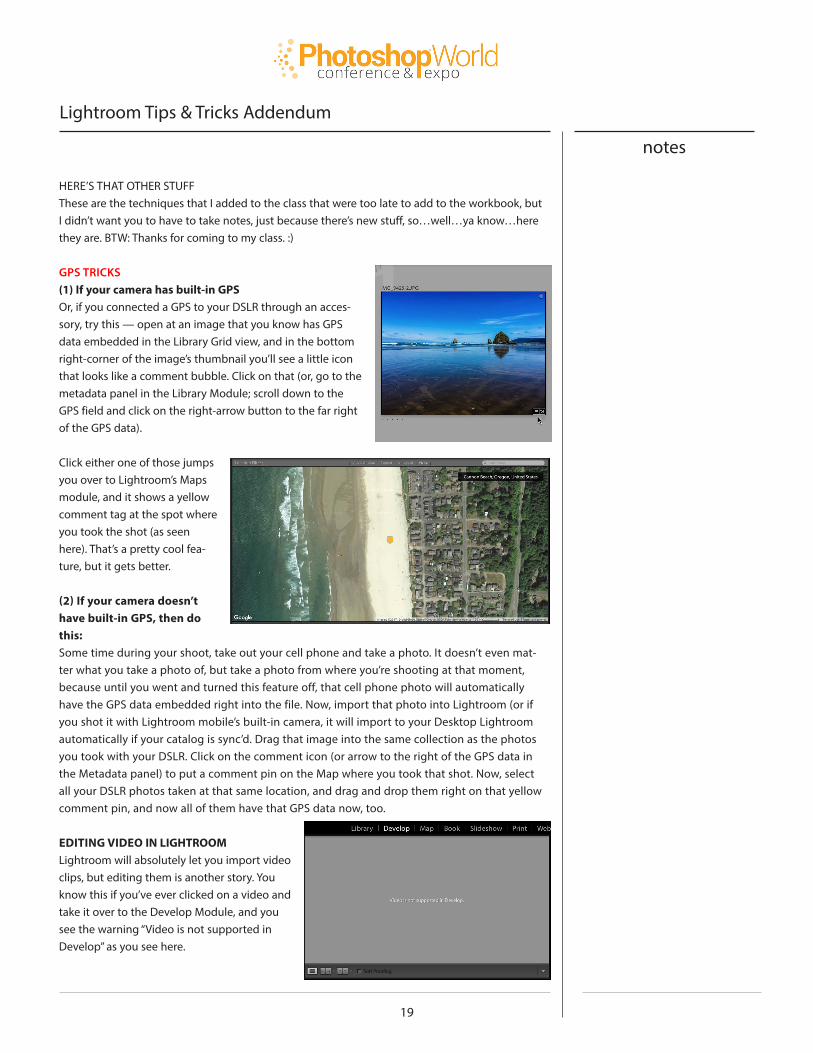
Click either one of those jumps you over to Lightroom’s Maps module, and it shows a yellow comment tag at the spot where you took the shot (as seen here). That’s a pretty cool fea-ture, but it gets better.
(2) If your camera doesn’t have built-in GPS, then do this: Some time during your shoot, take out your cell phone and take a photo. It doesn’t even mat-ter what you take a photo of, but take a photo from where you’re shooting at that moment, because until you went and turned this feature off, that cell phone photo will automatically have the GPS data embedded right into the file. Now, import that photo into Lightroom (or if you shot it with Lightroom mobile’s built-in camera, it will import to your Desktop Lightroom automatically if your catalog is sync’d. Drag that image into the same collection as the photos you took with your DSLR. Click on the comment icon (or arrow to the right of the GPS data in the Metadata panel) to put a comment pin on the Map where you took that shot. Now, select all your DSLR photos taken at that same location, and drag and drop them right on that yellow comment pin, and now all of them have that GPS data now, too.
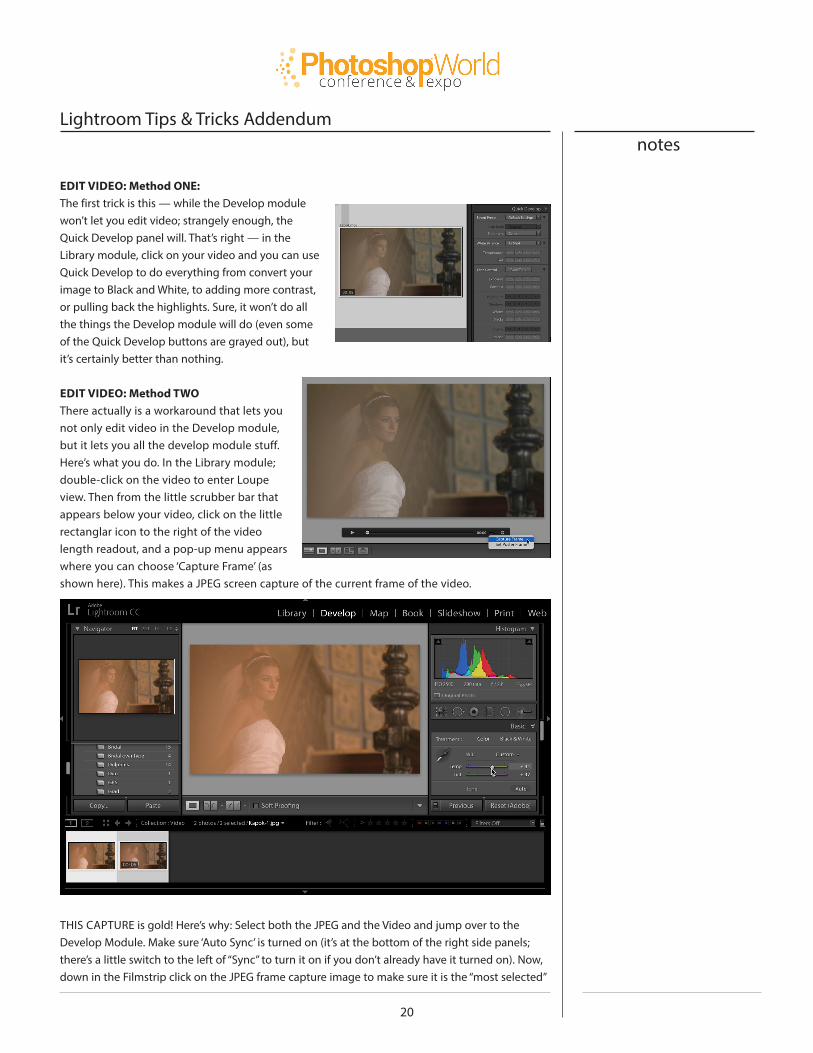
EDITING VIDEO IN LIGHTROOM Lightroom will absolutely let you import video clips, but editing them is another story. You know this if you’ve ever clicked on a video and take it over to the Develop Module, and you see the warning “Video is not supported in Develop” as you see here.
notes
20
Lightroom Tips & Tricks Addendum
EDIT VIDEO: Method ONE: The first trick is this — while the Develop module won’t let you edit video; strangely enough, the Quick Develop panel will. That’s right — in the Library module, click on your video and you can use Quick Develop to do everything from convert your image to Black and White, to adding more contrast, or pulling back the highlights. Sure, it won’t do all the things the Develop module will do (even some of the Quick Develop buttons are grayed out), but it’s certainly better than nothing.
EDIT VIDEO: Method TWO There actually is a workaround that lets you not only edit video in the Develop module, but it lets you all the develop module stuff. Here’s what you do. In the Library module; double-click on the video to enter Loupe view. Then from the little scrubber bar that appears below your video, click on the little rectanglar icon to the right of the video length readout, and a pop-up menu appears where you can choose ‘Capture Frame’ (as shown here). This makes a JPEG screen capture of the current frame of the video.
THIS CAPTURE is gold! Here’s why: Select both the JPEG and the Video and jump over to the Develop Module. Make sure ‘Auto Sync’ is turned on (it’s at the bottom of the right side panels; there’s a little switch to the left of “Sync” to turn it on if you don’t already have it turned on). Now, down in the Filmstrip click on the JPEG frame capture image to make sure it is the “most selected”
notes
20 21
Lightroom Tips & Tricks Addendum
of the two files, and you can edit that image just like you would any other image, BUT what’s cool is any changes you make to that image are also made to the entire video at the same time, thanks to Auto Sync. Nothing’s grayed out; all the controls are there — have a blast! :) THERE ARE three different ways to set your White Balance, and they’re based on how tricky the situation is.
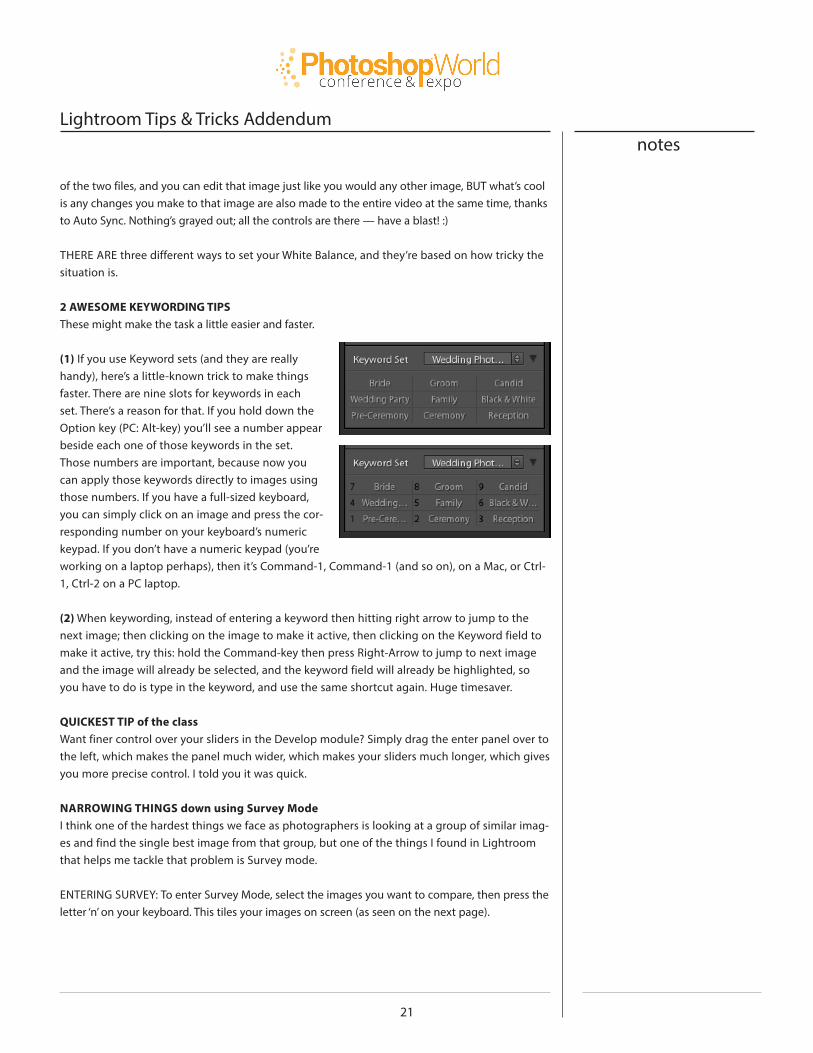
2 AWESOME KEYWORDING TIPS These might make the task a little easier and faster. (1) If you use Keyword sets (and they are really handy), here’s a little-known trick to make things faster. There are nine slots for keywords in each set. There’s a reason for that. If you hold down the Option key (PC: Alt-key) you’ll see a number appear beside each one of those keywords in the set. Those numbers are important, because now you can apply those keywords directly to images using those numbers. If you have a full-sized keyboard, you can simply click on an image and press the cor-responding number on your keyboard’s numeric keypad. If you don’t have a numeric keypad (you’re working on a laptop perhaps), then it’s Command-1, Command-1 (and so on), on a Mac, or Ctrl-1, Ctrl-2 on a PC laptop. (2) When keywording, instead of entering a keyword then hitting right arrow to jump to the next image; then clicking on the image to make it active, then clicking on the Keyword field to make it active, try this: hold the Command-key then press Right-Arrow to jump to next image and the image will already be selected, and the keyword field will already be highlighted, so you have to do is type in the keyword, and use the same shortcut again. Huge timesaver. QUICKEST TIP of the class Want finer control over your sliders in the Develop module? Simply drag the enter panel over to the left, which makes the panel much wider, which makes your sliders much longer, which gives you more precise control. I told you it was quick.
NARROWING THINGS down using Survey Mode I think one of the hardest things we face as photographers is looking at a group of similar imag-es and find the single best image from that group, but one of the things I found in Lightroom that helps me tackle that problem is Survey mode.
ENTERING SURVEY: To enter Survey Mode, select the images you want to compare, then press the letter ‘n’ on your keyboard. This tiles your images on screen (as seen on the next page).

notes
22
Lightroom Tips & Tricks Addendum
WITH IT, instead of looking at a group of similar images and try-ing to find the best one, I find it much easier to use it to find the image I like least, and then using Survey, I remove it from screen — so it’s out of contention, by simply moving my cursor over the image I like the least. When you do this, a little ‘x’ appears in the bottom right corner (seen circled here in red). Click on that little ‘x” to remove that image from screen.
IT’S IMPORTANT to note that clic-ing that little ‘x’ doesn’t delete the image from Lightroom, or even remove the image from the col-lection. It only does one thing — it hides it from view temporarily (well, as long as you’re in Survey view).
A TIP: To make this process easier, I like all the distractions on screen by entering ‘Lights Out’ mode, so all of Lightroom’s interface is completely hidden and my images now appear on a black background, as seen in all four of these captures at right. You enter this mode by pressing the letter ‘L’ twice on your keyboard. To return to regular view (I guess that would be ‘Lights on’ eh?) just press ‘L’ once more. Once you’ve whittled things down to just that one image that still survived after all that, you can mark that single image as a pick or a color label or 5-stars, etc., then to leave Survey mode, just press the letter G to go back to Grid view.