painting black templars initiates
TRANSCRIPT

Forum RelicNews Community Warhammer 40,000 Tabletop Discussion Painting & Modelling Tutorials Painting Black Templars Initiates
Ads by Project Wonderful! Your ad here, right now: $2.20 Your ad here, right now: $0.02
If this is your first visit, be sure to check out the FAQ by clicking the link above. You may have to register before you can post: click the register link aboveto proceed. To start viewing messages, select the forum that you want to visit from the selection below.
Painting Black Templars Initiates
User Name Password Log in RegisterHelp
Guidelines Subscribe IRC Chat Arcade RelicNews
FAQ Calendar Community Forum Actions Quick Links Search
+ Reply to ThreadResults 1 to 13 of 13
Thread Tools
29th Jun 06 7:56 PM
Painting Black Templars Initiates
Painting a Black Templars Initiate – A Step by Step Guide for Beginners
"GUIDED BY THE EMPEROR'S LIGHT"
Table of Content:1. Introduction2. Tools & Preparation3. Procedure4. Conclusion5. Credits and Reference
1. Introduction
Welcome to Relicnews P&M Tutorial Forum. As the title suggests, this tutorial is to provide the readers some tips andguides in painting Black Templars initiates. Conversely, some of the methods shown later can also be applied topainting other Games Workshop miniatures that is not restricted to Black Templars.
This is an extensive tutorial and it is aimed particularly for beginners. I attempted to describe each painting stage asdetailed as possible. As such, it would be easier for everyone to follow and understand the process of producing anyparticular painting effect that otherwise could only be understood or convinced by experience itself.
2. Tools and Preparation
The following are the fifteen pots of colors that are needed to paint this power fist initiate:
Bestial Brown, Bleached Bone, Blood Red, Boltgun Metal, Chaos Black, Codex Grey, Dark Flesh, Chestnut Ink, FieryOrange, Fortress Grey, Graveyard Earth, Mithril Silver, Skull White, Space Wolves Grey, Sunburst Yellow.
3. Procedure
#1
Atrox Morts
Guest
The rule here is 'what feels good, do it.' There is no "correct" way doing anything in modeling, what works for one maynot work for another.
- by Terry Ashley
Forum
3. Procedure
Stage 1 – Painting and Highlighting Black Armor
Before we proceed, personally I think is better to go through the official Games Workshop article Painting BlackPower Armor by Rick Smith. You may choose any of the listed techniques to highlight your Black Templars. I usedthe “extreme highlighting” method. As it is already described in great details in the abovementioned article, I will onlyemphasize some overlooked matters in the following procedures.
S-1.1 Firstly, the model was assembled. Most of the bits can be found in Black Templars Chapter Upgrade sprues.The tabard was made out of Green Stuff. For more information of how I would make the tabard, see Simple GreenStuff Tabard or grab Brother Armand’s PDF here.
S-1.2 The model was primed with Chaos Black primer. Remember to wash and clean the entire model before priming ifyou detected any visible layer of dust accumulated. Next, it was painted with two coats of thinned Chaos Black tocover all the small gaps. The Chaos Black (from the pot) will also make the power armor looks slightly shiny. Pleaseignore the painted tabard shown for the moment.
S-1.3 The power armor was now ready to be highlighted. Refer to GW’s detailed instruction here. You may downloadthe Flash movie and view the key highlighted areas of initiate: Black Power Armor Highlighting. Try to leave the twoendings of each highlight “stroke” sharp as the highlight is diminished. When it is done, please take a short break andhave closer look at the highlights. You should see two or three layers of grey up close. When viewed at normal
distant, all should turn out to be sharp grey highlights smoothly blended into the black colored recesses.
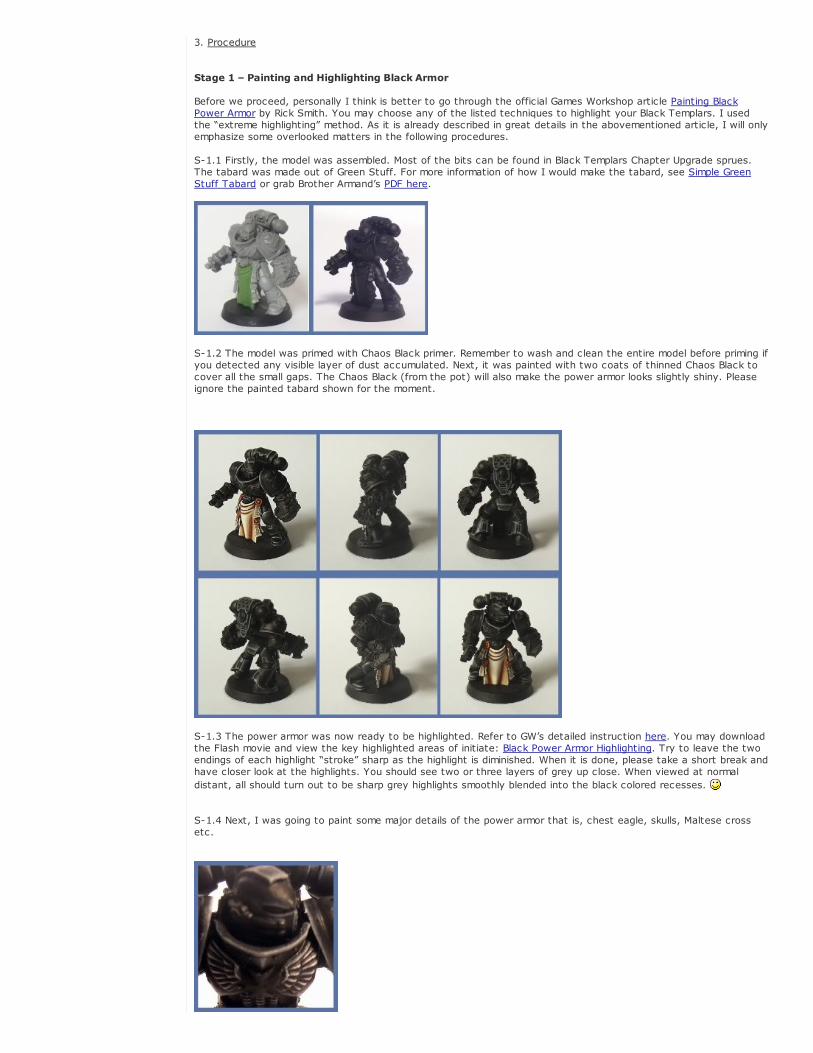
S-1.4 Next, I was going to paint some major details of the power armor that is, chest eagle, skulls, Maltese crossetc.

a) Firstly, I painted the chest eagle. I used a method called “drybrushing” to accomplish this. I used a small soft,flat brush to do so. Instead of drybrushing it with metallic colors, I gently drybrushed the chest eagle with CodexGrey. This was followed by drybrushing with Fortress Grey at the outer facing edges. Lastly, I drybrushed theoutermost facing edges with Skull White.
b) Next was the skull. The whole skull was painted with watered down Graveyard Earth but the eye sockets andteeth spacing were left black. I mixed a 50:50 Bleached Bone and Graveyard Earth and painted the raised edges.The outer edges were highlighted with Bleached Bone and this was followed by a lining the outermost edges withSkull White.
c) Red Maltese cross. I applied the method described in Painting Blood Ravens by VtraXx and I found that it isbrilliant recipe to paint a red colored area with fabulous red blending effect. I recommend everyone to try it andexperience its stunning effect yourself.
d) Purity Seals. Paint the seal red with the method mentioned above. The papers are painted with thinned BleachedBone and the darker recesses were painted with a mix of Bestial Brown and Bleached Bone. The join between thepapers and the seal was lined with Chaos Black. The edges were highlighted with Skull White. Then I used a veryfine brush to draw the “writing” on it using a mix of Chaos Black and Codex Grey.
Stage 2 – Painting Shoulder Pads
S-2.1 The shoulder pad was painted with two layer of thinned Fortress Grey (or Codex Grey). Then at least sixlayers of heavily watered down Skull White were applied. The boundary separating the Skull White and the ChaosBlack was carefully tidied up. The cloth on his left shoulder pad was painted with Bleached Bone and thenhighlighted with a mixture of Skull White and Bleached Bone. The Maltese cross on the right was painted with thered color painting technique mentioned in S-1.4 c). You may try to paint the shoulder pad with Bleached Boneinstead of Skull White to match the off-white tabard and to show some weathering effect.
Stage 3 – Boltpistol and Powerfist
S-3.1 Instead of painting the Boltpistol with metallic color, I painted it grey. It was first painted with a mixture ofthinned Codex Grey and Chaos Black, followed by highlighting the edges with Codex Grey and the vertices werepainted with Fortress Grey. The gun muzzle was painted with Boltgun Metal and highlighted the front edges withMithril Silver. The chains were simply painted with Mithril Silver, leaving the seams black.

S-3.2 The skull on the Powerfist was painted the same way as in S-1.4 b). The Maltese cross was painted the sameway as in S-1.4 c). As in painting the chains of the Boltpistol arm, I painted the chains of the Powerfist with MithrilSilver. The pipes and wires were painted with Dark Flesh, drybrushed with Blood Red and carefully overbrushed withFiery Orange mixed with a little bit of Blood Red. Then, they were washed with Chestnut Ink, making the seamsdarker. I highlighted the Powerfist using the same technique as in highlighting the black Power Armor (sorry for the
blue-ish picture).
Stage 4 – Helmet
S-4.1 The pipes on the face were painted with Dark Flesh and highlighted with Blood Red followed by a mixture ofFiery Orange and Blood Red. The eyes were also painted in the same manner, except that I added a small dot ofSkull White on each of them to exhibit light reflection.
Stage 5 – Tabard
S-5.1 This is a little more complicated. Apologies. I skip this for a moment as I’ll be looking for another tabard todemonstrate this.
Stage 6 – Base and Finishing
S-6.1 This was simple. It was covered with glued sand and painted with a coat of Chaos Black. When it dried, Idrybrushed the sand with Space Wolves Grey. Then, I glued two layer of modeling snow at several random spots onthe sand. In the end, I added two pockets made of one large pocket cut into two to reflects any extra equipment oradd on he carries in a battle. Lastly, I painted some area where I touch the most when holding the figure with MattVarnish.
Finished Initiate
"NO PITY, NO REMORSE, NO FEAR!"