spicing up your lectures with powerpoint! presented by: marcy satterwhite
TRANSCRIPT

Spicing Up Your Spicing Up Your Lectures with Lectures with PowerPoint!PowerPoint!
Presented By:Presented By:
Marcy SatterwhiteMarcy Satterwhite

Background ColorsBackground Colors
First Decide if you are going to print First Decide if you are going to print overheads or project your presentationoverheads or project your presentation
If you are going to project:If you are going to project:– Use a dark background with light textUse a dark background with light text– Or light background with dark textOr light background with dark text
If you are going to print out overheads:If you are going to print out overheads:– Use a plain background with dark textUse a plain background with dark text
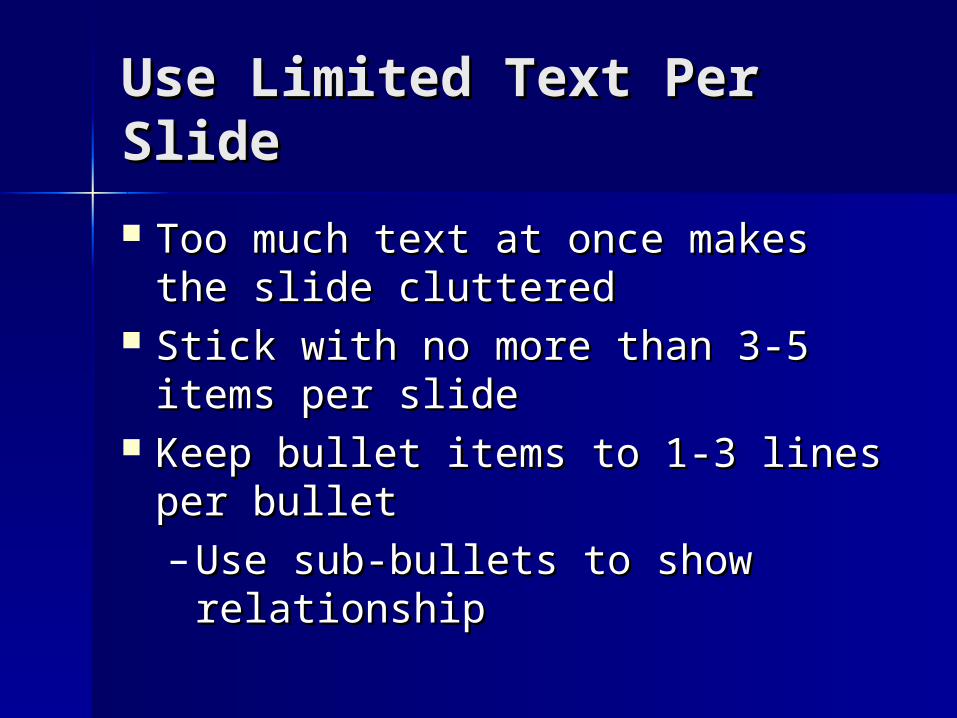
Use Limited Text Per Use Limited Text Per SlideSlide
Too much text at once makes the Too much text at once makes the slide clutteredslide cluttered
Stick with no more than 3-5 items Stick with no more than 3-5 items per slideper slide
Keep bullet items to 1-3 lines per Keep bullet items to 1-3 lines per bulletbullet– Use sub-bullets to show Use sub-bullets to show
relationshiprelationship

Using Proper Font Using Proper Font Type & SizeType & Size
Be sure the text is easy to readBe sure the text is easy to read– Use a Sans Serif Use a Sans Serif (without decorations)(without decorations)
font like Arial or Tahomafont like Arial or Tahoma– Serif fonts can be unreadableSerif fonts can be unreadable
Be sure the text size is readable Be sure the text size is readable from the back of the roomfrom the back of the room– Defaults can be changed on the Defaults can be changed on the
master slidemaster slide

The Master SlideThe Master Slide
Changing the Slide Master changes Changing the Slide Master changes ALL slides in the presentation.ALL slides in the presentation.1. Click on the View Menu1. Click on the View Menu2. Point at Master & then Slide 2. Point at Master & then Slide
MasterMaster3. Select the piece to be changed3. Select the piece to be changed4. Close the Slide Master View4. Close the Slide Master View
You can change fonts, sizes, colors, You can change fonts, sizes, colors, and many other items this wayand many other items this way

Adding Slide TransitionsAdding Slide Transitions
Transitions are how one slide is Transitions are how one slide is taken away and replaced by taken away and replaced by anotheranother
1. Click on the Slide Show menu1. Click on the Slide Show menu
2. Choose Slide Transition (the 2. Choose Slide Transition (the slide transition window appears)slide transition window appears)
3. Select what you want & choose 3. Select what you want & choose “Apply to all slides”“Apply to all slides”

Adding Text AnimationAdding Text Animation
Animating your text makes it Animating your text makes it easier for students to follow your easier for students to follow your lecturelecture
You can have each bullet come in You can have each bullet come in one at a timeone at a time
You can also coordinate screen You can also coordinate screen capture examples with the itemcapture examples with the item

Example Text: No Example Text: No AnimationAnimation
Text with no animation can be Text with no animation can be overwhelming to the student.overwhelming to the student.
The words tend to blur together The words tend to blur together and the student gets lost.and the student gets lost.
Students tend to read everything Students tend to read everything that is put in front of them and that is put in front of them and may ignore what the instructor is may ignore what the instructor is saying.saying.

Example: With AnimationExample: With Animation
Make each bulleted item appear Make each bulleted item appear individuallyindividually
Text will be easier for the student Text will be easier for the student to followto follow
Students will not be tempted to Students will not be tempted to read aheadread ahead

To Animate TextTo Animate Text
Type your text on each slide firstType your text on each slide first You can either apply the same You can either apply the same
animation to Every slide or animation to Every slide or animate each slide individually.animate each slide individually.
Quickest is to apply same Quickest is to apply same animation to Every slide.animation to Every slide.– You may have to You may have to
add some customadd some customanimation lateranimation later

To Animate Every SlideTo Animate Every Slide
1. Click on the “Slide Show” menu1. Click on the “Slide Show” menu
2. Choose “Animation Schemes”2. Choose “Animation Schemes”
(The slide design (The slide design frame appears)frame appears)
3. Pick an animation3. Pick an animation
4. Click the “Apply to All Slides” 4. Click the “Apply to All Slides” buttonbutton

Custom Animation on Custom Animation on Certain SlidesCertain Slides
If you have picked an animation If you have picked an animation scheme, but want to “custom scheme, but want to “custom animate” certain slidesanimate” certain slides
You MUST first go back You MUST first go back into “animation schemes”into “animation schemes”– and pick “no animation” for and pick “no animation” for
each text box you want toeach text box you want to “custom animate” “custom animate”

To Animate Text on To Animate Text on Slides IndividuallySlides Individually
1. Go back to each slide you wish to 1. Go back to each slide you wish to animate & click on the text box animate & click on the text box you want to animate to activate ityou want to animate to activate it
2. Click on the “Slide Show” menu2. Click on the “Slide Show” menu
3. Choose “Custom Animation” 3. Choose “Custom Animation” (the custom animation (the custom animation window opens)window opens)

. . . Animate Text . . . Animate Text ContinuedContinued
4. Click “Add Effect” in the 4. Click “Add Effect” in the animation windowanimation window
5. Pick a category 5. Pick a category (usually Entrance) (usually Entrance)
6. Pick an effect 6. Pick an effect (you will see a preview)(you will see a preview)
If you don’t like it, choose a If you don’t like it, choose a different one. Don’t double different one. Don’t double effects-Use Removeeffects-Use Remove

Animate Text ConcludedAnimate Text Concluded
After adding an effect, you can After adding an effect, you can specify a few other thingsspecify a few other things
Click the down arrow next Click the down arrow next to the item you animatedto the item you animated– You can adjust how You can adjust how
subtext appearssubtext appears– Effect OptionsEffect Options– Timings, etc.Timings, etc.
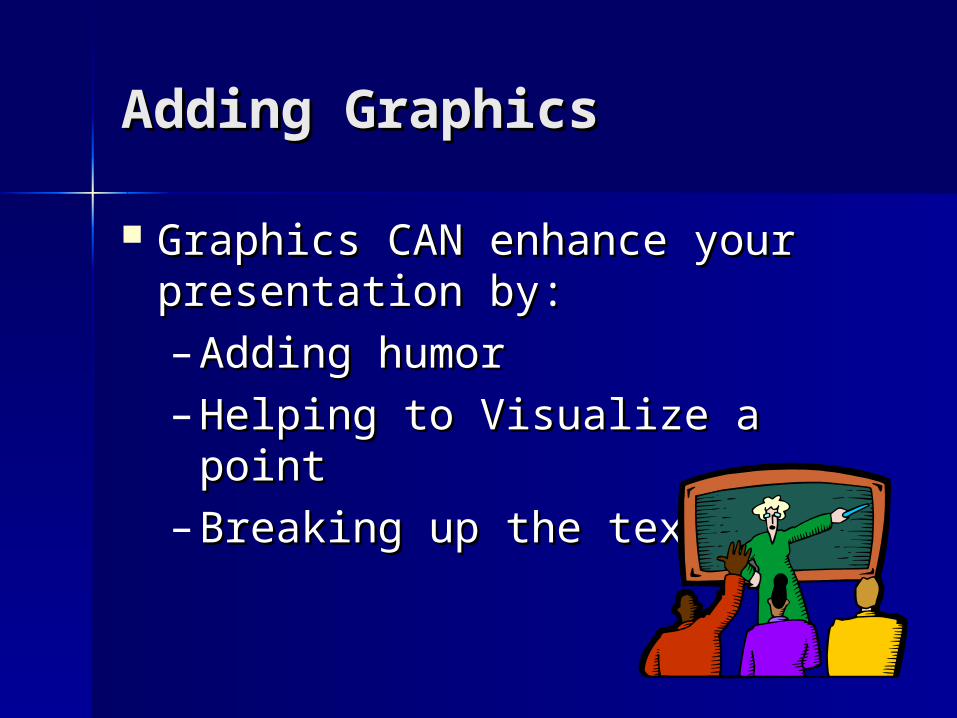
Adding GraphicsAdding Graphics
Graphics CAN enhance your Graphics CAN enhance your presentation by: presentation by: – Adding humorAdding humor– Helping to Visualize a pointHelping to Visualize a point– Breaking up the textBreaking up the text
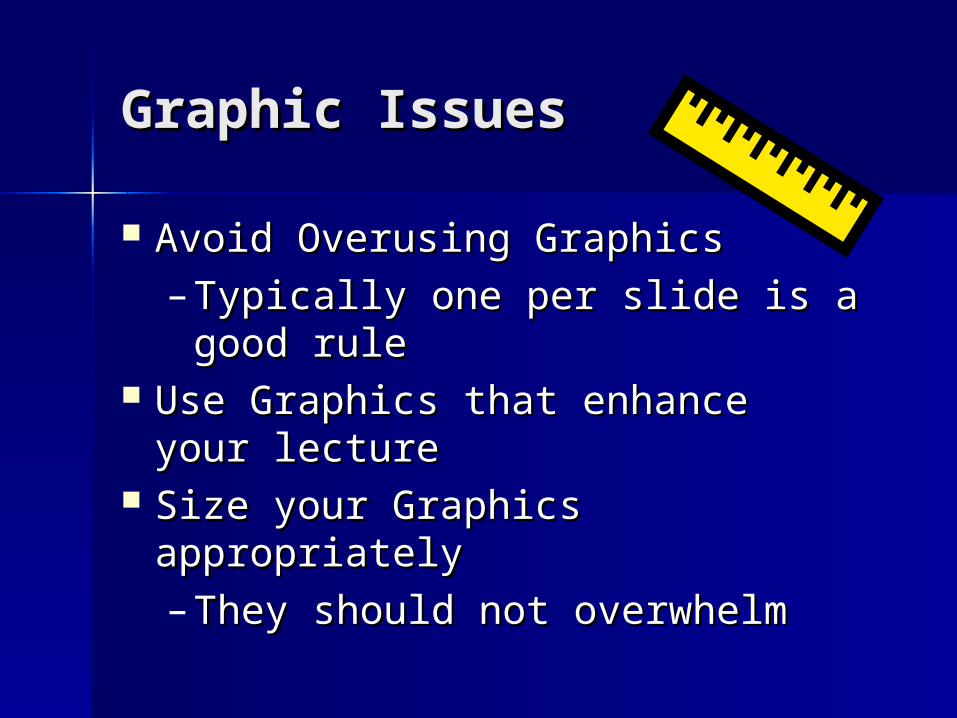
Graphic IssuesGraphic Issues
Avoid Overusing GraphicsAvoid Overusing Graphics– Typically one per slide is a good Typically one per slide is a good
rulerule Use Graphics that enhance Use Graphics that enhance
your lectureyour lecture Size your Graphics appropriatelySize your Graphics appropriately
– They should not overwhelmThey should not overwhelm

To Add GraphicsTo Add Graphics
1. Click on the “Insert” menu1. Click on the “Insert” menu
2. Point at “Picture”2. Point at “Picture”
3. Choose “clip art” (the 3. Choose “clip art” (the Insert Clip Art Frame Opens)Insert Clip Art Frame Opens)
-or- “from file” if you have -or- “from file” if you have something on disksomething on disk

. . . Adding Graphics . . . Adding Graphics Cont.Cont.
4. Type a topic to search 4. Type a topic to search for in the “Search Text” for in the “Search Text” box & click “Search”box & click “Search”
5. If you don’t get desired 5. If you don’t get desired results, click the results, click the “Modify” button at the “Modify” button at the bottom and try bottom and try something elsesomething else
6. Click on the picture to 6. Click on the picture to insert it.insert it.

. . . Adding Graphics . . . Adding Graphics Cont.Cont.
The Program may change your The Program may change your existing text size to accommodate existing text size to accommodate the picturethe picture
To change it back clickTo change it back clickthe box with the lightening the box with the lightening and choose “undo automatic layout”and choose “undo automatic layout”
Move/resize the graphic as you wishMove/resize the graphic as you wish

Animating GraphicsAnimating Graphics
Animating your graphics can Animating your graphics can spice up your presentationspice up your presentation
You can have graphics You can have graphics appear with the appear with the corresponding piece of textcorresponding piece of text
You can also coordinate screen You can also coordinate screen capture examples with the text as capture examples with the text as mentioned earliermentioned earlier
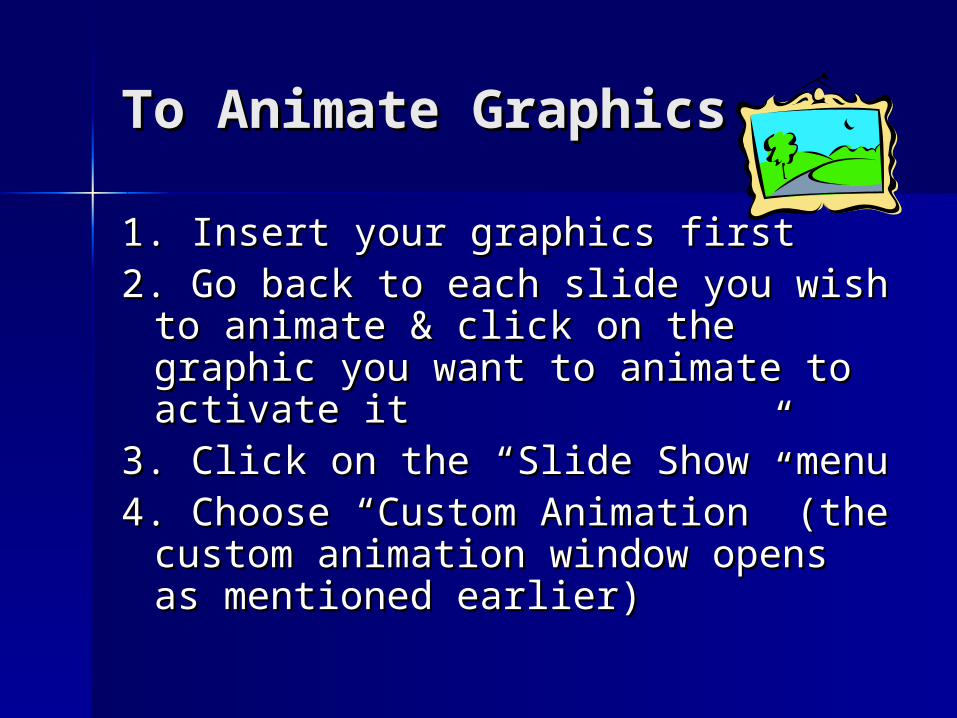
To Animate GraphicsTo Animate Graphics
1. Insert your graphics first1. Insert your graphics first2. Go back to each slide you wish to 2. Go back to each slide you wish to
animate & click on the graphic animate & click on the graphic you want to animate to activate ityou want to animate to activate it
3. Click on the “Slide Show” menu3. Click on the “Slide Show” menu4. Choose “Custom Animation” (the 4. Choose “Custom Animation” (the
custom animation window opens custom animation window opens as mentioned earlier)as mentioned earlier)
. . . Animating Graphics . . . Animating Graphics ContinuedContinued
5. Click “Add Effect” in the animation 5. Click “Add Effect” in the animation windowwindow
6. Pick a category (usually Entrance) 6. Pick a category (usually Entrance)
7. Pick an effect (you will see a sample)7. Pick an effect (you will see a sample)– If you don’t like the effect, choose a If you don’t like the effect, choose a
different one.different one.– Make sure you don’t double effectsMake sure you don’t double effects
Animating Graphics Animating Graphics ConcludedConcluded
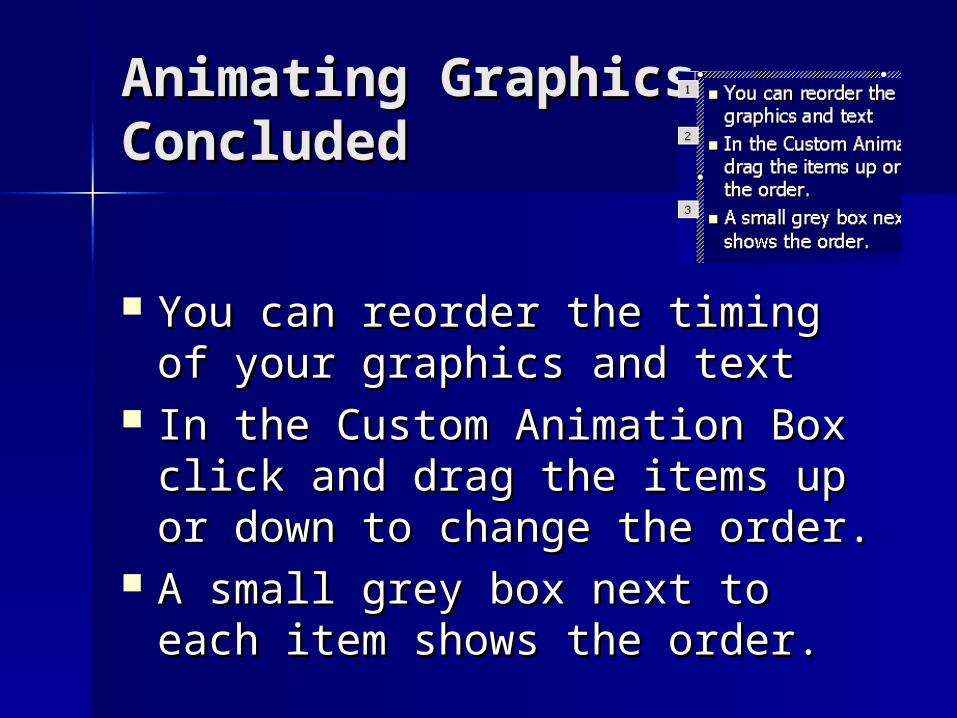
You can reorder the timing of You can reorder the timing of your graphics and textyour graphics and text
In the Custom Animation Box click In the Custom Animation Box click and drag the items up or down to and drag the items up or down to change the order.change the order.
A small grey box next to each A small grey box next to each item shows the order.item shows the order.

ConclusionConclusion
PowerPoint gives you dozens of PowerPoint gives you dozens of options for animating text and options for animating text and graphics.graphics.
Experiment and see which ones Experiment and see which ones you like and are quickest to applyyou like and are quickest to apply