univerge sv8100 - eci · univerge sv8100 web administrator guide . ... webpro is the interface of...
TRANSCRIPT

Univerge
SV8100 Web
Administrator
Guide

Your Information
IP Address:_____________________
User Name:____________________
Password:______________________

Logging in to WebPro
WebPro is the interface of your phone system used for programming changes. Your system IP, login and password would have been provided to you at the time of installation. To log in to Webpro do the following: 1. Open your web browser 2. Type in the IP Address of your phone system in the address bar 3. At the login screen enter the Username and Password
4. Press Enter 5. On the SV8100 hope page click the System Data icon to enter system
programming

System Programming Overview
After clicking on the System Data icon, the page above will be shown. From here all system programming is performed. The categorization links on the left hand column separates settings into System Data items called ‘PRGs’. PRGs are identified by their ID and name. The ID and name indicate what settings the System Data is related to. The following pages describe the PRGs that are available. NOTE: Due to different system configurations your login ID may allow more PRGs to be changed then is noted in this guide. Once finished your programming session, click the Home icon, followed by the Logout icon to permanently save the changes

Changing the System Date and Time
PRG 10-01: Time and Date Setup After clicking the System Data icon, this PRG will be immediately displayed. This allows the user to change the system time and date, which will also change the time and date displayed on ALL digital display phones, IP phones, Softphones, etc.
PRG 10-01-01: Changes the Year PRG 10-01-02: Changes the Month PRG 10-01-03: Changes the Day PRG 10-01-04: Changes the Hour PRG 10-01-05: Changes the Minutes PRG 10-01-06: Changes the Seconds NOTE: The time is set in 24h format
Changing Daylight Savings Options
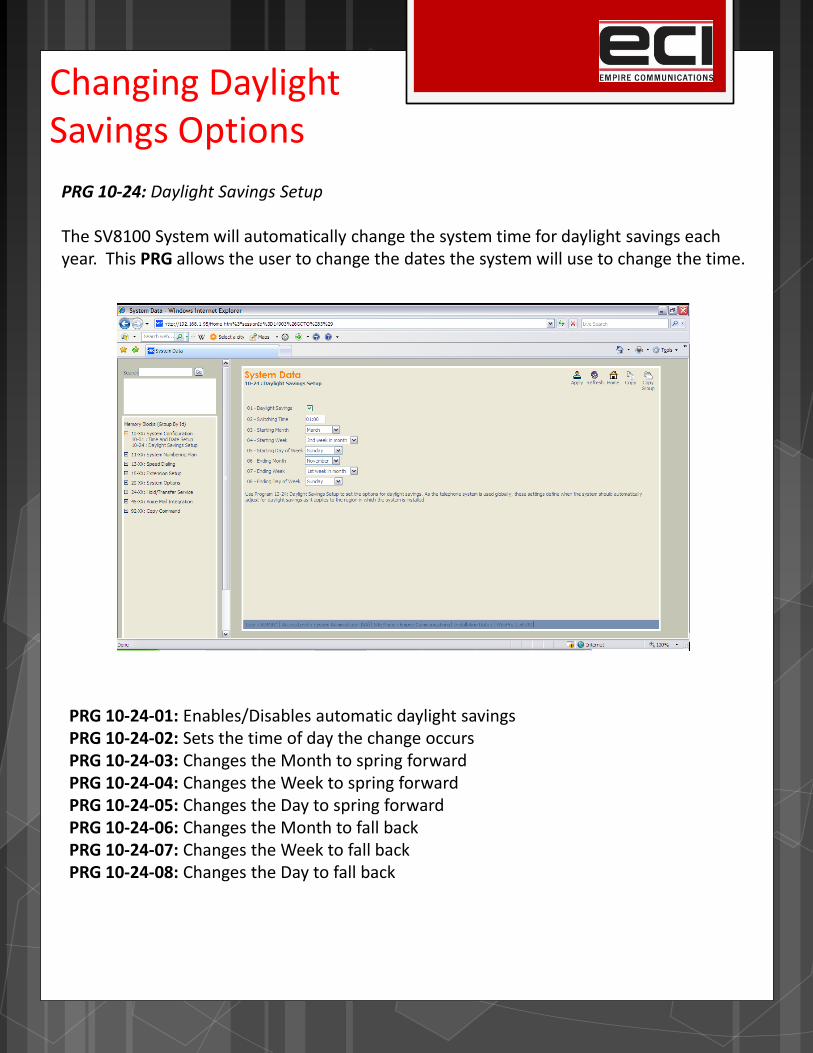
PRG 10-24: Daylight Savings Setup The SV8100 System will automatically change the system time for daylight savings each year. This PRG allows the user to change the dates the system will use to change the time.
PRG 10-24-01: Enables/Disables automatic daylight savings PRG 10-24-02: Sets the time of day the change occurs PRG 10-24-03: Changes the Month to spring forward PRG 10-24-04: Changes the Week to spring forward PRG 10-24-05: Changes the Day to spring forward PRG 10-24-06: Changes the Month to fall back PRG 10-24-07: Changes the Week to fall back PRG 10-24-08: Changes the Day to fall back

Setting Up System Speed Dials
PRG 13-04: Speed Dialing Number and Name This PRG sets up the Telephone Numbers and Names to be used in your System Speed Dial. NOTE: Only the first two columns are required to set up the System Speed Dial
Dial Data – Enter the telephone number. e.g. 5196249134 (9, and - “dashes” are not required) Name – Enter a name to the speed dial (Up to 12 characters)

Changing Extension Names and Buttons
PRG 15-01: Basic Extension Setup
Defines the basic settings for each extension, PRG 15-01-01 is the only PRG that should
be changed on this page.
1. Select the extension you wish to change from the drop-down menu at the top right
corner.
2. Enter any characters, up to 12
3. Click on apply to save changes

PRG 15-07: Function Keys Program Function Keys to assign functions to an extensions line keys. The most common are a Headset button, DND button, Call Forward button and a DSS/One Touch button which allow you to see when extensions are in use. NOTE: In order to clear any previously programmed keys, enter 000 to erase any display code 1. Select the extension you wish to change from the drop down menu 2. Select the button you wish to change NOTE: To change to the next row of 16 buttons, click on the blue arrow beside the extension drop down menu. Each extension can have up to 48 buttons, but based on the type of phone connected, you may not be able to use all buttons. 3. Select the feature you wish to program to that button 4. Enter any additional data (if necessary) in the Additional Data field (i.e. Ext. Numbers and Trunk Numbers) NOTE: Not all features require additional data.

Calls won’t go to Voicemail
PRG 24-09: Call Forwarding Fixed Settings If an extension continuously rings and doesn’t go to voicemail, check the following PRGs 24-09-01: Should be set to Call Forward Busy/No Answer 24-09-02: Should be set to the Voice mail extension number (Usually Ext. 300) 24-09-03: Should be set to the Voice mail extension number (Usually Ext. 300) 24-09-04: Should be set to the Voice mail extension number (Usually Ext. 300) 24-09-05: Should be set to the Voice mail extension number (Usually Ext. 300) 24-09-06: Should be left blank 24-09-07: Should be left blank All extensions (Unless changed by an ECI technician) should look like the following:

Set Relocation (Extension Swapping)
Set relocation allows an extension to be moved from one location to another, without having to reprogram the extension data. The extensions features and extension number are the same after it is moved to the new location. From the extension that is to be moved: 1. Press the Speaker key 2. Dial 798 3. Dial the Password (1234) 4. Dial the extension number to be swapped with or relocated to 5. When successfully completed, a confirmation tone will be heard and the display will read completed 6. Press the Speaker key twice to exit
ECI Helpdesk
If you have any questions or need assistance with any of the programming seen in this guide please do not hesitate to contact the ECI helpdesk at:
1-888-330-6775 and press 1 for service or