collide-3 avm
DESCRIPTION
COLLIDE-3 AVM. Walter Castellon CpE & EE Mohammad Amori CpE Josh Steele CpE Tri Tran CpE Sponsored by: Dr. Josh Colwell. Background. Planetesimal to Protoplanet to Planet is well understood Have gravitational forces Prior to this stage is still unclear - PowerPoint PPT PresentationTRANSCRIPT
COLLIDE-3 AVMWalter Castellon CpE & EE
Mohammad Amori CpEJosh Steele CpE
Tri Tran CpE
Sponsored by:Dr. Josh Colwell
Background
Planetesimal to Protoplanet to Planet is well understood Have gravitational forces
Prior to this stage is still unclear How do the particles stick together?
High velocity vs Low velocity impacts Do they hold the key?
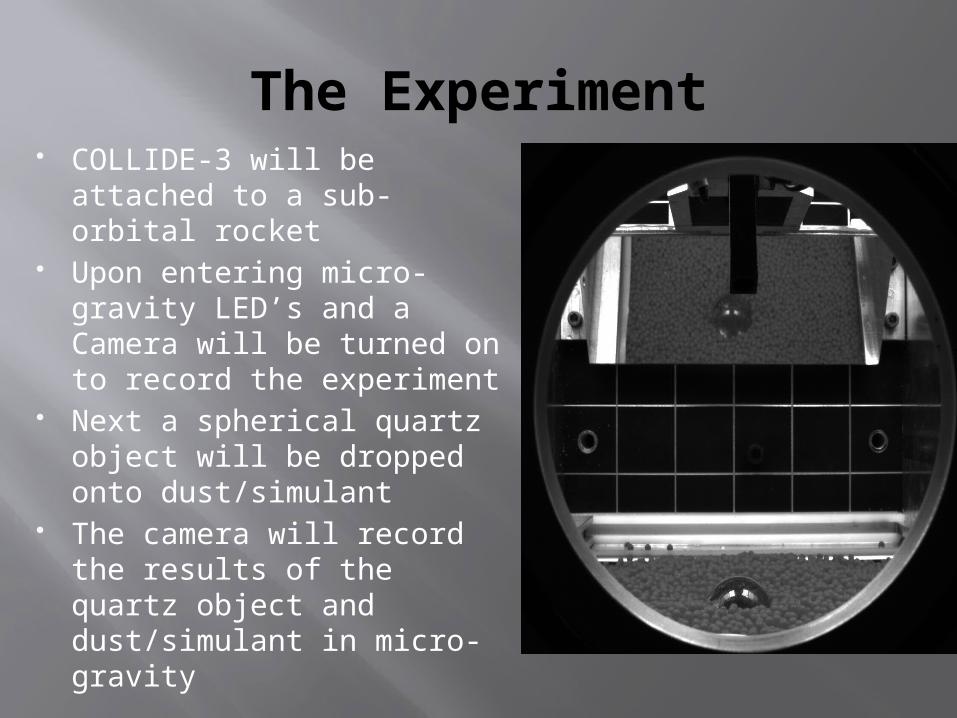
The Experiment COLLIDE-3 will be
attached to a sub-orbital rocket
Upon entering micro-gravity LED’s and a Camera will be turned on to record the experiment
Next a spherical quartz object will be dropped onto dust/simulant
The camera will record the results of the quartz object and dust/simulant in micro-gravity
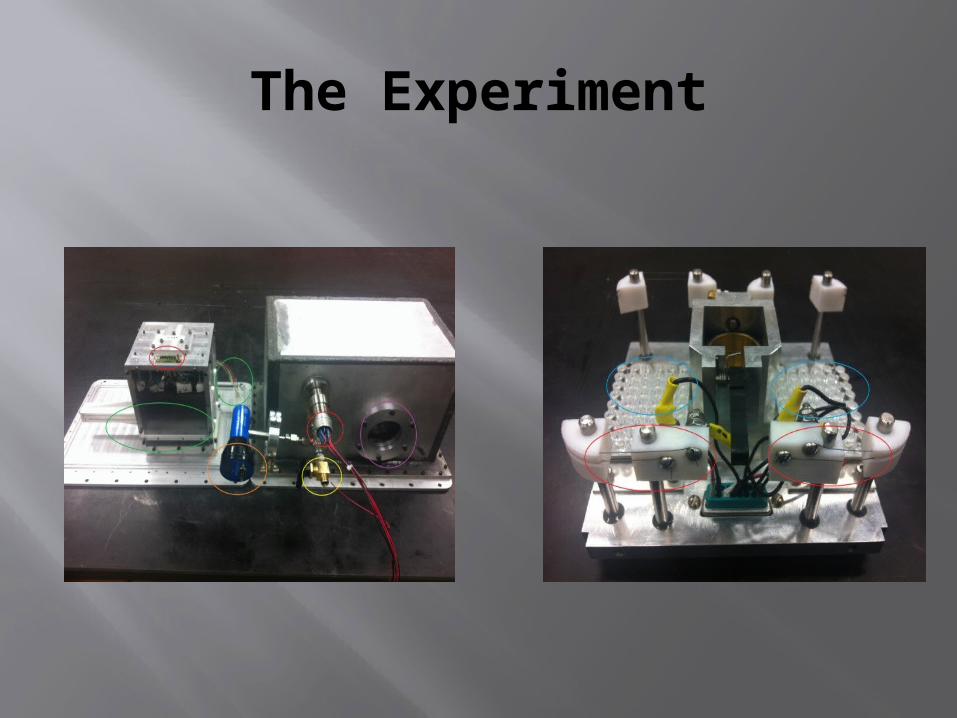
The Experiment
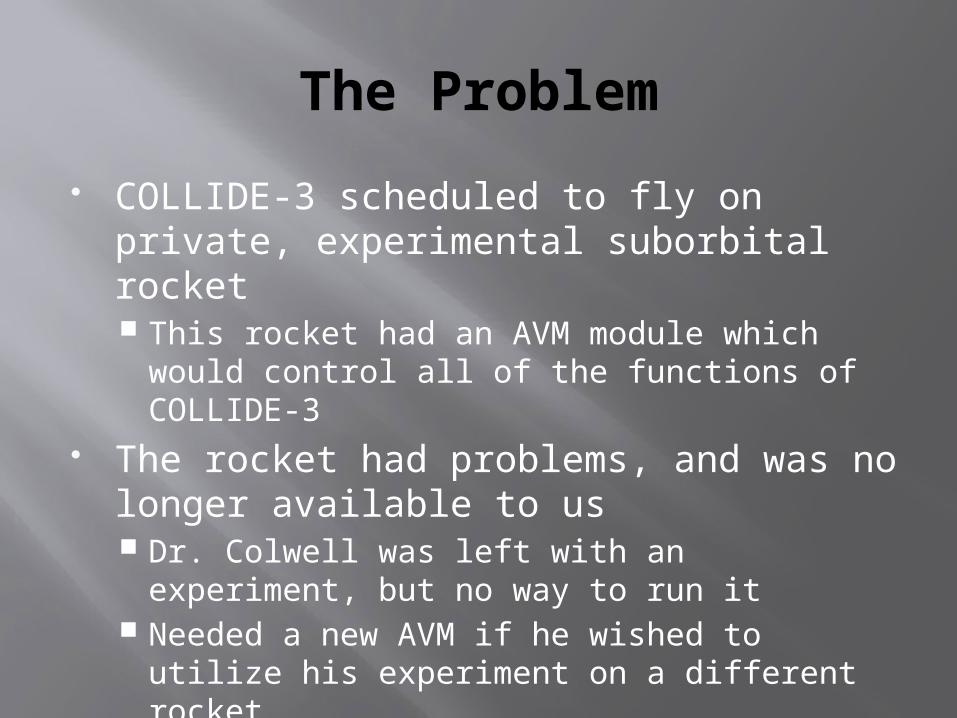
The Problem
COLLIDE-3 scheduled to fly on private, experimental suborbital rocket This rocket had an AVM module which would
control all of the functions of COLLIDE-3 The rocket had problems, and was no
longer available to us Dr. Colwell was left with an experiment, but no
way to run it Needed a new AVM if he wished to utilize his
experiment on a different rocket.
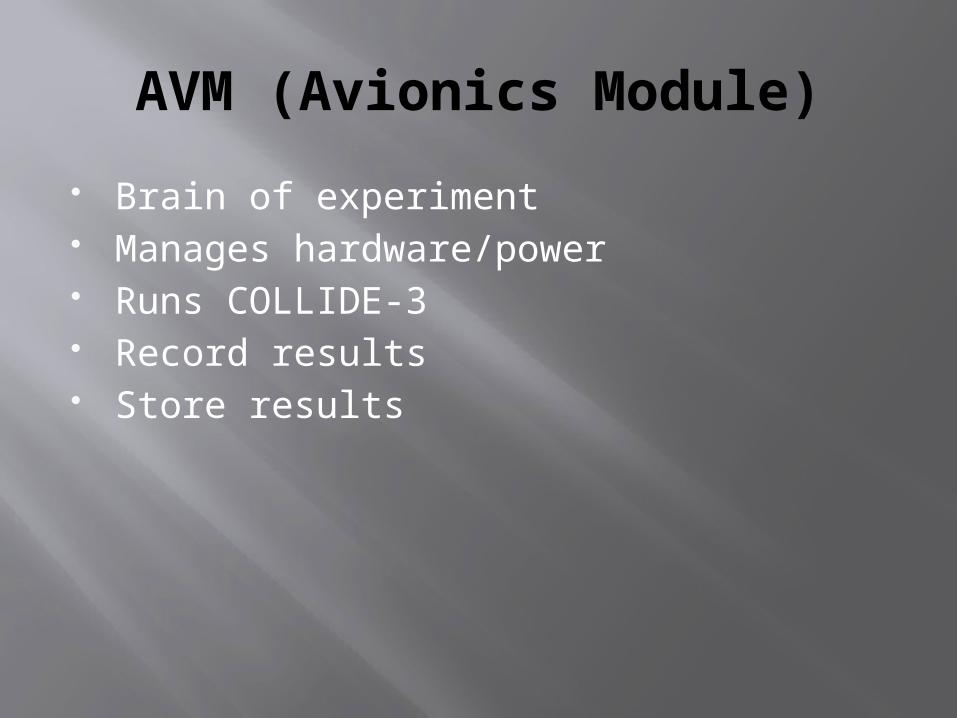
AVM (Avionics Module)
Brain of experiment Manages hardware/power Runs COLLIDE-3 Record results Store results
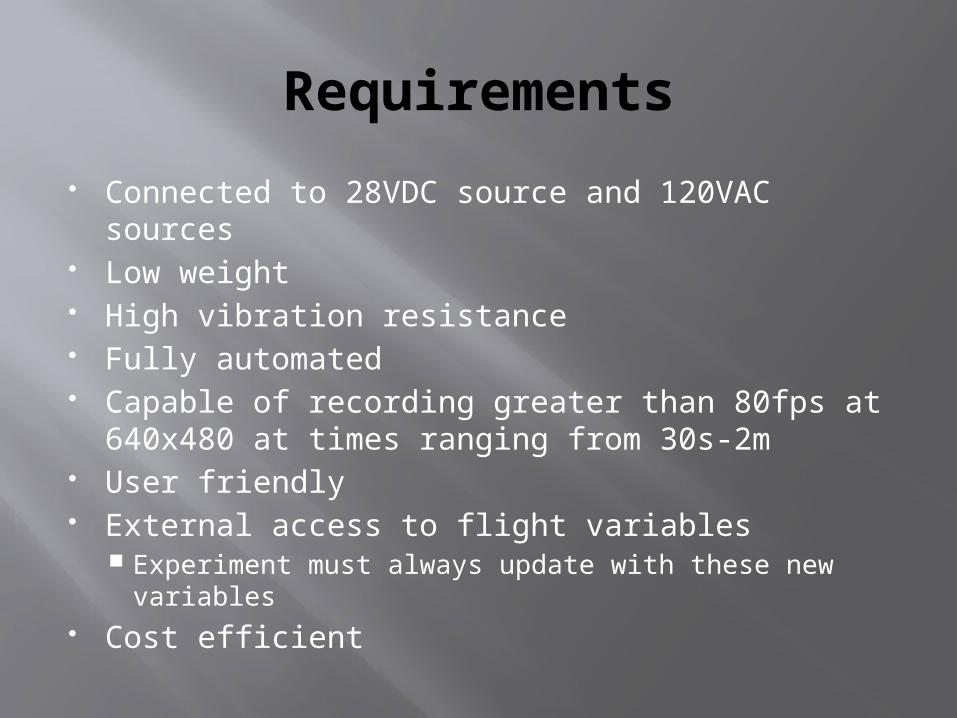
Requirements
Connected to 28VDC source and 120VAC sources Low weight High vibration resistance Fully automated Capable of recording greater than 80fps at
640x480 at times ranging from 30s-2m User friendly External access to flight variables
Experiment must always update with these new variables
Cost efficient
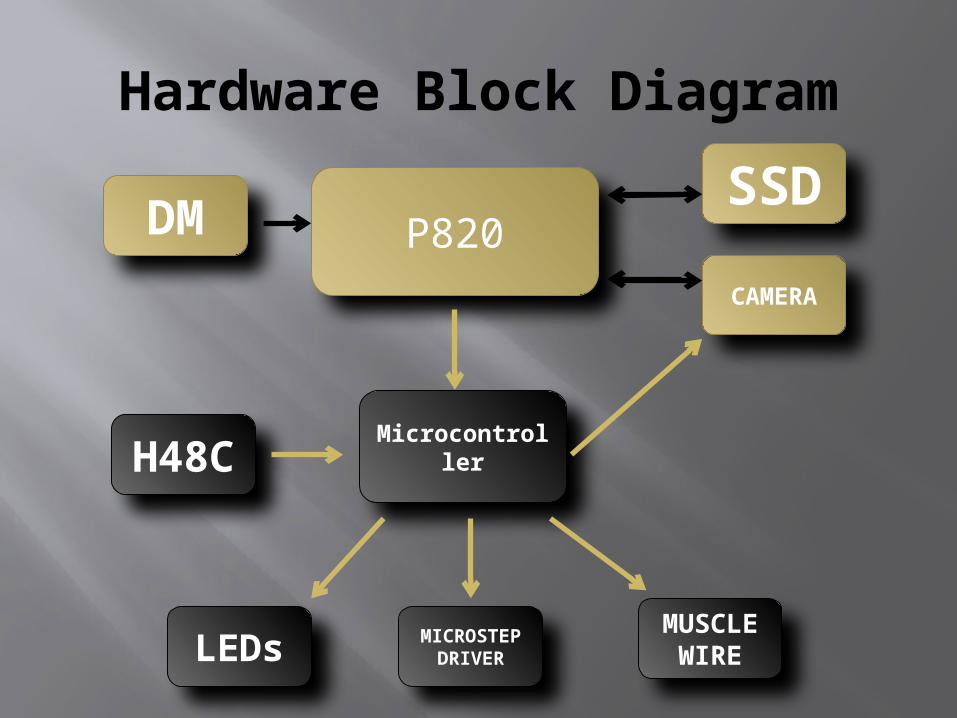
Hardware Block Diagram
Microcontroller
DM
CAMERA
SSDP820
MICROSTEP DRIVER
H48C
LEDsMUSCLE WIRE

AVM Components
EPIA P820-12 embedded board Microcontroller Camera LEDs Solid State Drive Accelerometer Display Module Stepper Motor Micro-step driver Muscle wire Wireless Comm
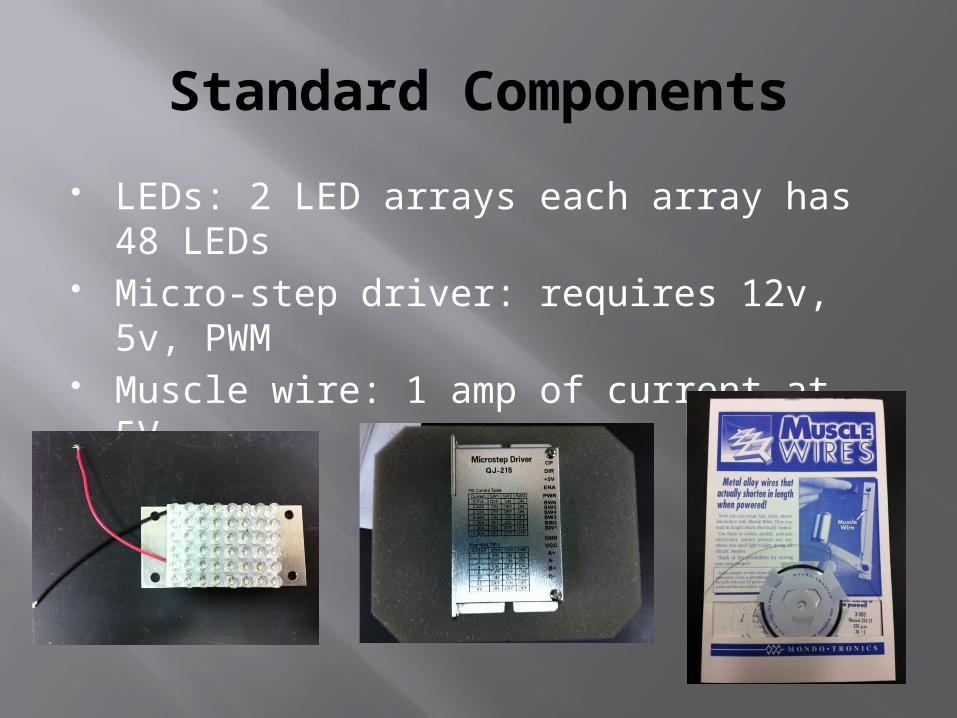
Standard Components
LEDs: 2 LED arrays each array has 48 LEDs
Micro-step driver: requires 12v, 5v, PWM
Muscle wire: 1 amp of current at 5V

Camera
AVM will be able to support both industrial and consumer cameras
SVSI “Stream View-LR” and GoPro “HD Hero”
GoPro is a consumer camera used during initial experiments to reduce financial loss in case of rocket failure
SVSI is an industrial camera that will be used more often in the long run
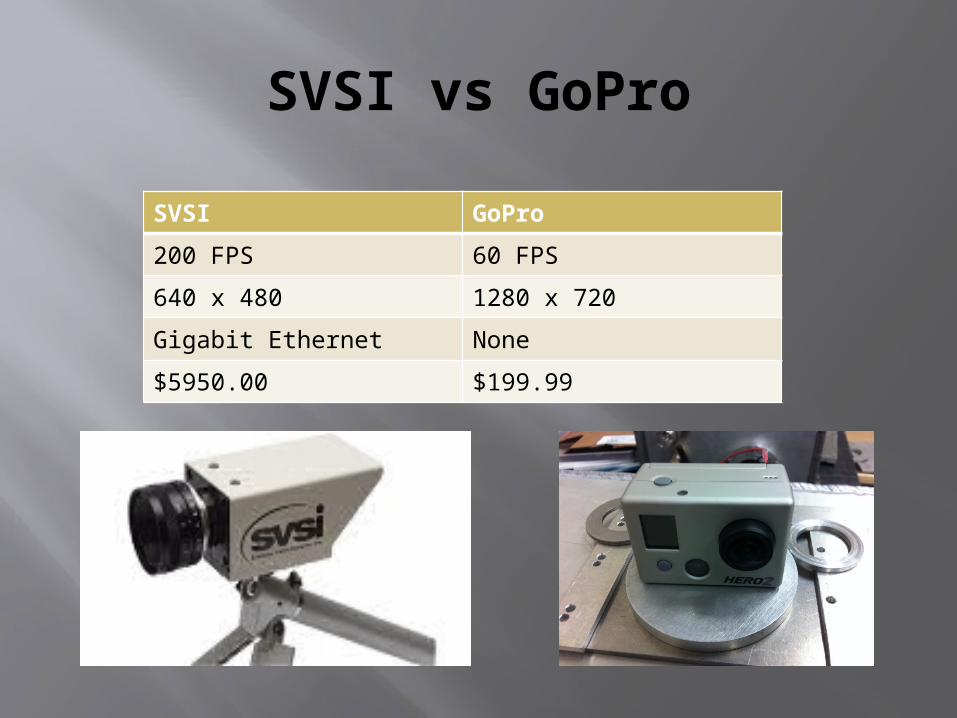
SVSI vs GoPro
SVSI GoPro
200 FPS 60 FPS
640 x 480 1280 x 720
Gigabit Ethernet None
$5950.00 $199.99
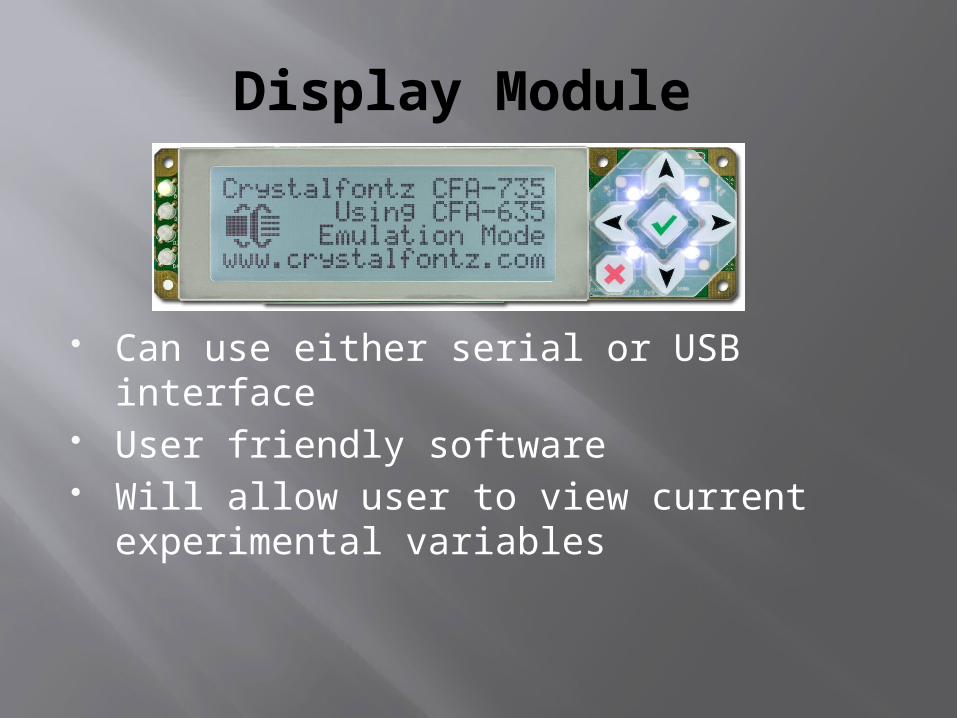
Display Module
Can use either serial or USB interface
User friendly software Will allow user to view current
experimental variables
Display Menu
Displays all experimental variables Delay after microgravity Delay to record Recording duration
Updates every 1 second
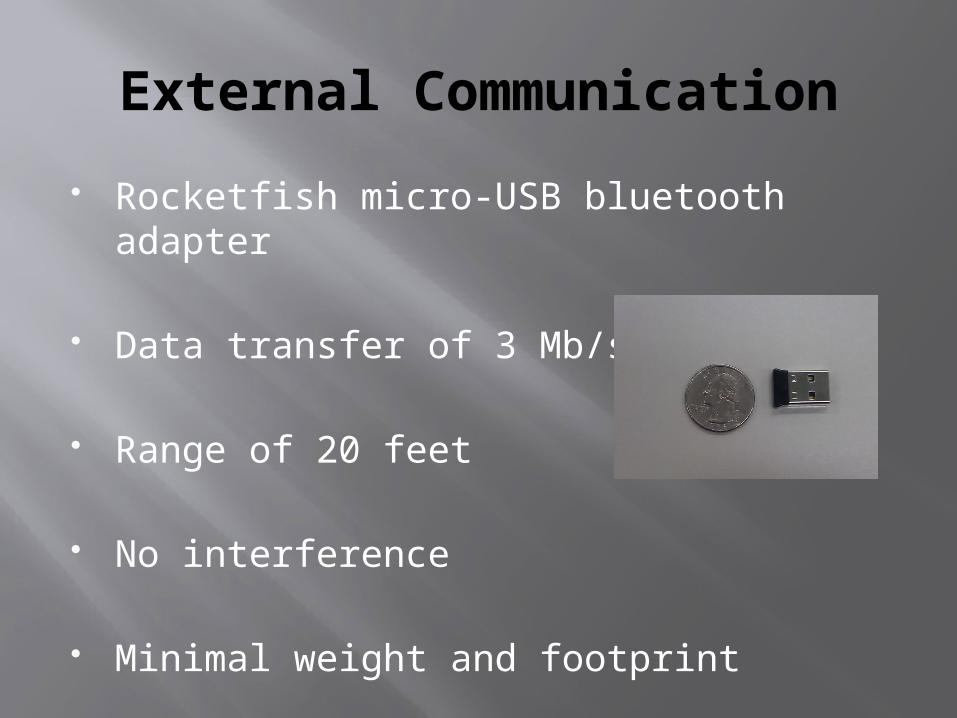
External Communication
Rocketfish micro-USB bluetooth adapter
Data transfer of 3 Mb/s
Range of 20 feet
No interference
Minimal weight and footprint
Wireless Access (via BT)
Supported by: Windows XP, Vista, 7 MAC OS 10.4 and later
Default shared folder is AtMega code Variables will be top 3 lines for ease of
access Copy file locally make changes copy
back to shared folder
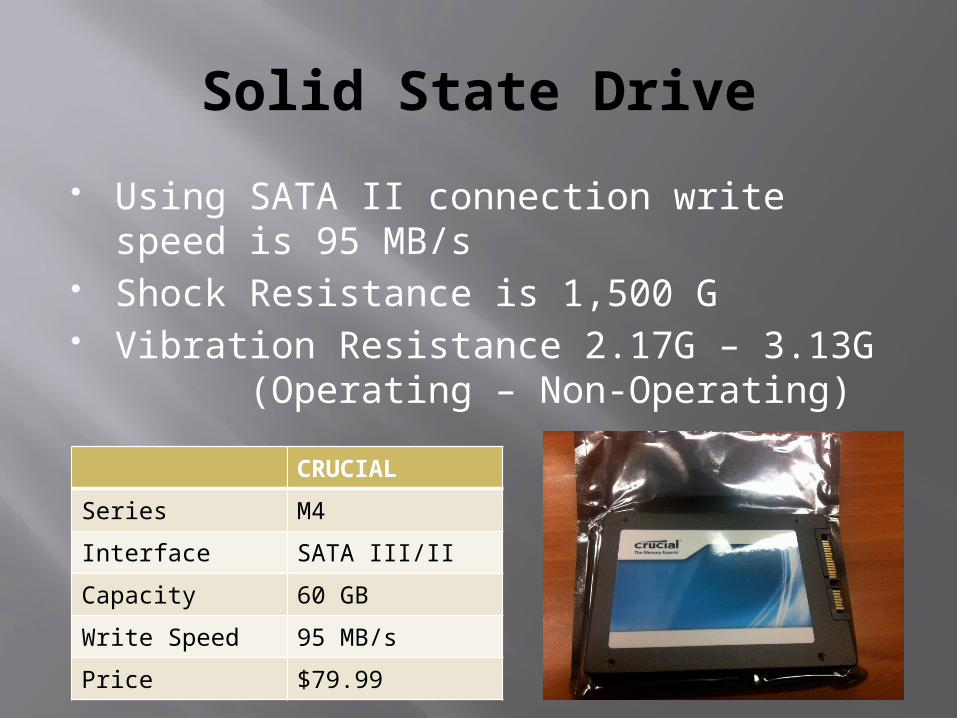
Solid State Drive
Using SATA II connection write speed is 95 MB/s
Shock Resistance is 1,500 G Vibration Resistance 2.17G – 3.13G
(Operating – Non-Operating)
CRUCIAL
Series M4
Interface SATA III/II
Capacity 60 GB
Write Speed 95 MB/s
Price $79.99

Accelerometer
Parallax H48C 3-axis readings Unfortunately, support is for
PBASIC language Need conversion for ATMega
Reads in voltage outputs from each axis and converts into a G-rating using the following forumula: G = ((axis – vRef) / 4095) x (3.3 / 0.3663)
Our code must do this conversion
Accelerometer – False Positives
Pins can sometimes falsely detect G-levels
Costly mistake that needs to be protected against Will have counter loop that continuously
checks flag every .4ms If pin consistently reads zero gravity for set
amount of time, it is not a false positive, and experiment can proceed
EPIA P80-12
Hosts the experimental code and the variables that can be changed externally.
Uploads procedure code to the microcontroller
Activates recording for the camera
Handles high speed image transfers from the camera
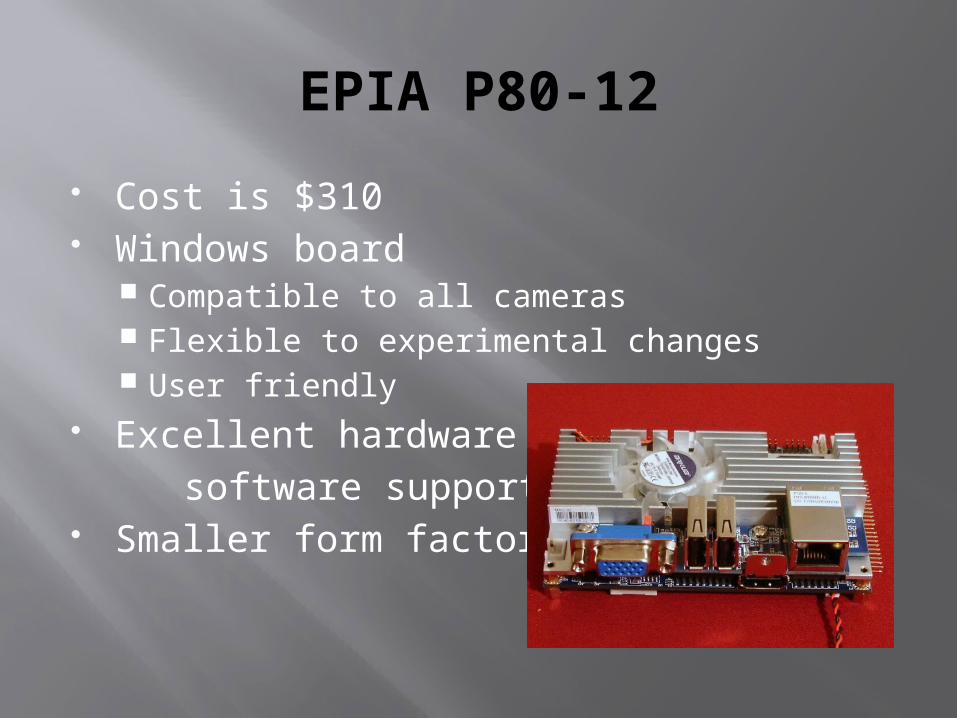
EPIA P80-12
Cost is $310 Windows board
Compatible to all cameras Flexible to experimental changes User friendly
Excellent hardware and software support Smaller form factor
Microcontroller
Stores experimental variables and procedure
Reads in microgravity mode from accelerometer
Utilizes relays to activate COLLIDE-3 components
Communicates with EPIA P820-12 to power on camera

ATMega328
6 dedicated PWM lines Small footprint Meets basic requirements
I/O pins Memory (RAM, EEPROM) Serial/USB pins
Larger support base C language (all members familiar) Familiarity
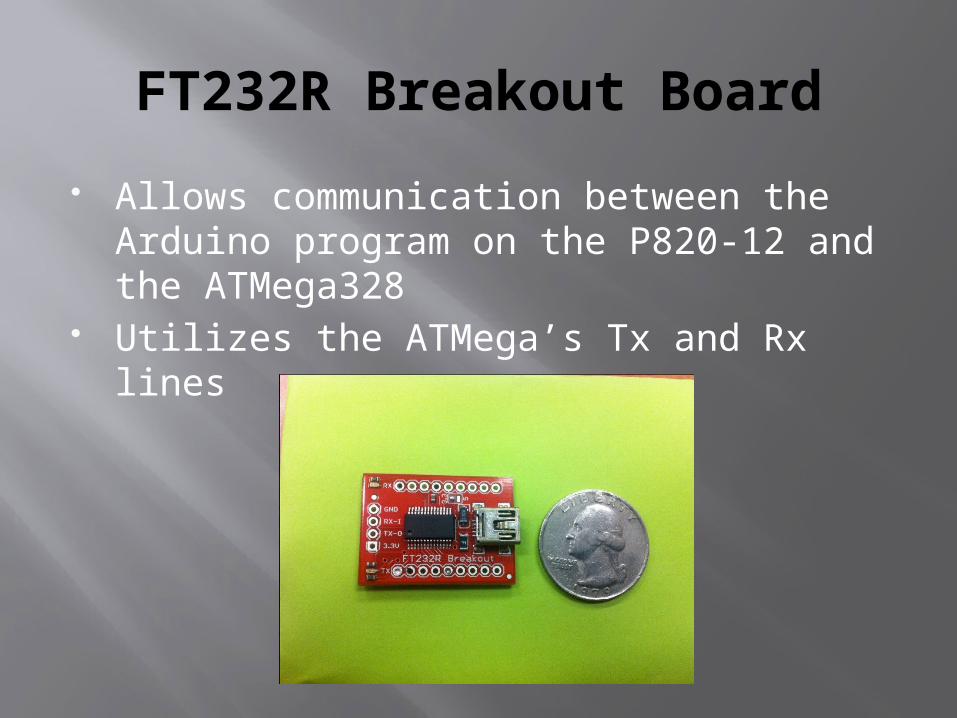
FT232R Breakout Board
Allows communication between the Arduino program on the P820-12 and the ATMega328
Utilizes the ATMega’s Tx and Rx lines
Power Conversion
Rocket will only provide standard AC sources and a 28V DC power supply
Our components take 5,6, and 12 volts 12V: Microstep VCC, LEDs 6V: Microstep input, muscle wire 5V: ATMega328
Will utilize DC-DC converters and regulators to convert the 28V to usable levels
EC7A-24S12
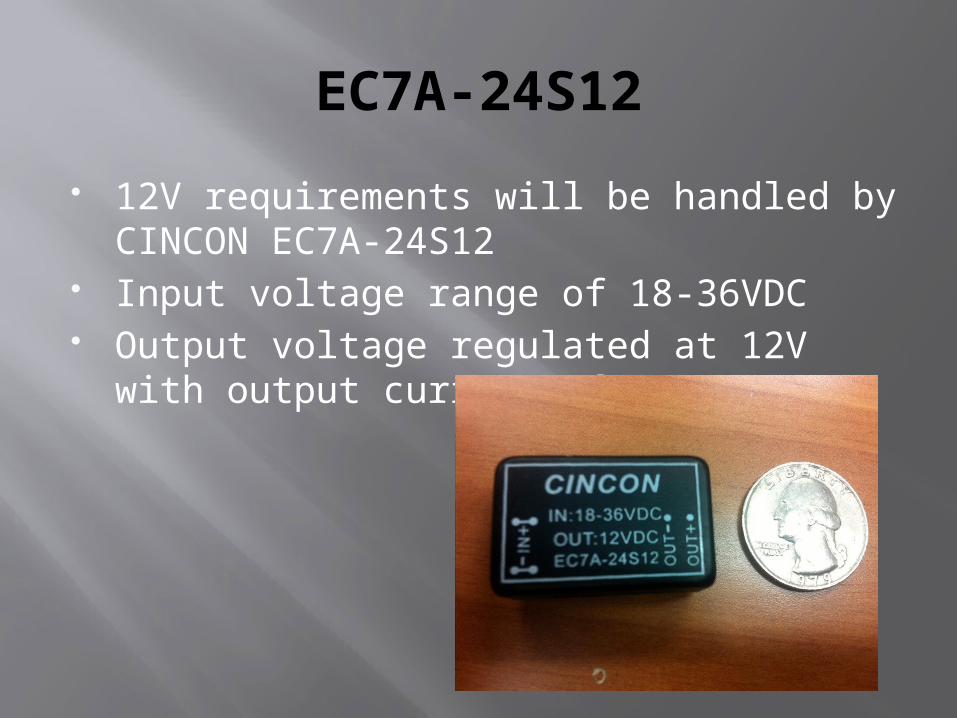
12V requirements will be handled by CINCON EC7A-24S12
Input voltage range of 18-36VDC Output voltage regulated at 12V with
output current of 835mA
PT78ST106H
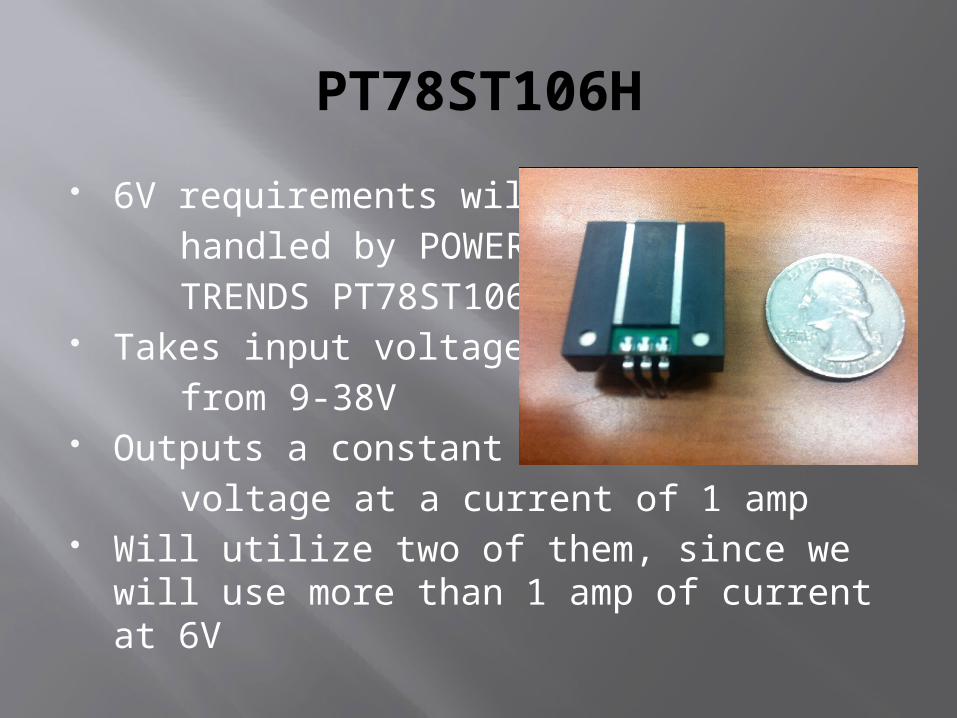
6V requirements will be handled by POWER TRENDS PT78ST106H Takes input voltages from 9-38V Outputs a constant 6V voltage at a current of 1 amp Will utilize two of them, since we will use
more than 1 amp of current at 6V
LM7805
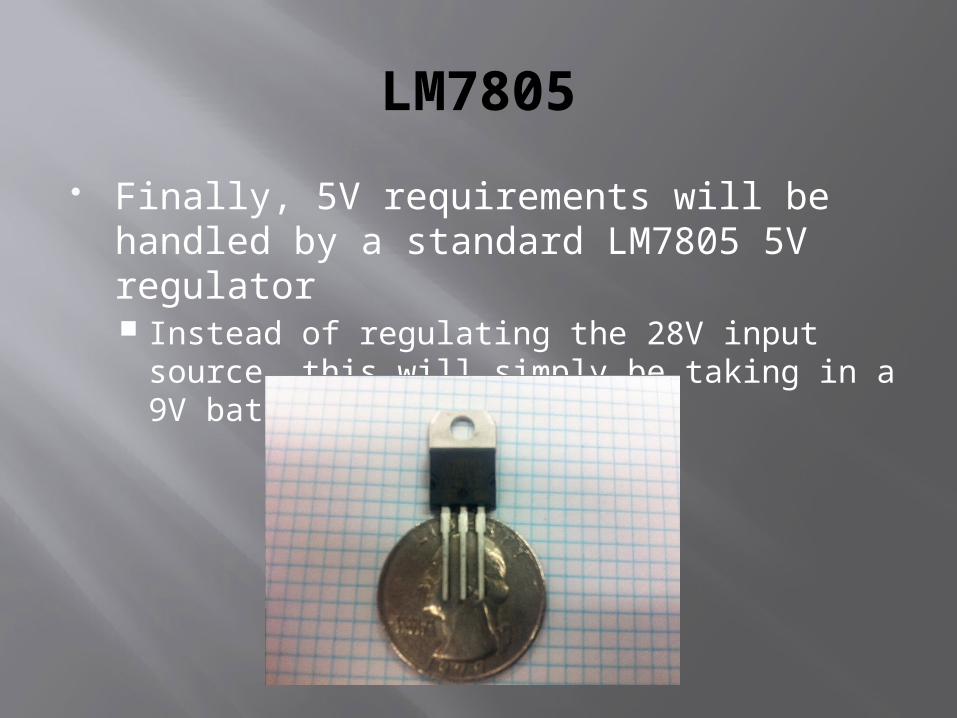
Finally, 5V requirements will be handled by a standard LM7805 5V regulator Instead of regulating the 28V input source,
this will simply be taking in a 9V battery
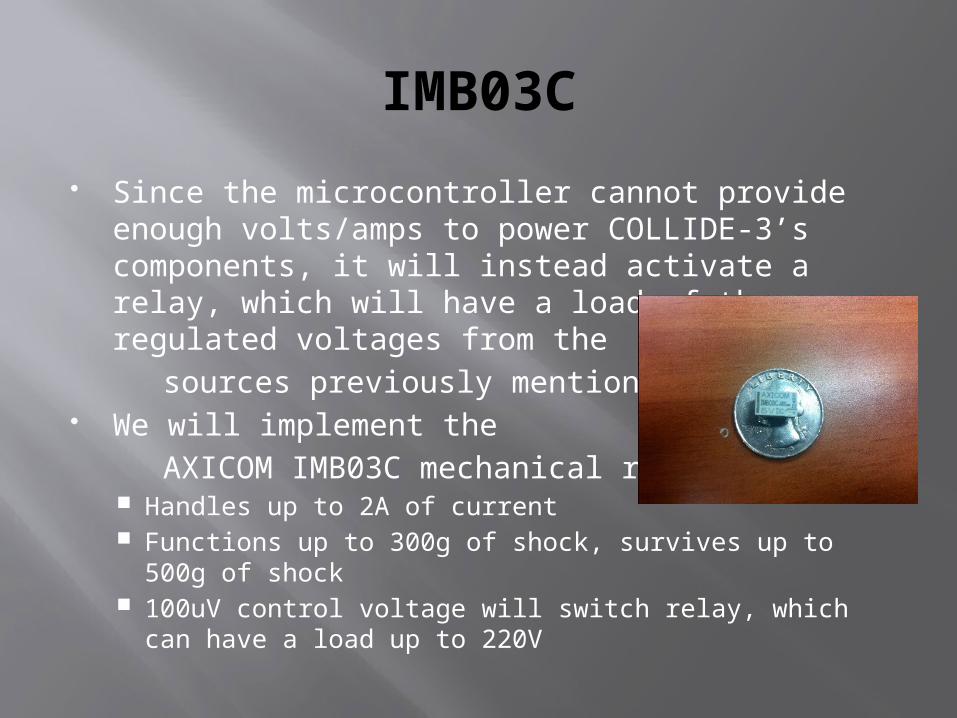
IMB03C
Since the microcontroller cannot provide enough volts/amps to power COLLIDE-3’s components, it will instead activate a relay, which will have a load of the regulated voltages from the
sources previously mentioned We will implement the AXICOM IMB03C mechanical relay
Handles up to 2A of current Functions up to 300g of shock, survives up to 500g of
shock 100uV control voltage will switch relay, which can have
a load up to 220V
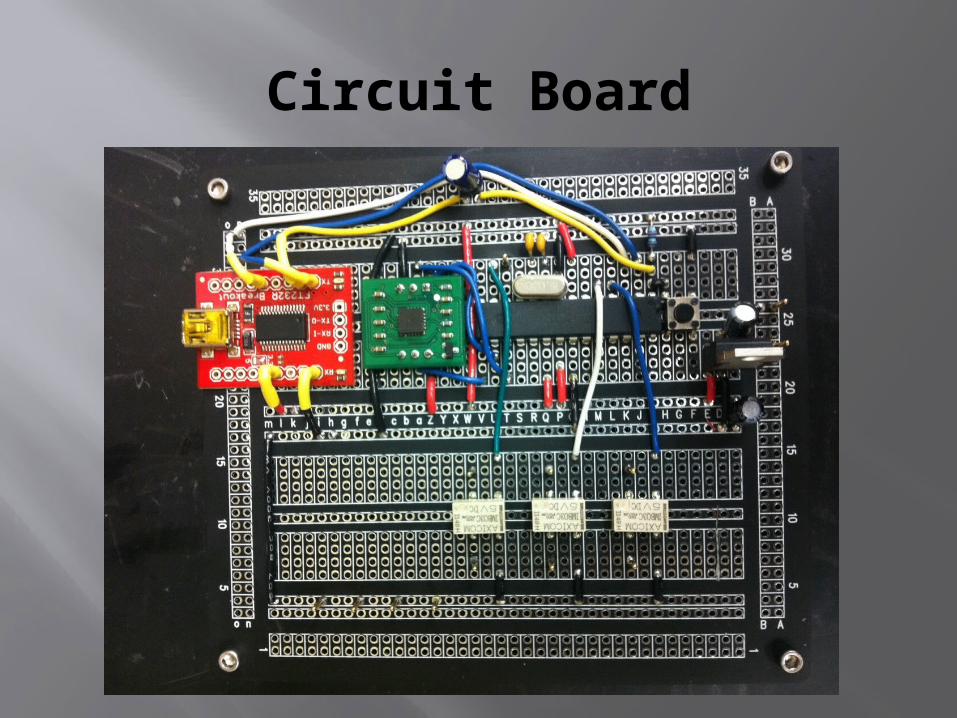
Circuit Board
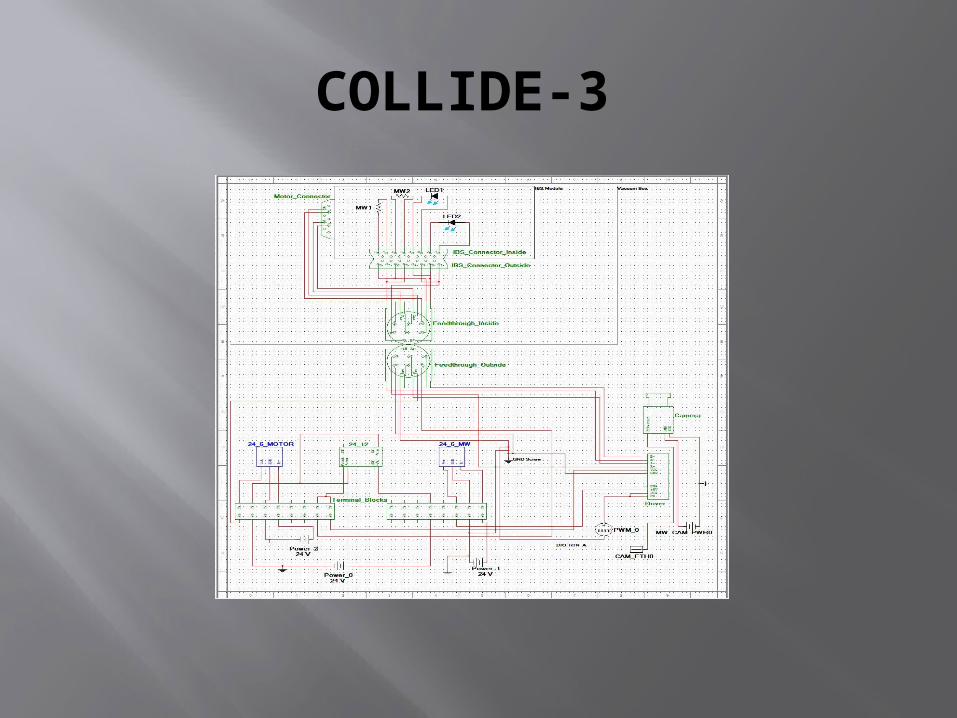
COLLIDE-3
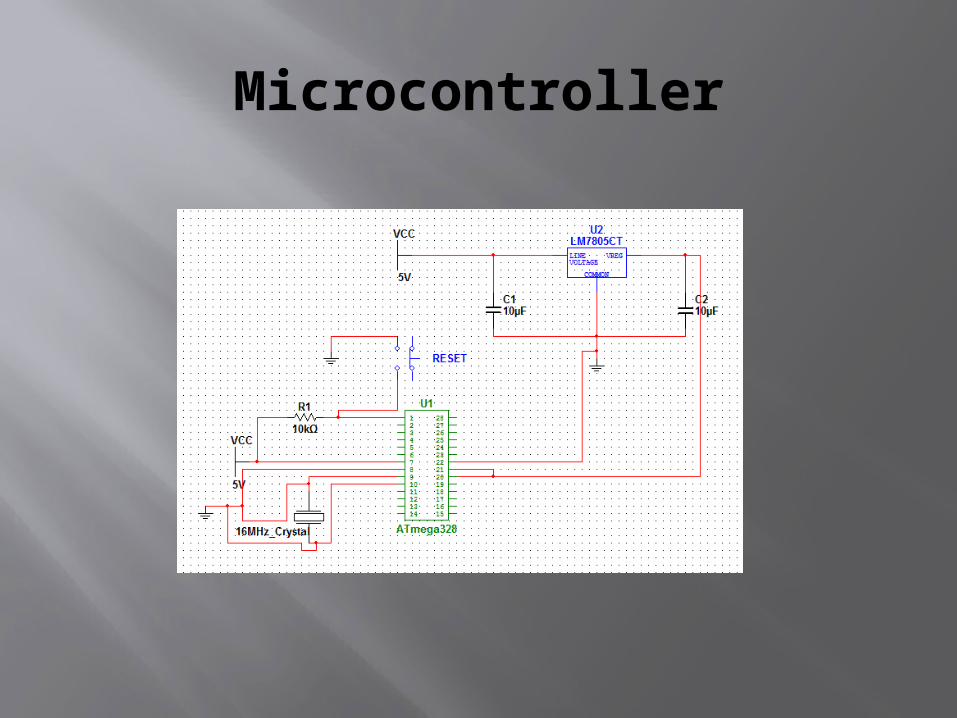
Microcontroller
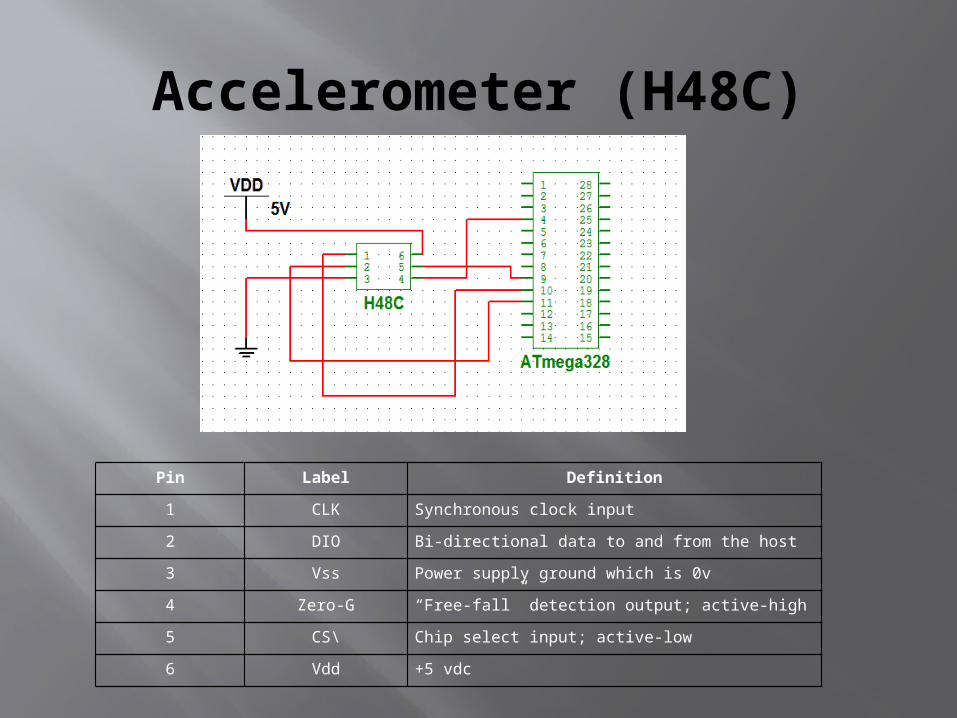
Accelerometer (H48C)
Pin Label Definition
1 CLK Synchronous clock input
2 DIO Bi-directional data to and from the host
3 Vss Power supply ground which is 0v
4 Zero-G “Free-fall” detection output; active-high
5 CS\ Chip select input; active-low
6 Vdd +5 vdc
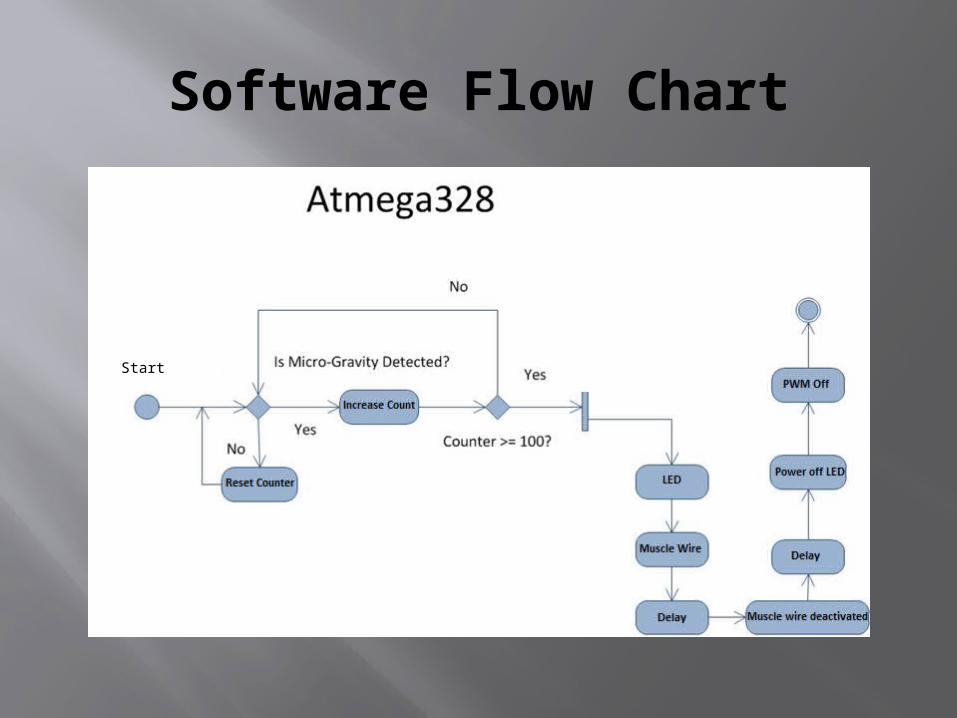
Software Flow Chart
Start
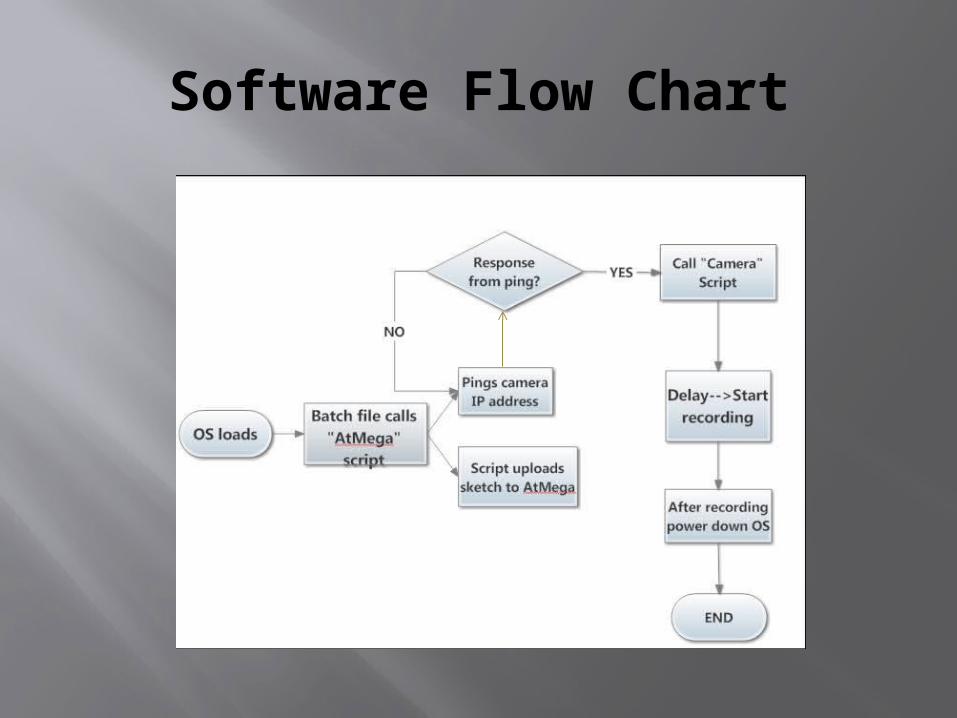
Software Flow Chart
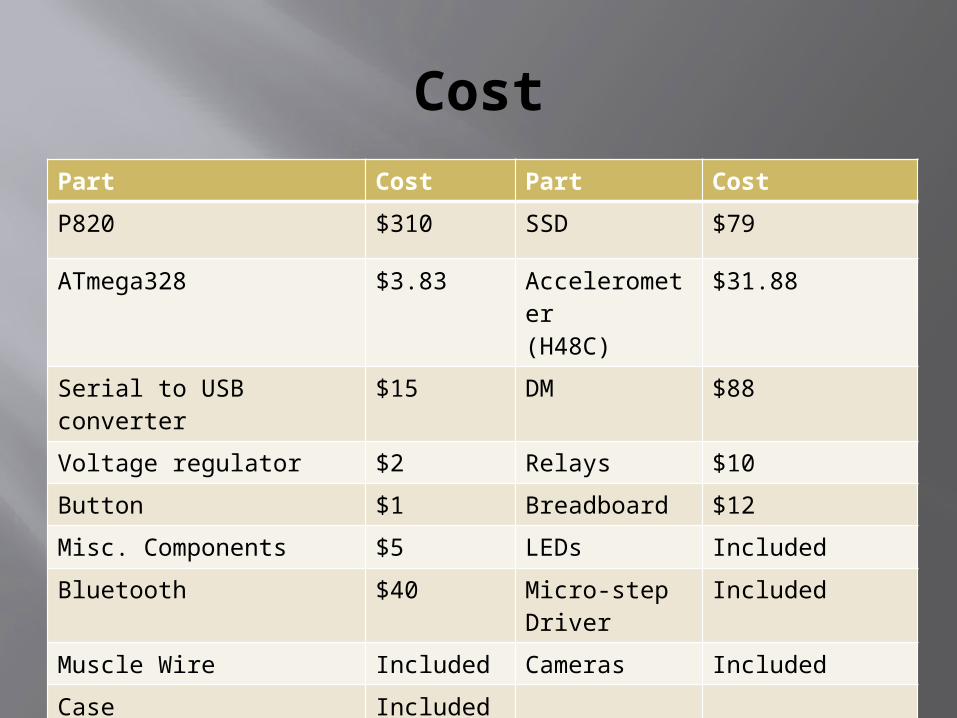
CostPart Cost Part Cost
P820 $310 SSD $79
ATmega328 $3.83 Accelerometer(H48C)
$31.88
Serial to USB converter $15 DM $88
Voltage regulator $2 Relays $10
Button $1 Breadboard $12
Misc. Components $5 LEDs Included
Bluetooth $40 Micro-step Driver
Included
Muscle Wire Included Cameras Included
Case Included
Total $646.71
Project Issues(Technical)
Communication protocol between EPIA P820-12 and ATmega328 (FT232R)
Camera compatibility
Changing variables externally

Project Issues(Nontechnical)
Mono Theft Crashes

Questions?