my first fizzy foamy science
TRANSCRIPT
Adult Supervision Required
My First FIZZY FOAMY SCIENCEACTIVITY GUIDE
Ever wonder why soap gets foamy or soda pop fizzes? You can find out by doing experiments!
In this kit, you’ll get to make things fizz and foam! You’ll make bubbles and even make a volcano erupt! Along the way, you’ll learn some cool science about fizz and foam—and how to make it bigger and better!
In each activity, you’ll get to act and think like a real scientist. You’ll compare things, ask questions and make observations using four of your five senses. You won’t taste anything but you’ll use your eyes to see, your nose to smell, your ears to hear, and your hands and fingers to feel.
Time to get fizzy and foamy!
Adult supervision is required.
NOTE: Children as young as four may enjoy seeing things fizz and foam. However, the science behind these activities is meant for children ages 8 and up. If you are working with younger children, you can enjoy doing the activities - exploring and making observations - but, without explaining the science.
Activity #1: Clash of the Powders!Baking soda and citric acid aren’t very exciting by themselves, but what happens when they meet in a cup of water?
1
What’s included in the kit:Color tabletsCitric acidBaking sodaVegetable oilYeastMagnifier
What You need to get or use:WaterPlate or traySafe household liquids (such as water, milk, vinegar, orange juice, etc.)
Ice cubesLiquid dish soap
Measuring spoonStir sticks (2)Plastic cups (2)Plastic strawPlastic zipper bags (3)
Granulated sugarLarge bowl with a lidPen, pencil or markerMasking tapeSheet of paperRed food coloring (optional)
Watch or clock (optional)
Warning: This kit contains citric acid. Avoid contact with eyes. In case of contact with eyes, flush well with water for 15 minutes and seek medical attention. Keep out of reach of young children. Although the items in this kit are non-toxic, they are highly concentrated and should NOT be tasted.
A long time ago, people used baking
soda like we use soap. Bakers also use it to help dough rise.

What you need from your kit:Citric acidBaking soda Plastic cup
What You need to get or use:WaterPlate or tray (to catch any spills)
Let’s get started!Step 1: Fill the cup about halfway with water. Set the cup on a tray or plate.
Step 2: Open the citric acid and the baking soda. Use your senses to make some observations!
How do they look? What color are they? How do they smell? How do they feel? Compare the two powders. How are they the same or different? (Remember, don’t taste the powders!)
Step 3: Measure 1 teaspoon of citric acid and add it to the water. Use the stir stick to mix it until the citric acid is completely dissolved (you can’t see the powder anymore).
NOTE: For best results, wipe off the measuring spoon before the next step. You may want to time the next step. If you do, get your watch or clock handy now.
Step 4: Measure 1 teaspoon of baking soda and add it to the water.
What happened? Is your water fizzing and foaming? Where do you think the bubbles are coming from? What do you think is inside the bubbles? What other fizzy things have you seen before? What do you think made those things fizz?
More fun things to try:Time the fizz. How long does it fizz?
Use your magnifier to look at the fizz up close! What do you see? What do you hear?
Try the experiment again, but this time, add 2 teaspoons of citric acid and 2 teaspoons of baking soda to the water. What happens? How is it different from before?
NOTE: Always be sure to re-seal each packet when you’re finished with it. Clean all cups, spoons, bowls, etc. before beginning a new activity.
2
Measuring spoonStir stickMagnifier
?
?
Citric acid is found in lots of fruits and vegetables, especially
citrus fruits like oranges, tangerines, and lemons. Lemons and
limes have the highest amounts of citric acid. All acids taste sour. Warning: Strong acids burn skin,
and should never be tasted!
FIZZY FOAMY SCIENCE:
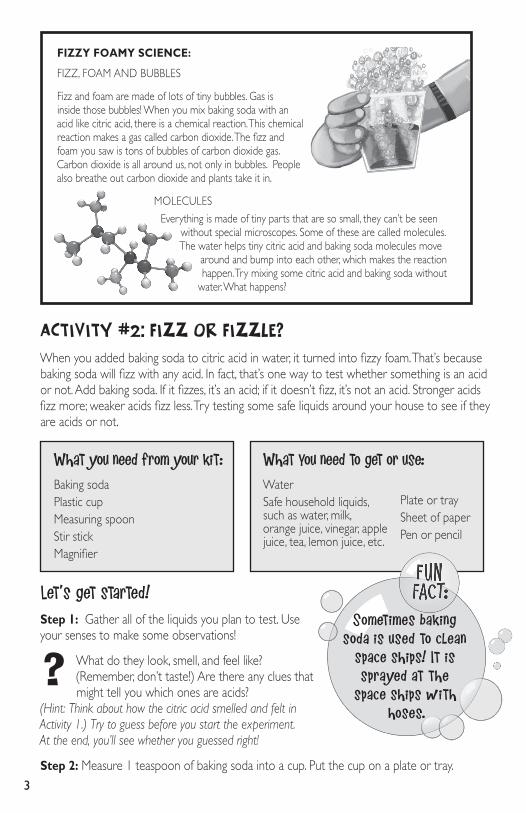
FIZZ, FOAM AND BUBBLES
Fizz and foam are made of lots of tiny bubbles. Gas is inside those bubbles! When you mix baking soda with an acid like citric acid, there is a chemical reaction. This chemical reaction makes a gas called carbon dioxide. The fizz and foam you saw is tons of bubbles of carbon dioxide gas. Carbon dioxide is all around us, not only in bubbles. People also breathe out carbon dioxide and plants take it in.
MOLECULES
Everything is made of tiny parts that are so small, they can’t be seen without special microscopes. Some of these are called molecules. The water helps tiny citric acid and baking soda molecules move
around and bump into each other, which makes the reaction happen. Try mixing some citric acid and baking soda without
water. What happens?
Activity #2: Fizz or Fizzle?When you added baking soda to citric acid in water, it turned into fizzy foam. That’s because baking soda will fizz with any acid. In fact, that’s one way to test whether something is an acid or not. Add baking soda. If it fizzes, it’s an acid; if it doesn’t fizz, it’s not an acid. Stronger acids fizz more; weaker acids fizz less. Try testing some safe liquids around your house to see if they are acids or not.
What you need from your kit:Baking sodaPlastic cupMeasuring spoonStir stickMagnifier
What You need to get or use:WaterSafe household liquids, such as water, milk, orange juice, vinegar, apple juice, tea, lemon juice, etc.
Let’s get started!Step 1: Gather all of the liquids you plan to test. Use your senses to make some observations!
What do they look, smell, and feel like? (Remember, don’t taste!) Are there any clues that might tell you which ones are acids?
(Hint: Think about how the citric acid smelled and felt in Activity 1.) Try to guess before you start the experiment. At the end, you’ll see whether you guessed right!
Step 2: Measure 1 teaspoon of baking soda into a cup. Put the cup on a plate or tray.3
Plate or tray Sheet of paperPen or pencil
?
Sometimes baking soda is used to clean
space ships! It is sprayed at the
space ships with hoses.
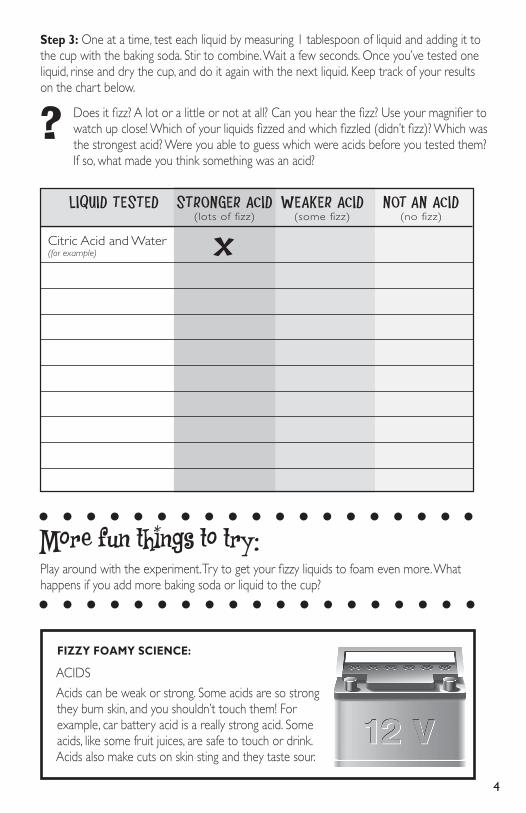
Step 3: One at a time, test each liquid by measuring 1 tablespoon of liquid and adding it to the cup with the baking soda. Stir to combine. Wait a few seconds. Once you’ve tested one liquid, rinse and dry the cup, and do it again with the next liquid. Keep track of your results on the chart below.
Does it fizz? A lot or a little or not at all? Can you hear the fizz? Use your magnifier to watch up close! Which of your liquids fizzed and which fizzled (didn’t fizz)? Which was the strongest acid? Were you able to guess which were acids before you tested them? If so, what made you think something was an acid?
LIQUID TESTED STRONGER ACID(lots of fizz)
WEAKER ACID(some fizz)
NOT AN ACID(no fizz)
Citric Acid and Water(for example) X
More fun things to try: Play around with the experiment. Try to get your fizzy liquids to foam even more. What happens if you add more baking soda or liquid to the cup?
FIZZY FOAMY SCIENCE:
ACIDSAcids can be weak or strong. Some acids are so strong they burn skin, and you shouldn’t touch them! For example, car battery acid is a really strong acid. Some acids, like some fruit juices, are safe to touch or drink. Acids also make cuts on skin sting and they taste sour.
4
?

Activity #3: Hot & Cold!Will citric acid and baking soda fizz the same way in hot and in cold water? Check it out!
What you need from your kit:Citric acidBaking sodaPlastic cups (2)
What You need to get or use:Ice cubes (crushed)Plate or tray Hot water
Let’s get started!Step 1: Put a piece of tape on each cup. Write on the tape to label one cup “hot” and one cup “cold.”
Step 2: Measure 1 teaspoon of citric acid and add it to each cup.
Step 3: Put some ice chips into the cup labeled “cold” and then fill it with cold water. Using your stir stick, mix until the citric acid dissolves (until you can’t see it anymore).
Step 4: Fill the “hot” cup with hot water from the tap. Stir until the citric acid dissolves. Place both cups on a plate or tray.
Step 5: Add 1 teaspoon of baking soda to each cup.
What happened in each cup? How were the two different? Why do you think they were different?
FIZZY FOAMY SCIENCE:
Remember how we said water helps baking soda and citric acid molecules bump together to make carbon dioxide? Well, in hot water the tiny molecules of water move faster making the chemical reaction happen faster. In cold temperatures, the tiny particles slow down so the chemical reaction happens more slowly.
More fun things to try: Alka Seltzer: Alka Seltzer tablets are made of citric acid, baking soda and aspirin. What do you think they would do in hot and in cold water? Try it! But don’t drink it!
Hot and Cold Food Coloring: Do you think a drop of food coloring would mix faster in hot water or cold water without any stirring? Try it!
Soda with Ice: Do you think soda pop would fizz longer with or without ice in it? Try it!5
Measuring spoonStir stickMagnifier
Cold waterPen, pencil or markerMasking tape
?
® ®
Root Beer Float: Make a root beer float by adding vanilla ice cream to a glass of root beer. What do you think will happen and why? You can actually use any flavor of soda and ice cream, but they might not taste good together.
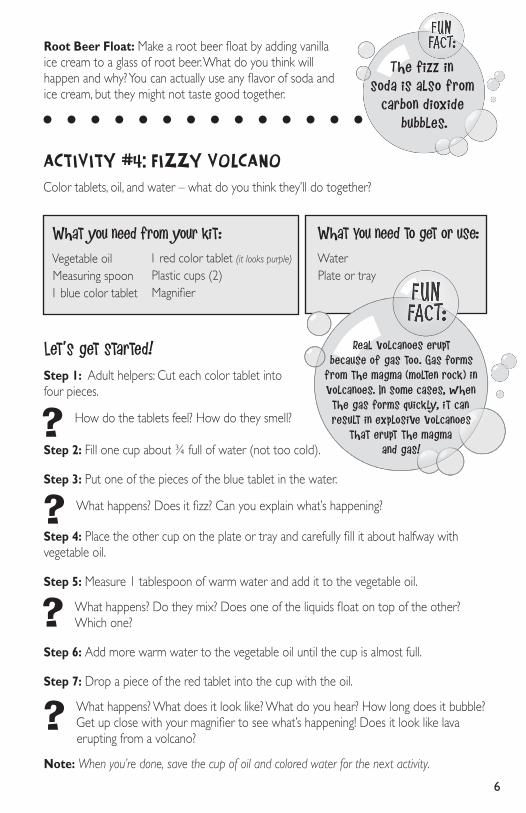
Activity #4: Fizzy VolcanoColor tablets, oil, and water – what do you think they’ll do together?
What you need from your kit:Vegetable oilMeasuring spoon1 blue color tablet
What You need to get or use:WaterPlate or tray
1 red color tablet (it looks purple)
Plastic cups (2)Magnifier
Let’s get started!Step 1: Adult helpers: Cut each color tablet into four pieces.
How do the tablets feel? How do they smell?
Step 2: Fill one cup about ¾ full of water (not too cold).
Step 3: Put one of the pieces of the blue tablet in the water.
What happens? Does it fizz? Can you explain what’s happening?
Step 4: Place the other cup on the plate or tray and carefully fill it about halfway with vegetable oil.
Step 5: Measure 1 tablespoon of warm water and add it to the vegetable oil.
What happens? Do they mix? Does one of the liquids float on top of the other? Which one?
Step 6: Add more warm water to the vegetable oil until the cup is almost full.
Step 7: Drop a piece of the red tablet into the cup with the oil.
What happens? What does it look like? What do you hear? How long does it bubble? Get up close with your magnifier to see what’s happening! Does it look like lava erupting from a volcano?
Note: When you’re done, save the cup of oil and colored water for the next activity.
6
The fizz in soda is also from
carbon dioxide bubbles.
Real volcanoes erupt because of gas too. Gas forms
from the magma (molten rock) in volcanoes. In some cases, when
the gas forms quickly, it can result in explosive volcanoes
that erupt the magma and gas!
?
?
?
?
FIZZY FOAMY SCIENCE:
• You probably noticed that the oil and water don’t mix, and that the oil floats on water. Food coloring doesn’t mix with oil either, but it does mix with water. It makes the water red.
• The baking soda and citric acid in the color tablet mix and react in the water, making carbon dioxide bubbles.
• These bubbles grab onto tiny droplets of colored water and carry them to the top of the glass.
• When the carbon dioxide bubbles reach the top, they pop and the colored water droplets sink back to the bottom.
Activity #5: Have a Blast!There’s more than one way to get a volcano to erupt. Here’s another way!
What you need from your kit:Measuring spoonCitric acidBaking soda
What You need to get or use:Cup of oil and water from previous activityPlate or tray Red food coloring (optional)
Let’s get started!Step 1: Put the cup with the oil and water on a plate or tray. Measure ½ teaspoon of baking soda and add it to the cup. Stir together a little.
Step 2: Measure ½ teaspoon of citric acid and add it to the cup.
What happens? Did you make another eruption? How is this one the same or different from the eruption in Activity 4? Bigger or smaller? Longer or shorter?
Use your magnifier to watch the eruption up close! What do you see? What does the foam look like? How do the bubbles move?
Note: If the water loses some of its red color from the previous activity, you can add about 4 drops of red liquid food coloring to make the water darker. Where does the food coloring go when you add it?
7
Citric acid is used to add a sour taste to
foods and drinks, especially sodas. It’s
also used in some cleaners.
?
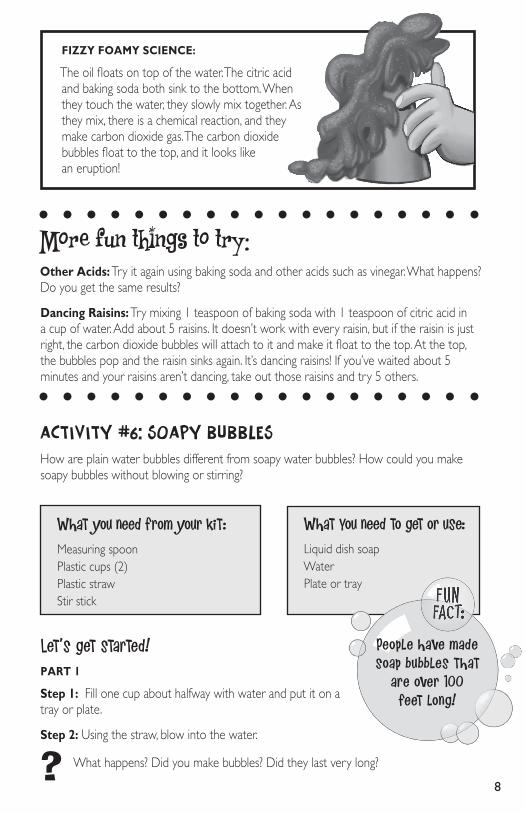
FIZZY FOAMY SCIENCE:
The oil floats on top of the water. The citric acid and baking soda both sink to the bottom. When they touch the water, they slowly mix together. As they mix, there is a chemical reaction, and they make carbon dioxide gas. The carbon dioxide bubbles float to the top, and it looks like an eruption!
More fun things to try: Other Acids: Try it again using baking soda and other acids such as vinegar. What happens? Do you get the same results?
Dancing Raisins: Try mixing 1 teaspoon of baking soda with 1 teaspoon of citric acid in a cup of water. Add about 5 raisins. It doesn’t work with every raisin, but if the raisin is just right, the carbon dioxide bubbles will attach to it and make it float to the top. At the top, the bubbles pop and the raisin sinks again. It’s dancing raisins! If you’ve waited about 5 minutes and your raisins aren’t dancing, take out those raisins and try 5 others.
Activity #6: Soapy BubblesHow are plain water bubbles different from soapy water bubbles? How could you make soapy bubbles without blowing or stirring?
What you need from your kit:Measuring spoonPlastic cups (2)Plastic strawStir stick
What You need to get or use:Liquid dish soapWaterPlate or tray
Let’s get started!PART 1
Step 1: Fill one cup about halfway with water and put it on a tray or plate.
Step 2: Using the straw, blow into the water.
What happens? Did you make bubbles? Did they last very long?
8
People have made soap bubbles that
are over 100 feet long!
?
Step 3: Now add 1 teaspoon of liquid dish soap to the cup of water and mix it in.
Step 4: Use the straw to blow into the cup. Do NOT suck up any of the liquid!
Now what happens? Did you make bubbles? Are they the same or different as the bubbles you made in plain water? How?
PART 2
Now try to make even more awesome bubbles!
Step 1: Empty out the first cup with the water and dish soap. Fill it about halfway with fresh water and mix in 1 teaspoon of liquid dish soap.
Step 2: In the second dry cup, measure 1 teaspoon of citric acid and 1 teaspoon of baking soda. Mix together and set the cup on a tray or plate.
Step 3: Pour the water and dish soap mixture from the first cup into the second cup with the baking soda and acid.
What happens? Do you have fizzy, foamy bubbles? Are they the same or different from when you used the straw? What do they look like? What do they sound like? Did you get bigger and better bubbles?
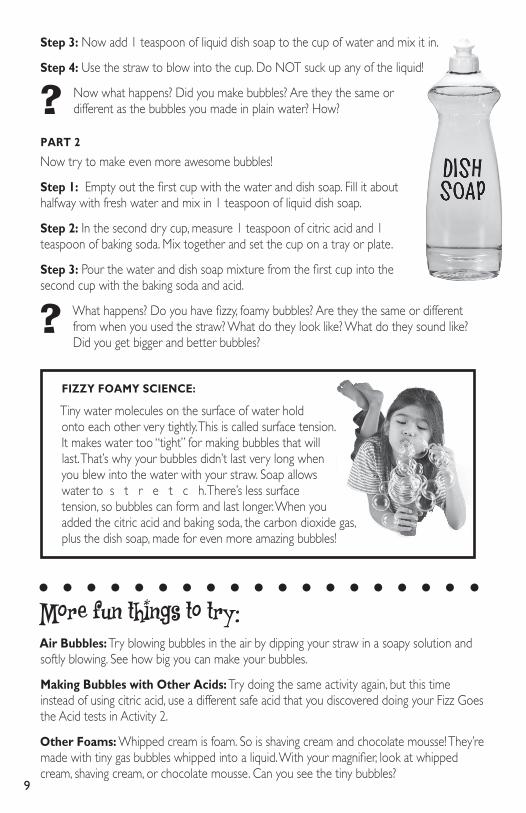
FIZZY FOAMY SCIENCE:
Tiny water molecules on the surface of water hold onto each other very tightly. This is called surface tension. It makes water too “tight” for making bubbles that will last. That’s why your bubbles didn’t last very long when you blew into the water with your straw. Soap allows water to s t r e t c h. There’s less surface tension, so bubbles can form and last longer. When you added the citric acid and baking soda, the carbon dioxide gas, plus the dish soap, made for even more amazing bubbles!
More fun things to try: Air Bubbles: Try blowing bubbles in the air by dipping your straw in a soapy solution and softly blowing. See how big you can make your bubbles.
Making Bubbles with Other Acids: Try doing the same activity again, but this time instead of using citric acid, use a different safe acid that you discovered doing your Fizz Goes the Acid tests in Activity 2.
Other Foams: Whipped cream is foam. So is shaving cream and chocolate mousse! They’re made with tiny gas bubbles whipped into a liquid. With your magnifier, look at whipped cream, shaving cream, or chocolate mousse. Can you see the tiny bubbles?
9
?
?
Yeast live all around us in the soil,
on plants and even in the air!
Secret Foamy Formula: Make up your own secret foamy formula by mixing a tiny bit of some safe powders and liquids from your kitchen (with an adult’s help), then adding baking soda and citric acid (or a different acid).
Fizzy Foamy Contest: Use all the things you’ve learned about fizz and foam and make up your own recipes to meet the following challenges. Try to figure out a recipe that has the fastest fizzing, the longest-lasting fizzing, the longest lasting bubbles, the coolest fizzing and foaming.
Activity #7: It’s Alive!It’s alive! It’s alive! And it’s making foam!
What you need from your kit:Plastic zipper bagsYeast
What You need to get or use:Warm tap waterGranulated sugarLarge bowl with lid
Measuring spoonMagnifier
Let’s get started!
Step 1: Open up the yeast packet and make some observations.
What does the yeast look like? How does it feel? How does it smell?
Step 2: Pour half of the yeast into a plastic zipper bag. Close the rest of the yeast in the packet and store it in the refrigerator until ready to use in future experiments on next page.
Step 3: Measure 1 teaspoon of sugar and add it to the bag of yeast. Then add 4 tablespoons of warm tap water to the yeast and sugar mixture.
What does it smell like?
Step 4: Seal the bag and shake it gently to mix the powders with the water. Put the bag in the bowl. Let’s make some observations!
What does the mixture look like?
Step 5: Fill the bowl halfway with warm water. Cover the bowl with its lid and let it sit for 15 minutes or more.
Step 6: Take off the lid.
What do you see? What has the yeast been up to? What does the mixture look like now? Is it fizzy, foamy? Does it smell? Get a close-up look with your magnifier!
10
Yeast helps make bread
rise.?
?
?
?
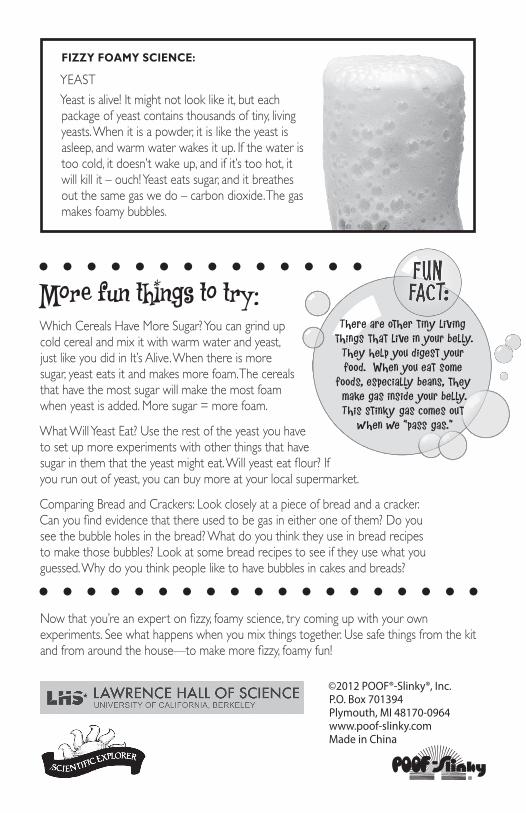
FIZZY FOAMY SCIENCE:
YEASTYeast is alive! It might not look like it, but each package of yeast contains thousands of tiny, living yeasts. When it is a powder, it is like the yeast is asleep, and warm water wakes it up. If the water is too cold, it doesn’t wake up, and if it’s too hot, it will kill it – ouch! Yeast eats sugar, and it breathes out the same gas we do – carbon dioxide. The gas makes foamy bubbles.
More fun things to try: Which Cereals Have More Sugar? You can grind up cold cereal and mix it with warm water and yeast, just like you did in It’s Alive. When there is more sugar, yeast eats it and makes more foam. The cereals that have the most sugar will make the most foam when yeast is added. More sugar = more foam.
What Will Yeast Eat? Use the rest of the yeast you have to set up more experiments with other things that have sugar in them that the yeast might eat. Will yeast eat flour? If you run out of yeast, you can buy more at your local supermarket.
Comparing Bread and Crackers: Look closely at a piece of bread and a cracker. Can you find evidence that there used to be gas in either one of them? Do you see the bubble holes in the bread? What do you think they use in bread recipes to make those bubbles? Look at some bread recipes to see if they use what you guessed. Why do you think people like to have bubbles in cakes and breads?
Now that you’re an expert on fizzy, foamy science, try coming up with your own experiments. See what happens when you mix things together. Use safe things from the kit and from around the house—to make more fizzy, foamy fun!
There are other tiny living things that live in your belly.
They help you digest your food. When you eat some
foods, especially beans, they make gas inside your belly. This stinky gas comes out
when we “pass gas.”
©2012 POOF®-Slinky®, Inc.P.O. Box 701394Plymouth, MI 48170-0964www.poof-slinky.comMade in China