ri medicaid healthcare portal · what is the healthcare portal? • the healthcare portal allows...
TRANSCRIPT

RI MedicaidHealthcare PortalEnrolling as a Trading Partner
PR0052 V1.4 September, 2017

2
What is the Healthcare Portal?
• The Healthcare Portal allows enrolled Trading Partners to exchange information
electronically with RI Medicaid.
• Providers who wish to become a Trading Partner must first enroll as a RI Medicaid
Provider, through the Healthcare Portal.
• To enroll as a Medicaid provider, select the Provider Enrollment link on the
homepage of the Healthcare Portal: http://www.eohhs.ri.gov/ProvidersPartners/HealthcarePortal.aspx
• If you are already enrolled as a Medicaid provider in RI, continue following the
instructions in this guide.

3
Instructions in this Guide
• This guide is for those who are ready to enroll as a Trading Partner.
• Enrollees need to complete the Trading Partner enrollment process to obtain a
Trading Partner ID
• Trading Partners then use their Trading Partner ID to register to use the Portal.
Both Trading Partner Enrollment and Registration in the Healthcare Portal are required
to exchange information electronically with RI Medicaid.

4
• Each page will walk you through the steps to enroll as a Trading Partner
with RI Medicaid
• The top of the page will show what you will see on the screen, and
highlight important parts
• The bottom of the page gives more detailed instructions
• Print a copy of this guide to have on hand as you enroll
How to use this guide:

5
Enrollees access the login page for the Healthcare Portal from the EOHHS website
http://www.eohhs.ri.gov/ProvidersPartners/HealthcarePortal.aspx

6
First:
Enroll as a
Trading
Partner
Here
7
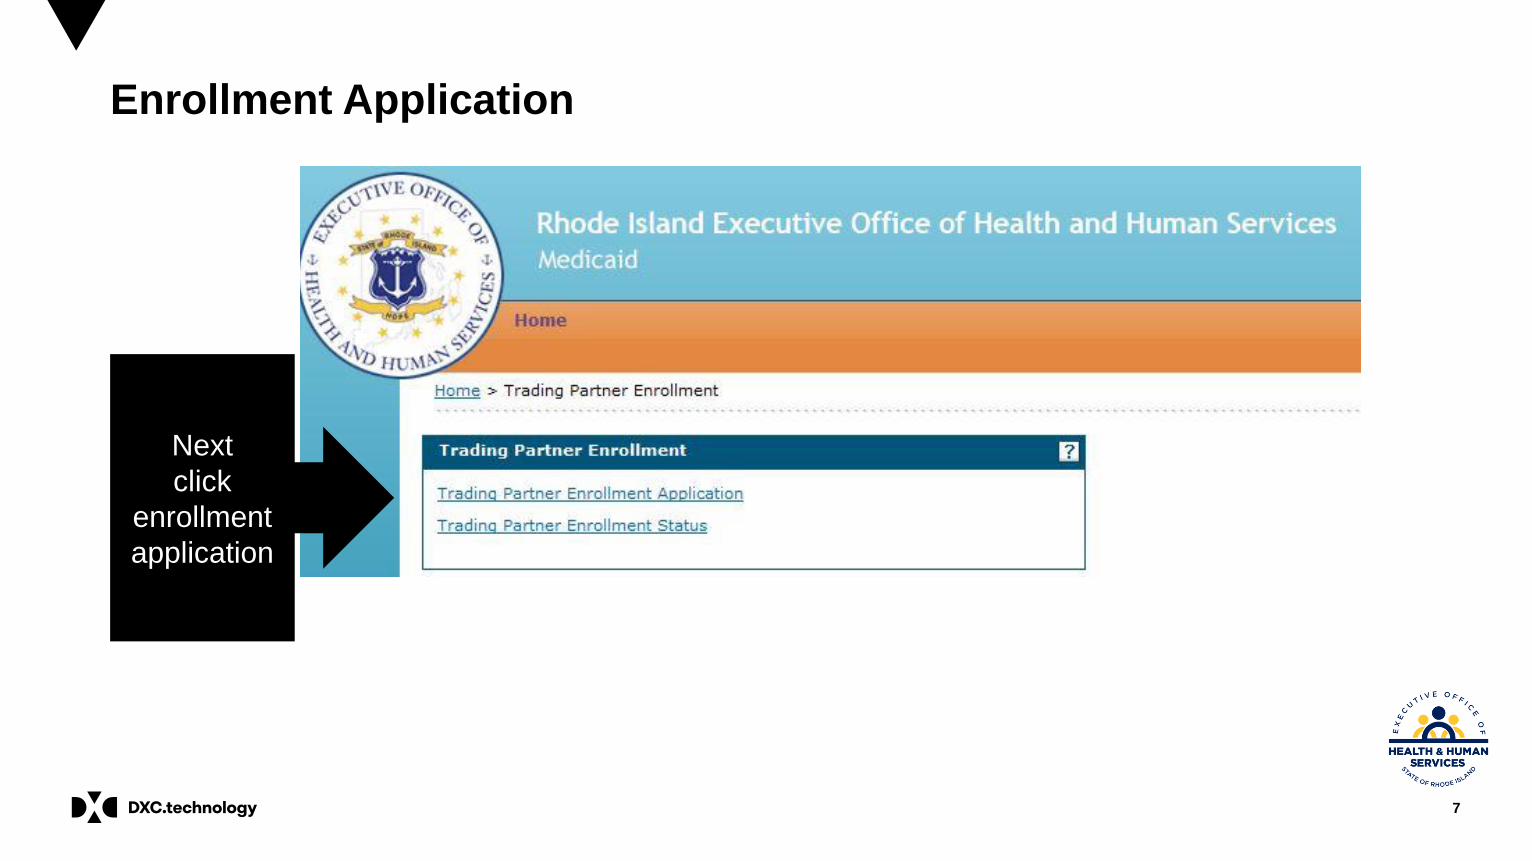
Enrollment Application
Next
click
enrollment
application
8
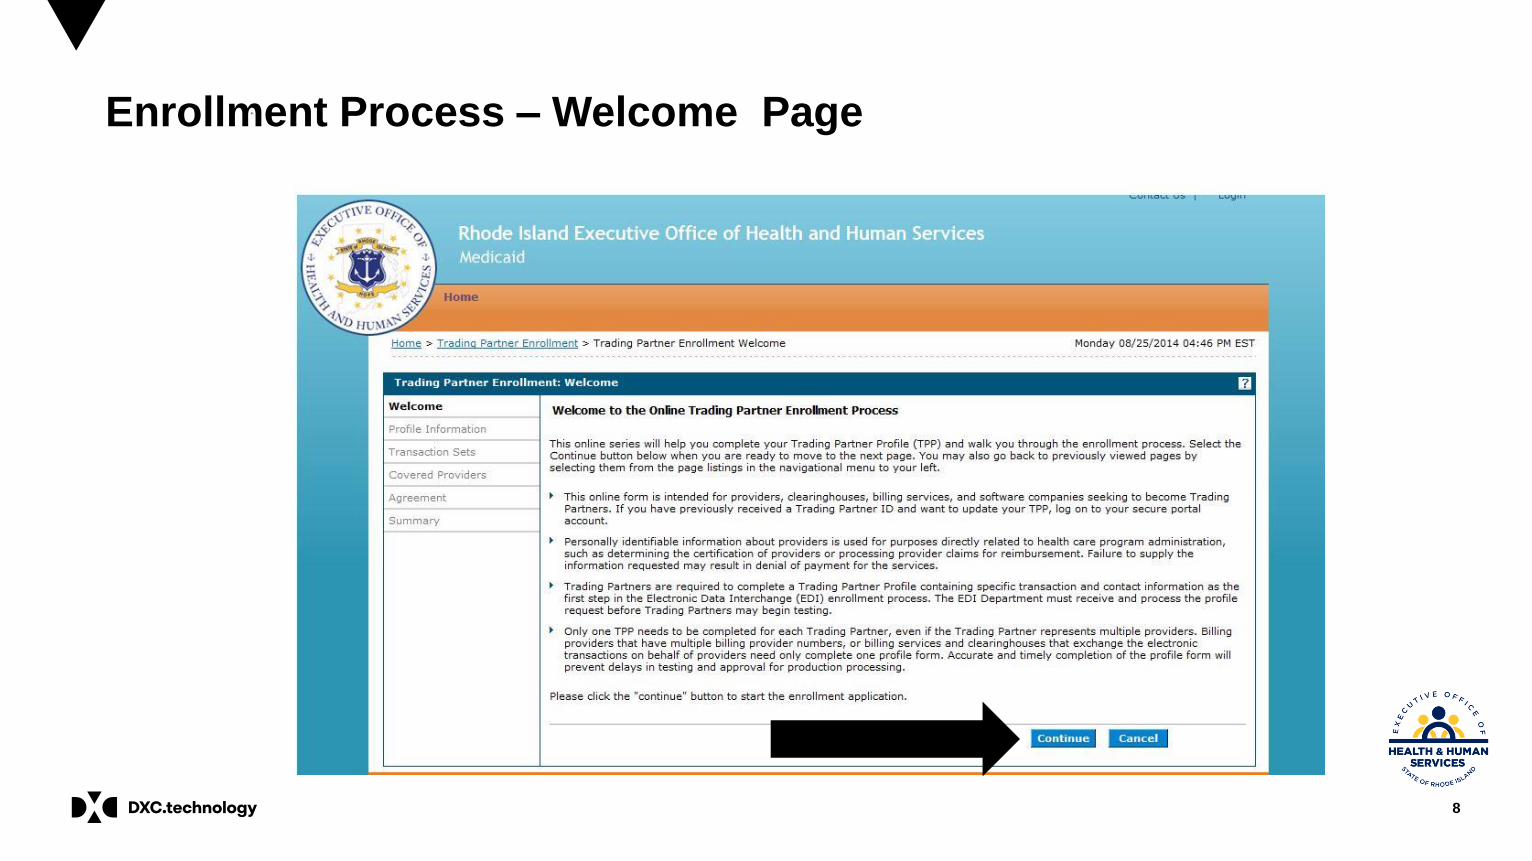
Enrollment Process – Welcome Page

9

10
Enrollment Contact Information

11
EDI Contact Information

12
Transaction
Sets
Online Web
Services
Transaction Sets &
Web Services

13
Adding a Covered ProviderTo add a new covered provider:
• Select the “Add” button
• Enter the provider’s information, select the
277 and 835 boxes and click Save.

14
Unable to Add Provider
• If the provider was previously associated to another clearinghouse, you are unable to add the
provider until that association is ended.
• The provider must contact the original clearinghouse, and ask them to disassociate.
• The clearing house would view the provider’s information in their trading partner account and
“uncheck” the boxes for the 835 and 277.
• The new clearinghouse is then able to add the provider to their account.
Uncheck
these boxes

15
Covered Provider Already Listed
If the provider is already listed:
• Click “Display Covered Providers”
• Click the (+) sign to view the provider.
• Check the buttons for the 277 and 835
• Hit Save

16
Completing the ERA ApplicationWhen the 277 and 835 boxes are checked, and the user clicks SAVE, the ERA application will
display.

17
ERA continued
After submission, an email will automatically be sent to the EDI department. There is no
need for follow up email that was previously required.

18
Instructions for Completion- ERA Application
FIELD DESCRIPTION
Provider Information
Provider Name Enter the legal name of the provider to whom the Electronic
Remittance Advice applies. This name should be the same as
what is shown in the Remittance Advice and the Profile
Information.
Provider Identifiers Information
Provider Federal Tax
Identification Number (TIN) or
Employer Identification
Number (EIN)
Enter the Tax ID of the provider for which the ERA Authorization
Agreement applies.
National Provider Identifier
(NPI)
Enter the NPI of the provider for which the ERA Authorization
Agreement applies. If no NPI, complete the Other Identifier field.
Other Identifier(s) If provider does not have an NPI, enter the unique Medicaid ID
number.
Assigning Authority If other than NPI is used, check Medicaid.
Provider Taxonomy Code Enter the taxonomy code associated to the NPI for this provider.
If there are multiple, enter one of the taxonomy codes.
Provider Contact Name Enter the name of the person who should be contacted with
questions on the ERA form.
Telephone Number Enter the telephone number for the contact person including the
extension, if applicable.
Email Address Enter the email address for the contact person.
Fax Number Enter the fax number for the contact person.

19
Instructions for Completion continued
Clearinghouse Name Enter the name of the Clearinghouse who may be working on behalf of the
provider.
Clearinghouse Contact Name Enter the name of the contact for the Clearinghouse previously mentioned.
Telephone Number Enter the phone number of the Clearinghouse previously mentioned including
the extension, if applicable. If a Clearinghouse contact is listed, this should be
the phone number of the Clearinghouse contact.
Email Address Enter the email address of the Clearinghouse previously mentioned. If a
Clearinghouse contact is listed, this should be the email address of the
Clearinghouse contact.
Vendor Name Enter the name of the Vendor who may be working on behalf of the provider.
Vendor Contact Name Enter the name of the contact for the Vendor previously mentioned.
Telephone Number Enter the phone number of the Vendor previously mentioned including the
extension, if applicable. If a Vendor contact is listed, this should be the phone
number of the Vendor contact.
Email Address Enter the email address of the Clearinghouse previously mentioned. If a
Vendor contact is listed, this should be the email address of the Vendor
contact.
Reason for Submission Select a reason for which you are submitting the application.
Electronic Signature of Person
Submitting the Enrollment
Typed name of authorized person.
Printed Title of Person Submitting the
Enrollment
Enter title of the authorized person.
Submission Date Enter the date in MM/DD/CCYY format for the date of submission.

20
Trading Partner
Agreement
You must click on this
link to read, before you
can accept
You may then check
the box, sign by
typing name and title

21
Summary Page
This is the
Table of
Contents.
Use for
navigating
between
the sections
Instructions

22
Tracking Number
found here
Instructions
Trading Partner Enrollment Confirmation
23
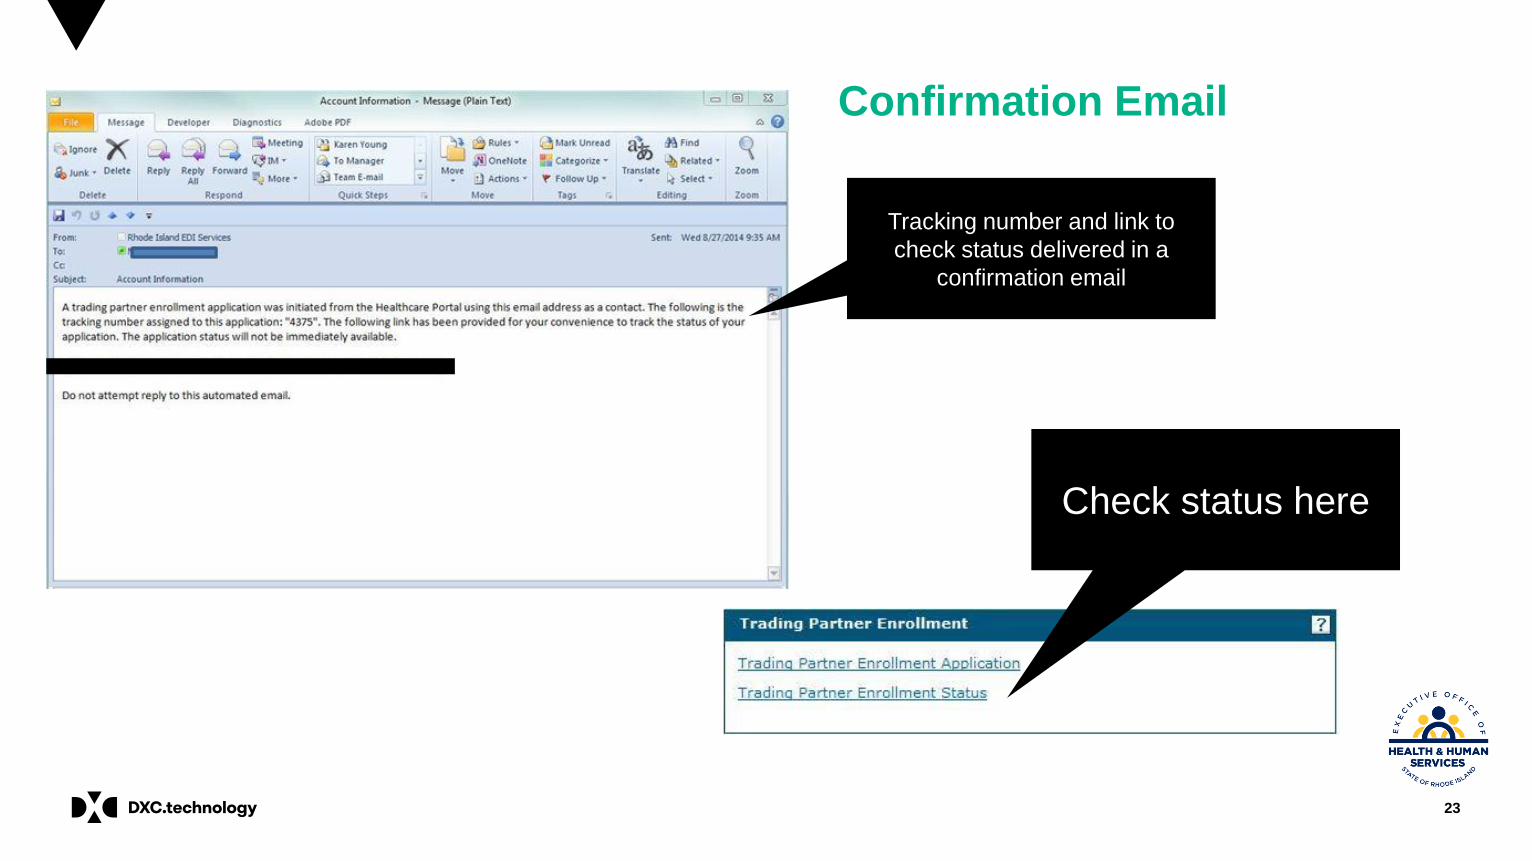
Check status here
Confirmation Email
Tracking number and link to
check status delivered in a
confirmation email

24
Tracking Enrollment Status

25
Enrollment Status
This is a sample status.
It shows the tracking
number, date submitted,
status and the reason. It
also gives instructions
and a link to revise the
application.
Link to revise
application
Need to add a covered provider.

26
Application Approval
• When your application is approved, a system generated email will be sent to
the contact person notifying them of the approval.
• The email will provide the new Trading Partner account holder with a link and
instructions to register on the Healthcare Provider Portal.
• A second, encrypted email containing the TP ID will be sent as well. Be sure to
keep this email.

27
Click here to
begin the
registration
process

Questions?For questions, contact the
Customer Service Help Desk
Available Monday – Friday 8:00 AM – 5:00
PM
(401) 784-8100
For local and long distance calls
(800) 964-6211
For in-state toll calls

DXC Proprietary and Confidential
Thank you.