cooking methods manual - online cooking classes ... todd mohr’s cooking methods manual choosing...
TRANSCRIPT
Chef Todd Mohr’s Cooking Methods Manual
Choosing the correct cooking method for the ingredients you are using is MUCH more important
than finding the right recipe. Recipes only tell you WHAT to cook, and most often neglect
informing you HOW to cook. This guide is designed to give you the absolute bare-bones basics
of cooking methods to be used in your home.
Cooking is the transfer of heat to food. This can be accomplished directly or indirectly. Direct
heat transfer is called “conductive”. Indirect heat transfer is termed “convective”.
Convective cooking methods can be dry or moist. Roasting in the oven is a dry convective
method because it cooks indirectly with air. Poaching accomplishes the same result through
liquid.
Combination cooking methods employ the advantages of dry conductive AND moist convective
methods to add flavor and tenderize.
After mastering these basic techniques, you’ll be able to create your own recipes, or gain greater
insight into what most written recipes are asking you to do.
It’s absolutely necessary to understand these principles so that you fully understand the final
results in cooking that you are trying to achieve.
“Burn Your Recipes, Volumes 1, 2, and 3” as well as the WebCookingClasses.com curriculum
are referred to for additional information highlighted in BLUE.
Chef Todd Mohr’s Cooking Methods Manual
Page 1
WebCookingClasses.com
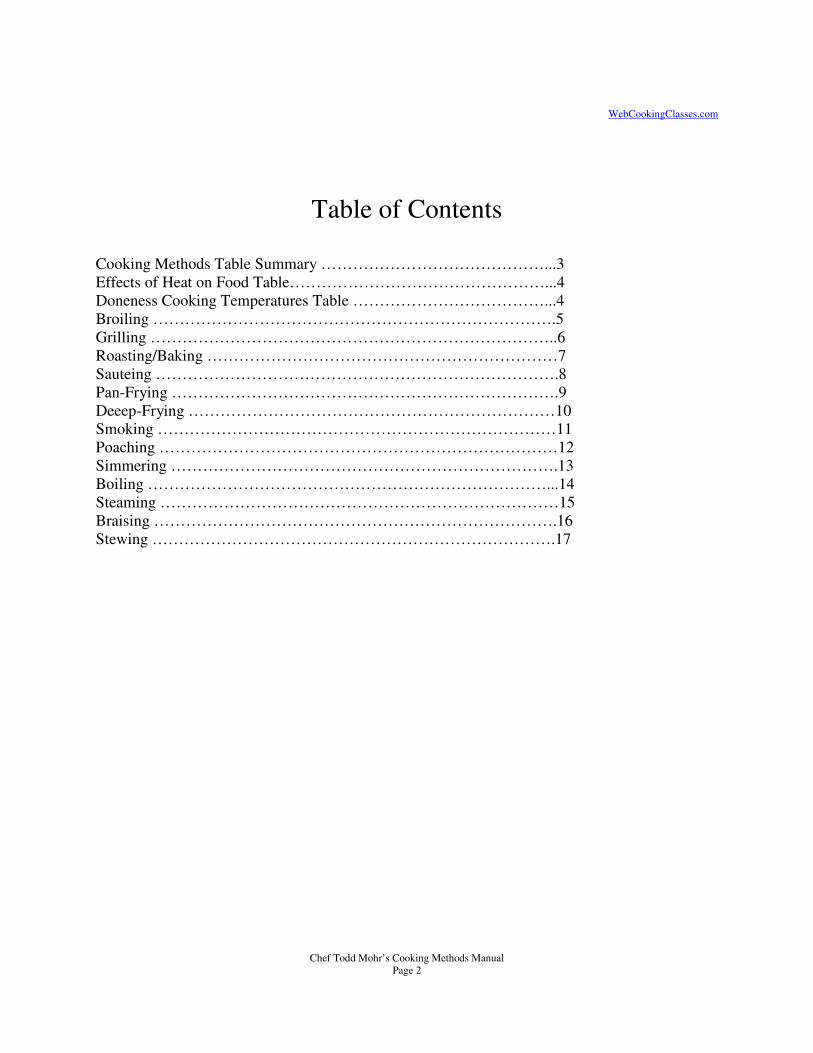
Table of Contents
Cooking Methods Table Summary ……………………………………...3
Effects of Heat on Food Table…………………………………………...4
Doneness Cooking Temperatures Table ………………………………...4
Broiling ………………………………………………………………….5
Grilling …………………………………………………………………..6
Roasting/Baking …………………………………………………………7
Sauteing ………………………………………………………………….8
Pan-Frying ……………………………………………………………….9
Deeep-Frying ……………………………………………………………10
Smoking …………………………………………………………………11
Poaching …………………………………………………………………12
Simmering ……………………………………………………………….13
Boiling …………………………………………………………………...14
Steaming …………………………………………………………………15
Braising ………………………………………………………………….16
Stewing ………………………………………………………………….17
Chef Todd Mohr’s Cooking Methods Manual
Page 2
WebCookingClasses.com
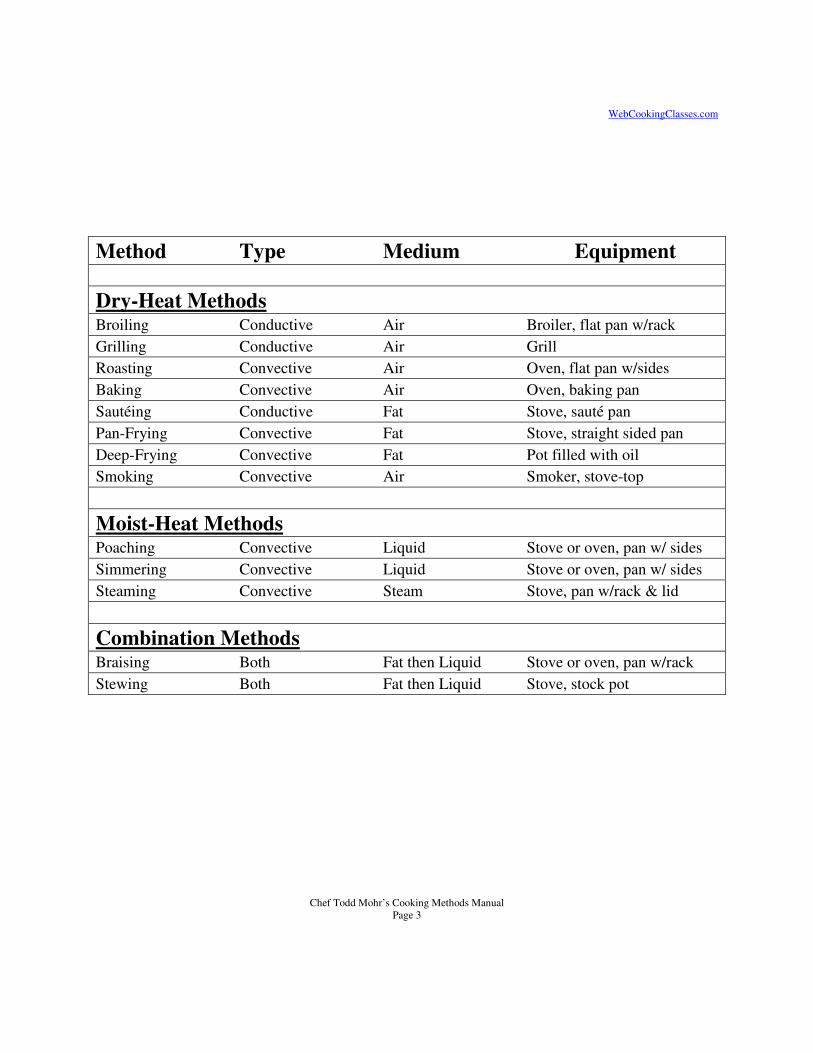
Method Type Medium Equipment
Dry-Heat Methods Broiling Conductive Air Broiler, flat pan w/rack
Grilling Conductive Air Grill
Roasting Convective Air Oven, flat pan w/sides
Baking Convective Air Oven, baking pan
Sautéing Conductive Fat Stove, sauté pan
Pan-Frying Convective Fat Stove, straight sided pan
Deep-Frying Convective Fat Pot filled with oil
Smoking Convective Air Smoker, stove-top
Moist-Heat Methods Poaching Convective Liquid Stove or oven, pan w/ sides
Simmering Convective Liquid Stove or oven, pan w/ sides
Steaming Convective Steam Stove, pan w/rack & lid
Combination Methods Braising Both Fat then Liquid Stove or oven, pan w/rack
Stewing Both Fat then Liquid Stove, stock pot
Chef Todd Mohr’s Cooking Methods Manual
Page 3

WebCookingClasses.com
Effects of Heat on Food: Temp F Temp C Stage
150-212f 66-100c Gelatinization of Starches
Starches absorb liquid and swell
160-185f 71-85c Coagulation of Proteins
Proteins stiffen and shrink
212f 100c Evaporation of Moisture
Liquid turns to gas
320-338f 160-170c Caramelization of Sugars
Sugars brown and become brittle
Doneness Temperatures
For Beef:
Temp F Temp C Stage
125-130f 51-55c Very Rare
130-140f 55-60c Rare
140-150f 60-65c Medium
150-165f 65-74c Well Done
165f 74c Poultry, Pork, Fish, Game
Chef Todd Mohr’s Cooking Methods Manual
Page 4
WebCookingClasses.com
Dry-Heat Cooking Methods
Dry-heat cooking methods use either conductive (direct) heat or convective (indirect) heat to
cause changes in food products. Conductive heat will cook food items by applying direct flame
or transfer of direct heat through a cooking vessel. Convective heat will cook food items by
surrounding food items with heated air.
Broiling “Burn Your Recipes” Volume 3
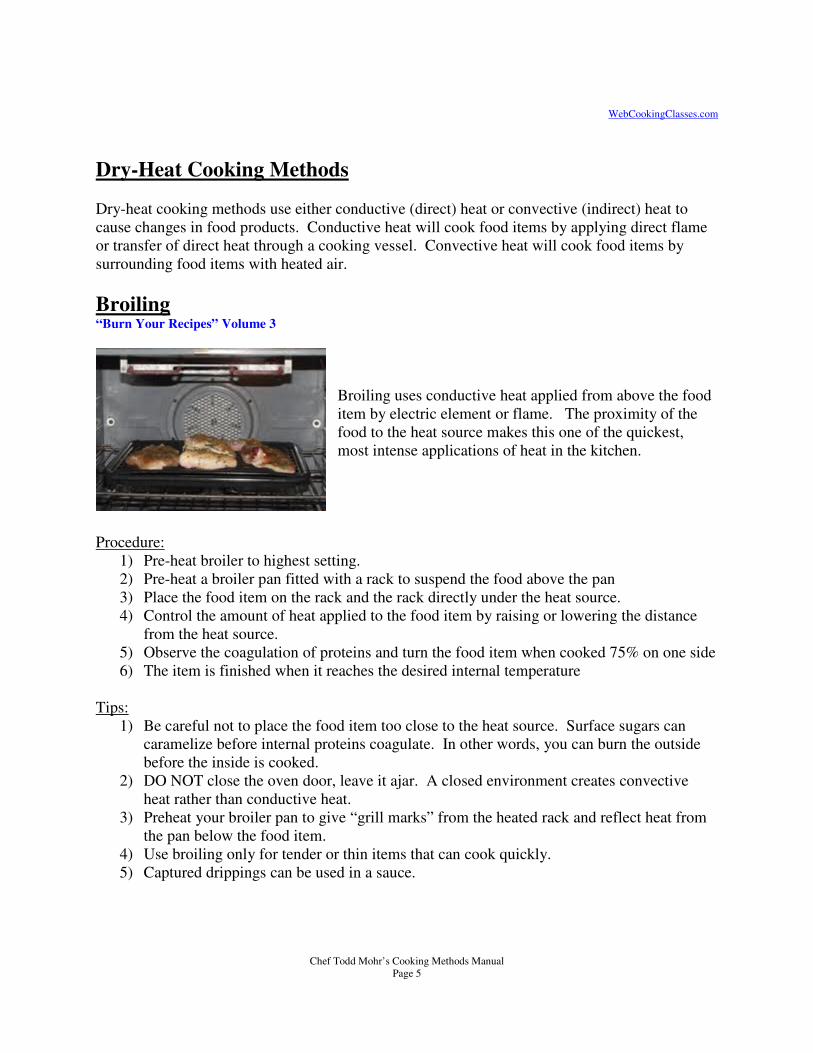
Broiling uses conductive heat applied from above the food
item by electric element or flame. The proximity of the
food to the heat source makes this one of the quickest,
most intense applications of heat in the kitchen.
Procedure:
1) Pre-heat broiler to highest setting.
2) Pre-heat a broiler pan fitted with a rack to suspend the food above the pan
3) Place the food item on the rack and the rack directly under the heat source.
4) Control the amount of heat applied to the food item by raising or lowering the distance
from the heat source.
5) Observe the coagulation of proteins and turn the food item when cooked 75% on one side
6) The item is finished when it reaches the desired internal temperature
Tips:
1) Be careful not to place the food item too close to the heat source. Surface sugars can
caramelize before internal proteins coagulate. In other words, you can burn the outside
before the inside is cooked.
2) DO NOT close the oven door, leave it ajar. A closed environment creates convective
heat rather than conductive heat.
3) Preheat your broiler pan to give “grill marks” from the heated rack and reflect heat from
the pan below the food item.
4) Use broiling only for tender or thin items that can cook quickly.
5) Captured drippings can be used in a sauce.
Chef Todd Mohr’s Cooking Methods Manual
Page 5
WebCookingClasses.com
Grilling WebCookingClasses Week 4, 14, 15, 35
“Burn Your Recipes” Volume 3
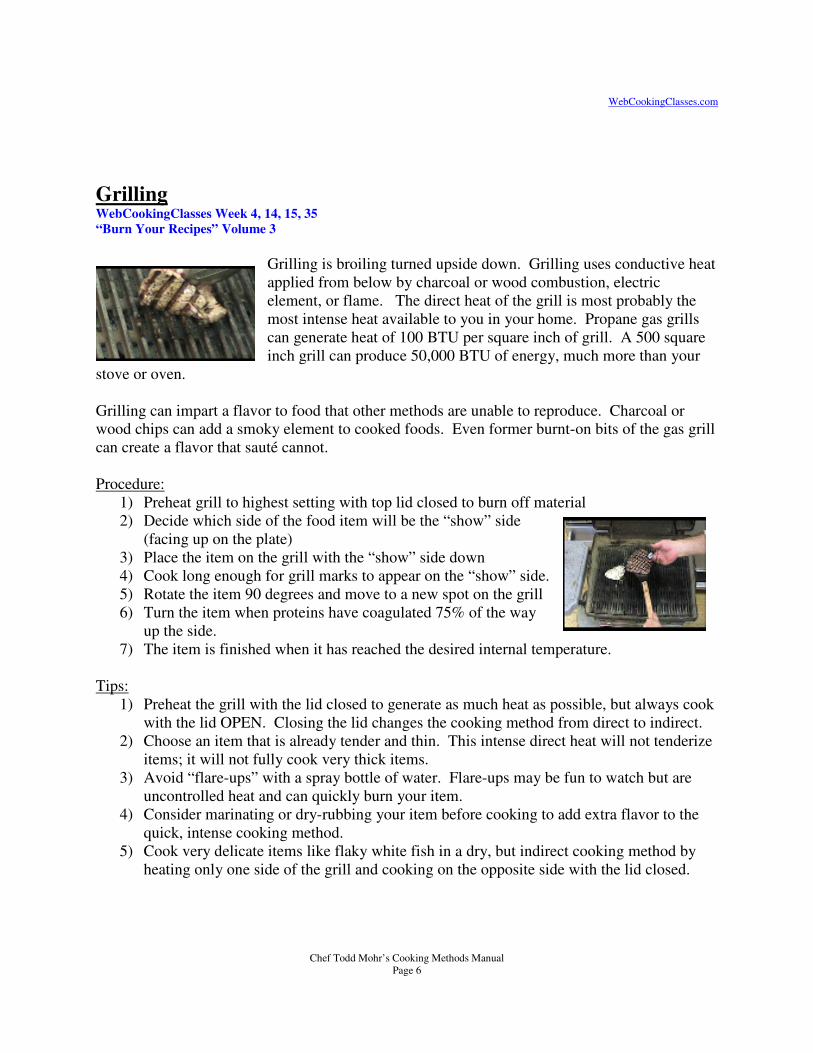
Grilling is broiling turned upside down. Grilling uses conductive heat
applied from below by charcoal or wood combustion, electric
element, or flame. The direct heat of the grill is most probably the
most intense heat available to you in your home. Propane gas grills
can generate heat of 100 BTU per square inch of grill. A 500 square
inch grill can produce 50,000 BTU of energy, much more than your
stove or oven.
Grilling can impart a flavor to food that other methods are unable to reproduce. Charcoal or
wood chips can add a smoky element to cooked foods. Even former burnt-on bits of the gas grill
can create a flavor that sauté cannot.
Procedure:
1) Preheat grill to highest setting with top lid closed to burn off material
2) Decide which side of the food item will be the “show” side
(facing up on the plate)
3) Place the item on the grill with the “show” side down
4) Cook long enough for grill marks to appear on the “show” side.
5) Rotate the item 90 degrees and move to a new spot on the grill
6) Turn the item when proteins have coagulated 75% of the way
up the side.
7) The item is finished when it has reached the desired internal temperature.
Tips:
1) Preheat the grill with the lid closed to generate as much heat as possible, but always cook
with the lid OPEN. Closing the lid changes the cooking method from direct to indirect.
2) Choose an item that is already tender and thin. This intense direct heat will not tenderize
items; it will not fully cook very thick items.
3) Avoid “flare-ups” with a spray bottle of water. Flare-ups may be fun to watch but are
uncontrolled heat and can quickly burn your item.
4) Consider marinating or dry-rubbing your item before cooking to add extra flavor to the
quick, intense cooking method.
5) Cook very delicate items like flaky white fish in a dry, but indirect cooking method by
heating only one side of the grill and cooking on the opposite side with the lid closed.
Chef Todd Mohr’s Cooking Methods Manual
Page 6
WebCookingClasses.com
Roasting and Baking WebCookingClasses Week 1, 24, 30, 31, 32, 33, 34, 45, 46
“Burn Your Recipes” Volume 2 and 3
Chef Todd’s Holiday Cooking Success Course
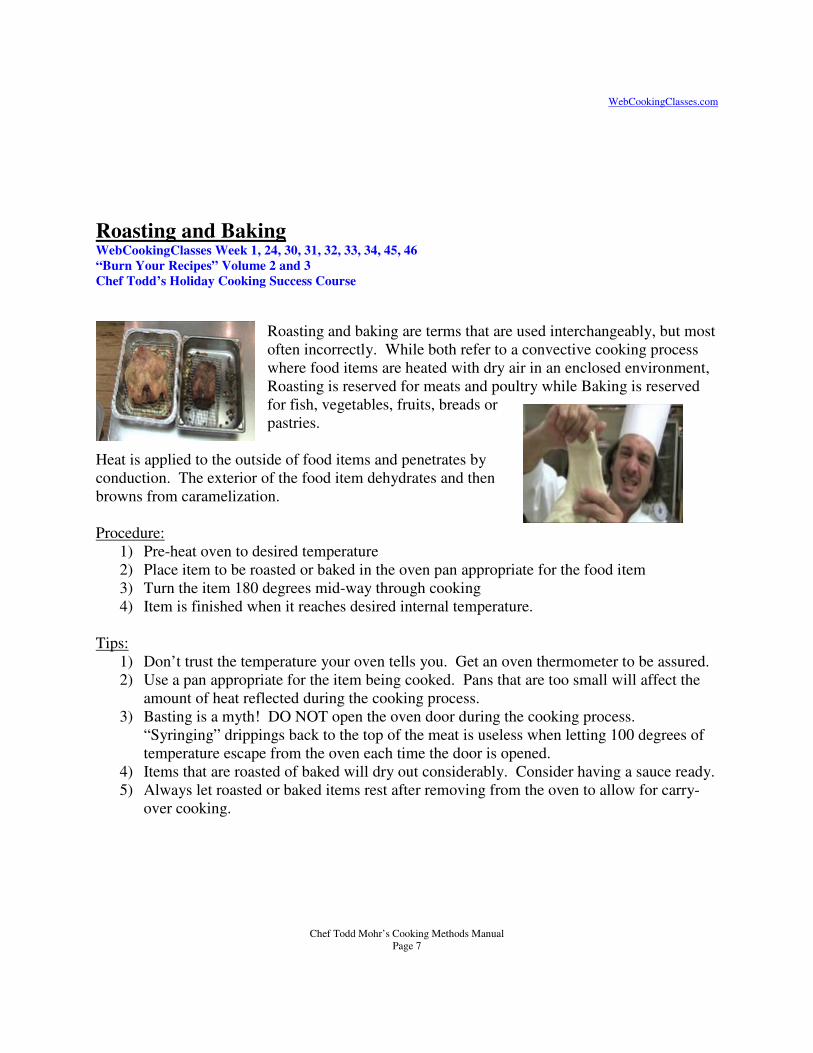
Roasting and baking are terms that are used interchangeably, but most
often incorrectly. While both refer to a convective cooking process
where food items are heated with dry air in an enclosed environment,
Roasting is reserved for meats and poultry while Baking is reserved
for fish, vegetables, fruits, breads or
pastries.
Heat is applied to the outside of food items and penetrates by
conduction. The exterior of the food item dehydrates and then
browns from caramelization.
Procedure:
1) Pre-heat oven to desired temperature
2) Place item to be roasted or baked in the oven pan appropriate for the food item
3) Turn the item 180 degrees mid-way through cooking
4) Item is finished when it reaches desired internal temperature.
Tips:
1) Don’t trust the temperature your oven tells you. Get an oven thermometer to be assured.
2) Use a pan appropriate for the item being cooked. Pans that are too small will affect the
amount of heat reflected during the cooking process.
3) Basting is a myth! DO NOT open the oven door during the cooking process.
“Syringing” drippings back to the top of the meat is useless when letting 100 degrees of
temperature escape from the oven each time the door is opened.
4) Items that are roasted of baked will dry out considerably. Consider having a sauce ready.
5) Always let roasted or baked items rest after removing from the oven to allow for carry-
over cooking.
Chef Todd Mohr’s Cooking Methods Manual
Page 7
Sautéing WebCookingClasses Week 2, 3, 18, 21, 28,
“Burn Your Recipes, Volume 3”
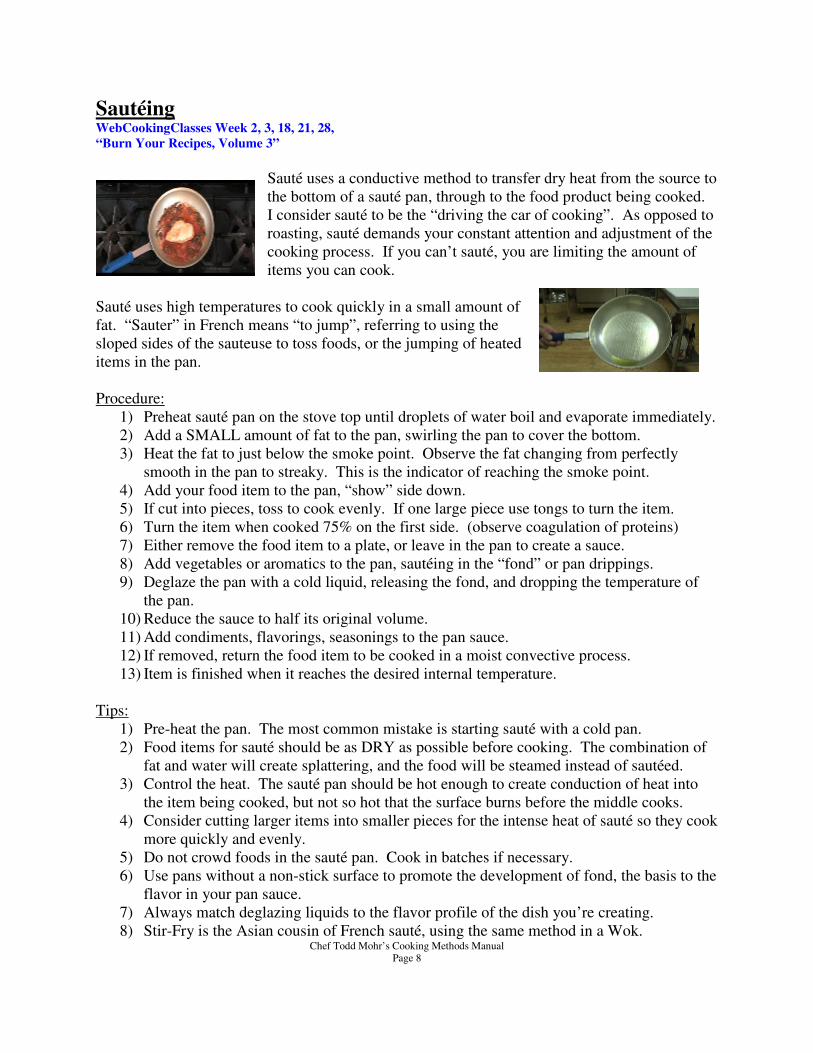
Sauté uses a conductive method to transfer dry heat from the source to
the bottom of a sauté pan, through to the food product being cooked.
I consider sauté to be the “driving the car of cooking”. As opposed to
roasting, sauté demands your constant attention and adjustment of the
cooking process. If you can’t sauté, you are limiting the amount of
items you can cook.
Sauté uses high temperatures to cook quickly in a small amount of
fat. “Sauter” in French means “to jump”, referring to using the
sloped sides of the sauteuse to toss foods, or the jumping of heated
items in the pan.
Procedure:
1) Preheat sauté pan on the stove top until droplets of water boil and evaporate immediately.
2) Add a SMALL amount of fat to the pan, swirling the pan to cover the bottom.
3) Heat the fat to just below the smoke point. Observe the fat changing from perfectly
smooth in the pan to streaky. This is the indicator of reaching the smoke point.
4) Add your food item to the pan, “show” side down.
5) If cut into pieces, toss to cook evenly. If one large piece use tongs to turn the item.
6) Turn the item when cooked 75% on the first side. (observe coagulation of proteins)
7) Either remove the food item to a plate, or leave in the pan to create a sauce.
8) Add vegetables or aromatics to the pan, sautéing in the “fond” or pan drippings.
9) Deglaze the pan with a cold liquid, releasing the fond, and dropping the temperature of
the pan.
10) Reduce the sauce to half its original volume.
11) Add condiments, flavorings, seasonings to the pan sauce.
12) If removed, return the food item to be cooked in a moist convective process.
13) Item is finished when it reaches the desired internal temperature.
Tips:
1) Pre-heat the pan. The most common mistake is starting sauté with a cold pan.
2) Food items for sauté should be as DRY as possible before cooking. The combination of
fat and water will create splattering, and the food will be steamed instead of sautéed.
3) Control the heat. The sauté pan should be hot enough to create conduction of heat into
the item being cooked, but not so hot that the surface burns before the middle cooks.
4) Consider cutting larger items into smaller pieces for the intense heat of sauté so they cook
more quickly and evenly.
5) Do not crowd foods in the sauté pan. Cook in batches if necessary.
6) Use pans without a non-stick surface to promote the development of fond, the basis to the
flavor in your pan sauce.
7) Always match deglazing liquids to the flavor profile of the dish you’re creating.
8) Stir-Fry is the Asian cousin of French sauté, using the same method in a Wok. Chef Todd Mohr’s Cooking Methods Manual
Page 8
WebCookingClasses.com
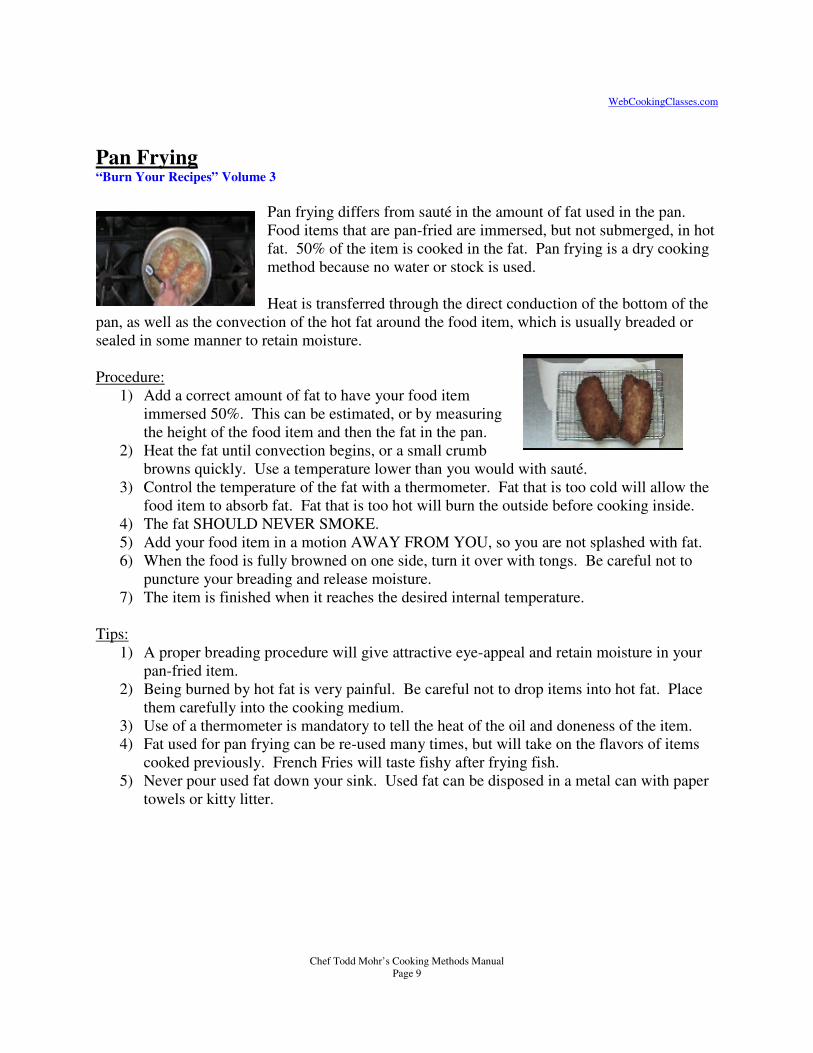
Pan Frying “Burn Your Recipes” Volume 3
Pan frying differs from sauté in the amount of fat used in the pan.
Food items that are pan-fried are immersed, but not submerged, in hot
fat. 50% of the item is cooked in the fat. Pan frying is a dry cooking
method because no water or stock is used.
Heat is transferred through the direct conduction of the bottom of the
pan, as well as the convection of the hot fat around the food item, which is usually breaded or
sealed in some manner to retain moisture.
Procedure:
1) Add a correct amount of fat to have your food item
immersed 50%. This can be estimated, or by measuring
the height of the food item and then the fat in the pan.
2) Heat the fat until convection begins, or a small crumb
browns quickly. Use a temperature lower than you would with sauté.
3) Control the temperature of the fat with a thermometer. Fat that is too cold will allow the
food item to absorb fat. Fat that is too hot will burn the outside before cooking inside.
4) The fat SHOULD NEVER SMOKE.
5) Add your food item in a motion AWAY FROM YOU, so you are not splashed with fat.
6) When the food is fully browned on one side, turn it over with tongs. Be careful not to
puncture your breading and release moisture.
7) The item is finished when it reaches the desired internal temperature.
Tips:
1) A proper breading procedure will give attractive eye-appeal and retain moisture in your
pan-fried item.
2) Being burned by hot fat is very painful. Be careful not to drop items into hot fat. Place
them carefully into the cooking medium.
3) Use of a thermometer is mandatory to tell the heat of the oil and doneness of the item.
4) Fat used for pan frying can be re-used many times, but will take on the flavors of items
cooked previously. French Fries will taste fishy after frying fish.
5) Never pour used fat down your sink. Used fat can be disposed in a metal can with paper
towels or kitty litter.
Chef Todd Mohr’s Cooking Methods Manual
Page 9
WebCookingClasses.com
Deep Frying
Deep frying differs from pan frying in that the food item is totally submerged in hot fat. Deep
frying is a convective dry heat cooking process because it employs no water or stock in cooking.
Heat is transferred through the direct conductive application of heat through the hot fat. Foods to
be deep fried are usually coated in a batter or breading to prevent absorption of fat and to retain
moisture.
Procedure:
1) Heat deep-fat fryer or stock pot with oil to desired temperature.
2) Immerse food item in the heated fat
3) There should be no need to turn the item, but if it floats too long on one side, flip it over.
4) The item is finished when it reaches the desired internal temperature.
Tips:
1) Deep fat frying is very dangerous and is not recommended for the home kitchen.
2) Use of a thermometer is mandatory to tell the heat of the oil and doneness of the item.
3) Always rest deep fried items on paper toweling to absorb excess fat.
4) Fat used for deep frying can be re-used many times, but will take on the flavors of items
cooked previously. French Fries will taste fishy after frying fish.
5) Never pour used fat down your sink. Used fat can be disposed in a metal can with paper
towels or kitty litter.
Chef Todd Mohr’s Cooking Methods Manual
Page 10
WebCookingClasses.com
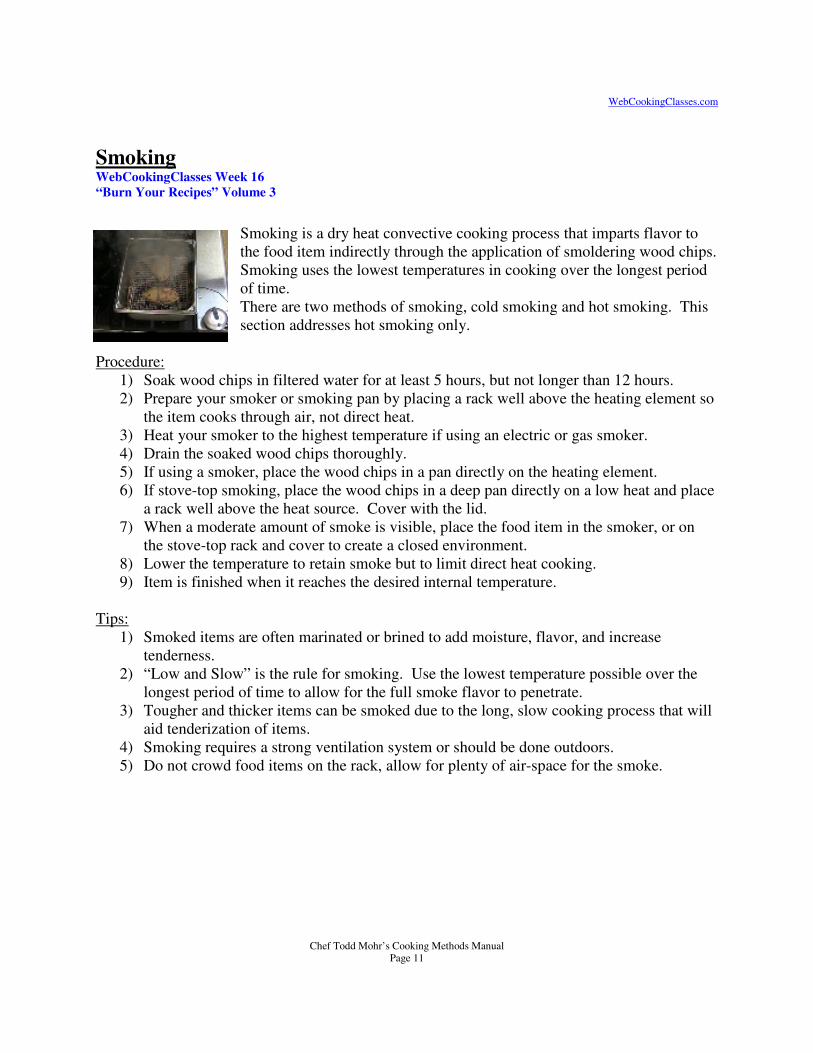
Smoking WebCookingClasses Week 16
“Burn Your Recipes” Volume 3
Smoking is a dry heat convective cooking process that imparts flavor to
the food item indirectly through the application of smoldering wood chips.
Smoking uses the lowest temperatures in cooking over the longest period
of time.
There are two methods of smoking, cold smoking and hot smoking. This
section addresses hot smoking only.
Procedure:
1) Soak wood chips in filtered water for at least 5 hours, but not longer than 12 hours.
2) Prepare your smoker or smoking pan by placing a rack well above the heating element so
the item cooks through air, not direct heat.
3) Heat your smoker to the highest temperature if using an electric or gas smoker.
4) Drain the soaked wood chips thoroughly.
5) If using a smoker, place the wood chips in a pan directly on the heating element.
6) If stove-top smoking, place the wood chips in a deep pan directly on a low heat and place
a rack well above the heat source. Cover with the lid.
7) When a moderate amount of smoke is visible, place the food item in the smoker, or on
the stove-top rack and cover to create a closed environment.
8) Lower the temperature to retain smoke but to limit direct heat cooking.
9) Item is finished when it reaches the desired internal temperature.
Tips:
1) Smoked items are often marinated or brined to add moisture, flavor, and increase
tenderness.
2) “Low and Slow” is the rule for smoking. Use the lowest temperature possible over the
longest period of time to allow for the full smoke flavor to penetrate.
3) Tougher and thicker items can be smoked due to the long, slow cooking process that will
aid tenderization of items.
4) Smoking requires a strong ventilation system or should be done outdoors.
5) Do not crowd food items on the rack, allow for plenty of air-space for the smoke.
Chef Todd Mohr’s Cooking Methods Manual
Page 11
WebCookingClasses.com
Moist Cooking Methods Moist cooking methods use water, broth, wine, or any other flavorful liquid to impart heat in a
convective, indirect method.
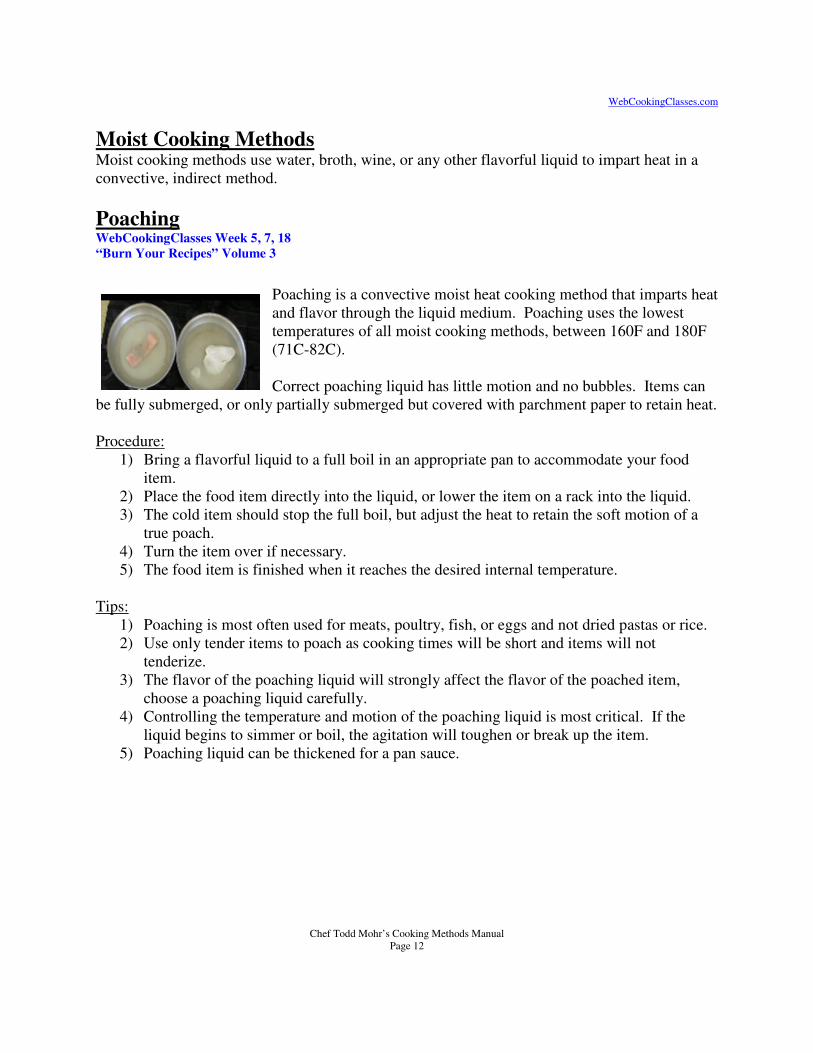
Poaching WebCookingClasses Week 5, 7, 18
“Burn Your Recipes” Volume 3
Poaching is a convective moist heat cooking method that imparts heat
and flavor through the liquid medium. Poaching uses the lowest
temperatures of all moist cooking methods, between 160F and 180F
(71C-82C).
Correct poaching liquid has little motion and no bubbles. Items can
be fully submerged, or only partially submerged but covered with parchment paper to retain heat.
Procedure:
1) Bring a flavorful liquid to a full boil in an appropriate pan to accommodate your food
item.
2) Place the food item directly into the liquid, or lower the item on a rack into the liquid.
3) The cold item should stop the full boil, but adjust the heat to retain the soft motion of a
true poach.
4) Turn the item over if necessary.
5) The food item is finished when it reaches the desired internal temperature.
Tips:
1) Poaching is most often used for meats, poultry, fish, or eggs and not dried pastas or rice.
2) Use only tender items to poach as cooking times will be short and items will not
tenderize.
3) The flavor of the poaching liquid will strongly affect the flavor of the poached item,
choose a poaching liquid carefully.
4) Controlling the temperature and motion of the poaching liquid is most critical. If the
liquid begins to simmer or boil, the agitation will toughen or break up the item.
5) Poaching liquid can be thickened for a pan sauce.
Chef Todd Mohr’s Cooking Methods Manual
Page 12
WebCookingClasses.com
Simmering WebCookingClasses Week 5, 10, 11, 19, 20, 22, 23, 44, 45
“Burn Your Recipes” Volume 3
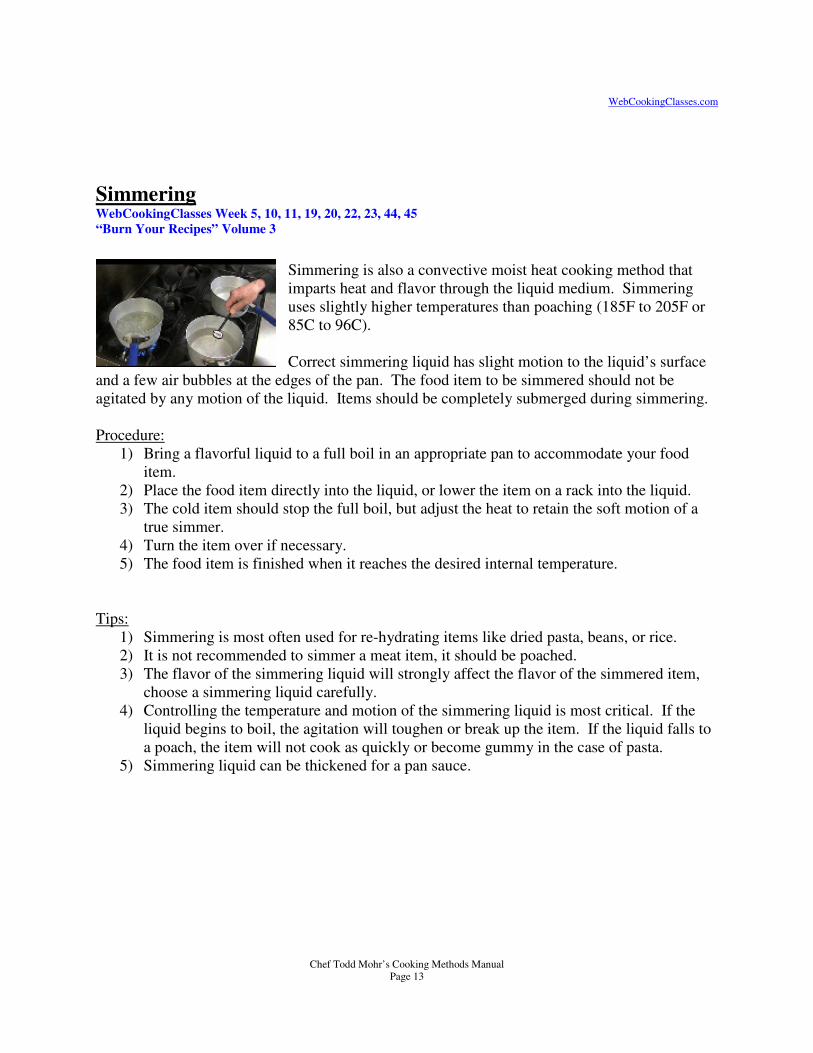
Simmering is also a convective moist heat cooking method that
imparts heat and flavor through the liquid medium. Simmering
uses slightly higher temperatures than poaching (185F to 205F or
85C to 96C).
Correct simmering liquid has slight motion to the liquid’s surface
and a few air bubbles at the edges of the pan. The food item to be simmered should not be
agitated by any motion of the liquid. Items should be completely submerged during simmering.
Procedure:
1) Bring a flavorful liquid to a full boil in an appropriate pan to accommodate your food
item.
2) Place the food item directly into the liquid, or lower the item on a rack into the liquid.
3) The cold item should stop the full boil, but adjust the heat to retain the soft motion of a
true simmer.
4) Turn the item over if necessary.
5) The food item is finished when it reaches the desired internal temperature.
Tips:
1) Simmering is most often used for re-hydrating items like dried pasta, beans, or rice.
2) It is not recommended to simmer a meat item, it should be poached.
3) The flavor of the simmering liquid will strongly affect the flavor of the simmered item,
choose a simmering liquid carefully.
4) Controlling the temperature and motion of the simmering liquid is most critical. If the
liquid begins to boil, the agitation will toughen or break up the item. If the liquid falls to
a poach, the item will not cook as quickly or become gummy in the case of pasta.
5) Simmering liquid can be thickened for a pan sauce.
Chef Todd Mohr’s Cooking Methods Manual
Page 13
WebCookingClasses.com
Boiling
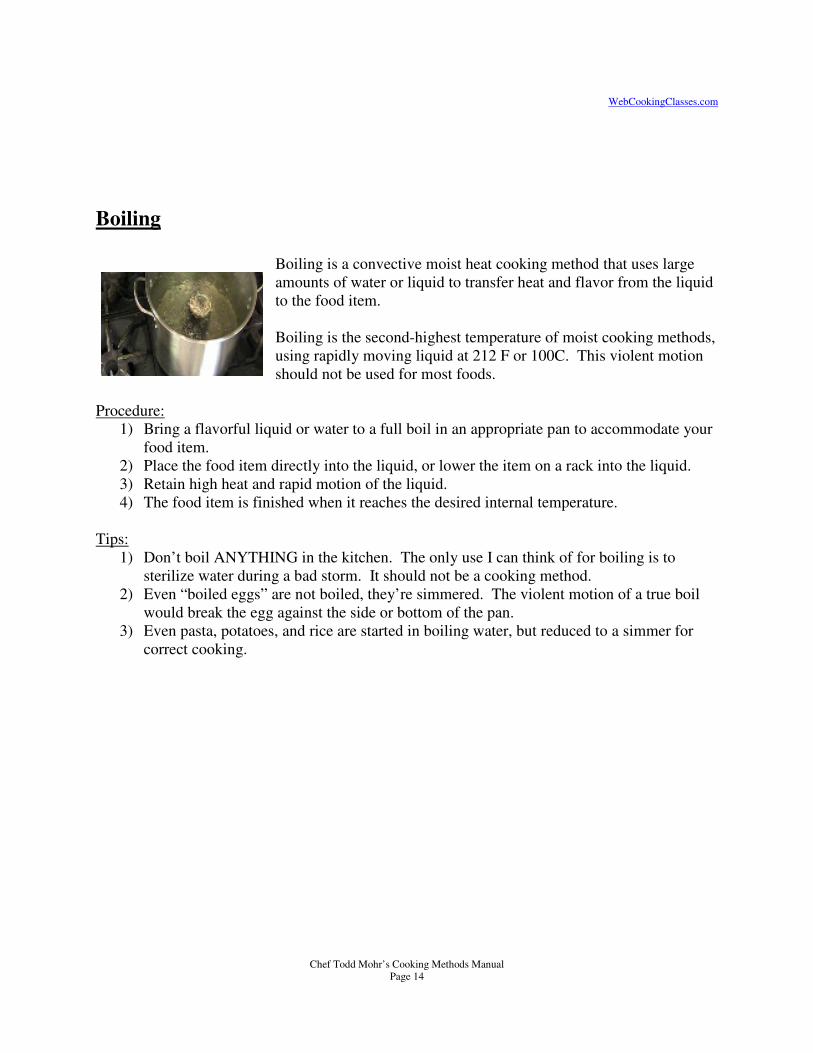
Boiling is a convective moist heat cooking method that uses large
amounts of water or liquid to transfer heat and flavor from the liquid
to the food item.
Boiling is the second-highest temperature of moist cooking methods,
using rapidly moving liquid at 212 F or 100C. This violent motion
should not be used for most foods.
Procedure:
1) Bring a flavorful liquid or water to a full boil in an appropriate pan to accommodate your
food item.
2) Place the food item directly into the liquid, or lower the item on a rack into the liquid.
3) Retain high heat and rapid motion of the liquid.
4) The food item is finished when it reaches the desired internal temperature.
Tips:
1) Don’t boil ANYTHING in the kitchen. The only use I can think of for boiling is to
sterilize water during a bad storm. It should not be a cooking method.
2) Even “boiled eggs” are not boiled, they’re simmered. The violent motion of a true boil
would break the egg against the side or bottom of the pan.
3) Even pasta, potatoes, and rice are started in boiling water, but reduced to a simmer for
correct cooking.
Chef Todd Mohr’s Cooking Methods Manual
Page 14
WebCookingClasses.com
Steaming WebCookingClasses Week 6
“Burn Your Recipes” Volume 3
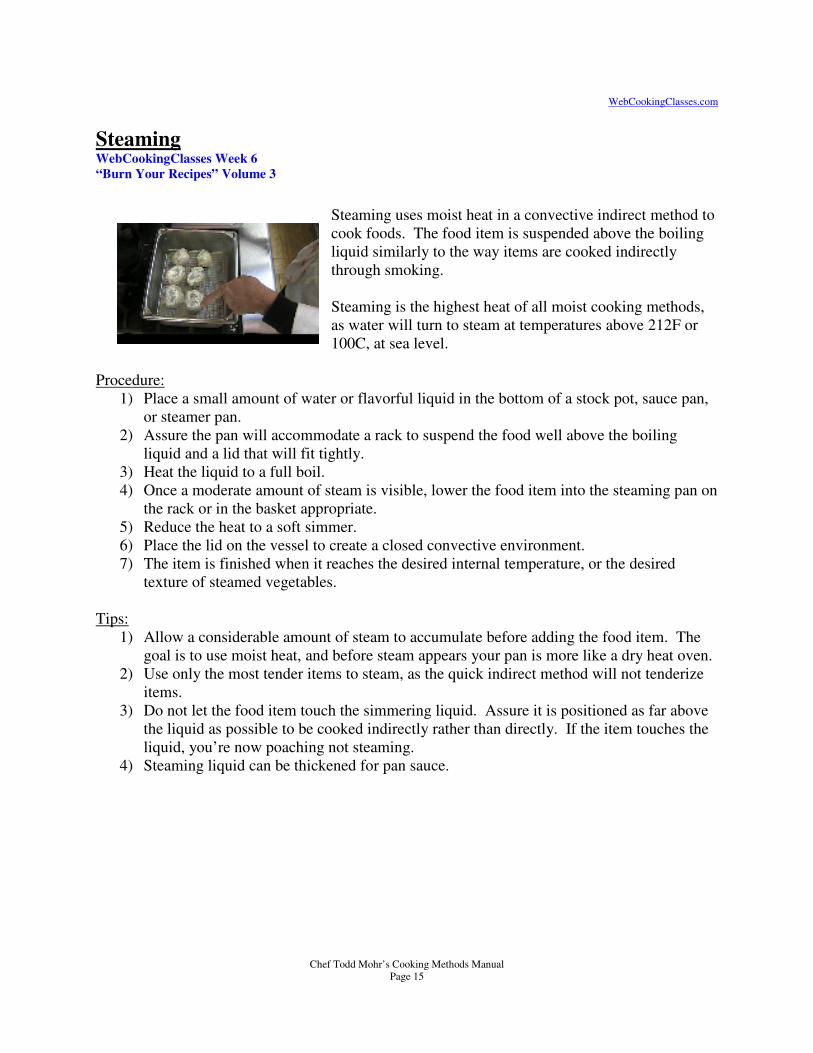
Steaming uses moist heat in a convective indirect method to
cook foods. The food item is suspended above the boiling
liquid similarly to the way items are cooked indirectly
through smoking.
Steaming is the highest heat of all moist cooking methods,
as water will turn to steam at temperatures above 212F or
100C, at sea level.
Procedure:
1) Place a small amount of water or flavorful liquid in the bottom of a stock pot, sauce pan,
or steamer pan.
2) Assure the pan will accommodate a rack to suspend the food well above the boiling
liquid and a lid that will fit tightly.
3) Heat the liquid to a full boil.
4) Once a moderate amount of steam is visible, lower the food item into the steaming pan on
the rack or in the basket appropriate.
5) Reduce the heat to a soft simmer.
6) Place the lid on the vessel to create a closed convective environment.
7) The item is finished when it reaches the desired internal temperature, or the desired
texture of steamed vegetables.
Tips:
1) Allow a considerable amount of steam to accumulate before adding the food item. The
goal is to use moist heat, and before steam appears your pan is more like a dry heat oven.
2) Use only the most tender items to steam, as the quick indirect method will not tenderize
items.
3) Do not let the food item touch the simmering liquid. Assure it is positioned as far above
the liquid as possible to be cooked indirectly rather than directly. If the item touches the
liquid, you’re now poaching not steaming.
4) Steaming liquid can be thickened for pan sauce.
Chef Todd Mohr’s Cooking Methods Manual
Page 15
Combination Cooking Methods Cooking methods that employ elements of both dry and moist cooking are considered
combination cooking methods. They take advantage of the best characteristics of both ways of
cooking. A meat item can be browned under direct dry heat, then poached in moist heat to gain
color and flavor while retaining moisture and adding tenderization.
Combination cooking methods are used for the toughest cuts of meats because of the long moist
cooking process that breaks down connective tissues and tenderizes items over the cooking
process.
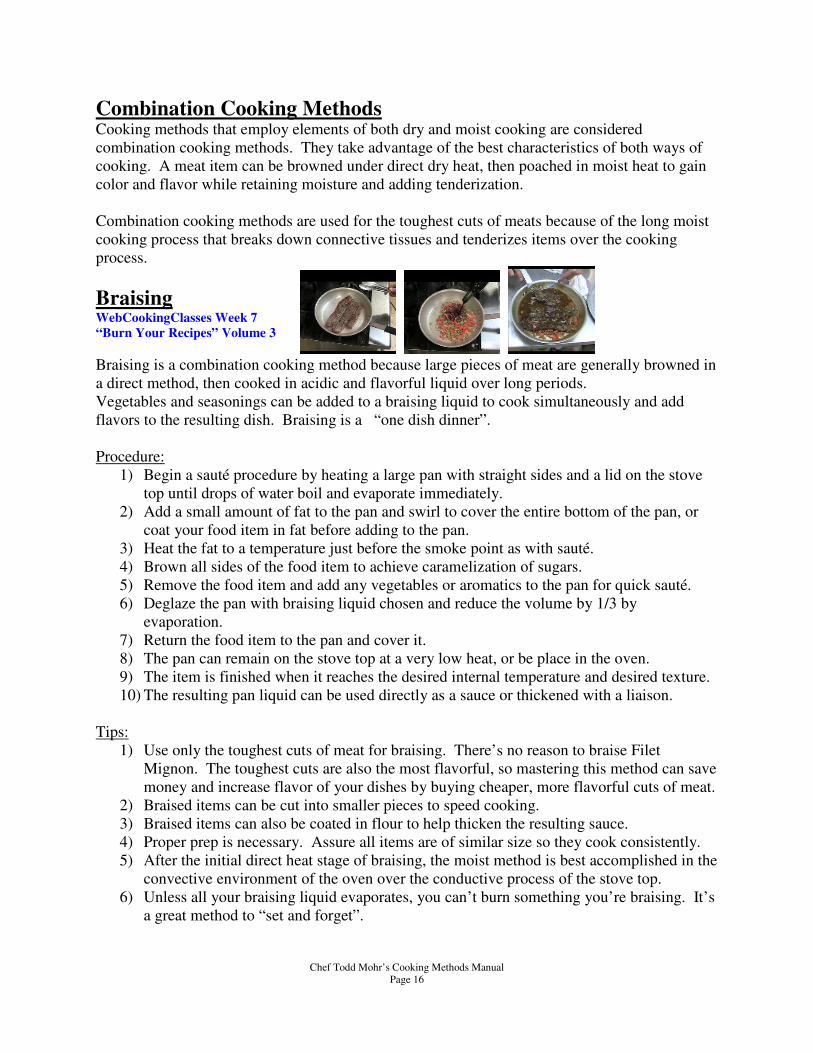
Braising WebCookingClasses Week 7 “Burn Your Recipes” Volume 3
Braising is a combination cooking method because large pieces of meat are generally browned in
a direct method, then cooked in acidic and flavorful liquid over long periods.
Vegetables and seasonings can be added to a braising liquid to cook simultaneously and add
flavors to the resulting dish. Braising is a “one dish dinner”.
Procedure:
1) Begin a sauté procedure by heating a large pan with straight sides and a lid on the stove
top until drops of water boil and evaporate immediately.
2) Add a small amount of fat to the pan and swirl to cover the entire bottom of the pan, or
coat your food item in fat before adding to the pan.
3) Heat the fat to a temperature just before the smoke point as with sauté.
4) Brown all sides of the food item to achieve caramelization of sugars.
5) Remove the food item and add any vegetables or aromatics to the pan for quick sauté.
6) Deglaze the pan with braising liquid chosen and reduce the volume by 1/3 by
evaporation.
7) Return the food item to the pan and cover it.
8) The pan can remain on the stove top at a very low heat, or be place in the oven.
9) The item is finished when it reaches the desired internal temperature and desired texture.
10) The resulting pan liquid can be used directly as a sauce or thickened with a liaison.
Tips:
1) Use only the toughest cuts of meat for braising. There’s no reason to braise Filet
Mignon. The toughest cuts are also the most flavorful, so mastering this method can save
money and increase flavor of your dishes by buying cheaper, more flavorful cuts of meat.
2) Braised items can be cut into smaller pieces to speed cooking.
3) Braised items can also be coated in flour to help thicken the resulting sauce.
4) Proper prep is necessary. Assure all items are of similar size so they cook consistently.
5) After the initial direct heat stage of braising, the moist method is best accomplished in the
convective environment of the oven over the conductive process of the stove top.
6) Unless all your braising liquid evaporates, you can’t burn something you’re braising. It’s
a great method to “set and forget”.
Chef Todd Mohr’s Cooking Methods Manual
Page 16

WebCookingClasses.com
Stewing “Burn Your Recipes” Volume 3
Stewing employs dry and moist cooking methods like Braising, but food
items are usually cut into bite-sized pieces and fully submerged in the
cooking liquid.
Food items to be stewed can be initially
browned with a sauté method, or poached using a moist method.
Pre-poached items will have more moisture, less color, and accept the
flavor of the poaching liquid before being stewed.
Procedure:
1) Dry cook the food item with sauté or moist cook by poaching in liquid.
2) Add all other ingredients to a soup pot or stock pot.
3) Add the food item to the pot.
4) Slowly bring the ingredients to a soft simmer.
5) Cook under low heat for an extended period of time.
6) The stew is finished when the item reaches the desired internal temperature and texture.
Tips:
1) Since everything will cook together for the same amount of time, all items should be cut
into similar size pieces to assure consistent cooking.
2) Acids aid in tenderization of meat products. Consider adding vinegar, tomato products,
or juices to your stew to achieve this goal.
3) Stewing can be done on the stove-top or in the oven.
4) Control the heat. Stove-top stewing can create a burnt spot on the bottom of your pan if
the heat is too intense. Stewing in the oven allows for indirect convective heat.
Chef Todd Mohr’s Cooking Methods Manual
Page 17